



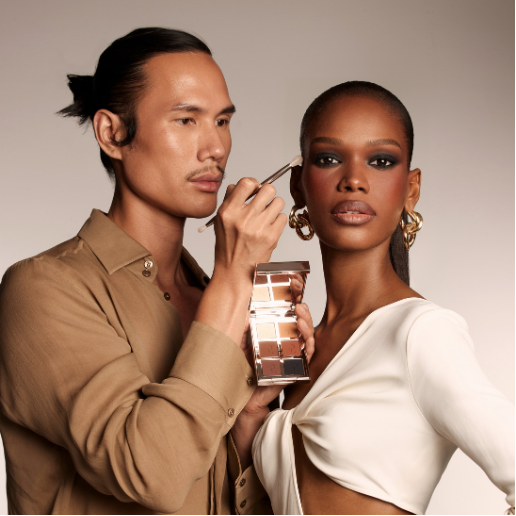

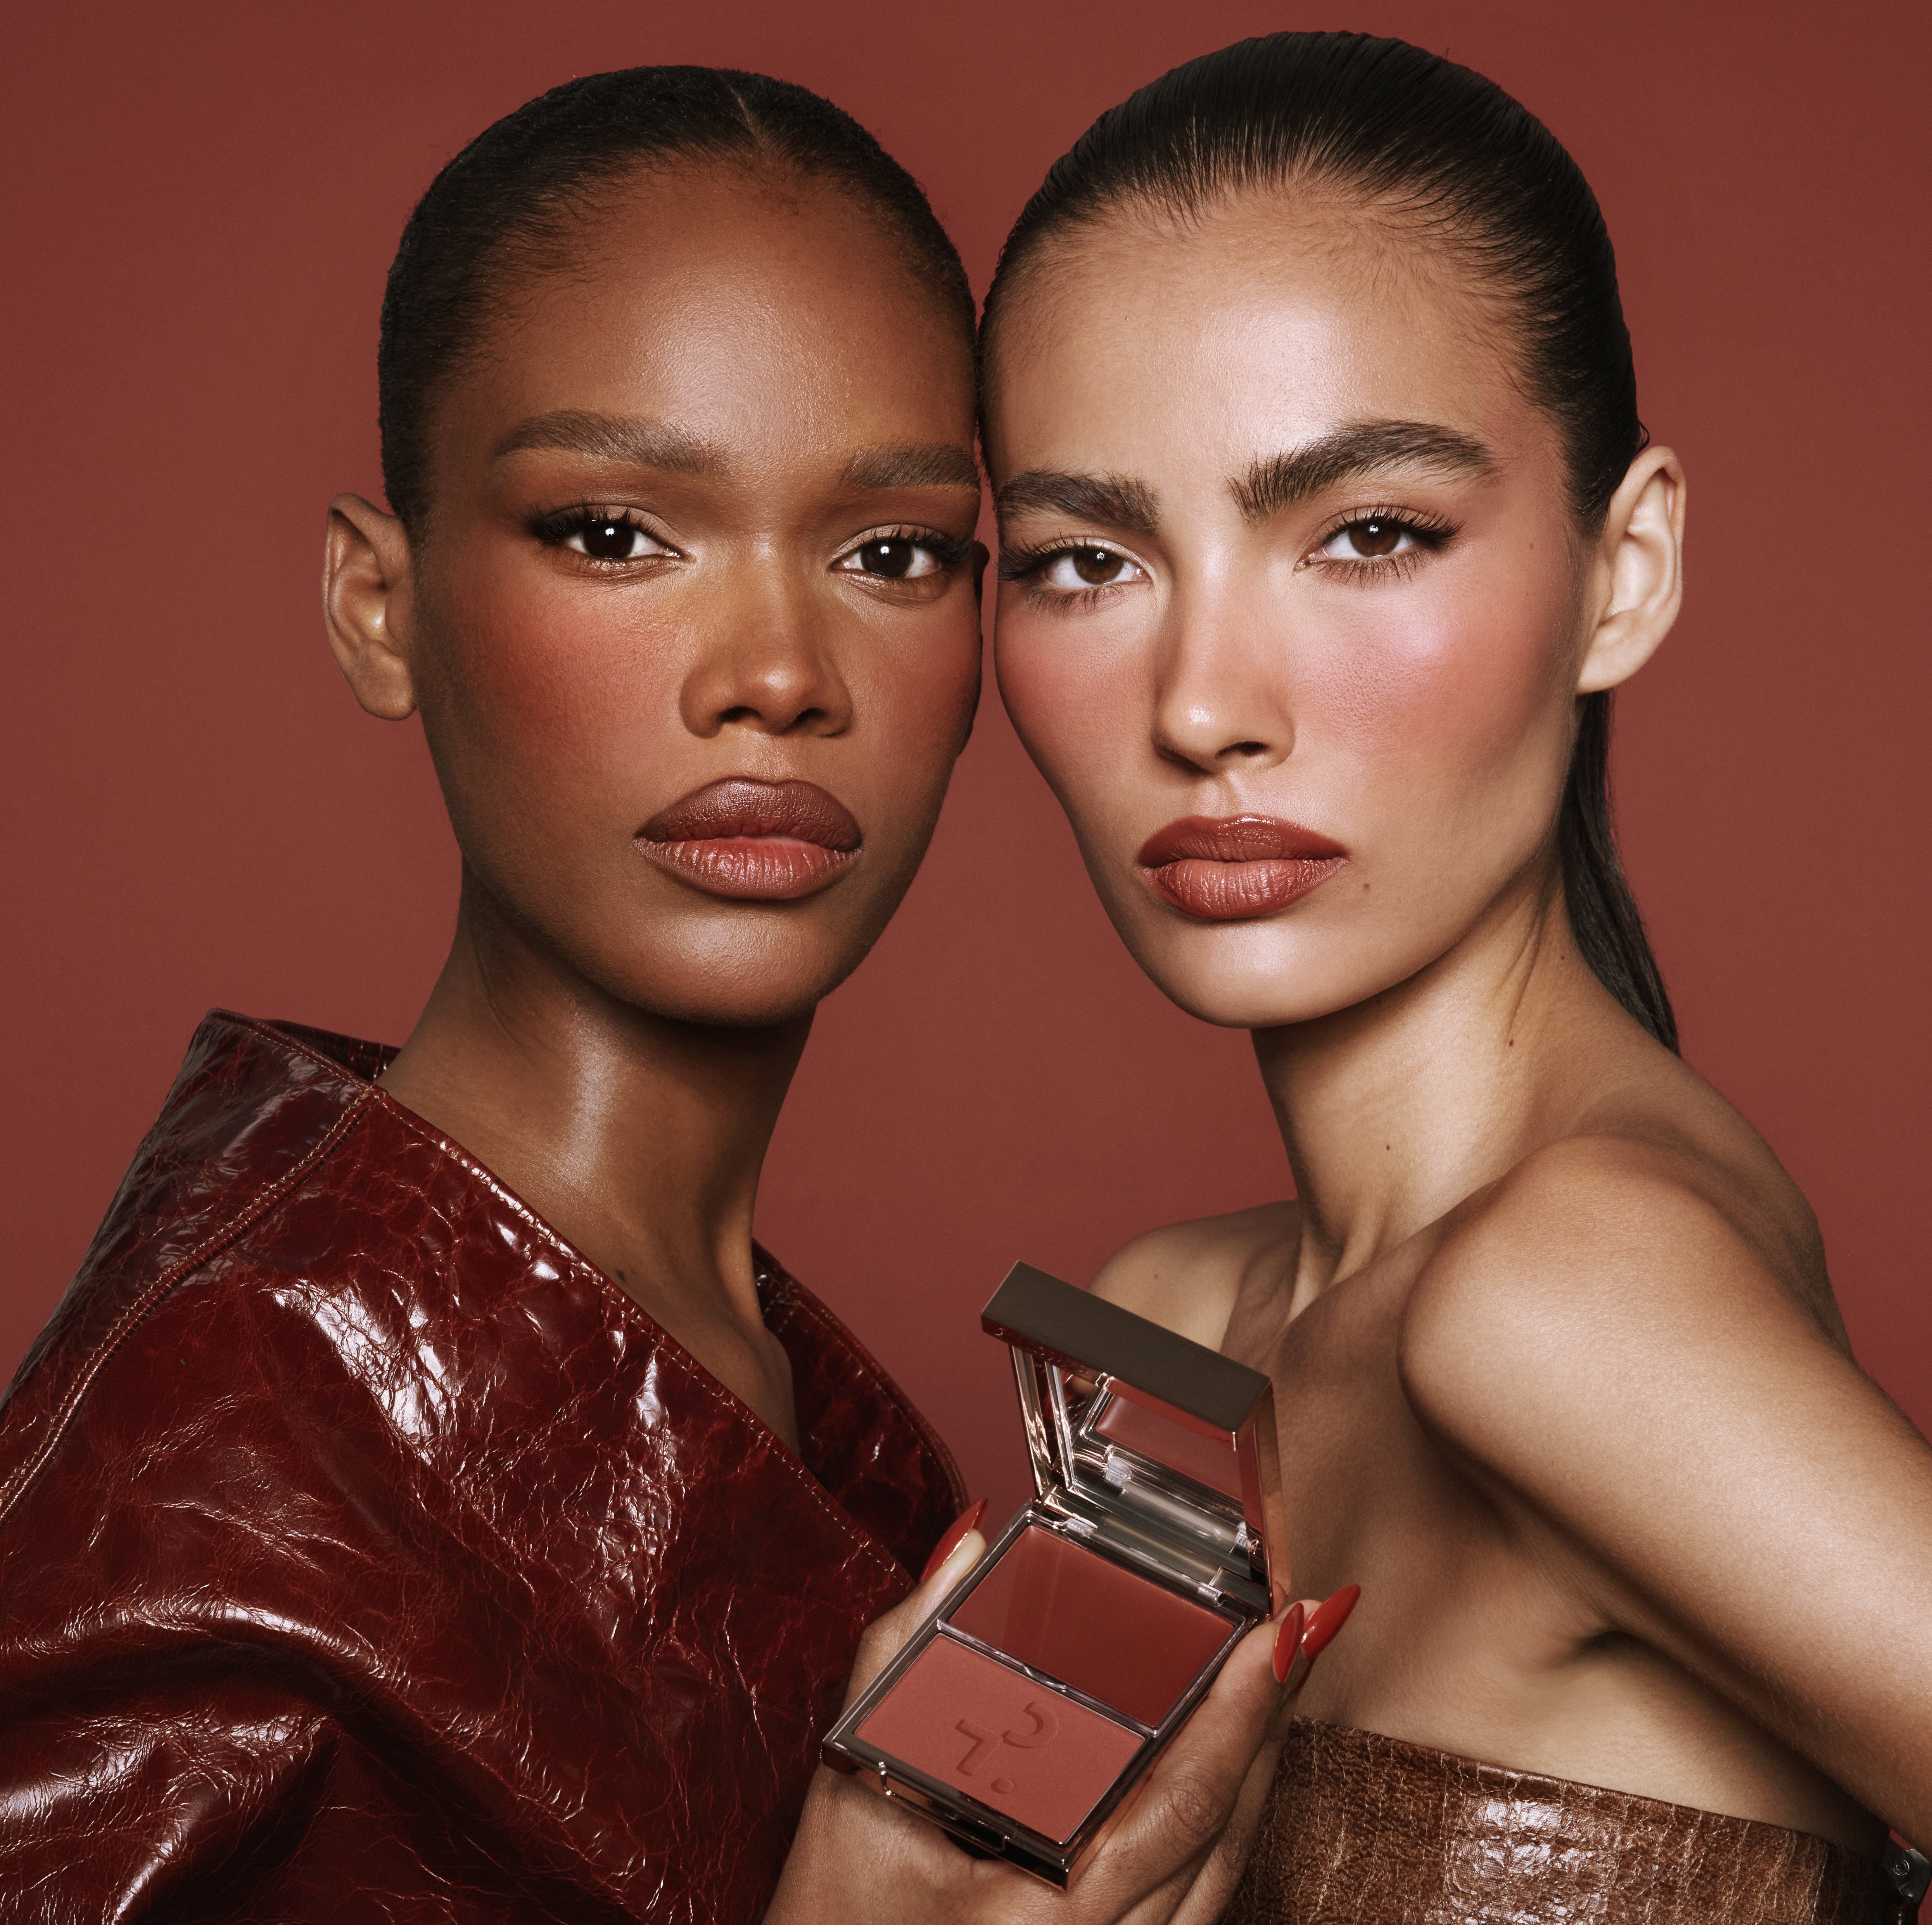
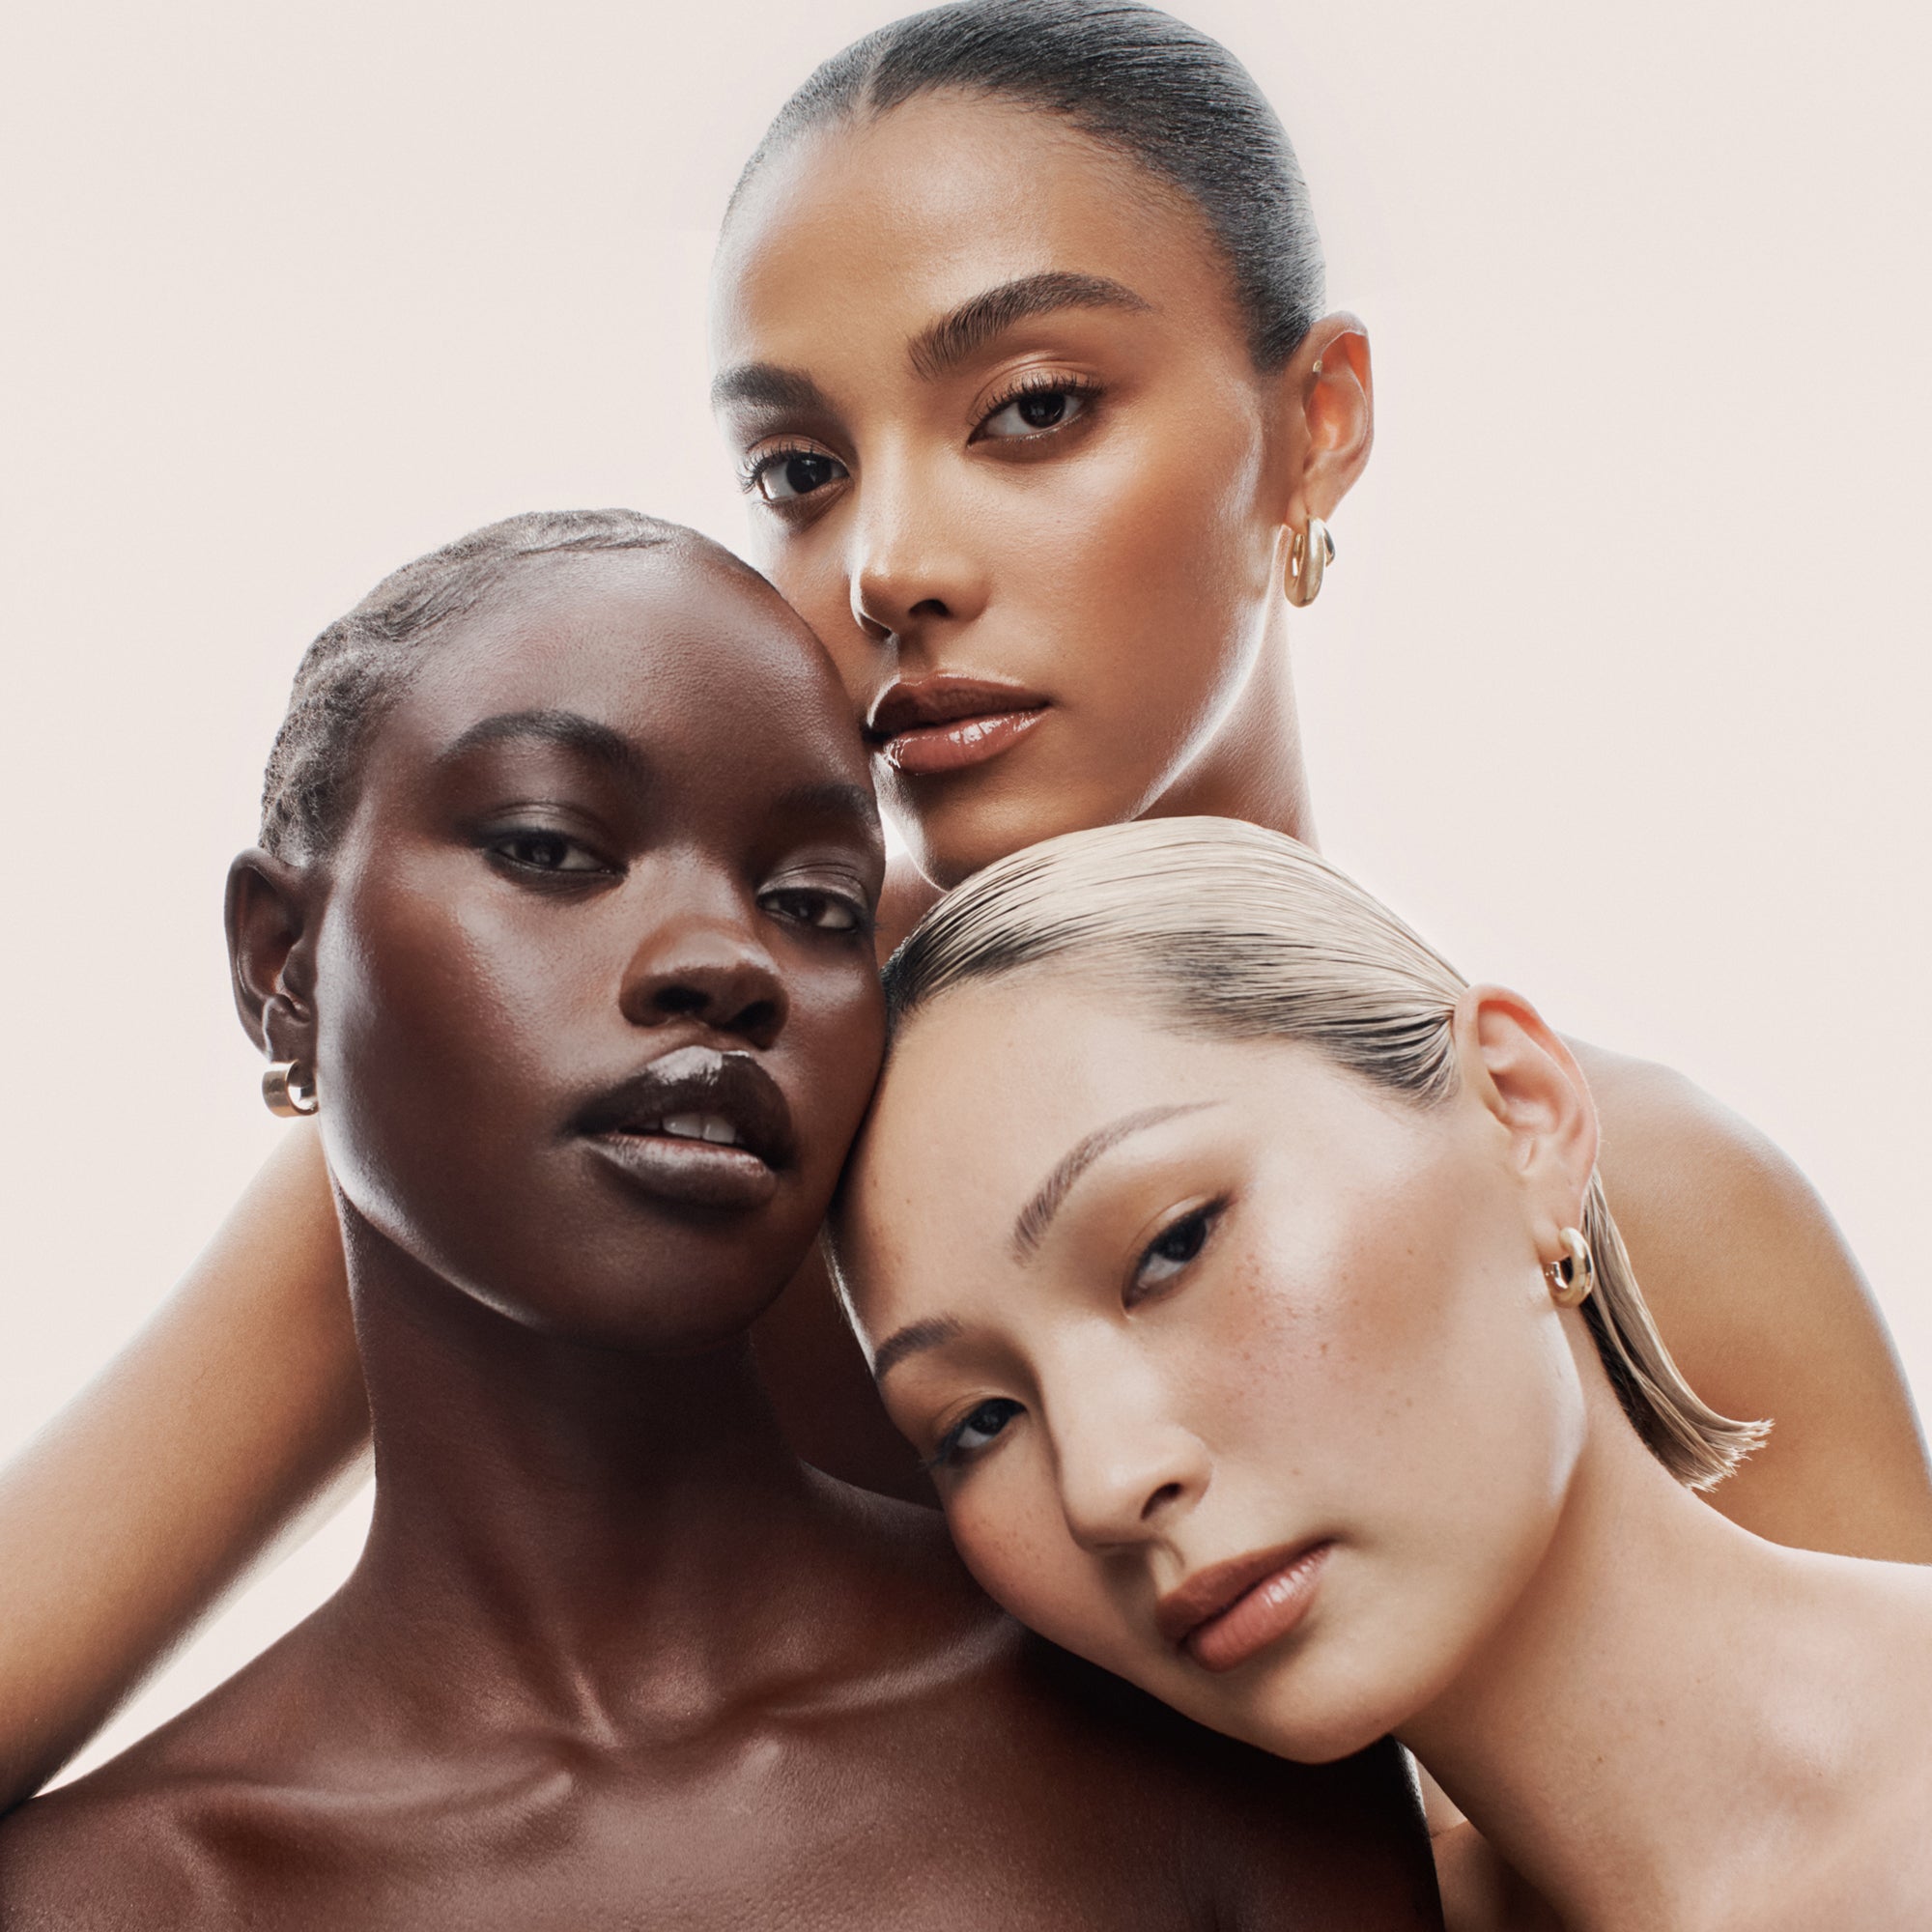

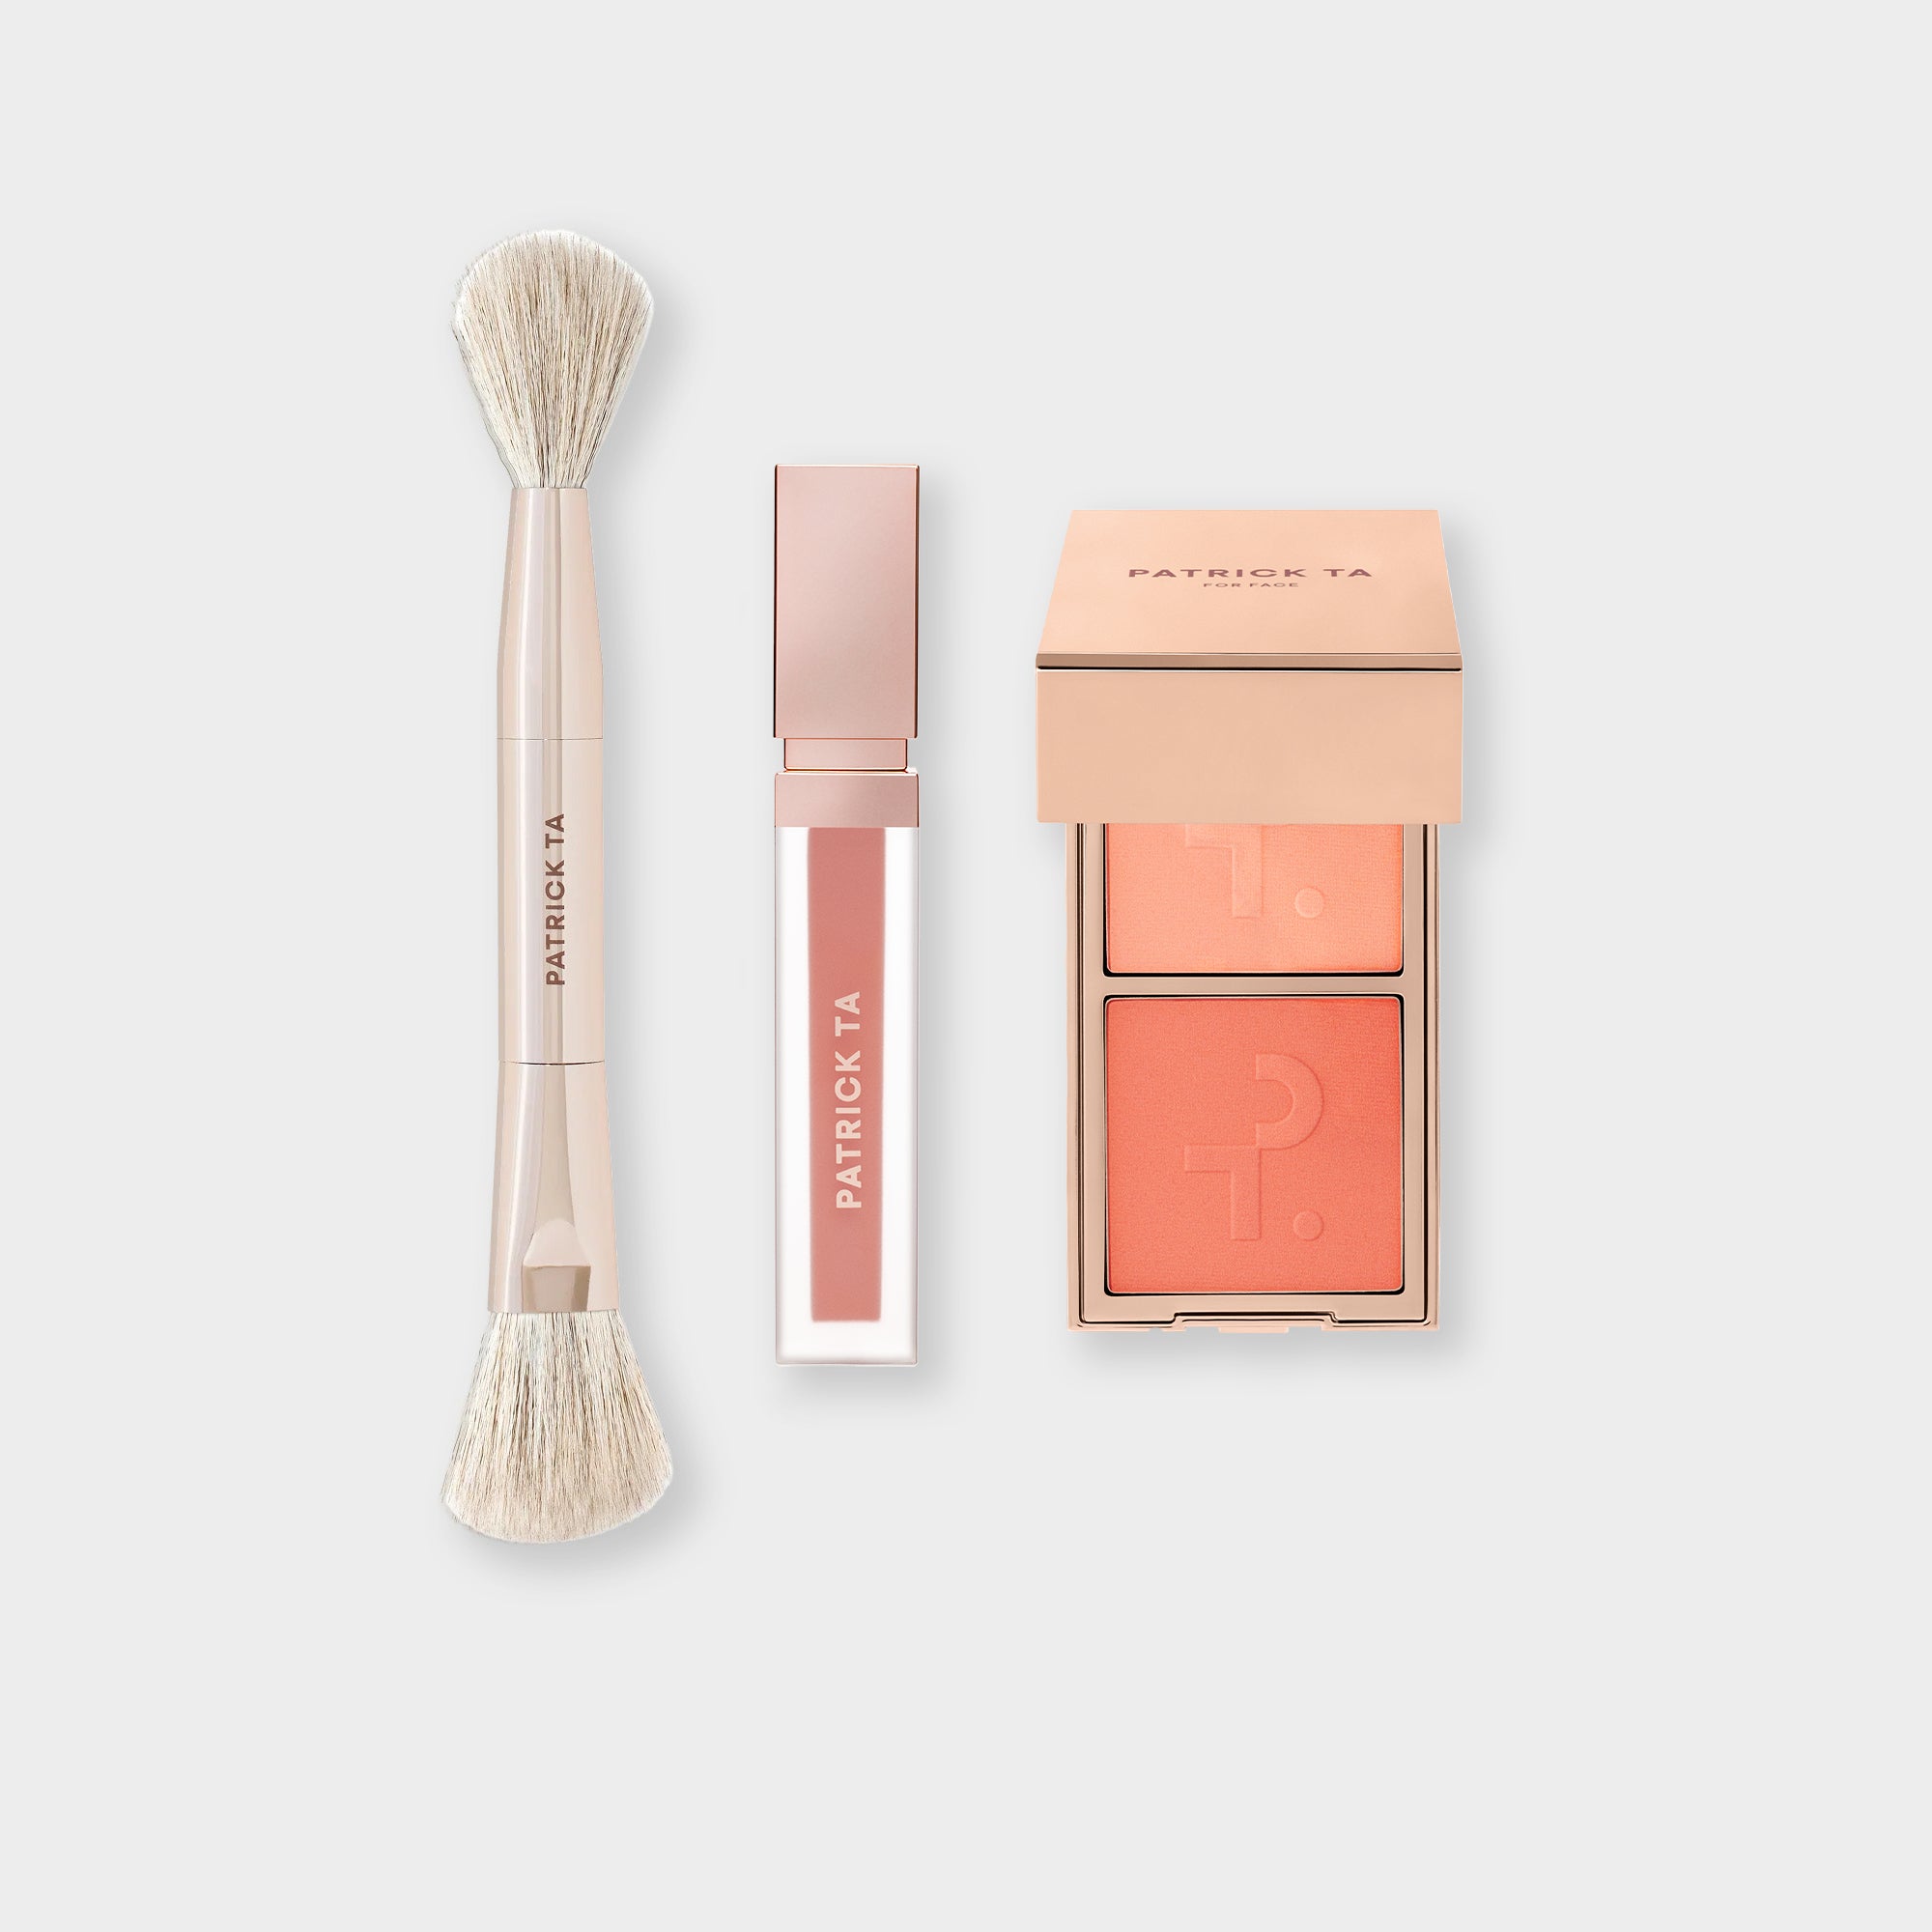

We get it… contouring can be intimidating, but even beginners can perfect this skill with a step-by-step tutorial, the highest quality products, and all the right tools. Here’s everything you need to know to contour with ease for a chiseled, lifted look.
Benefits Of Facial Contour in Your Makeup Routine
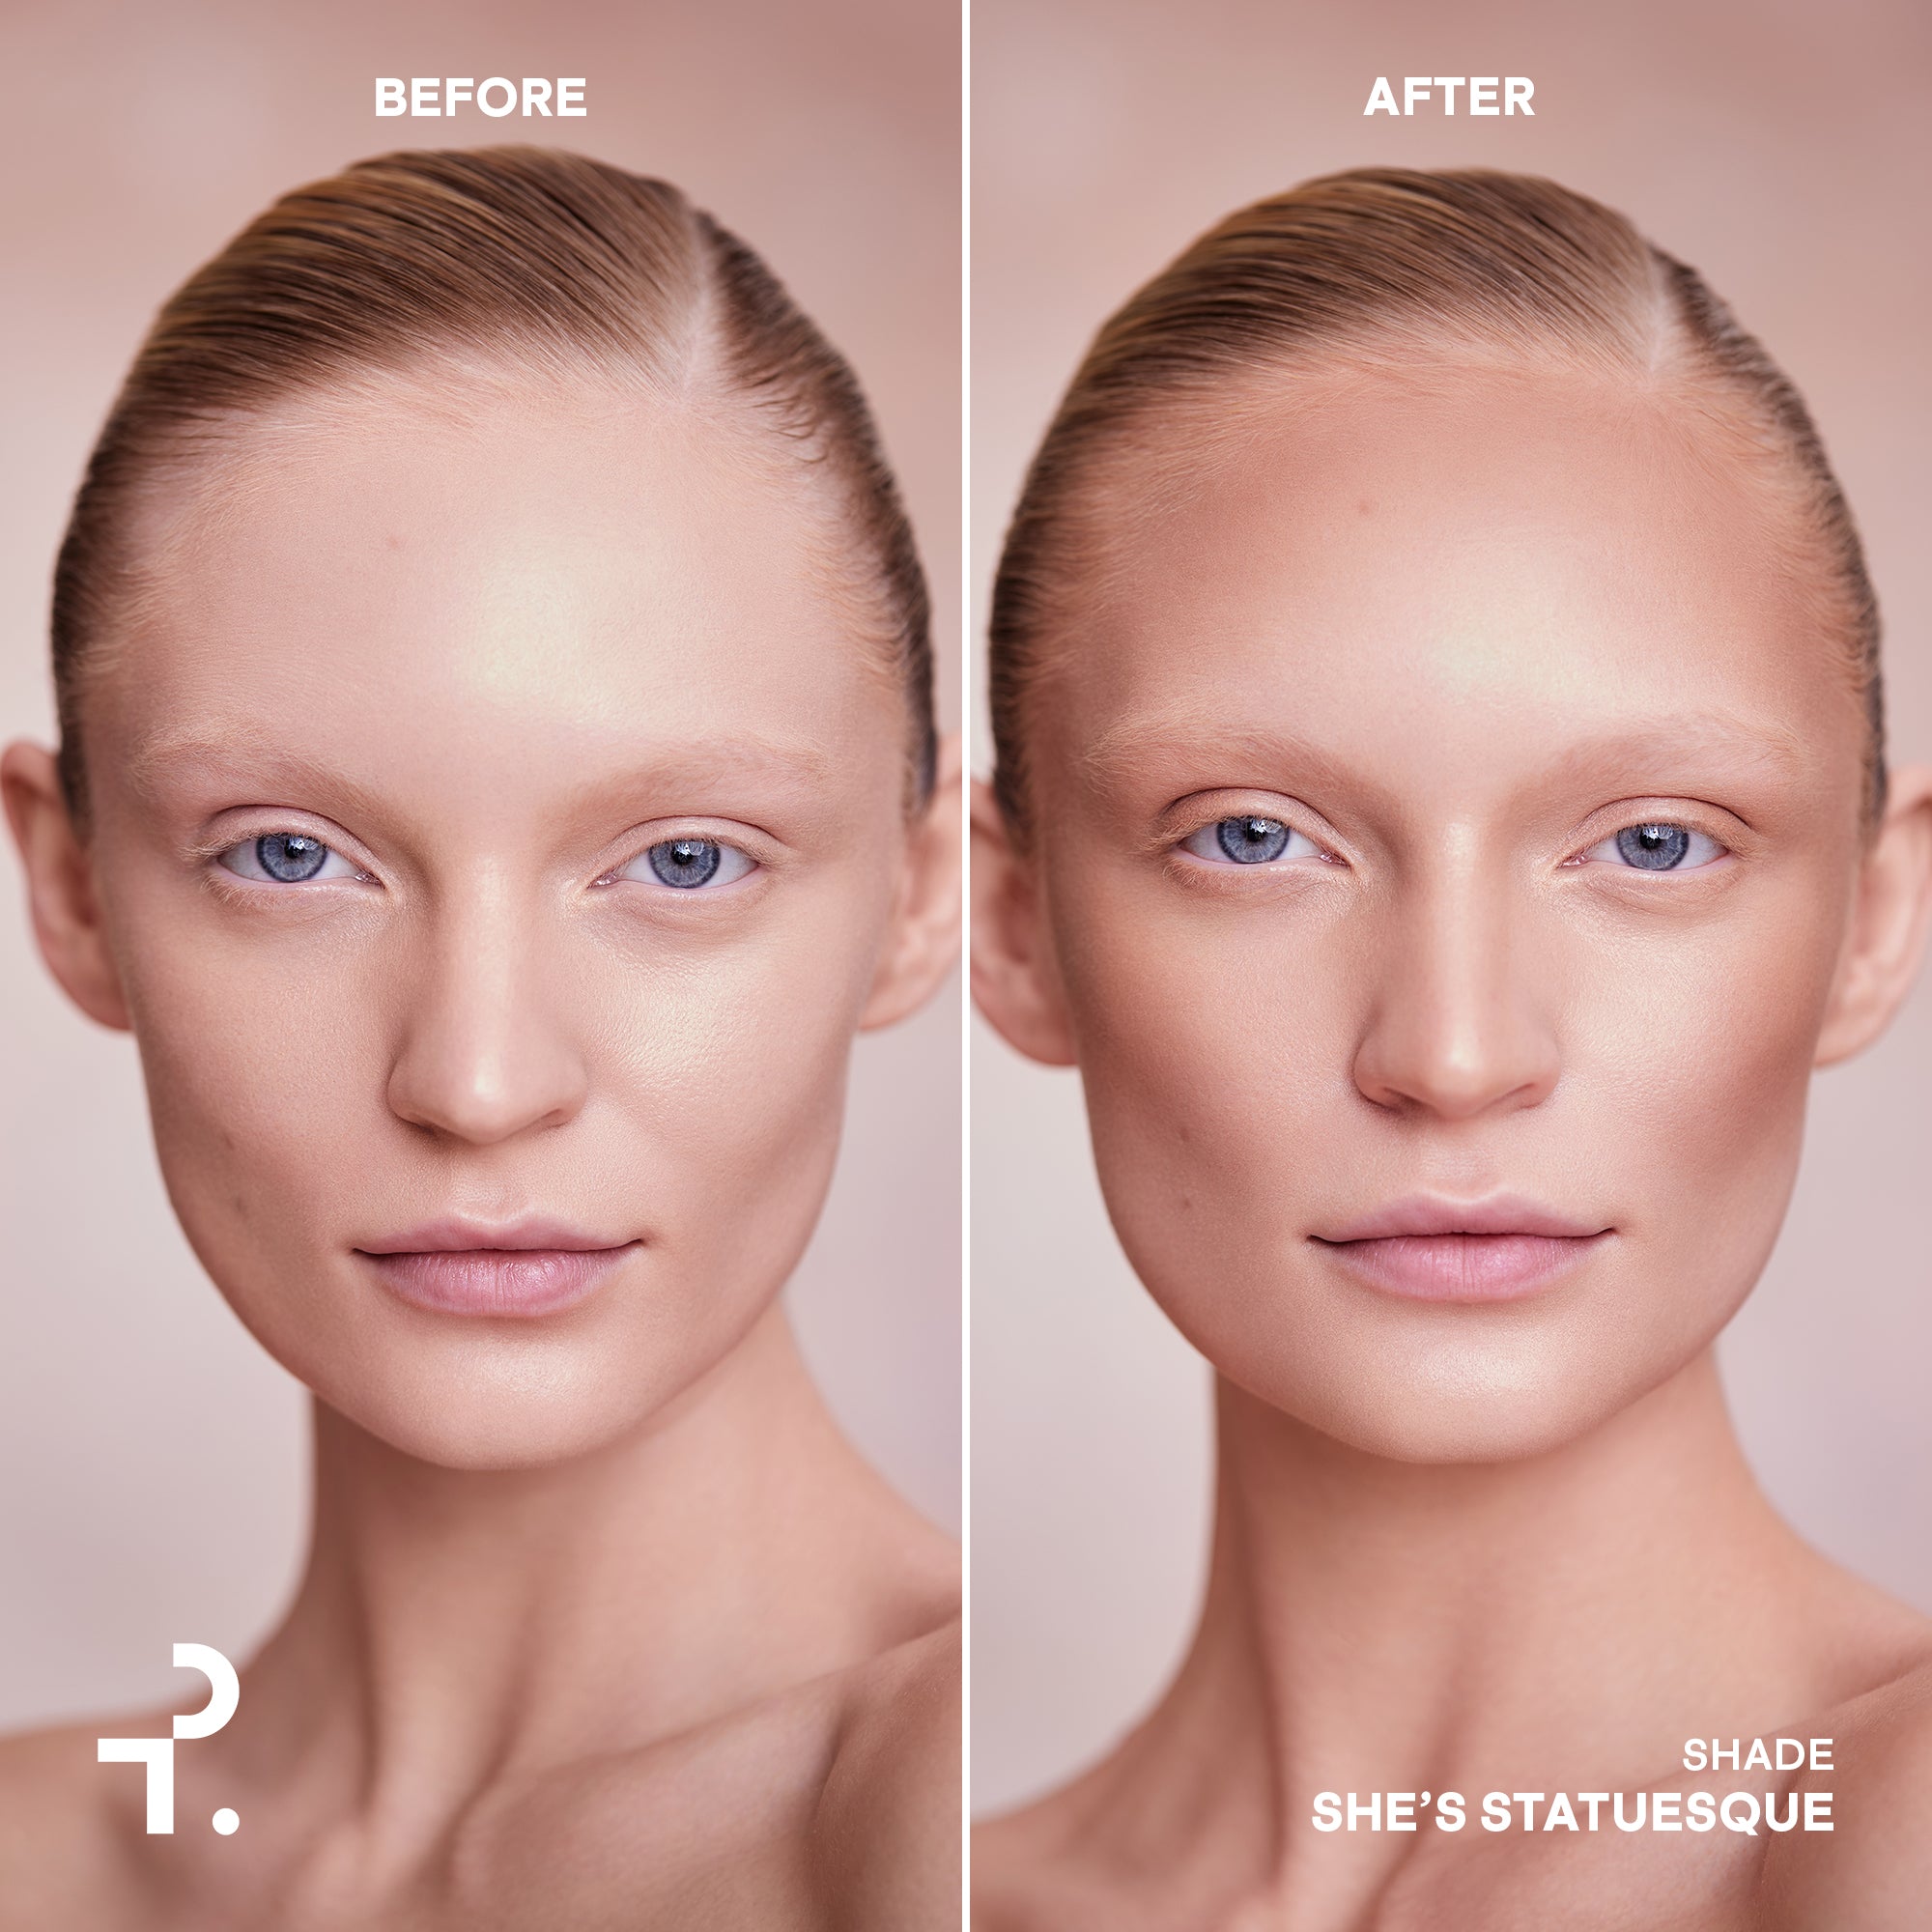
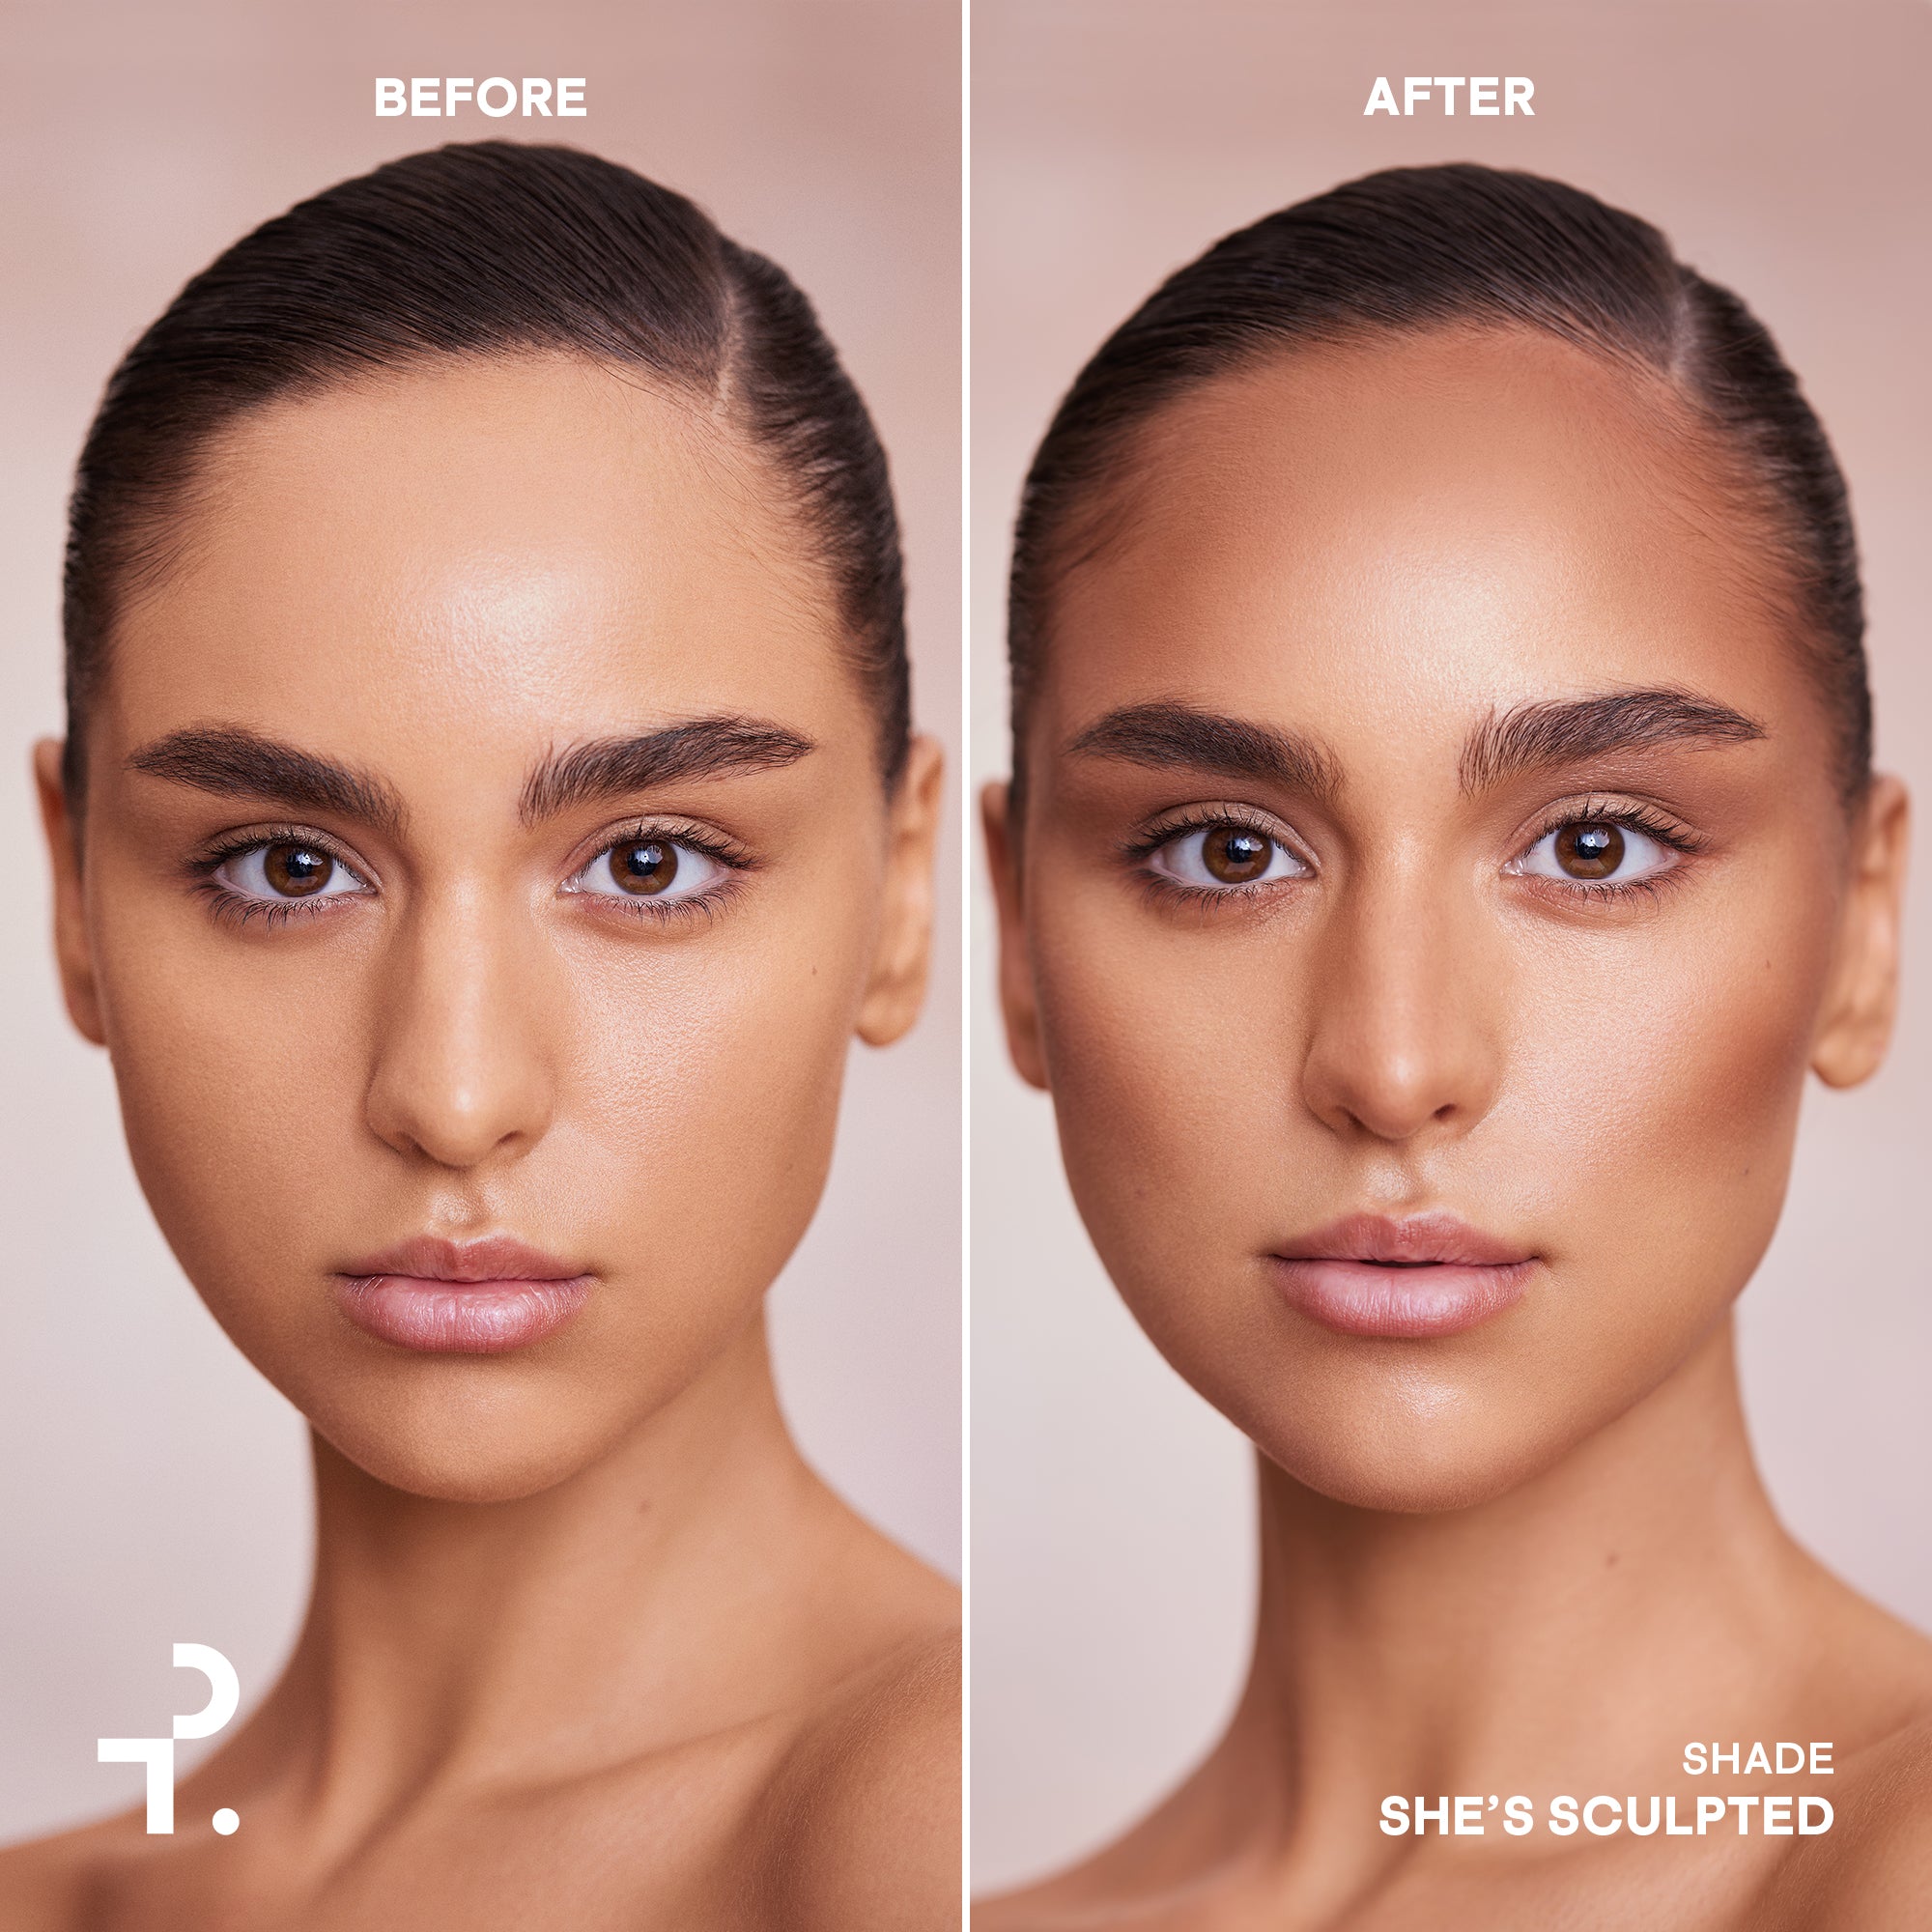
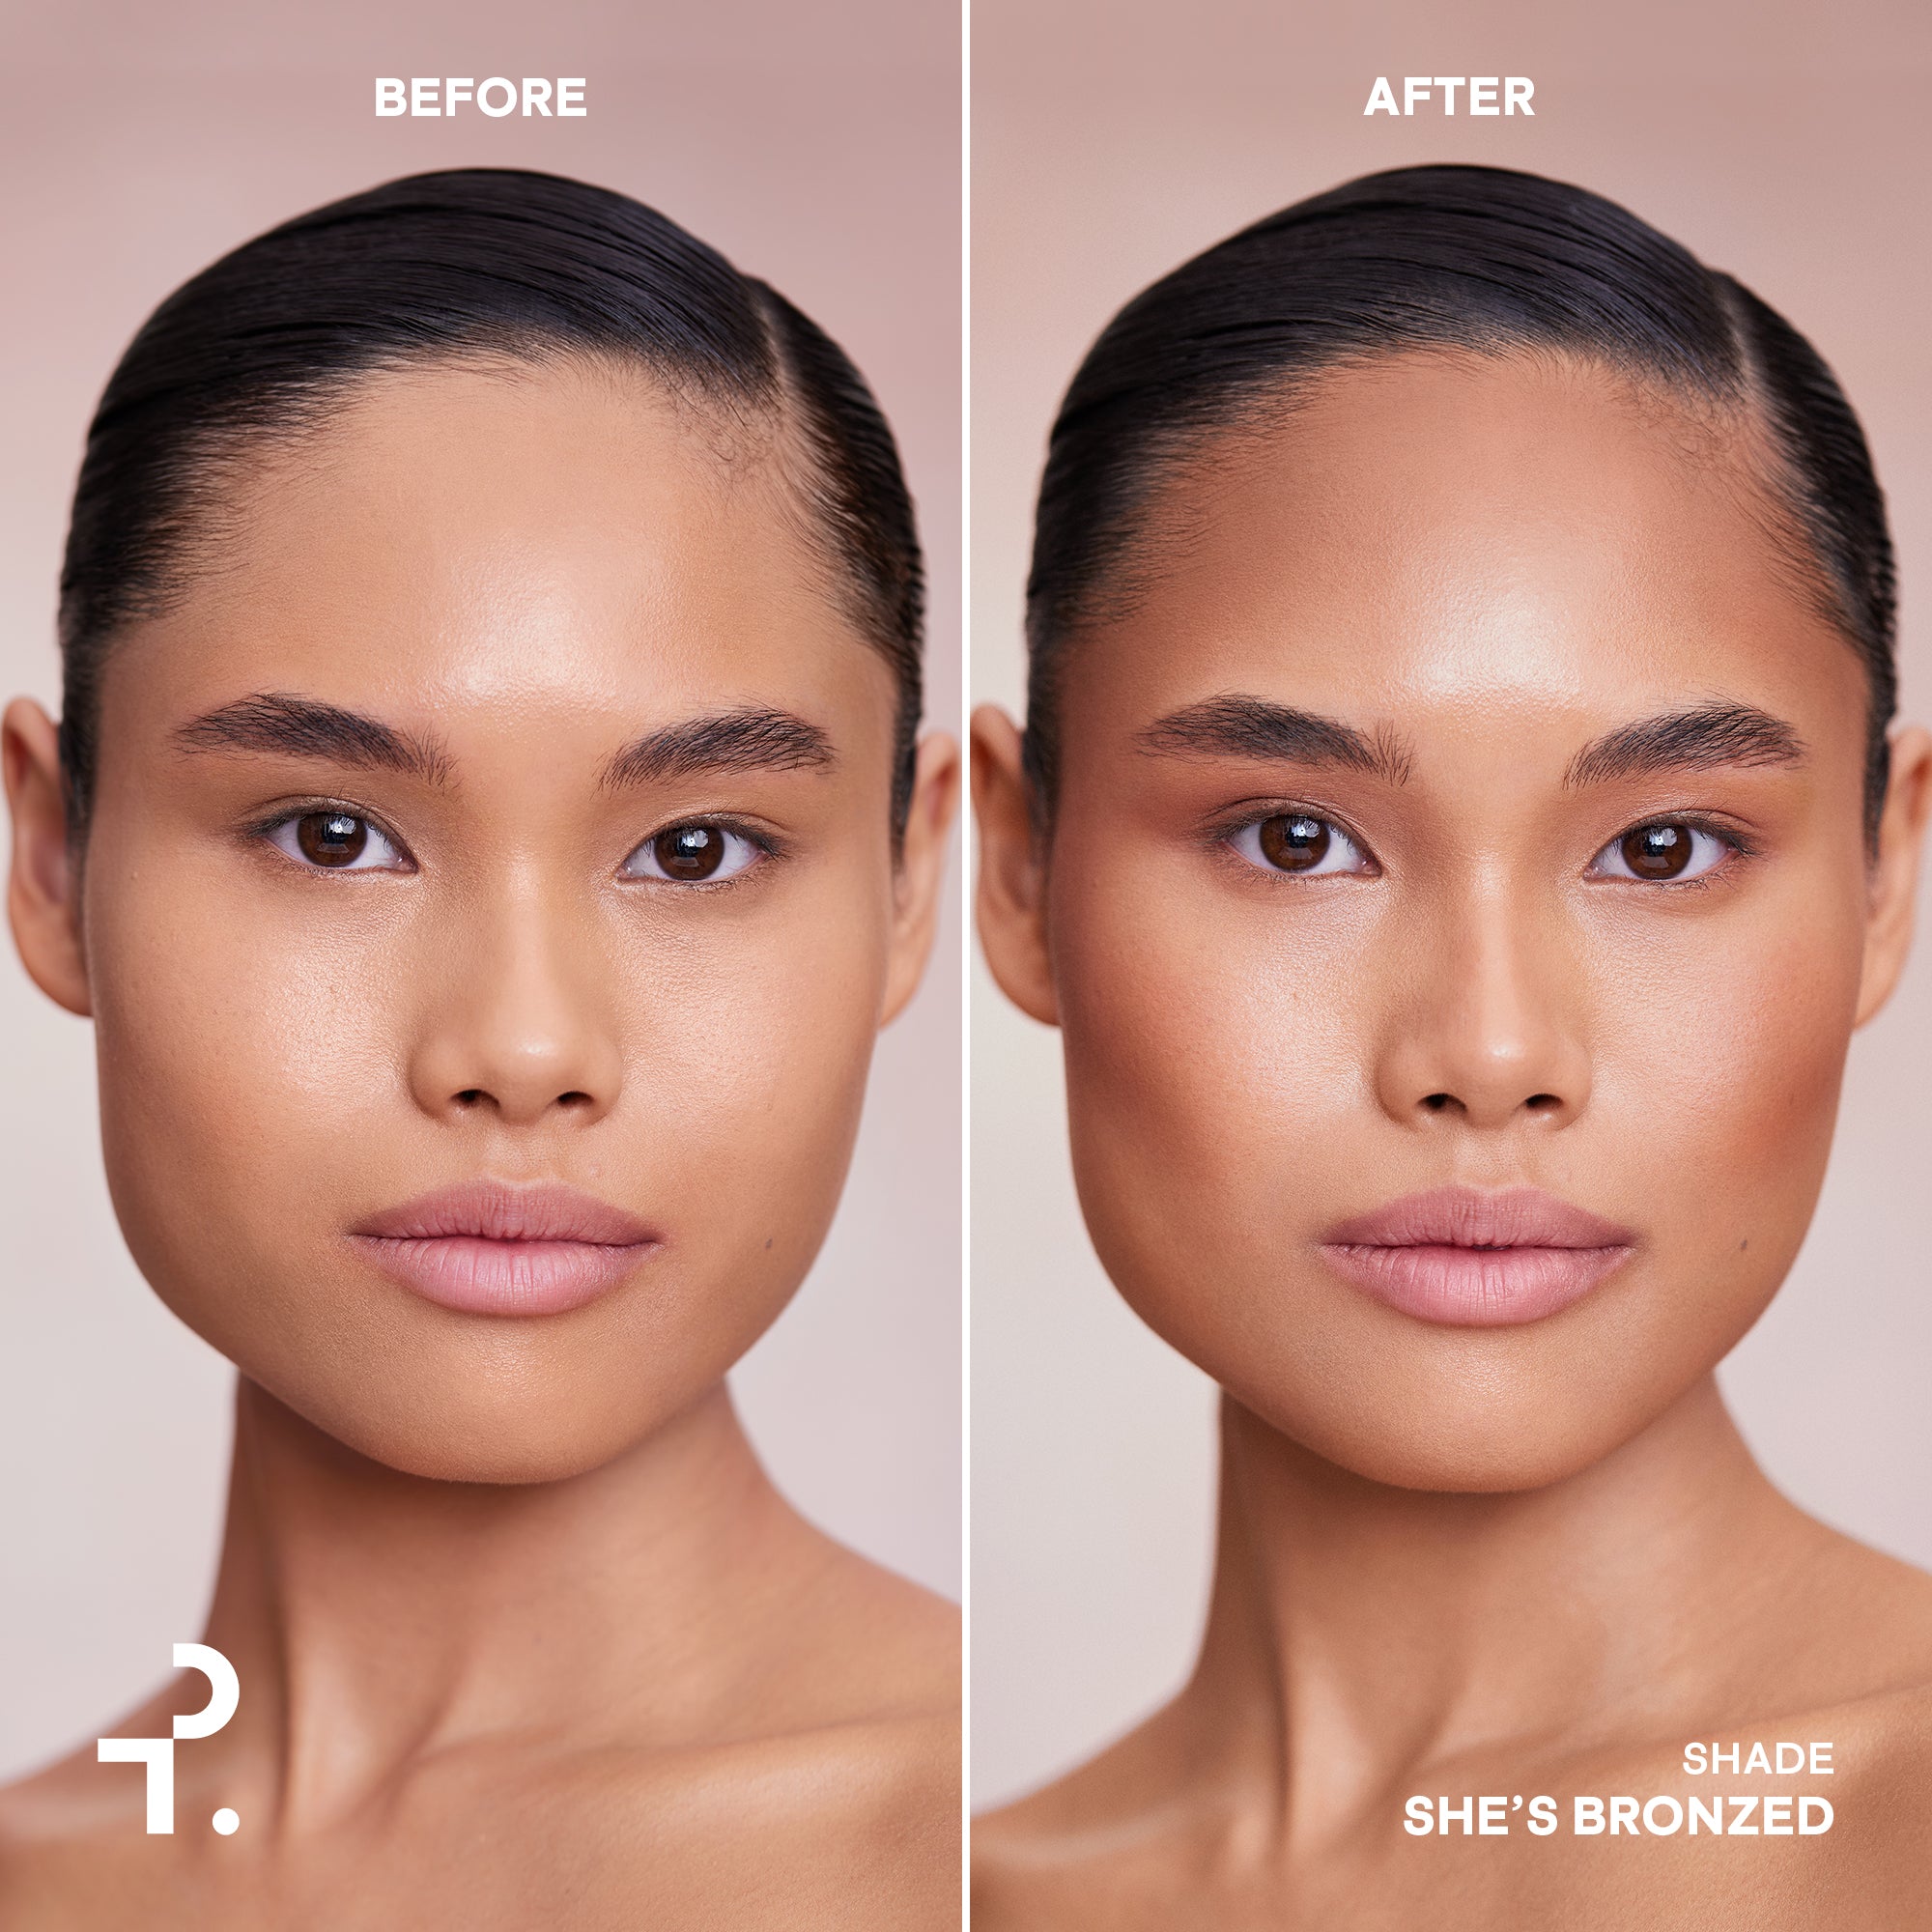
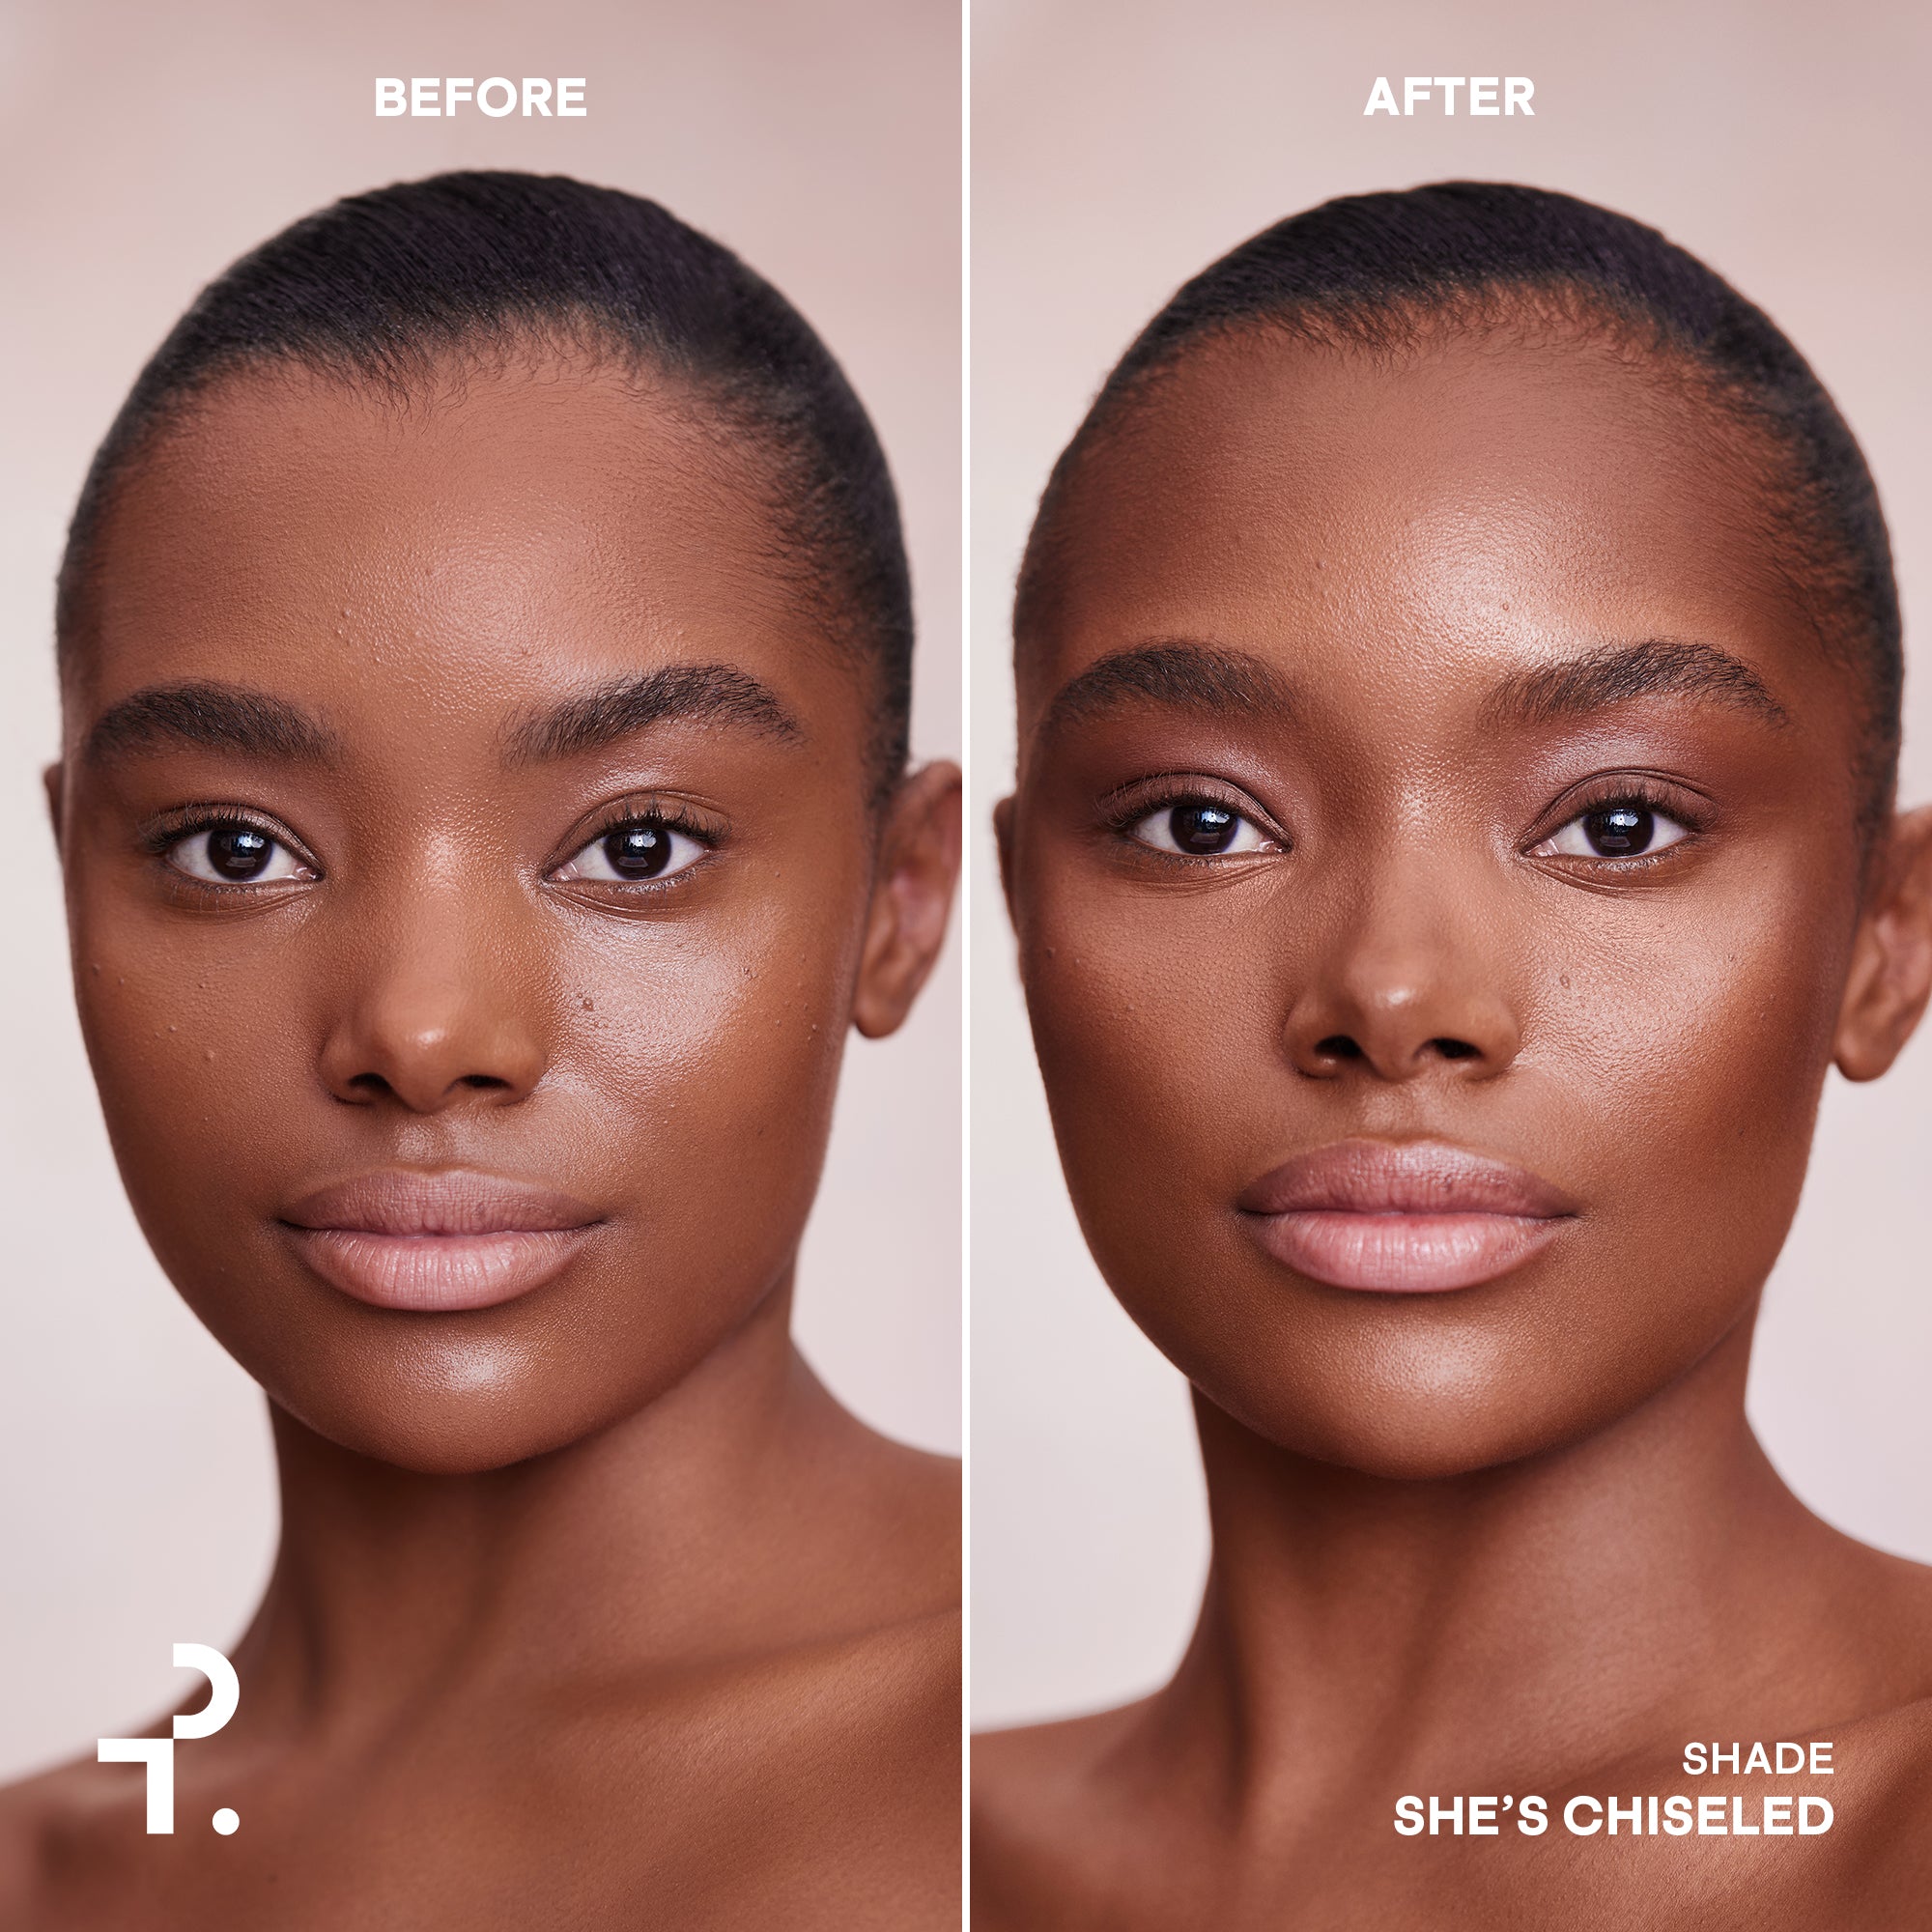
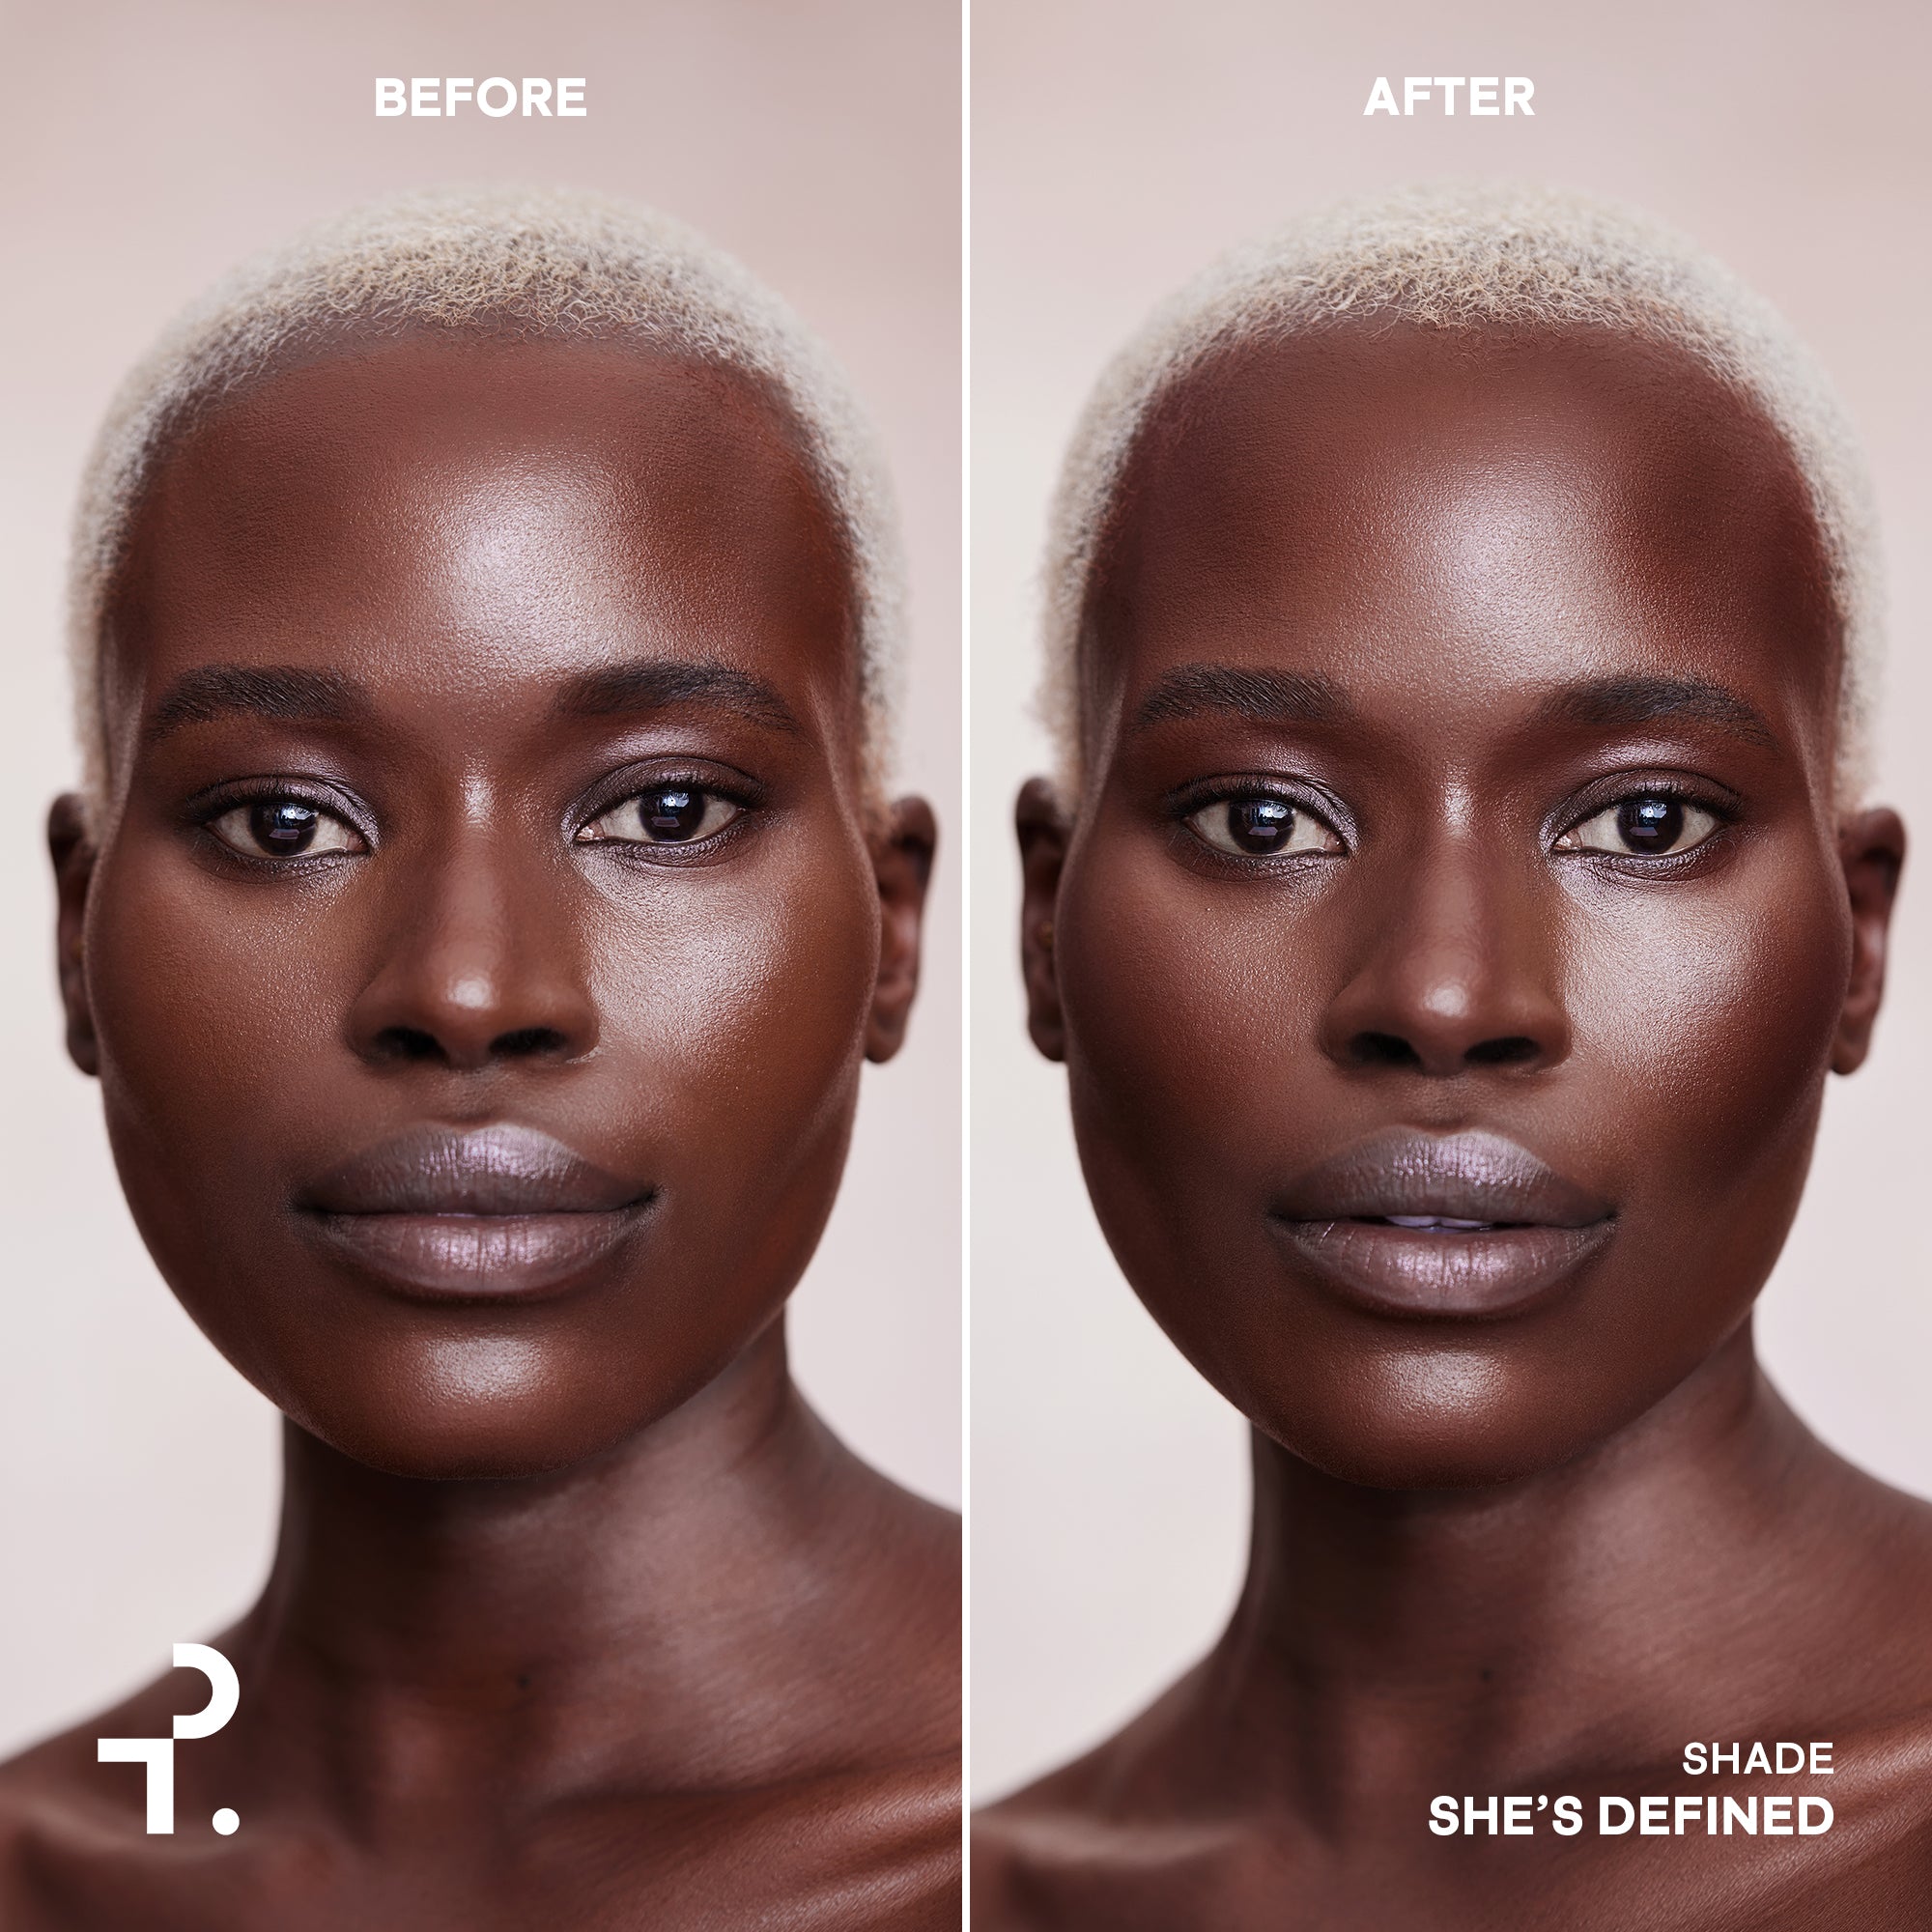
Contour is the ultimate tool for achieving a more sculpted look. By strategically adding contour makeup to certain areas of the face, you create a shadow that chisels and lifts your features, enhancing your natural facial structure.
Bronzer vs Contour
At first glance, contours and bronzers may look the same, but they actually serve completely different purposes.
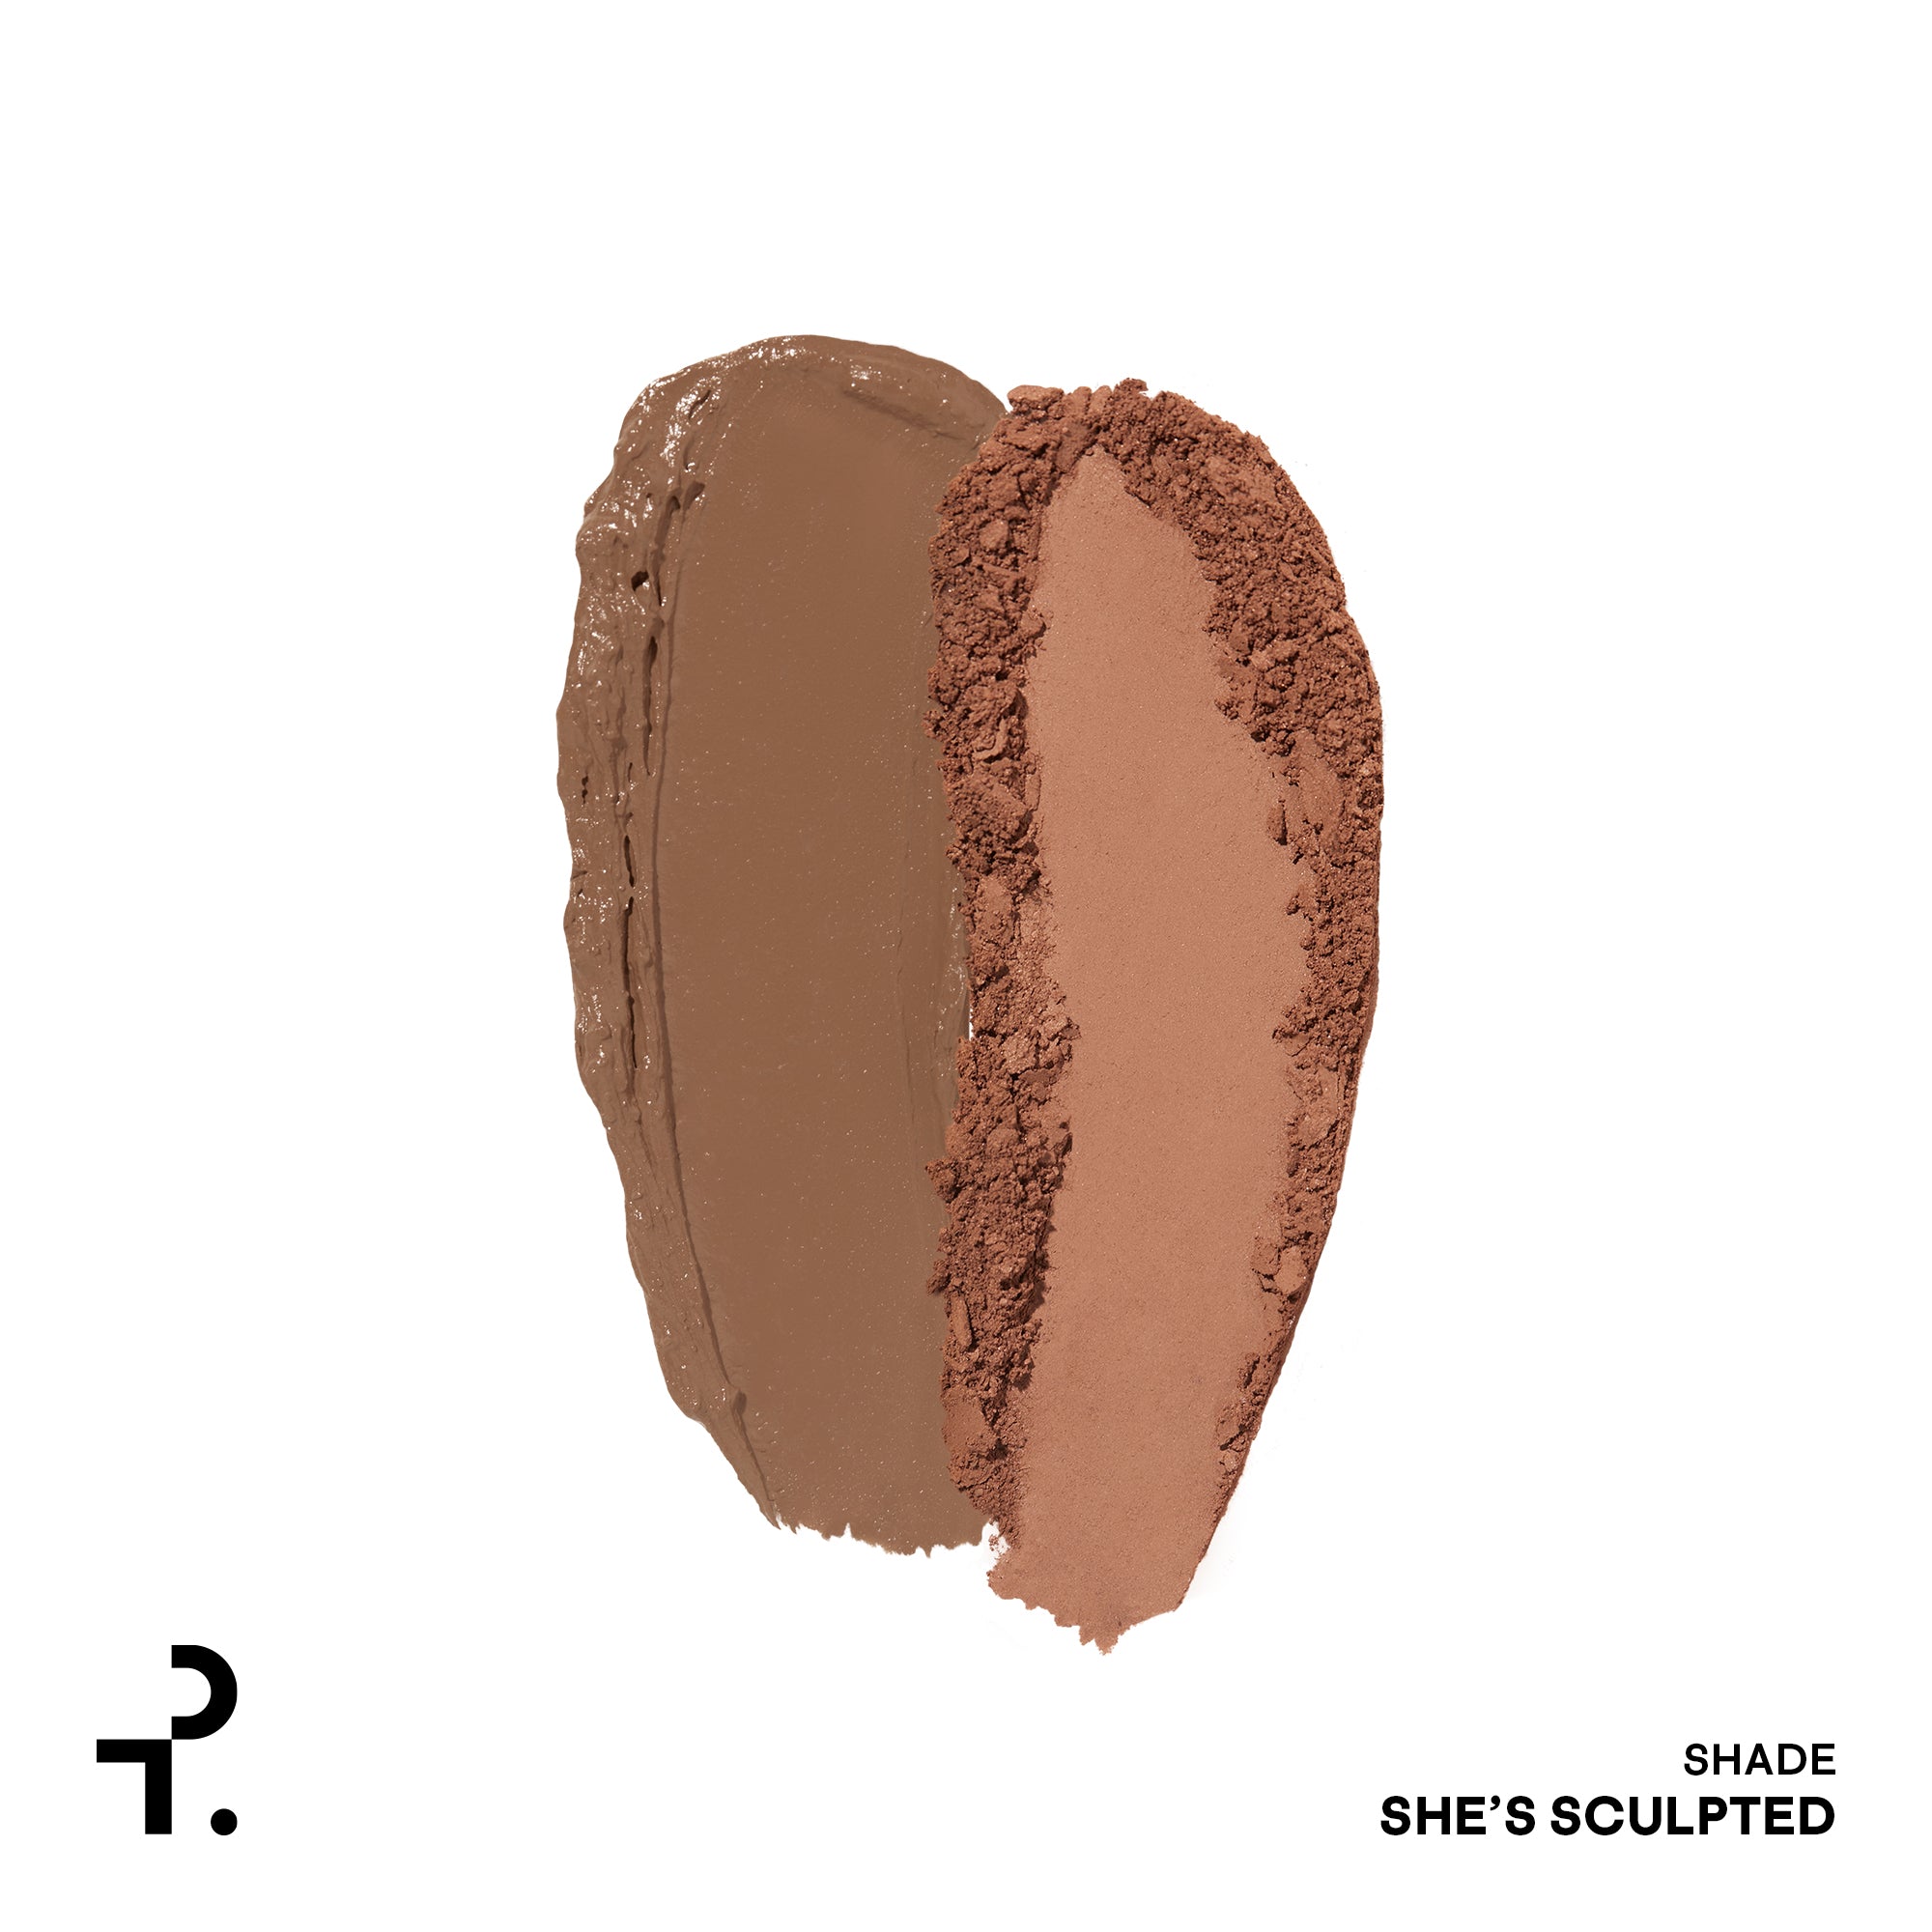
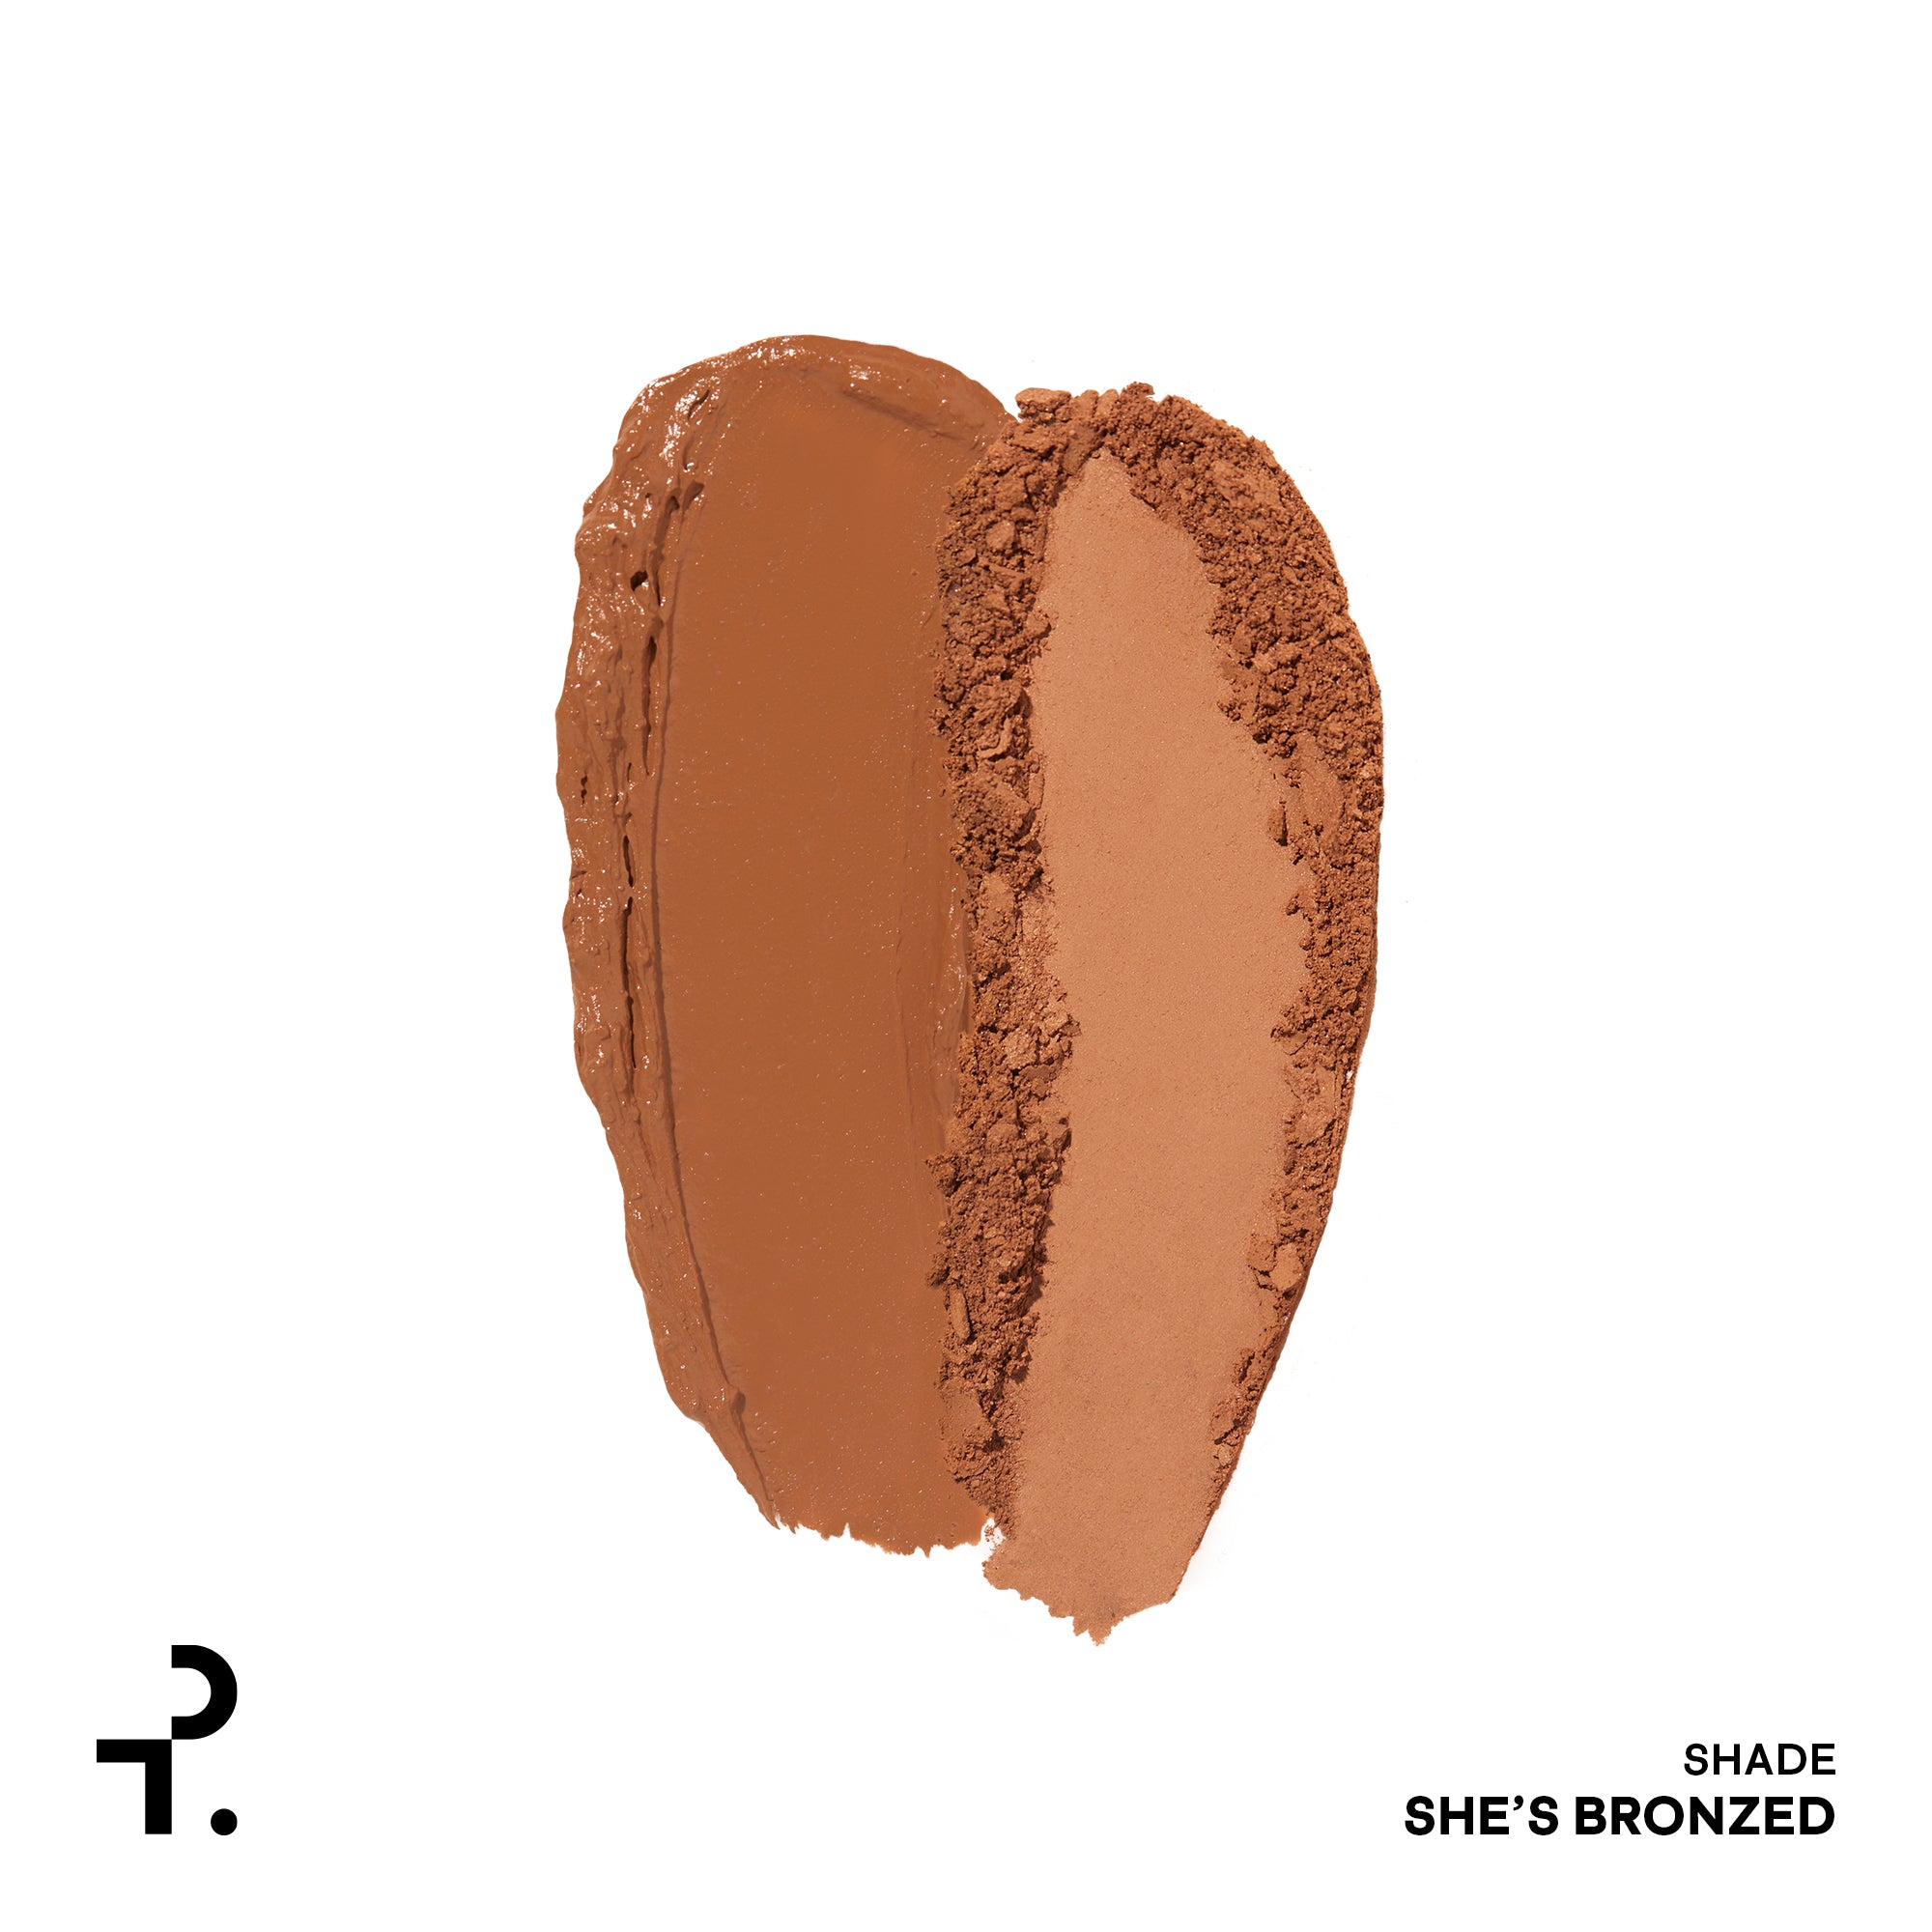
Bronzers are designed to bring an extra glow to the skin, giving your complexion a sun-kissed look. They can be found in both matte and shimmer finishes, and add subtle warm color to the skin.
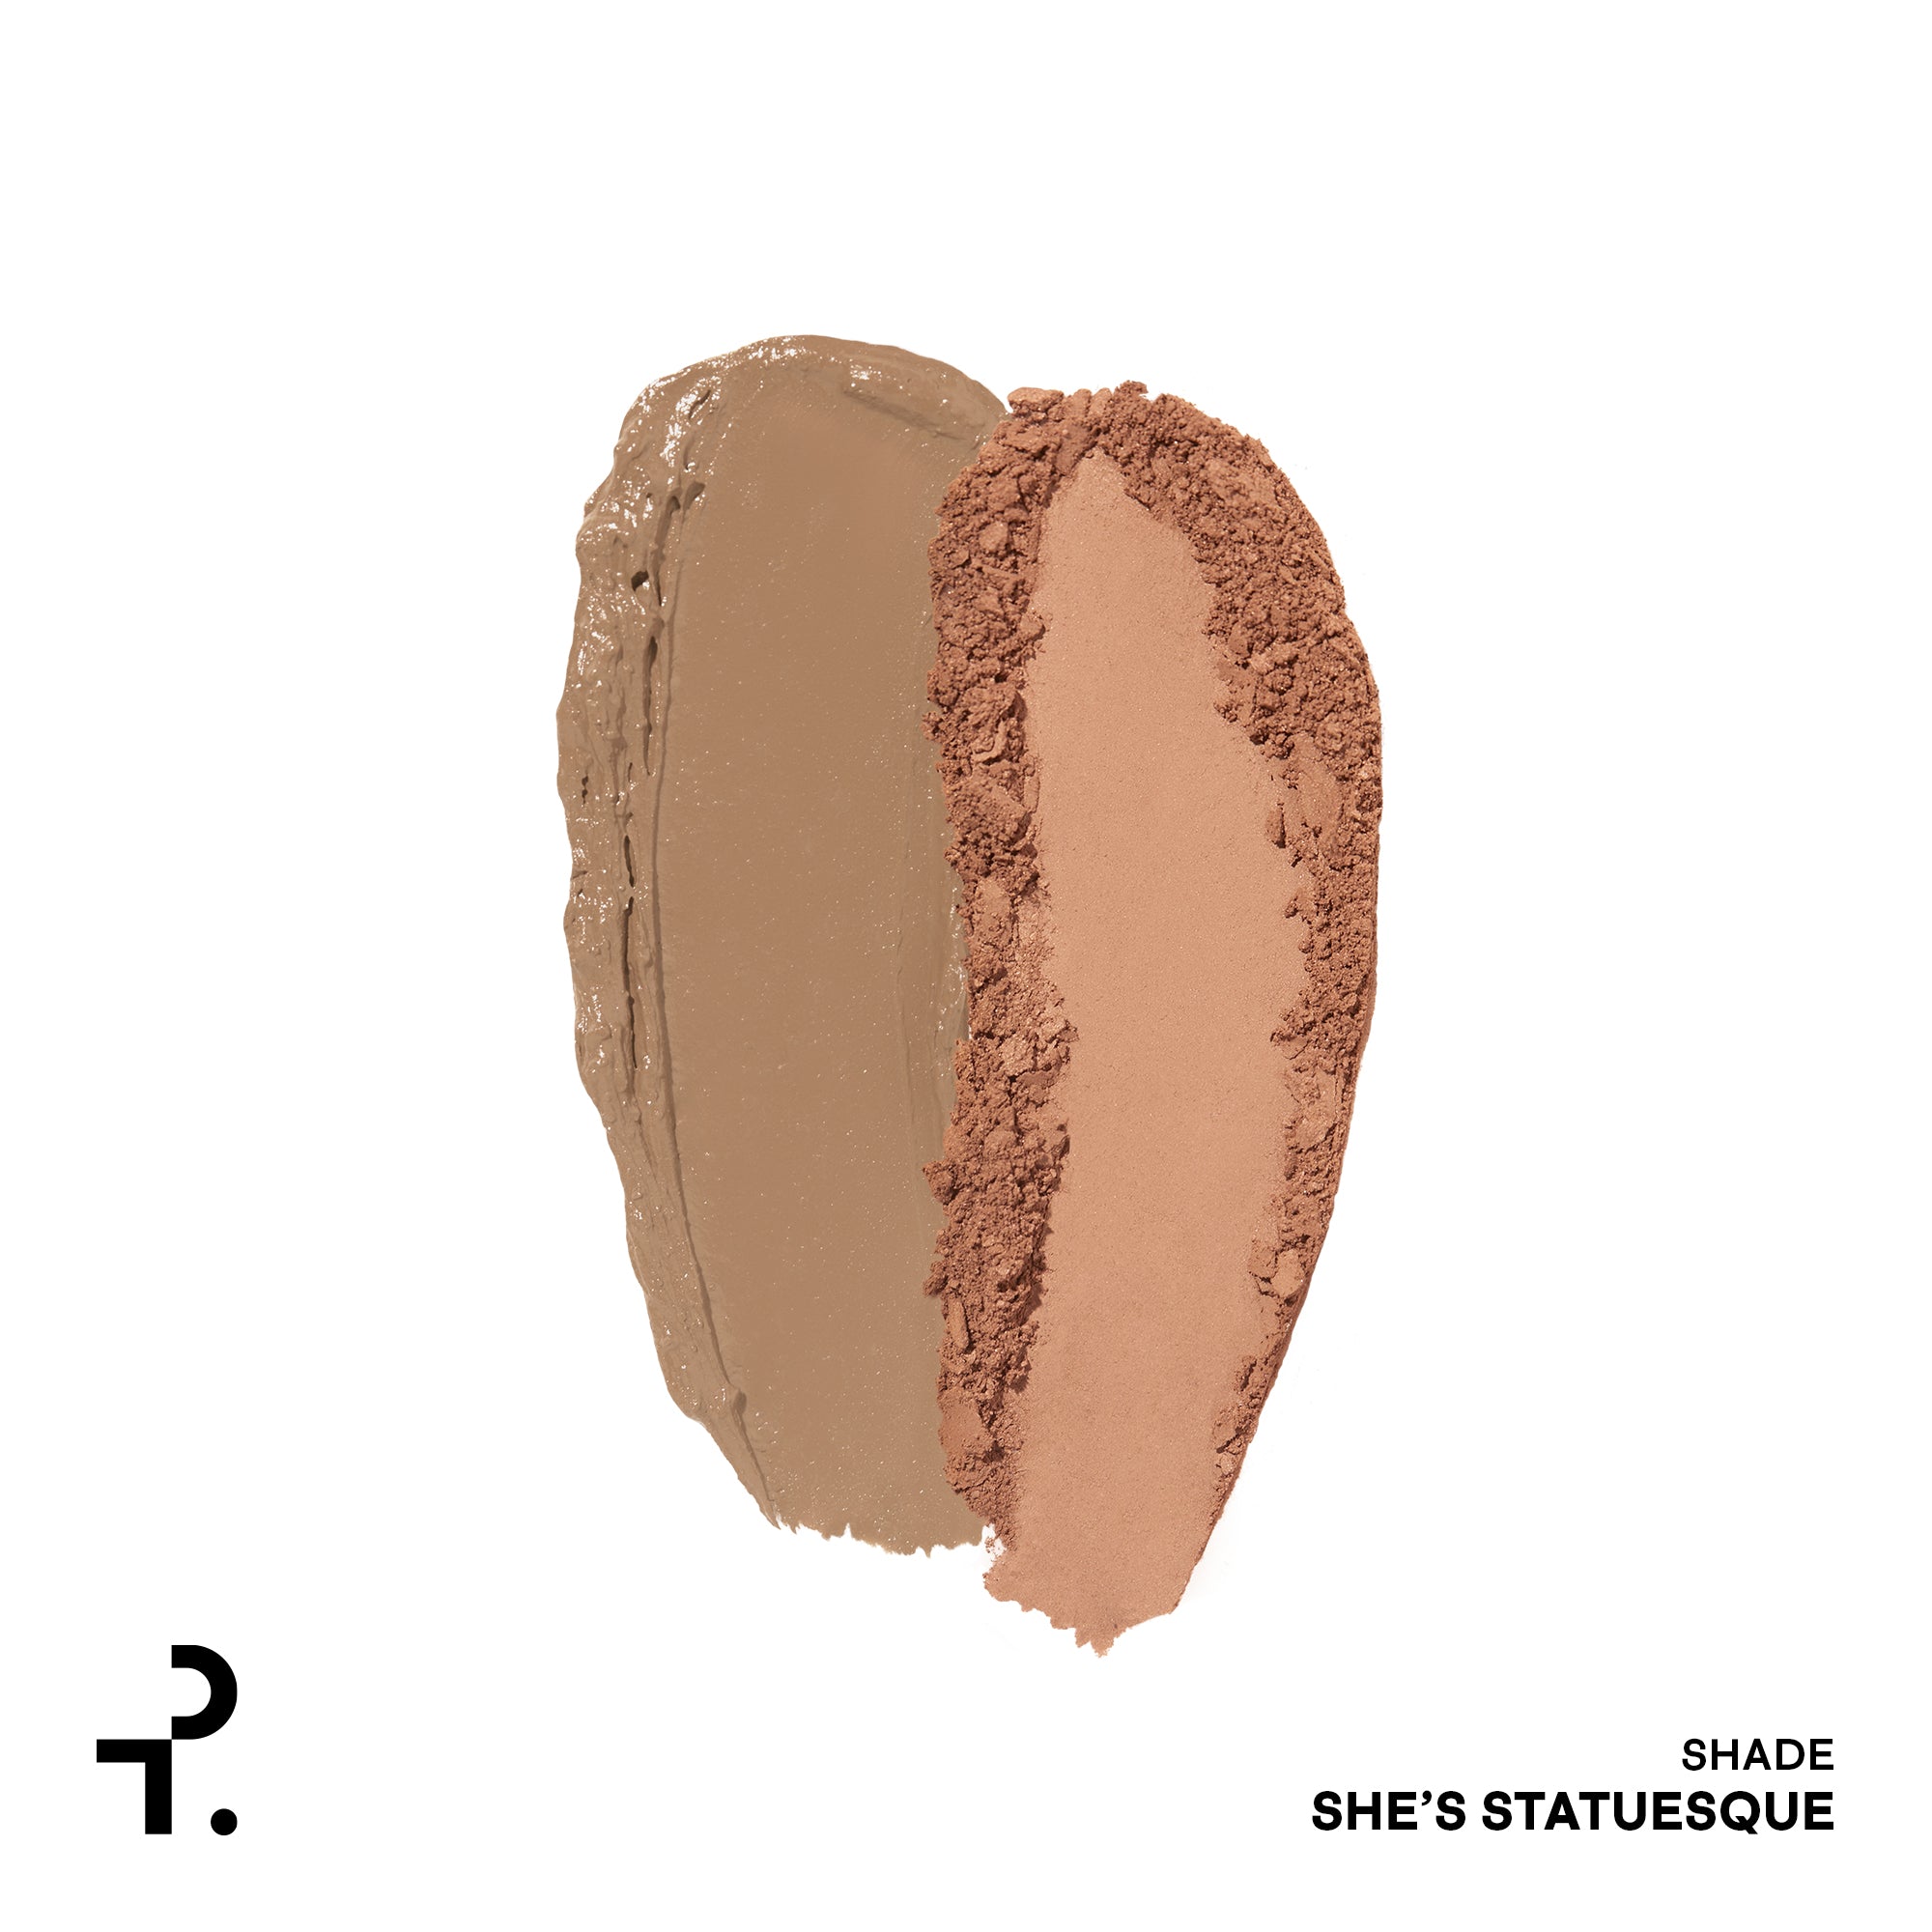
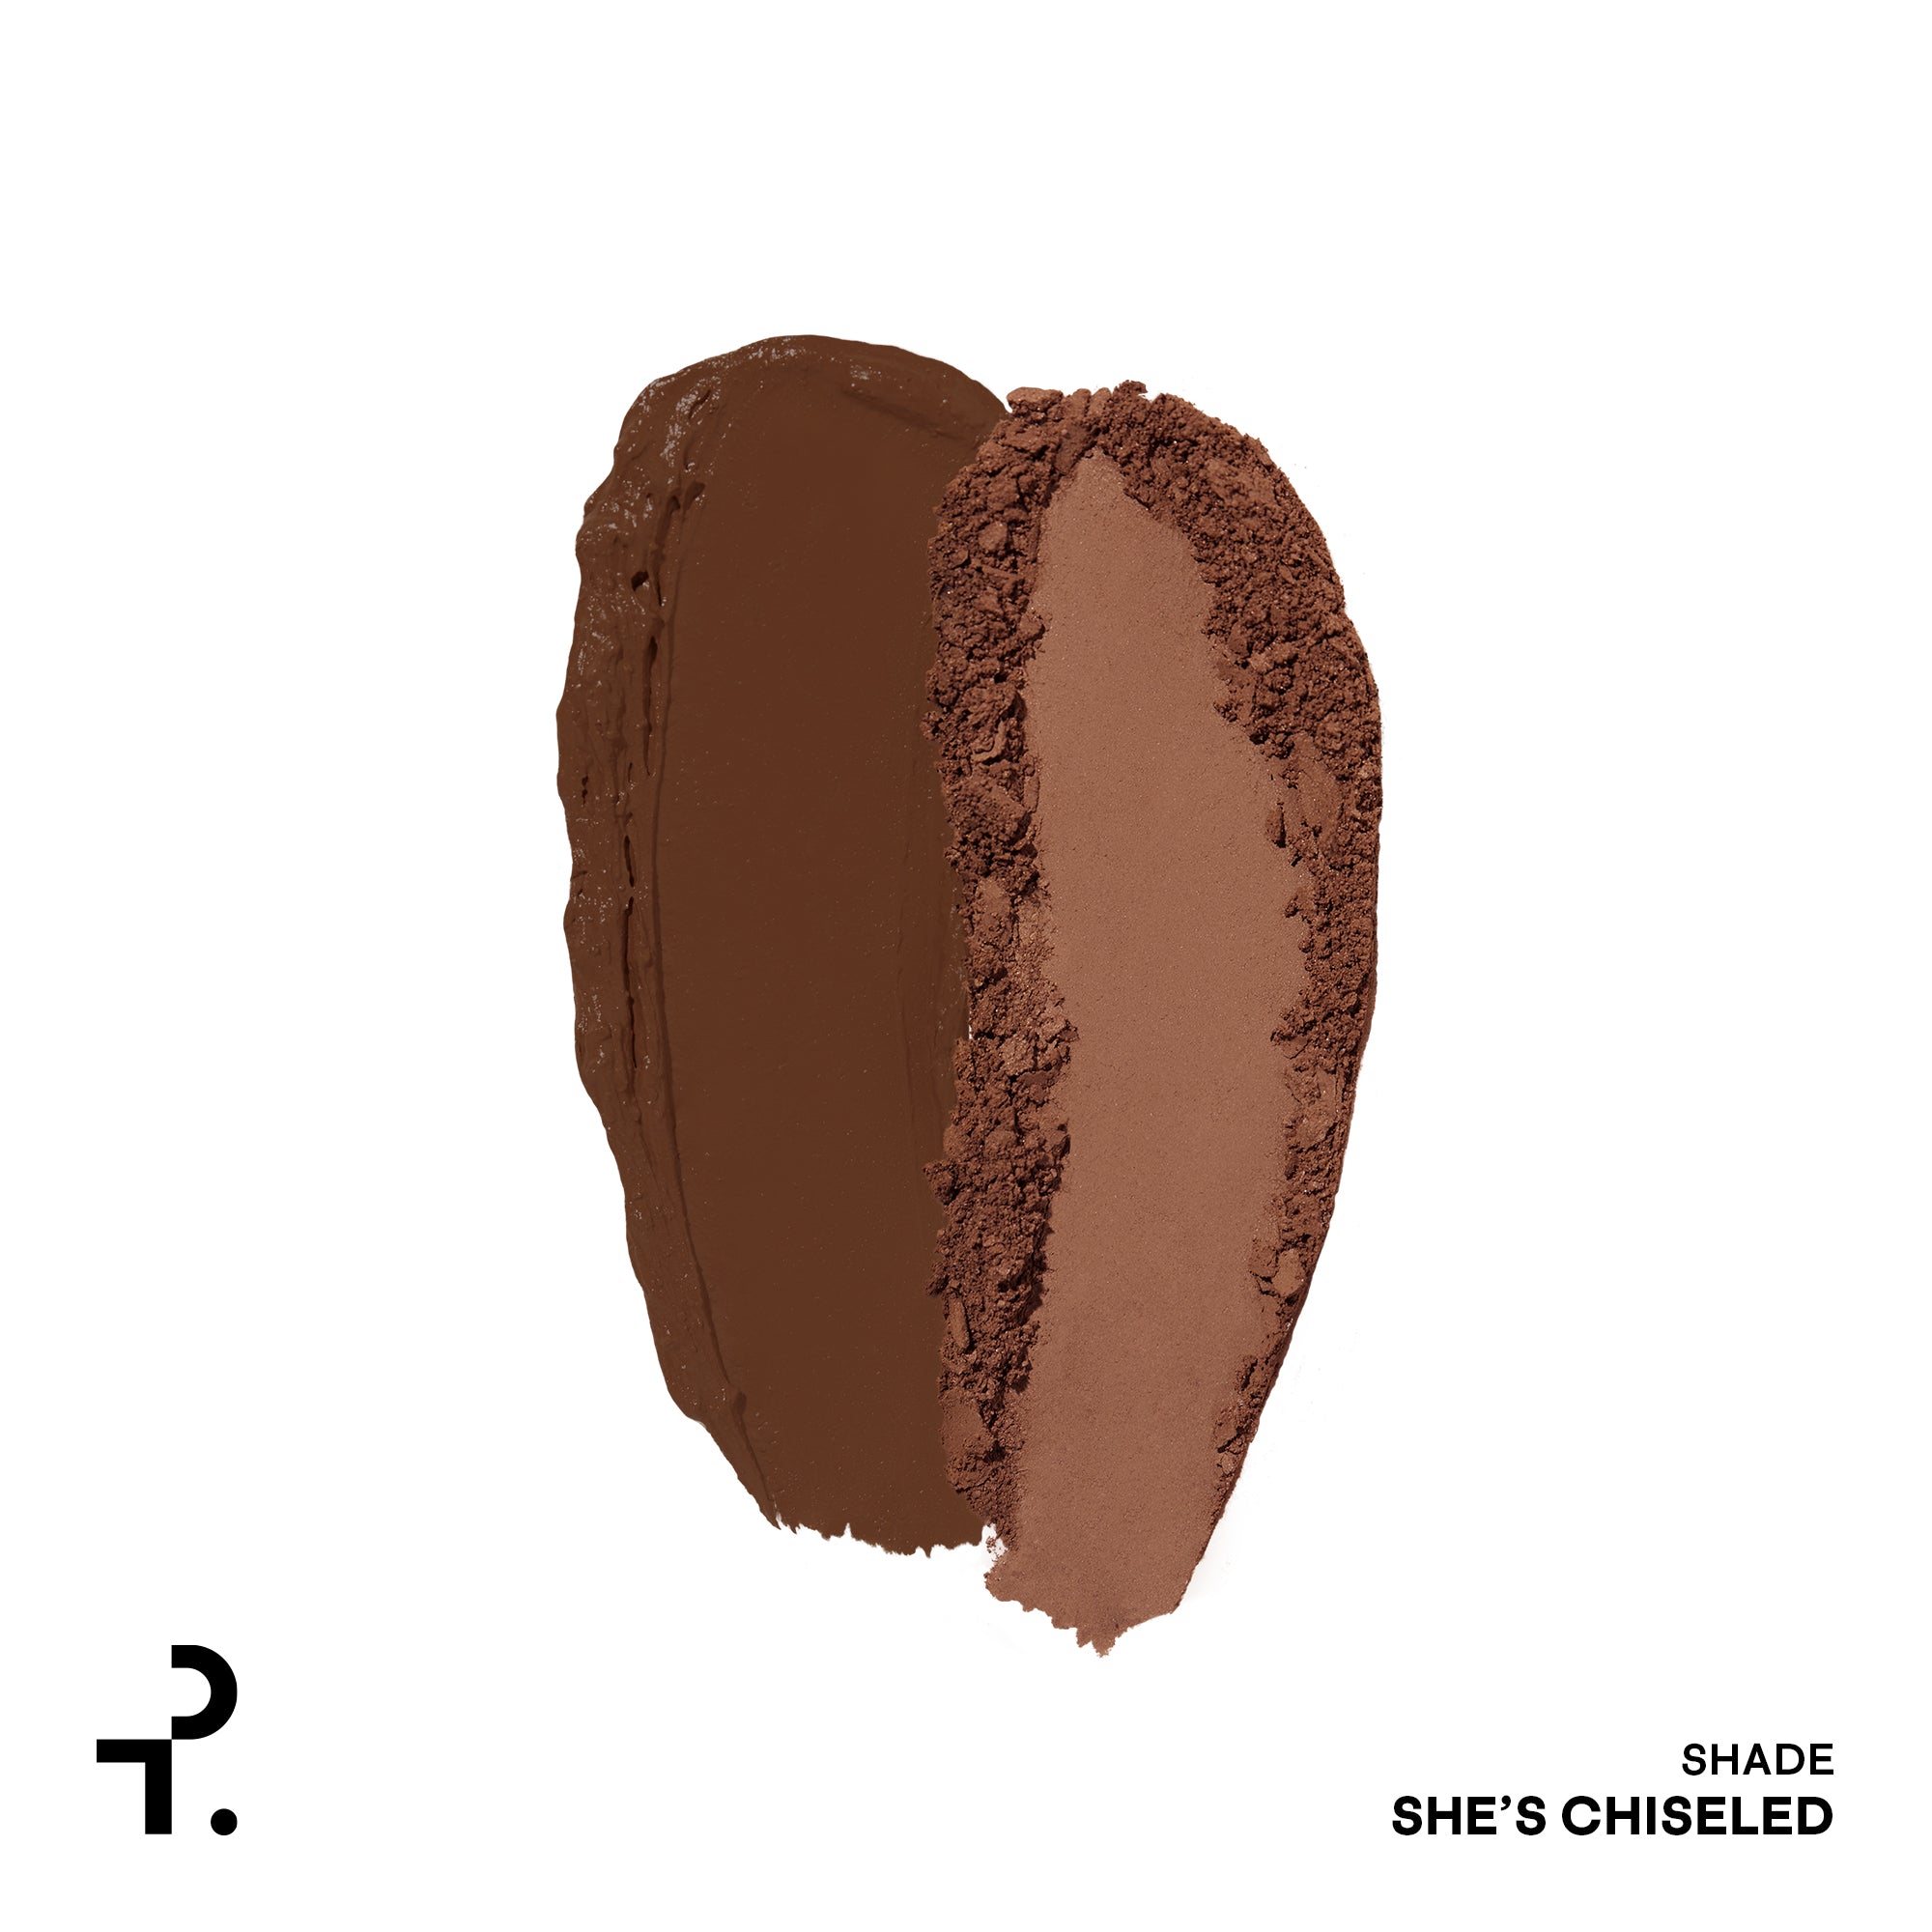
Contour products, on the other hand, are strictly used to add shadows to the face for more depth and dimension. These products have a matte finish, as this creates the most natural-looking shadow.
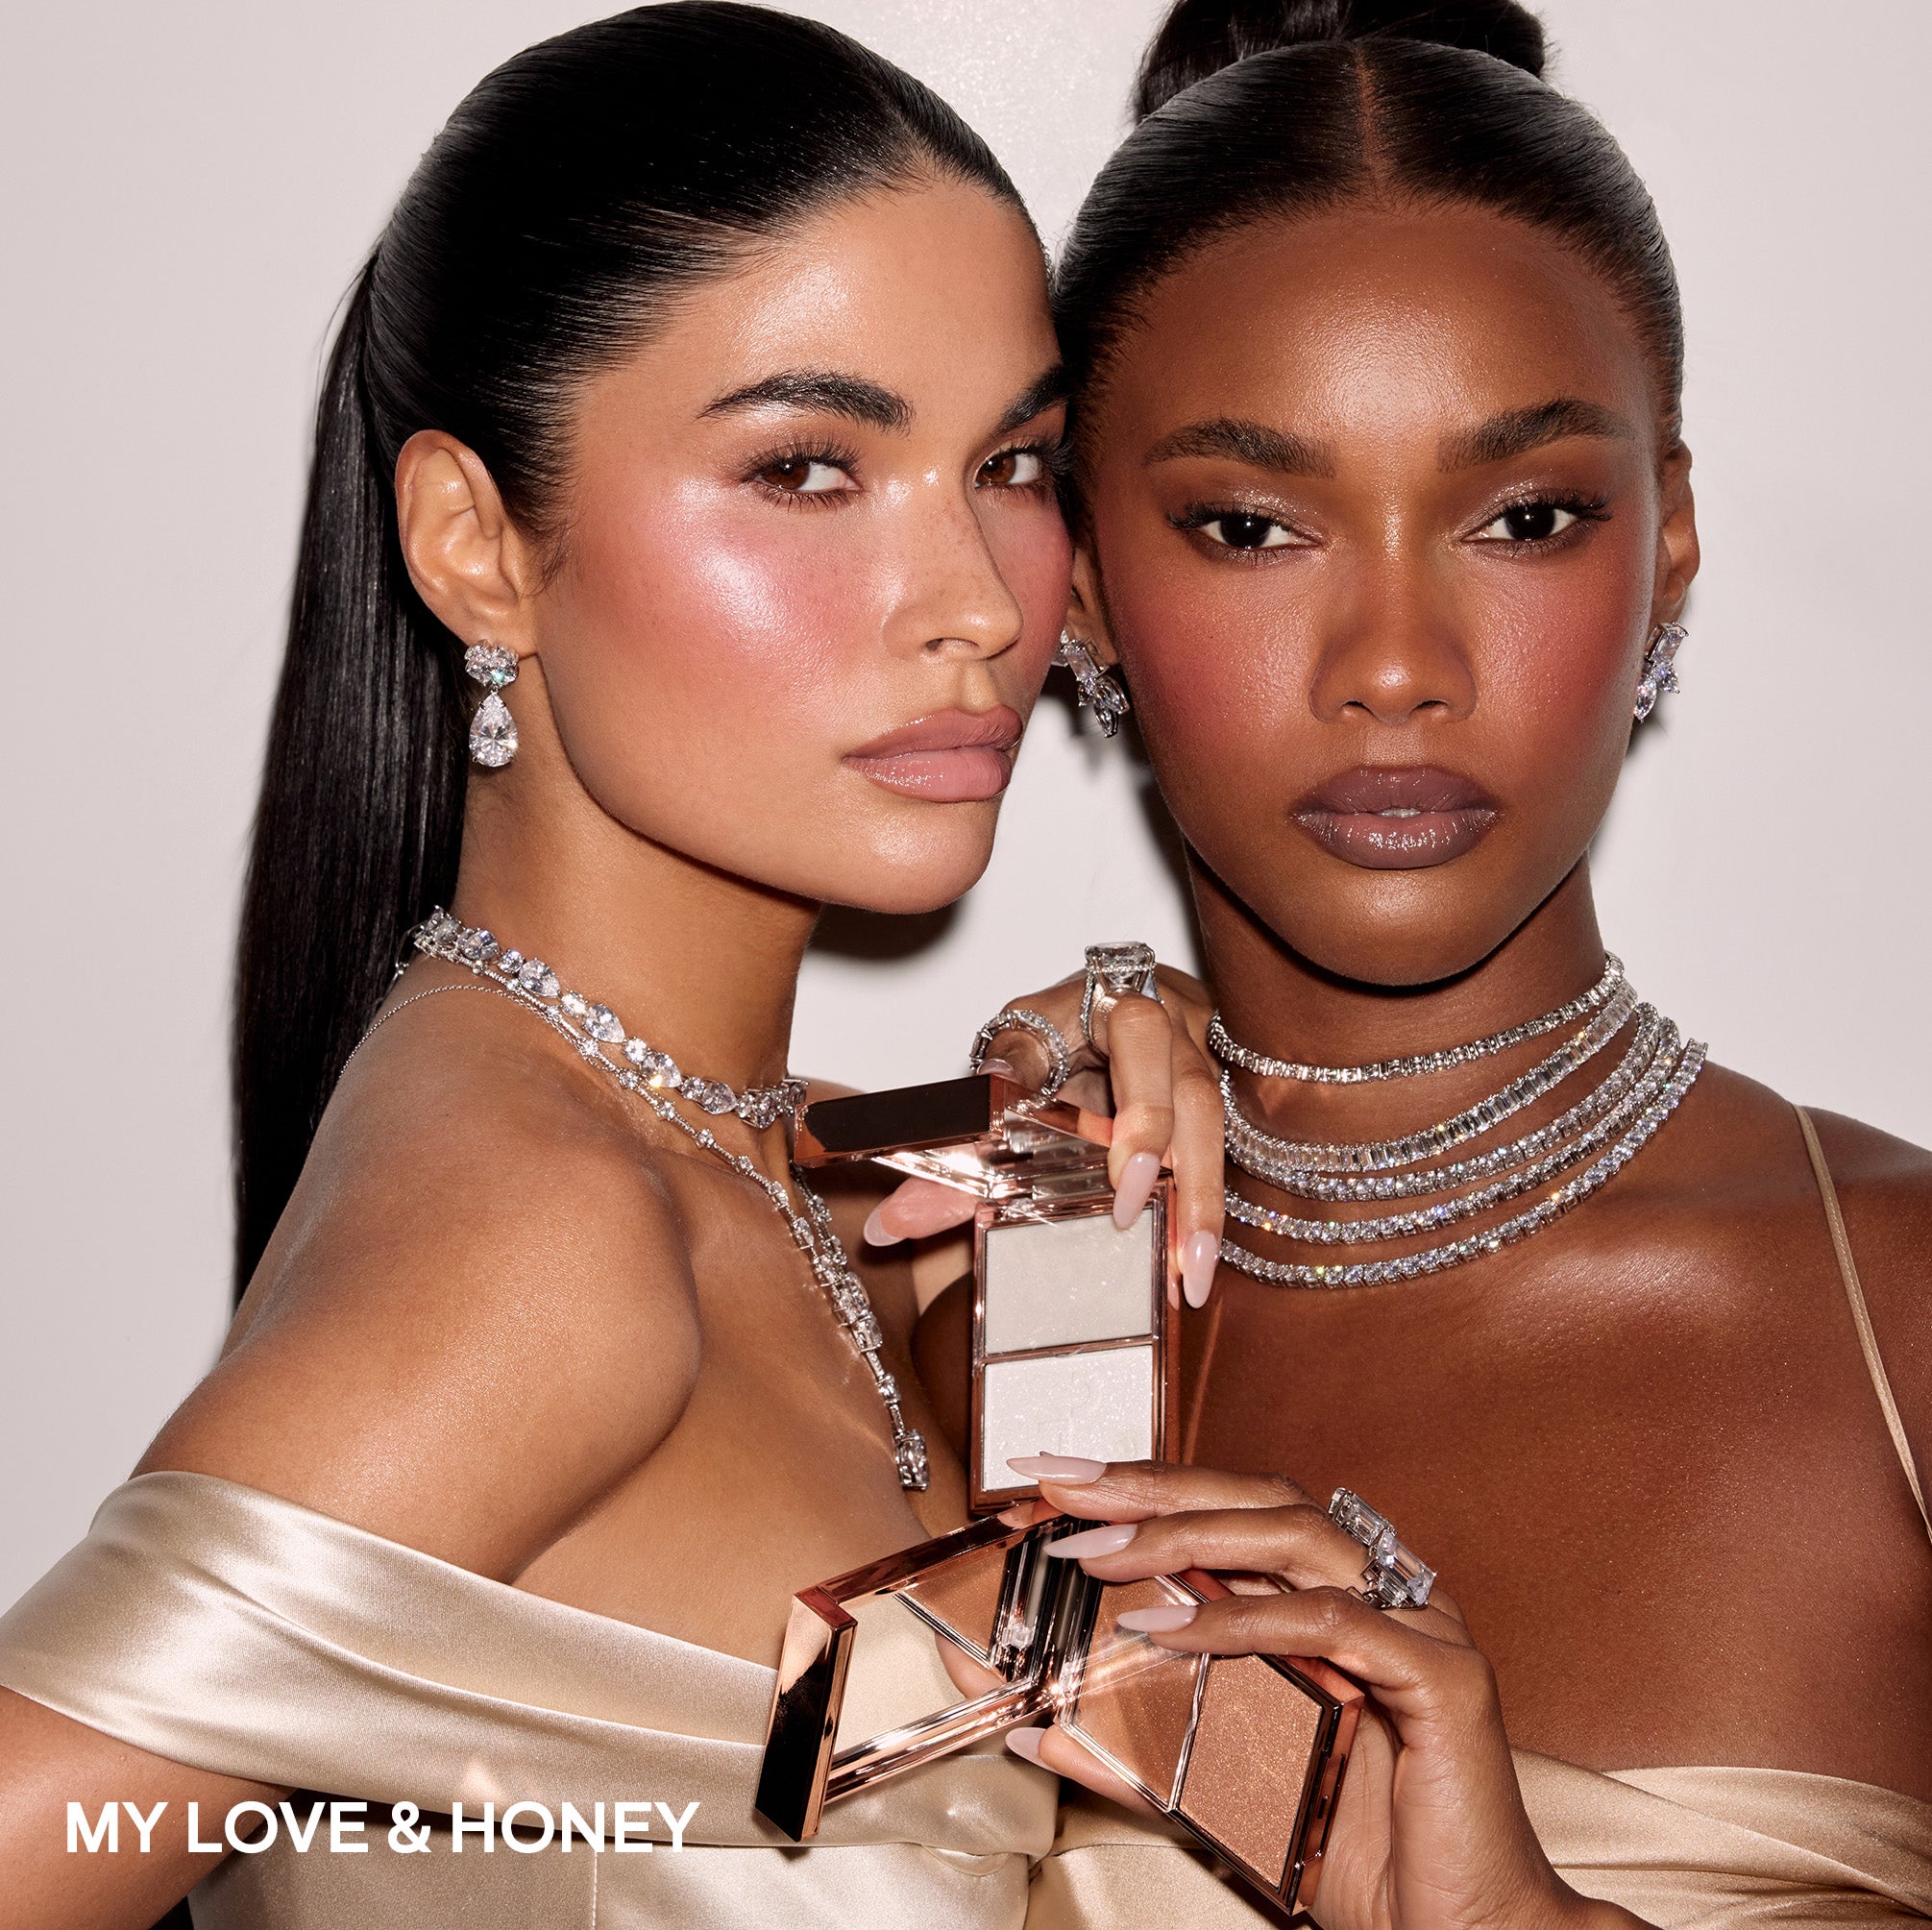
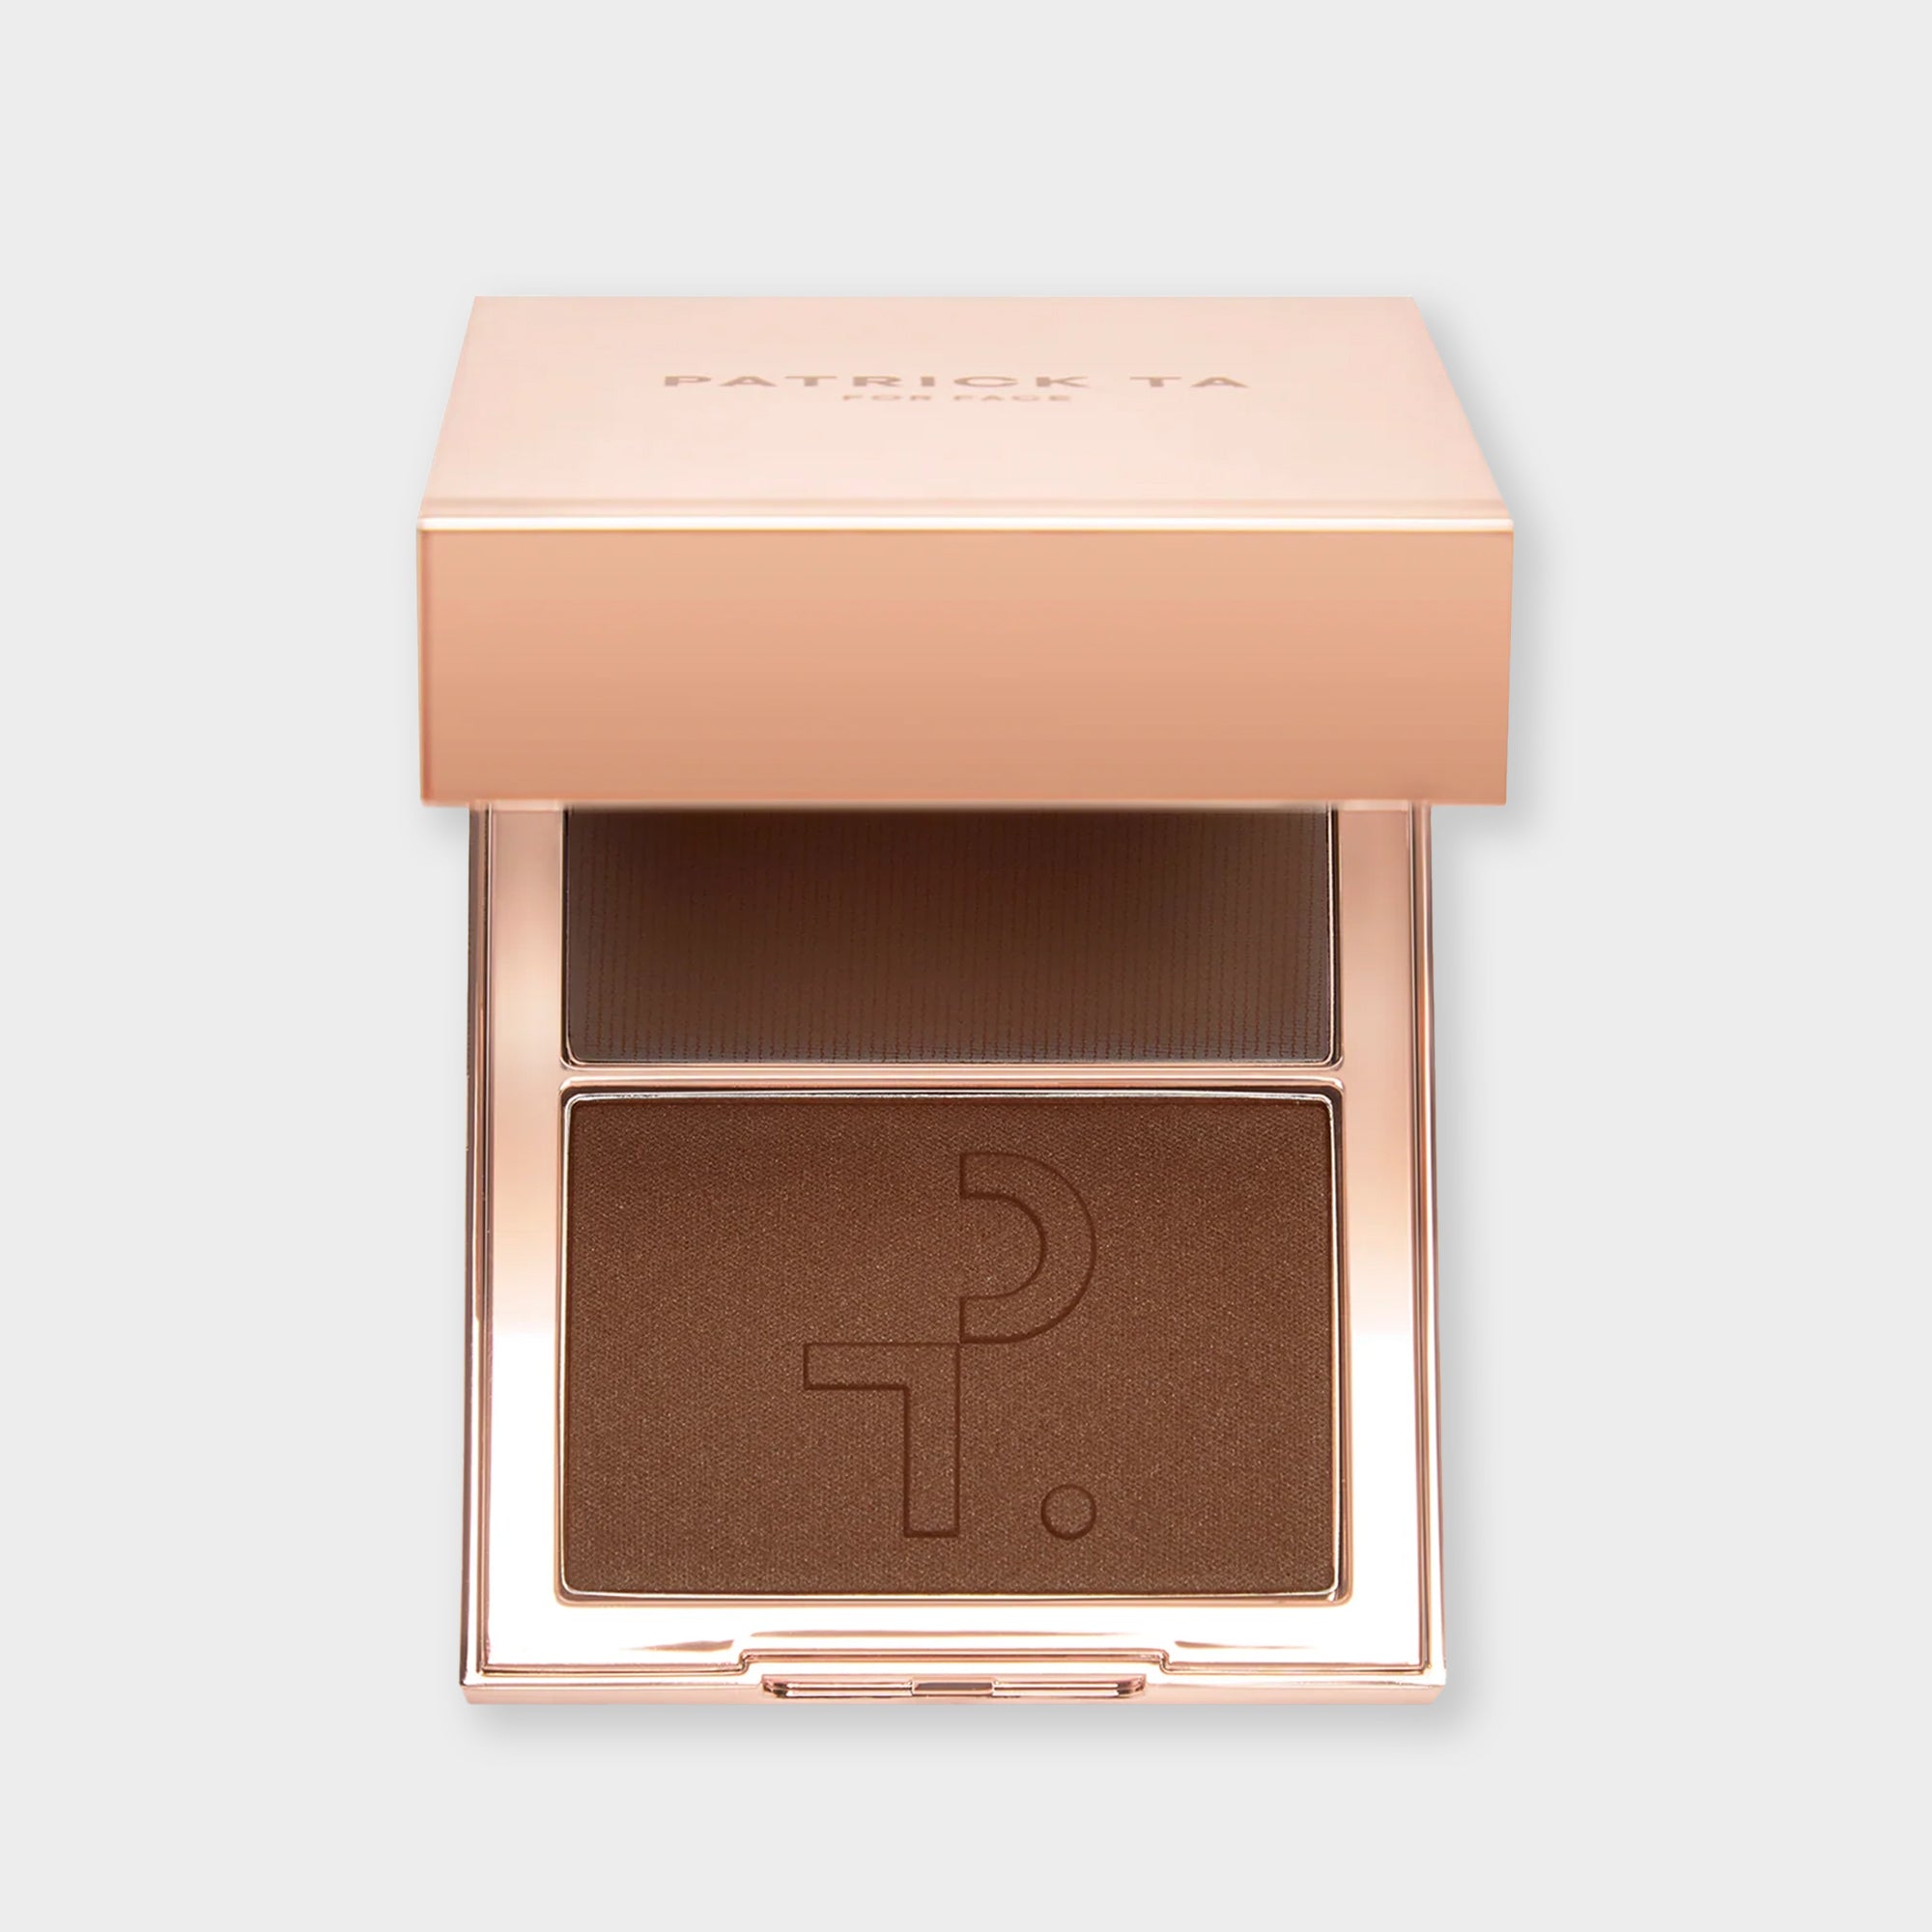
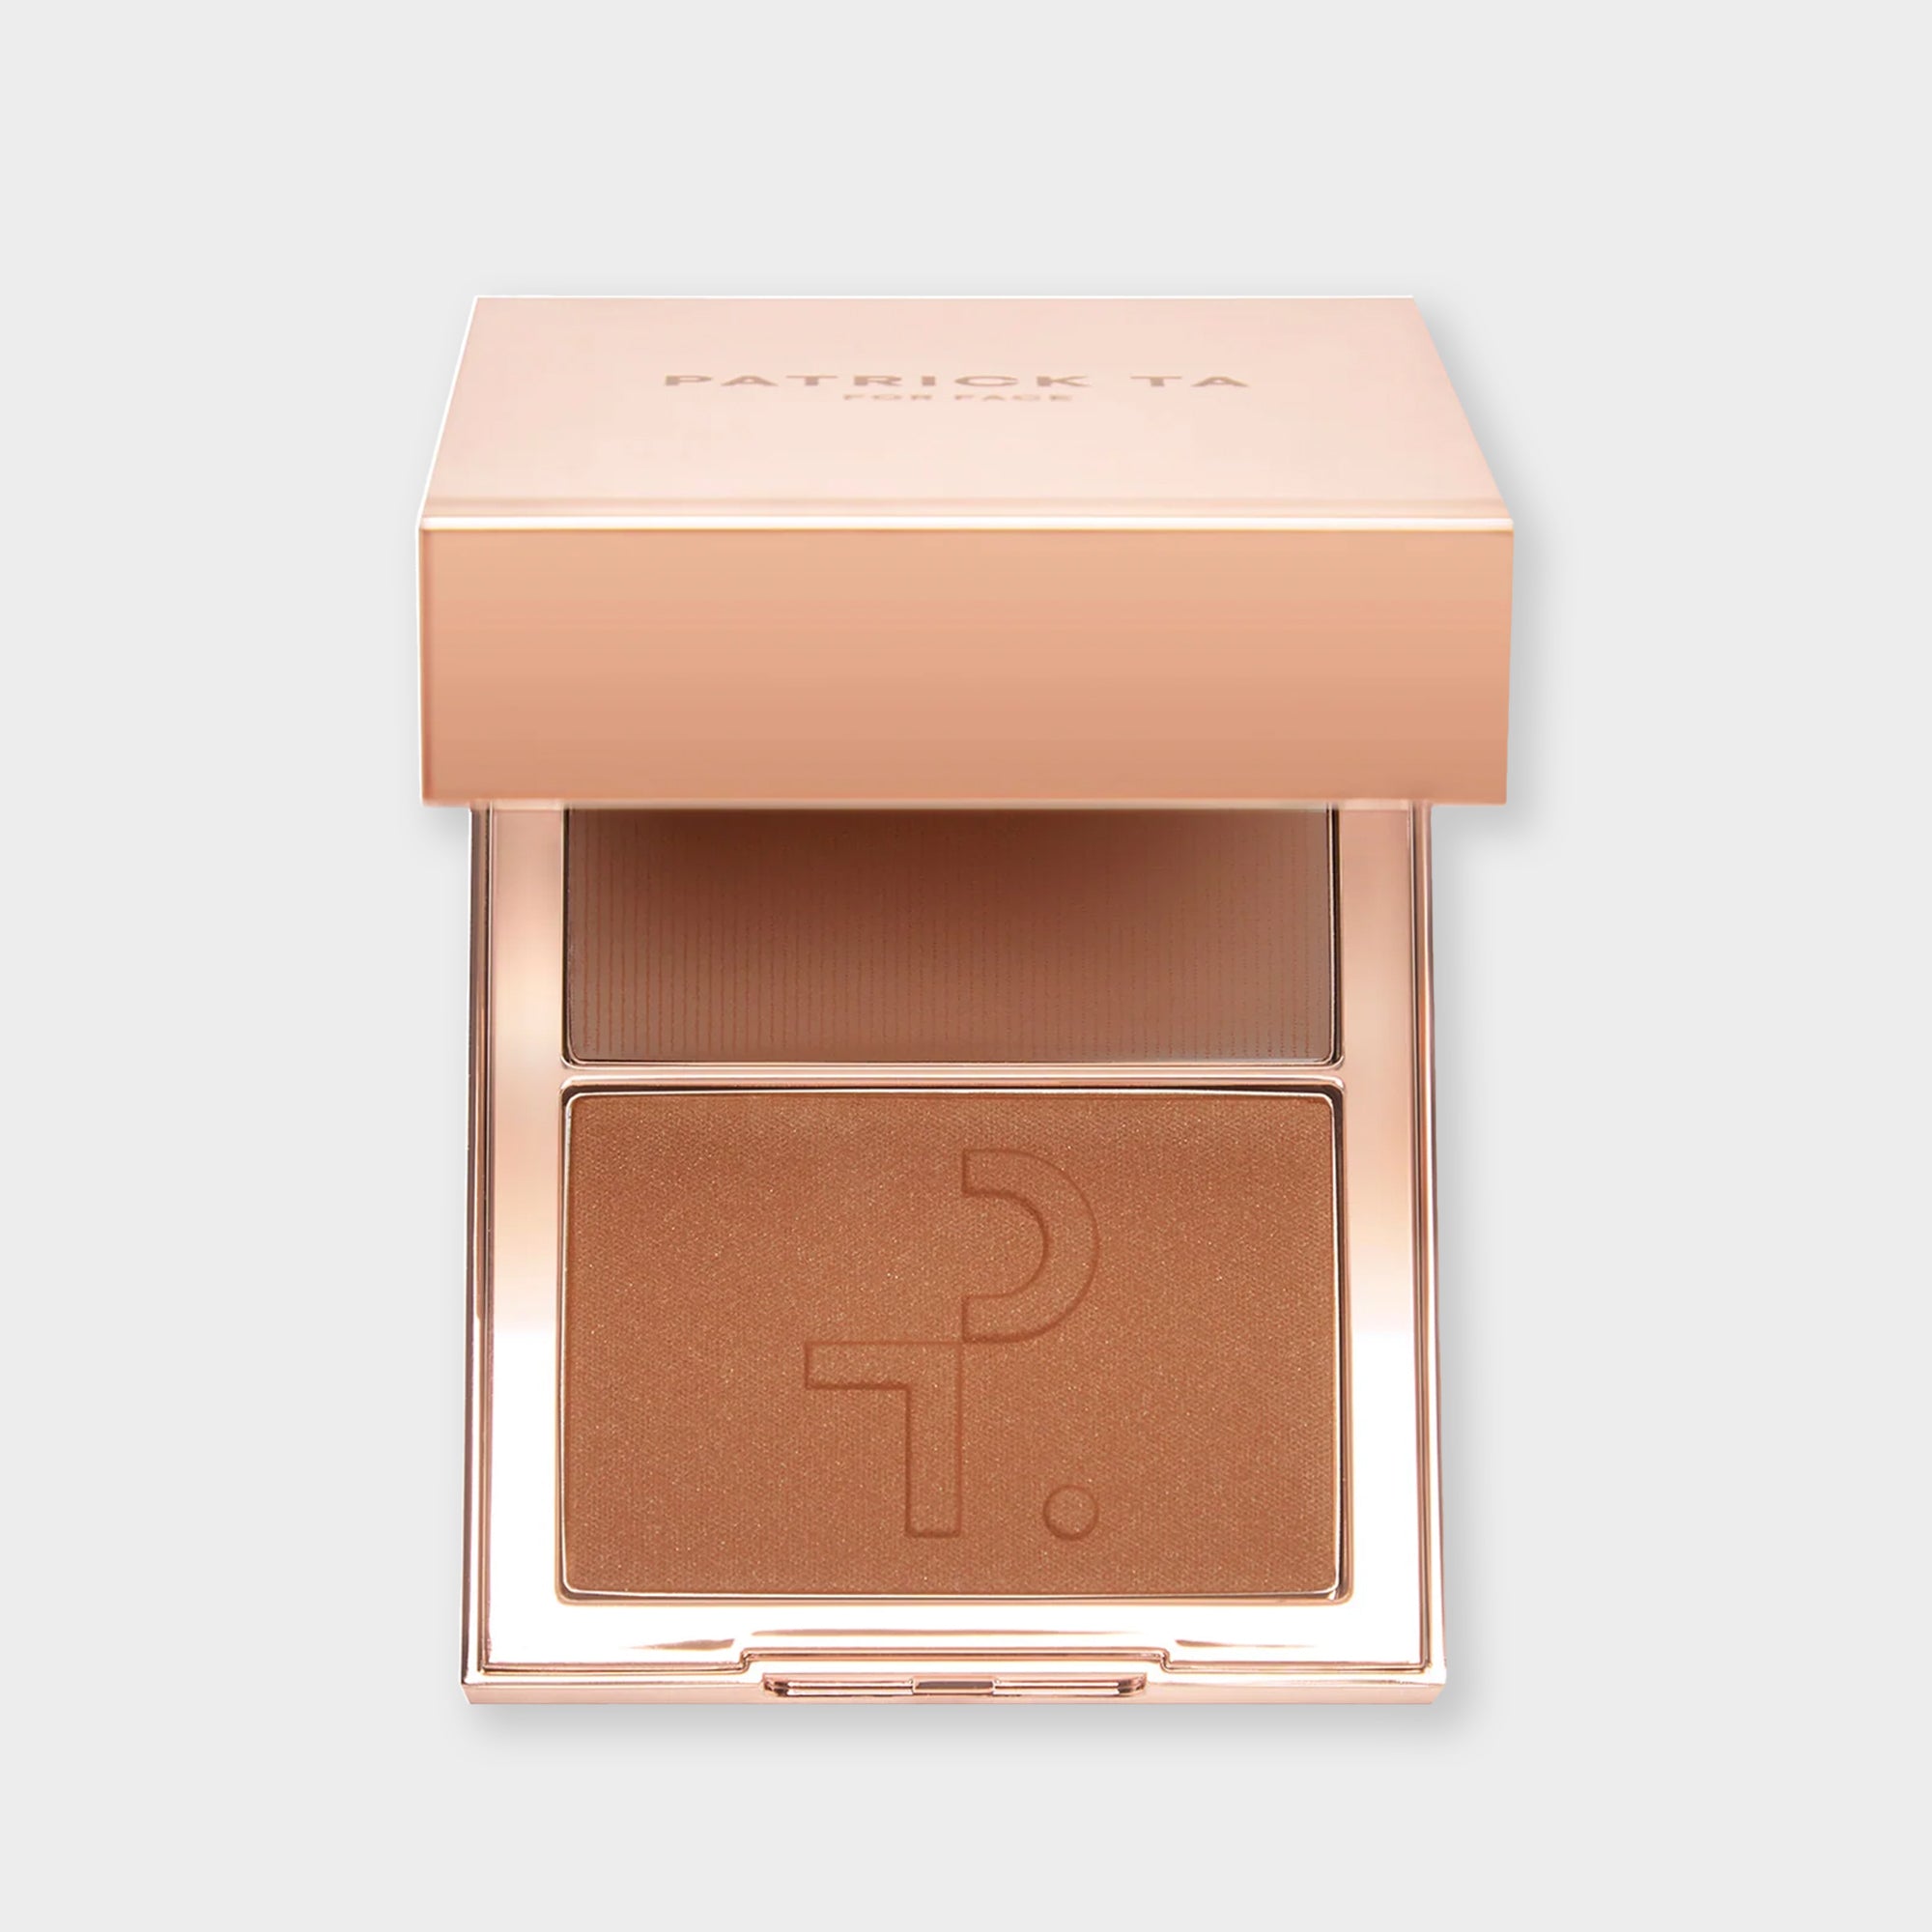
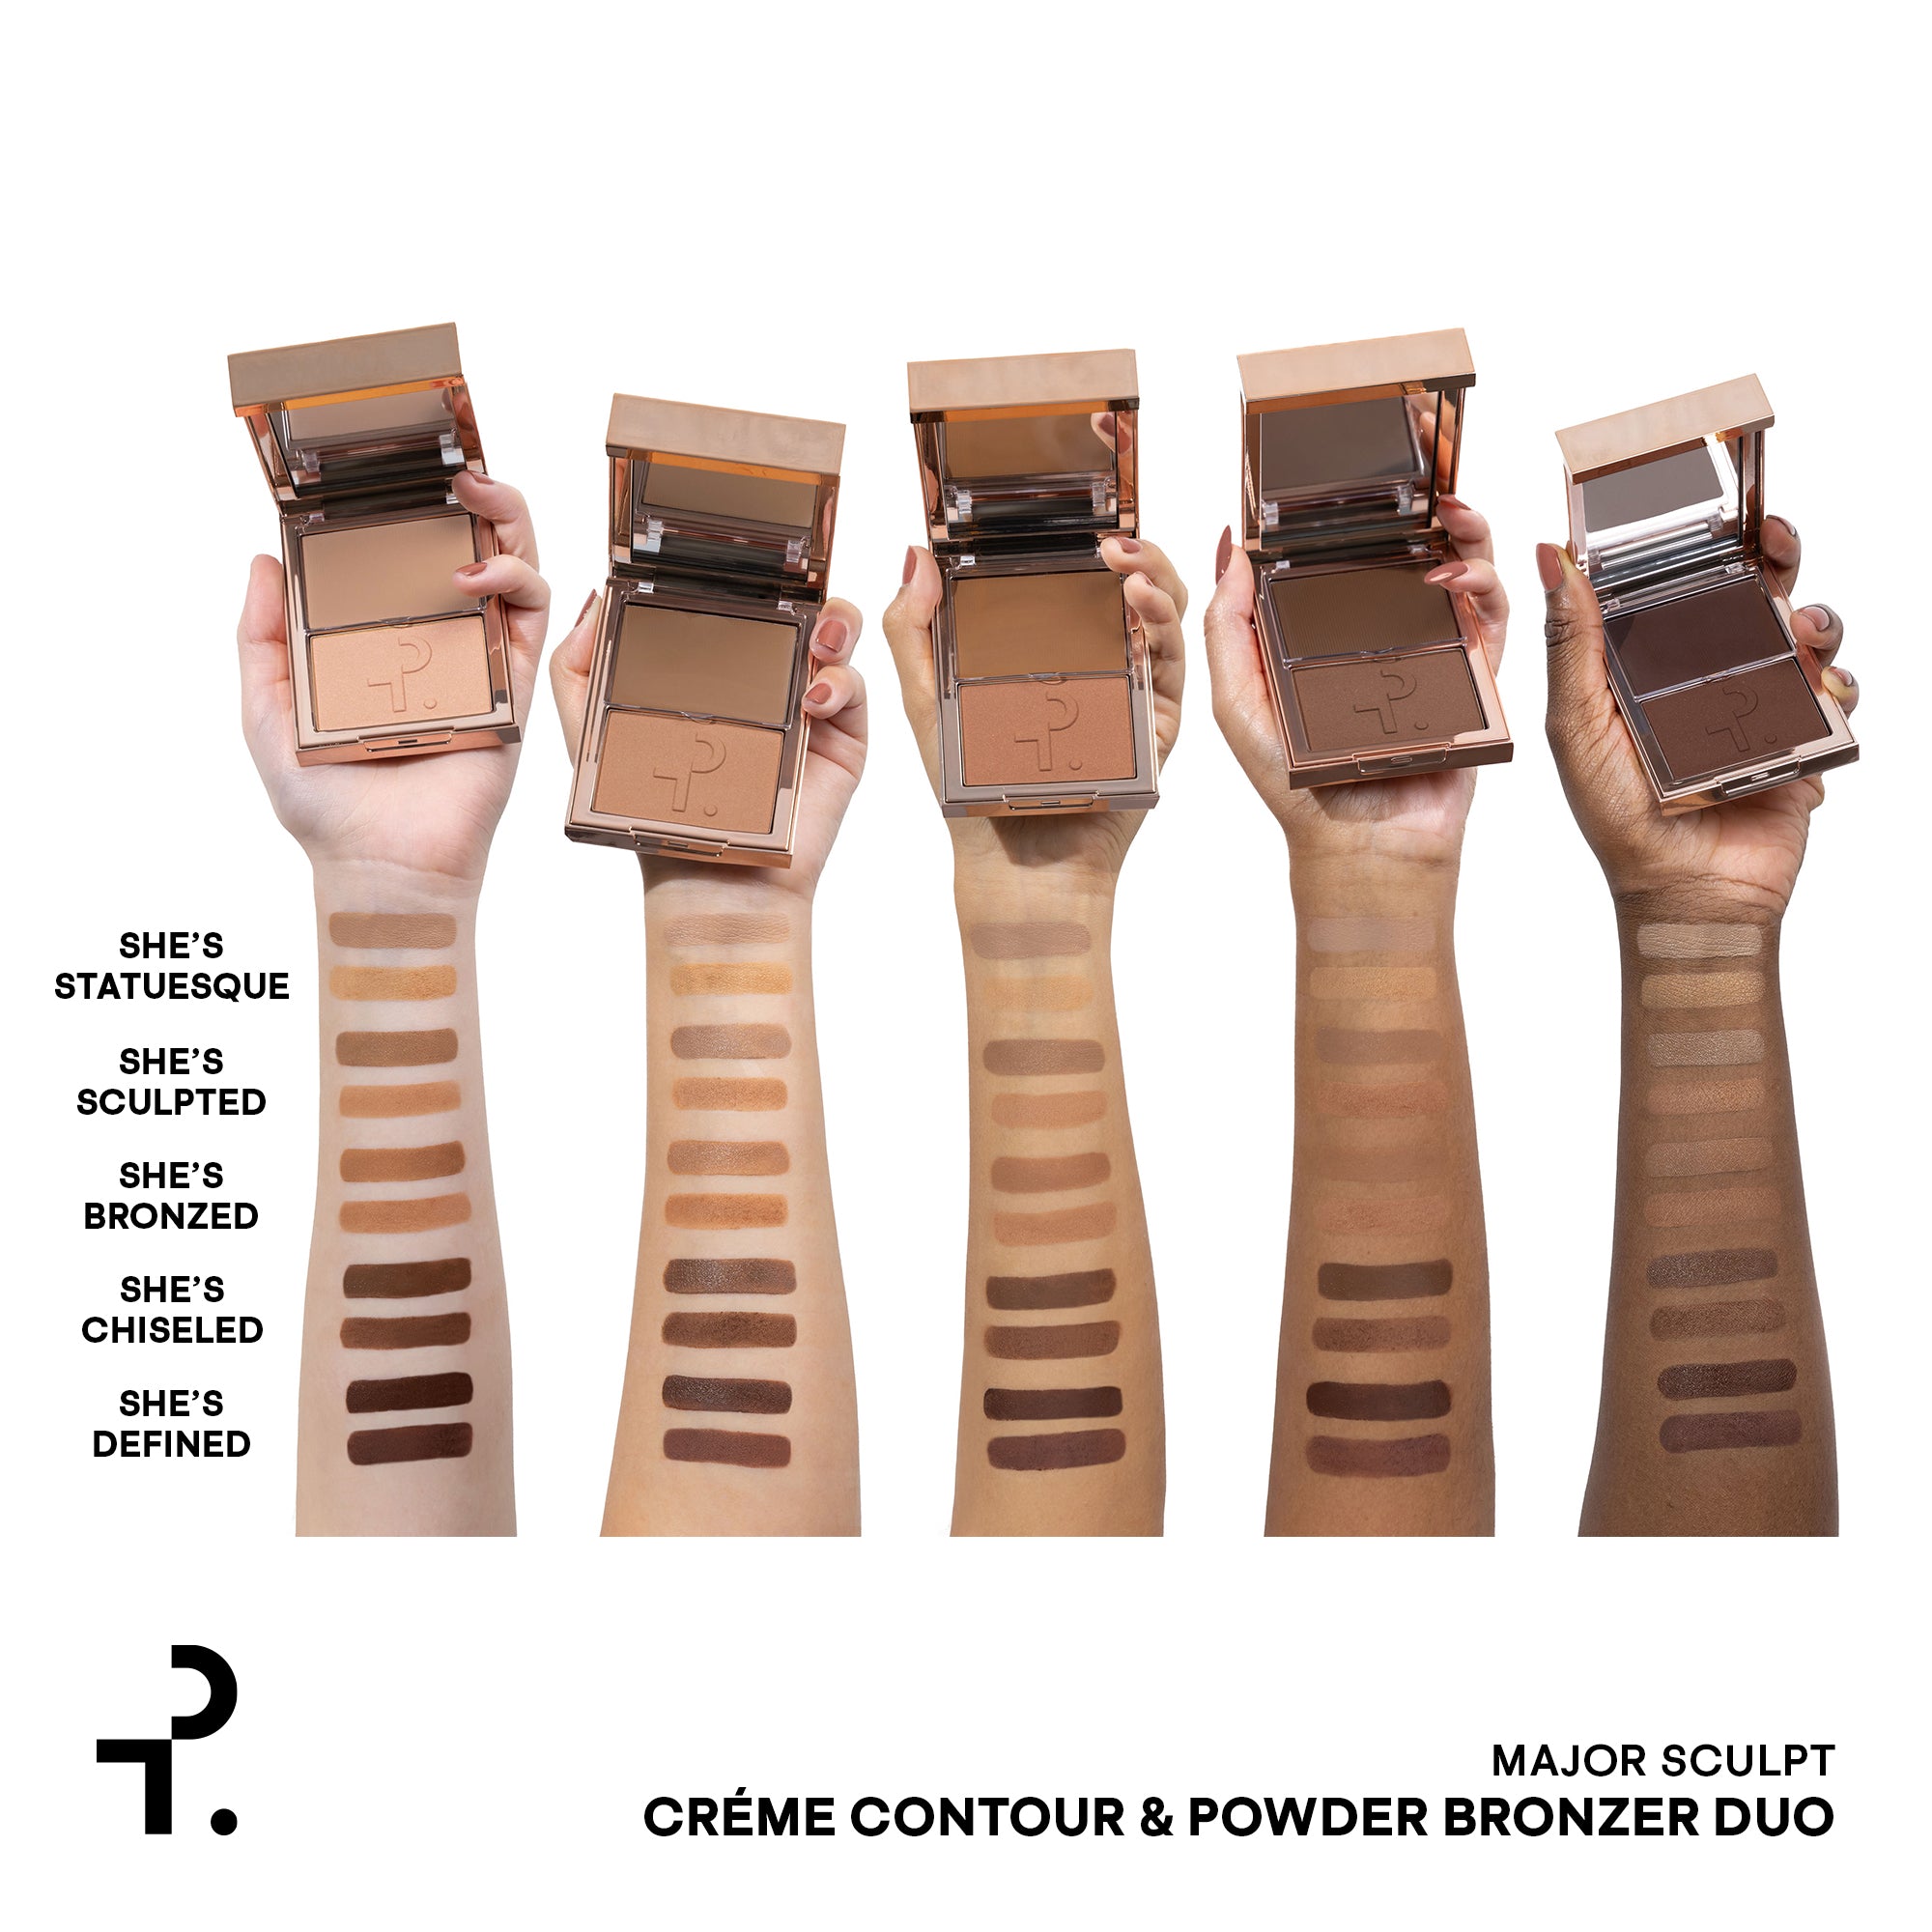
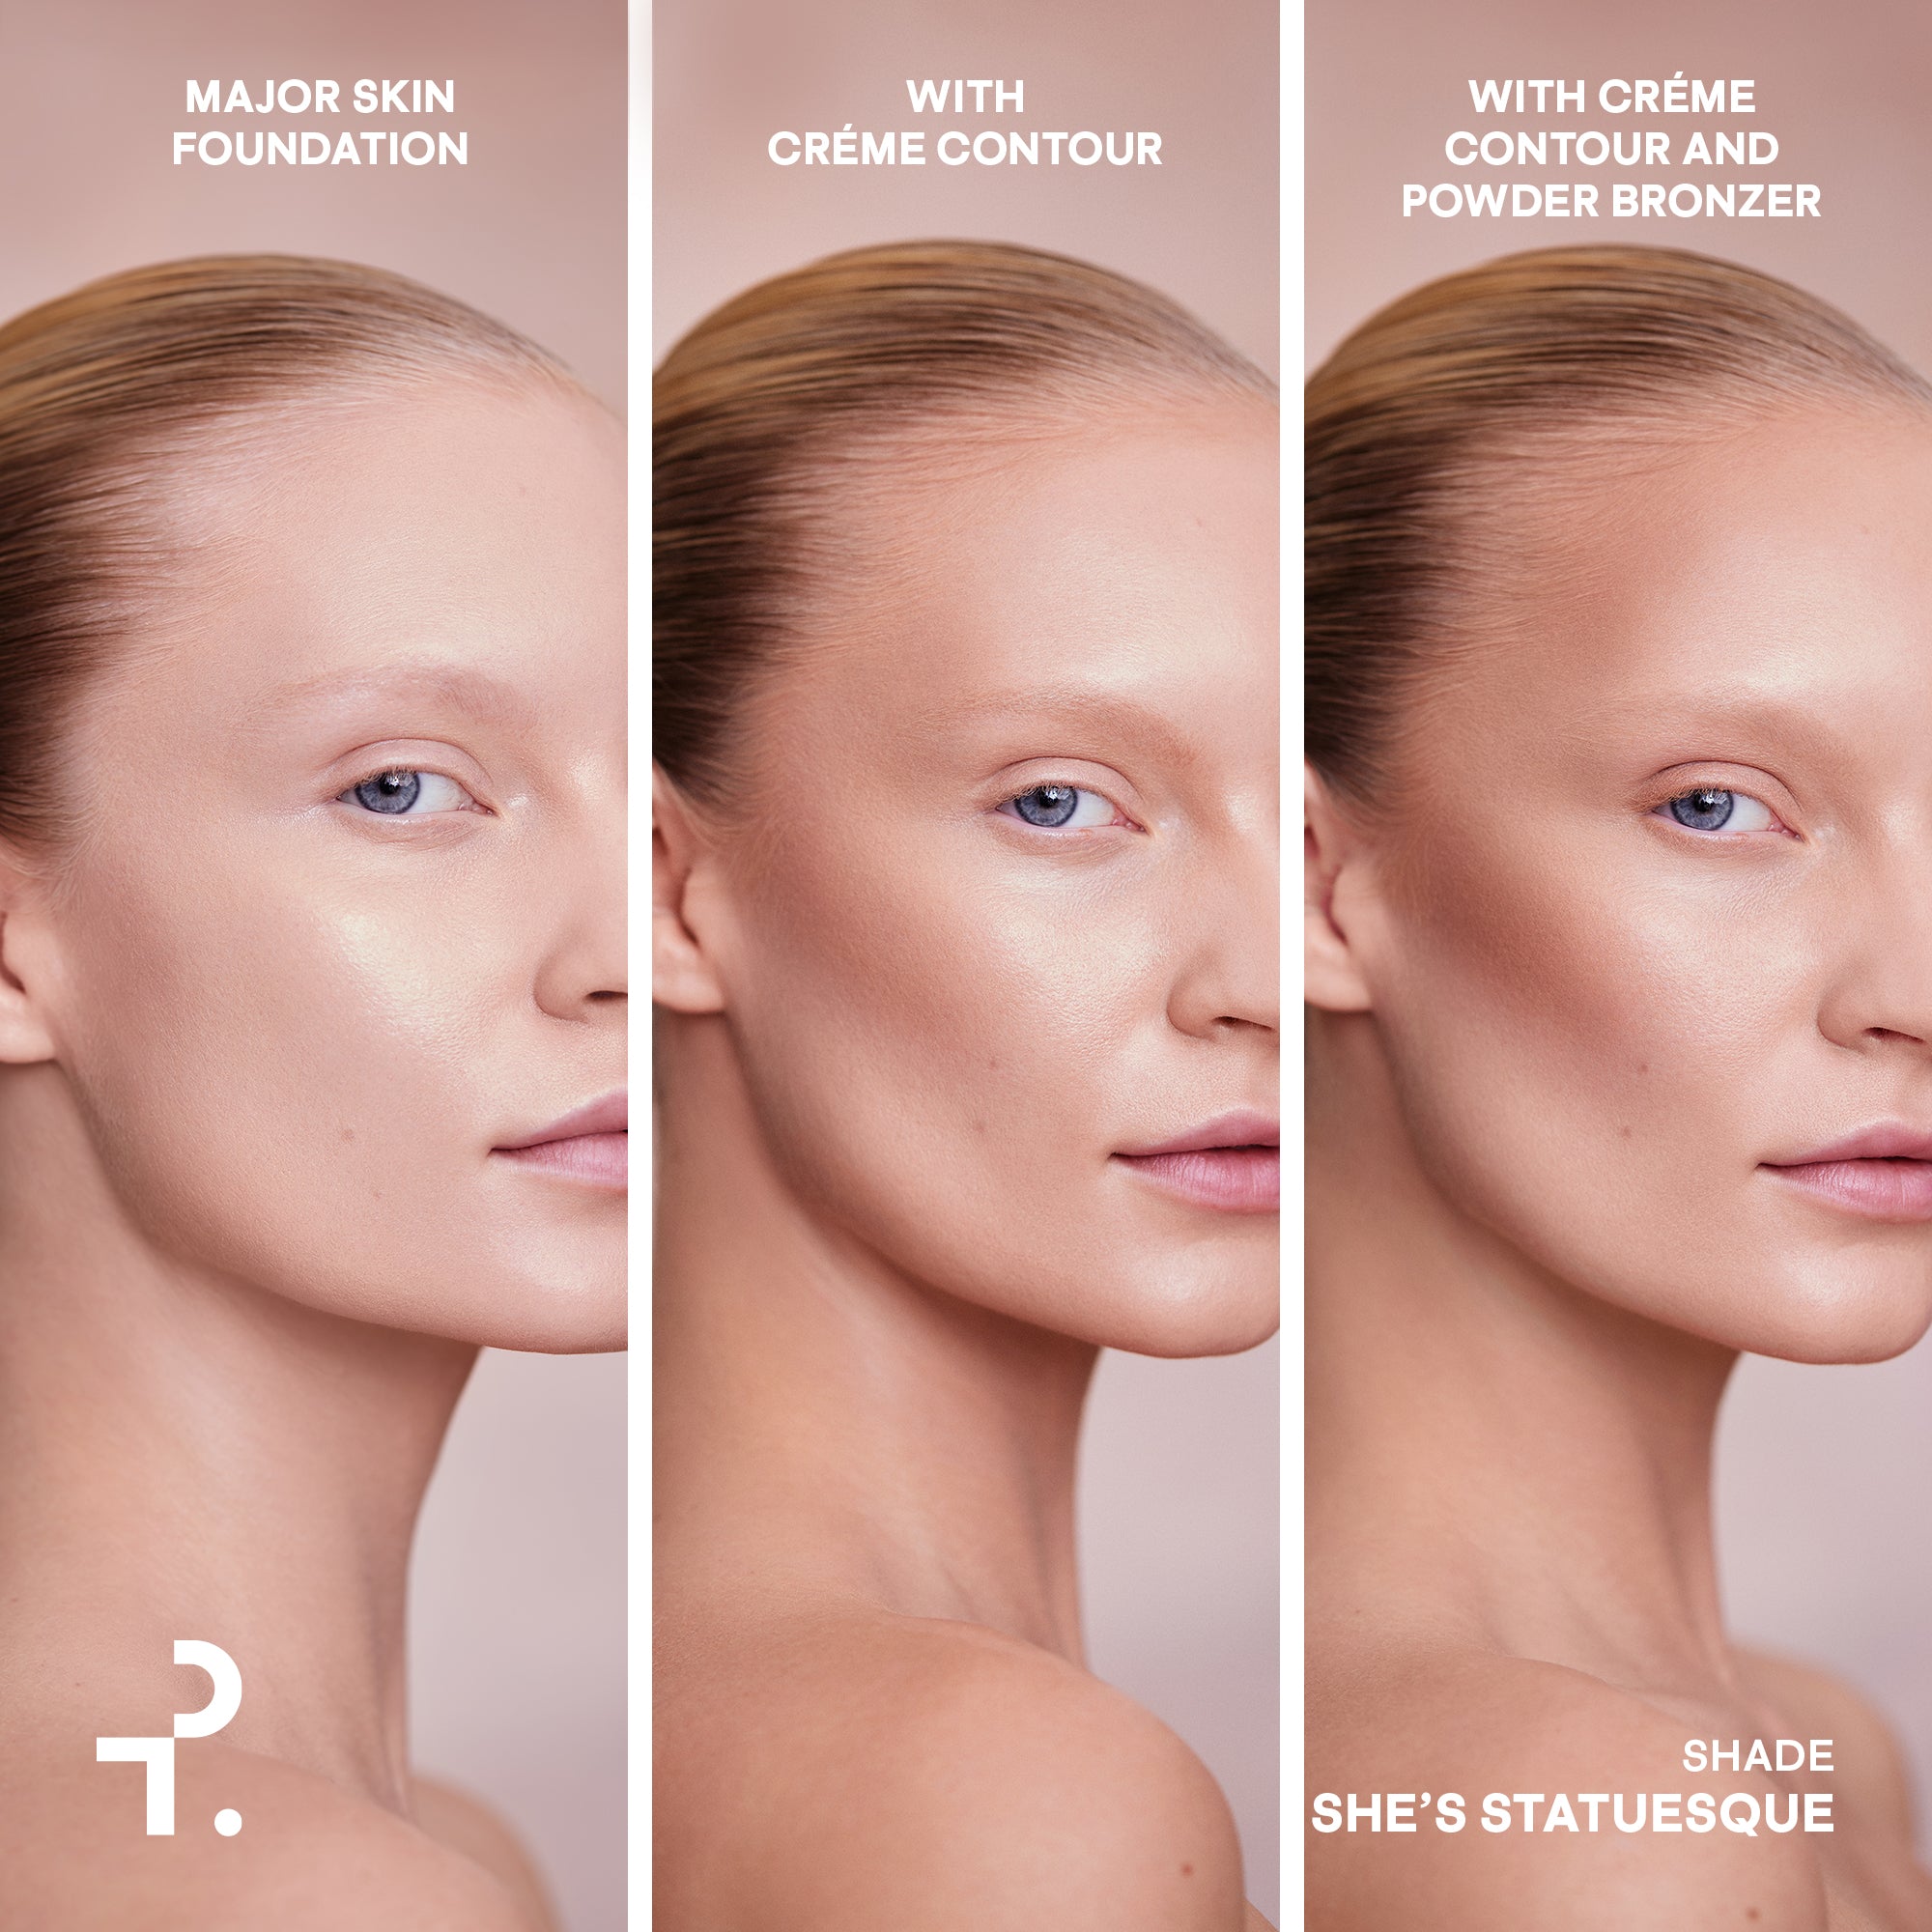
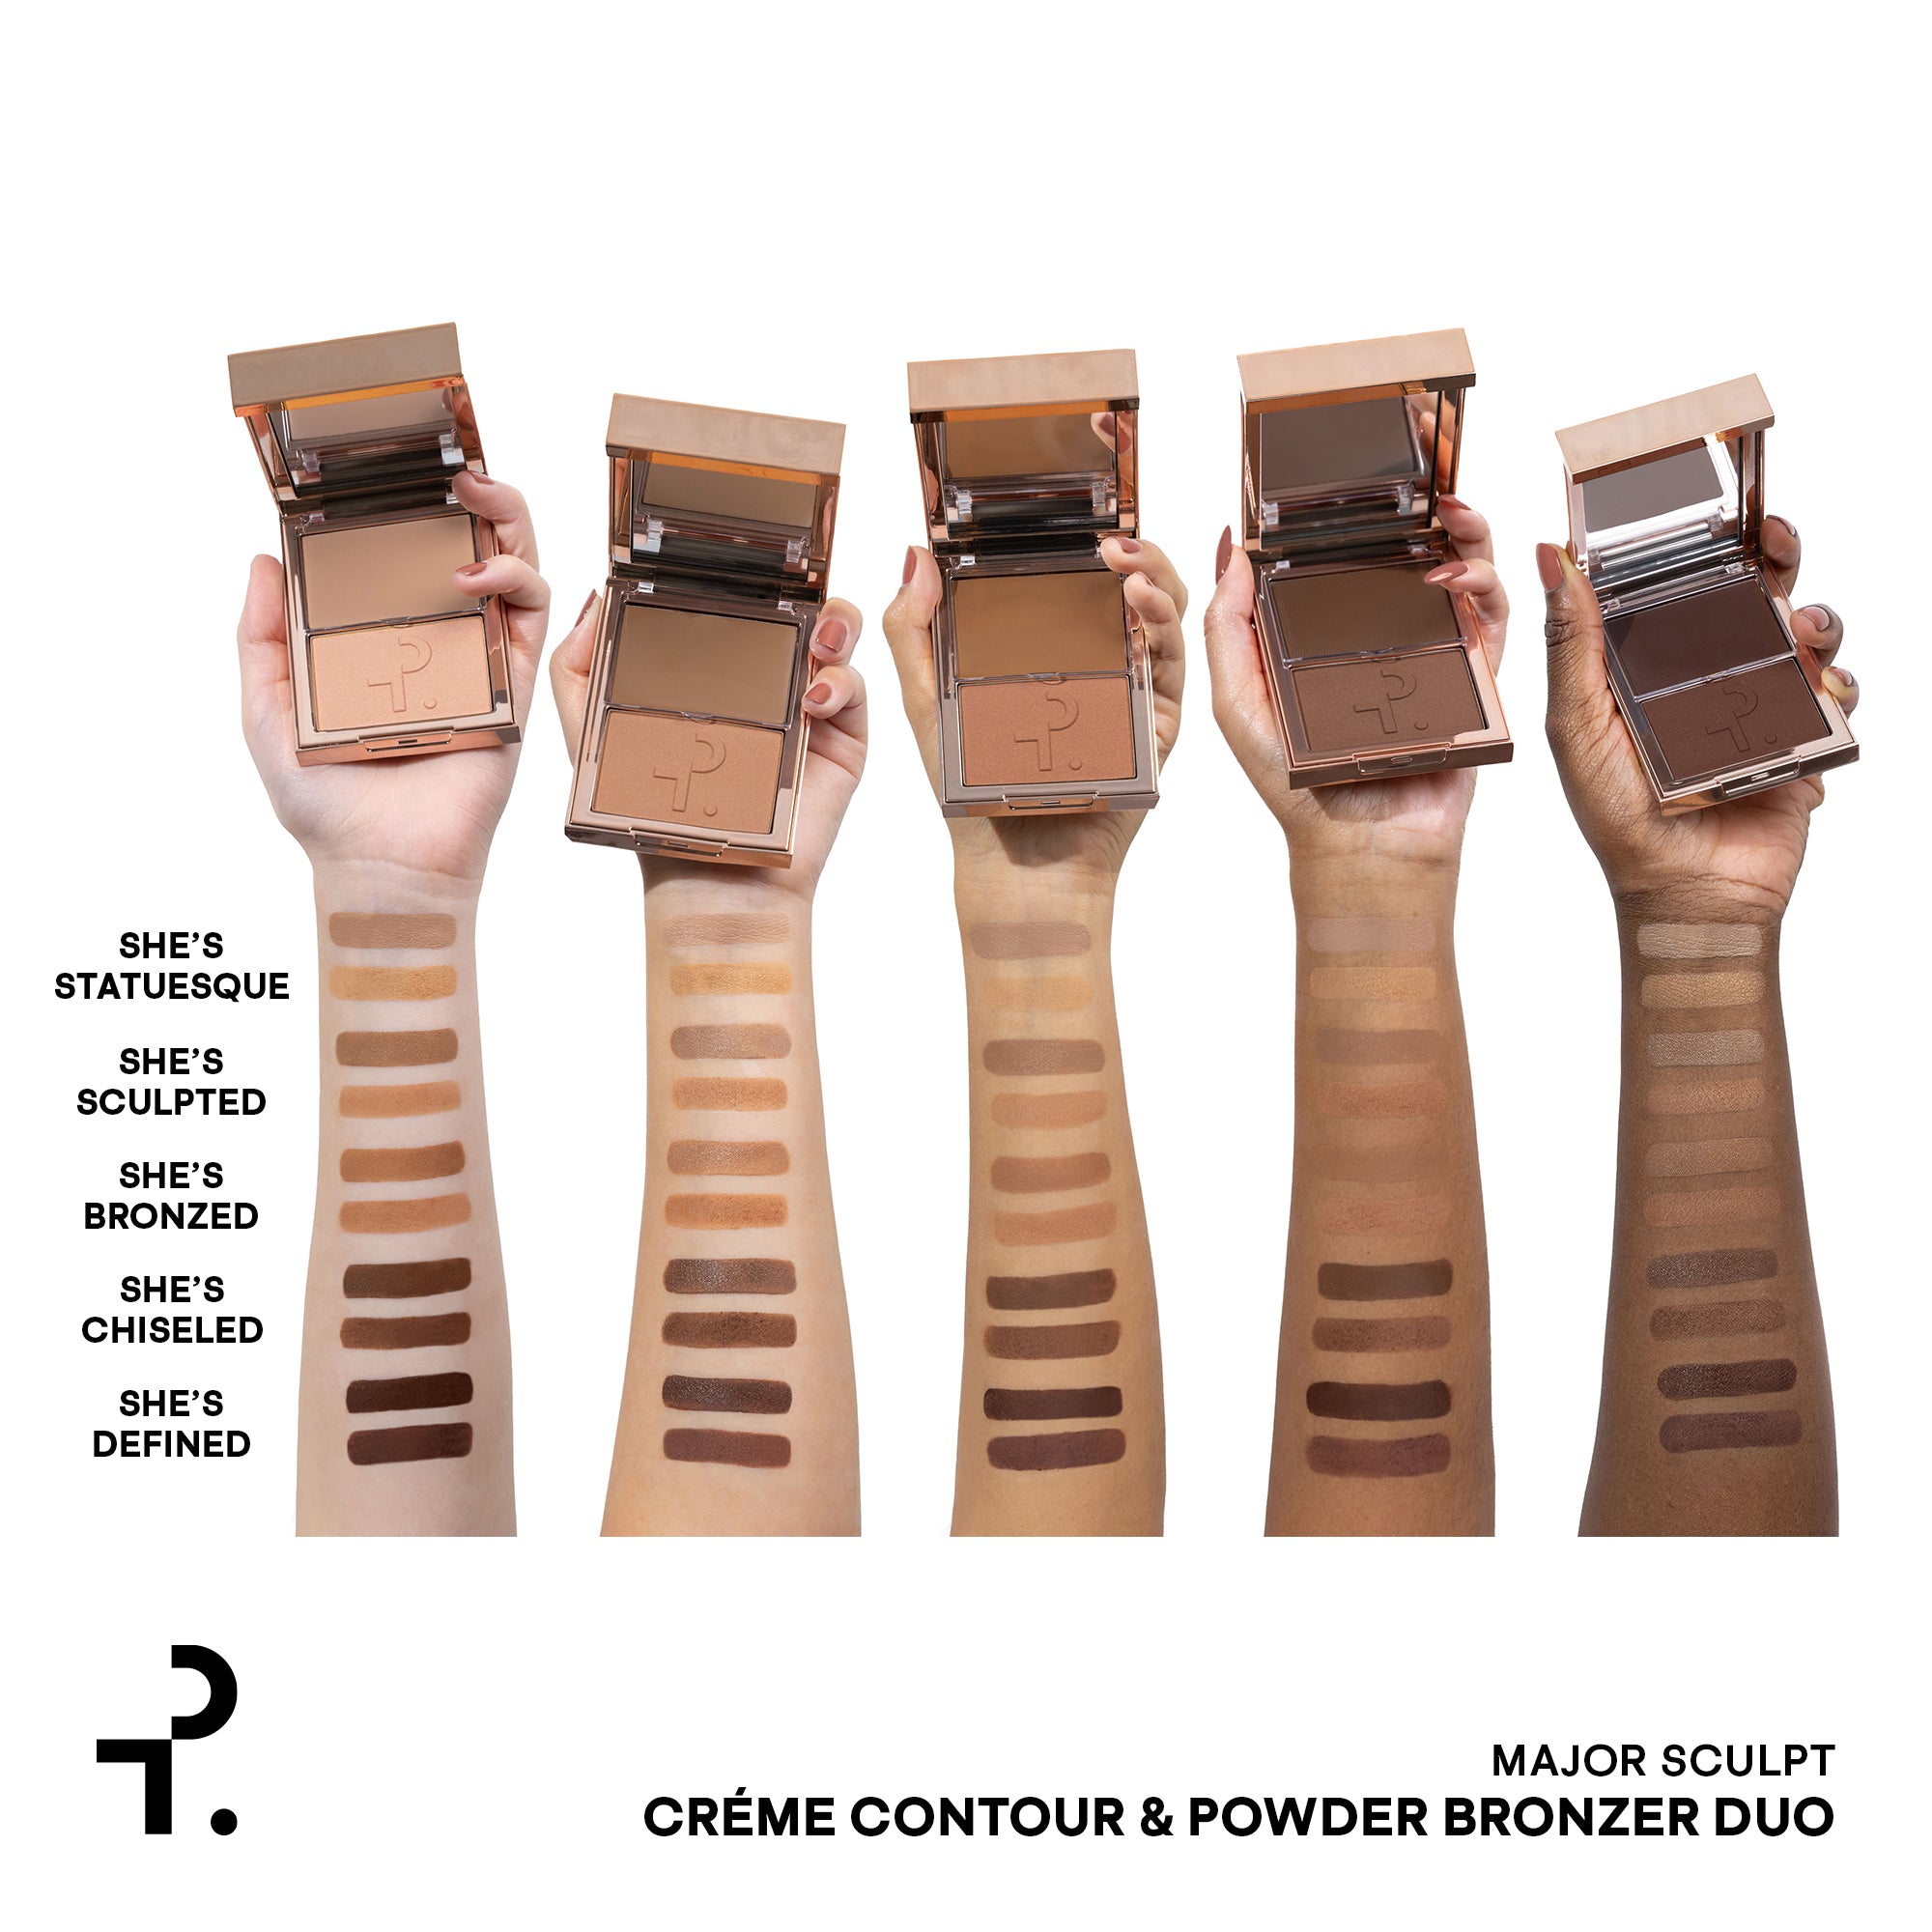
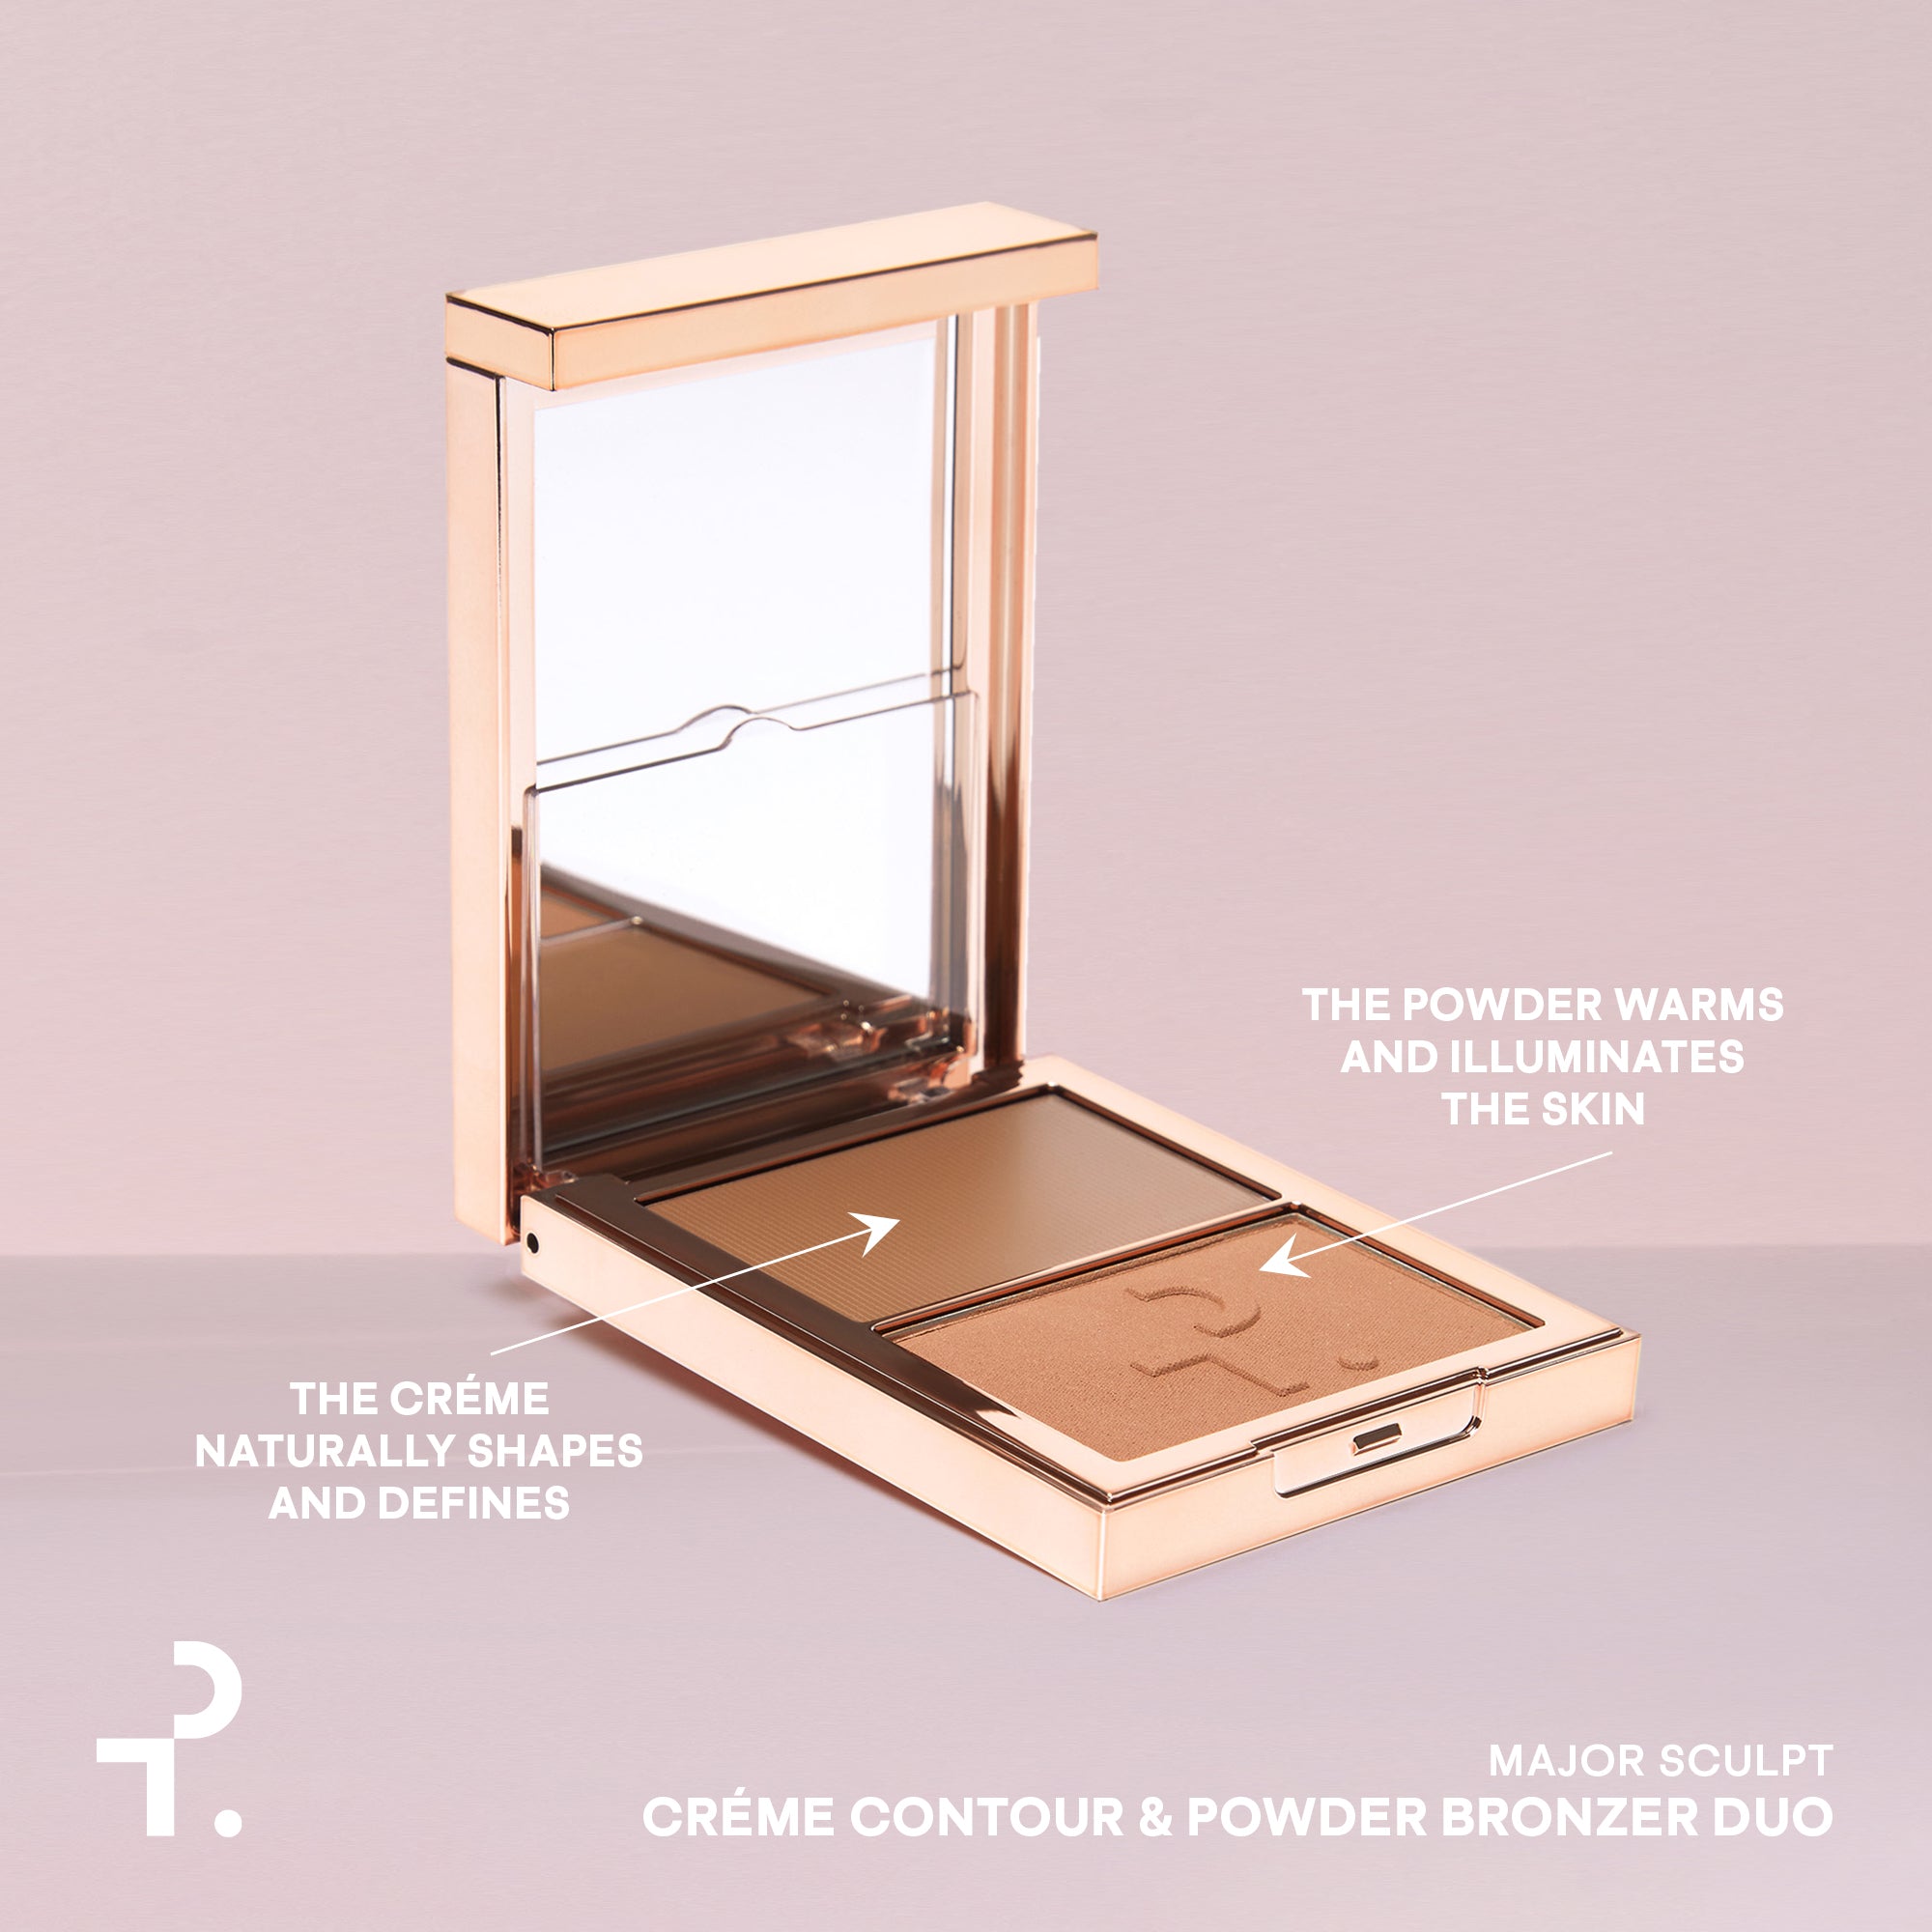
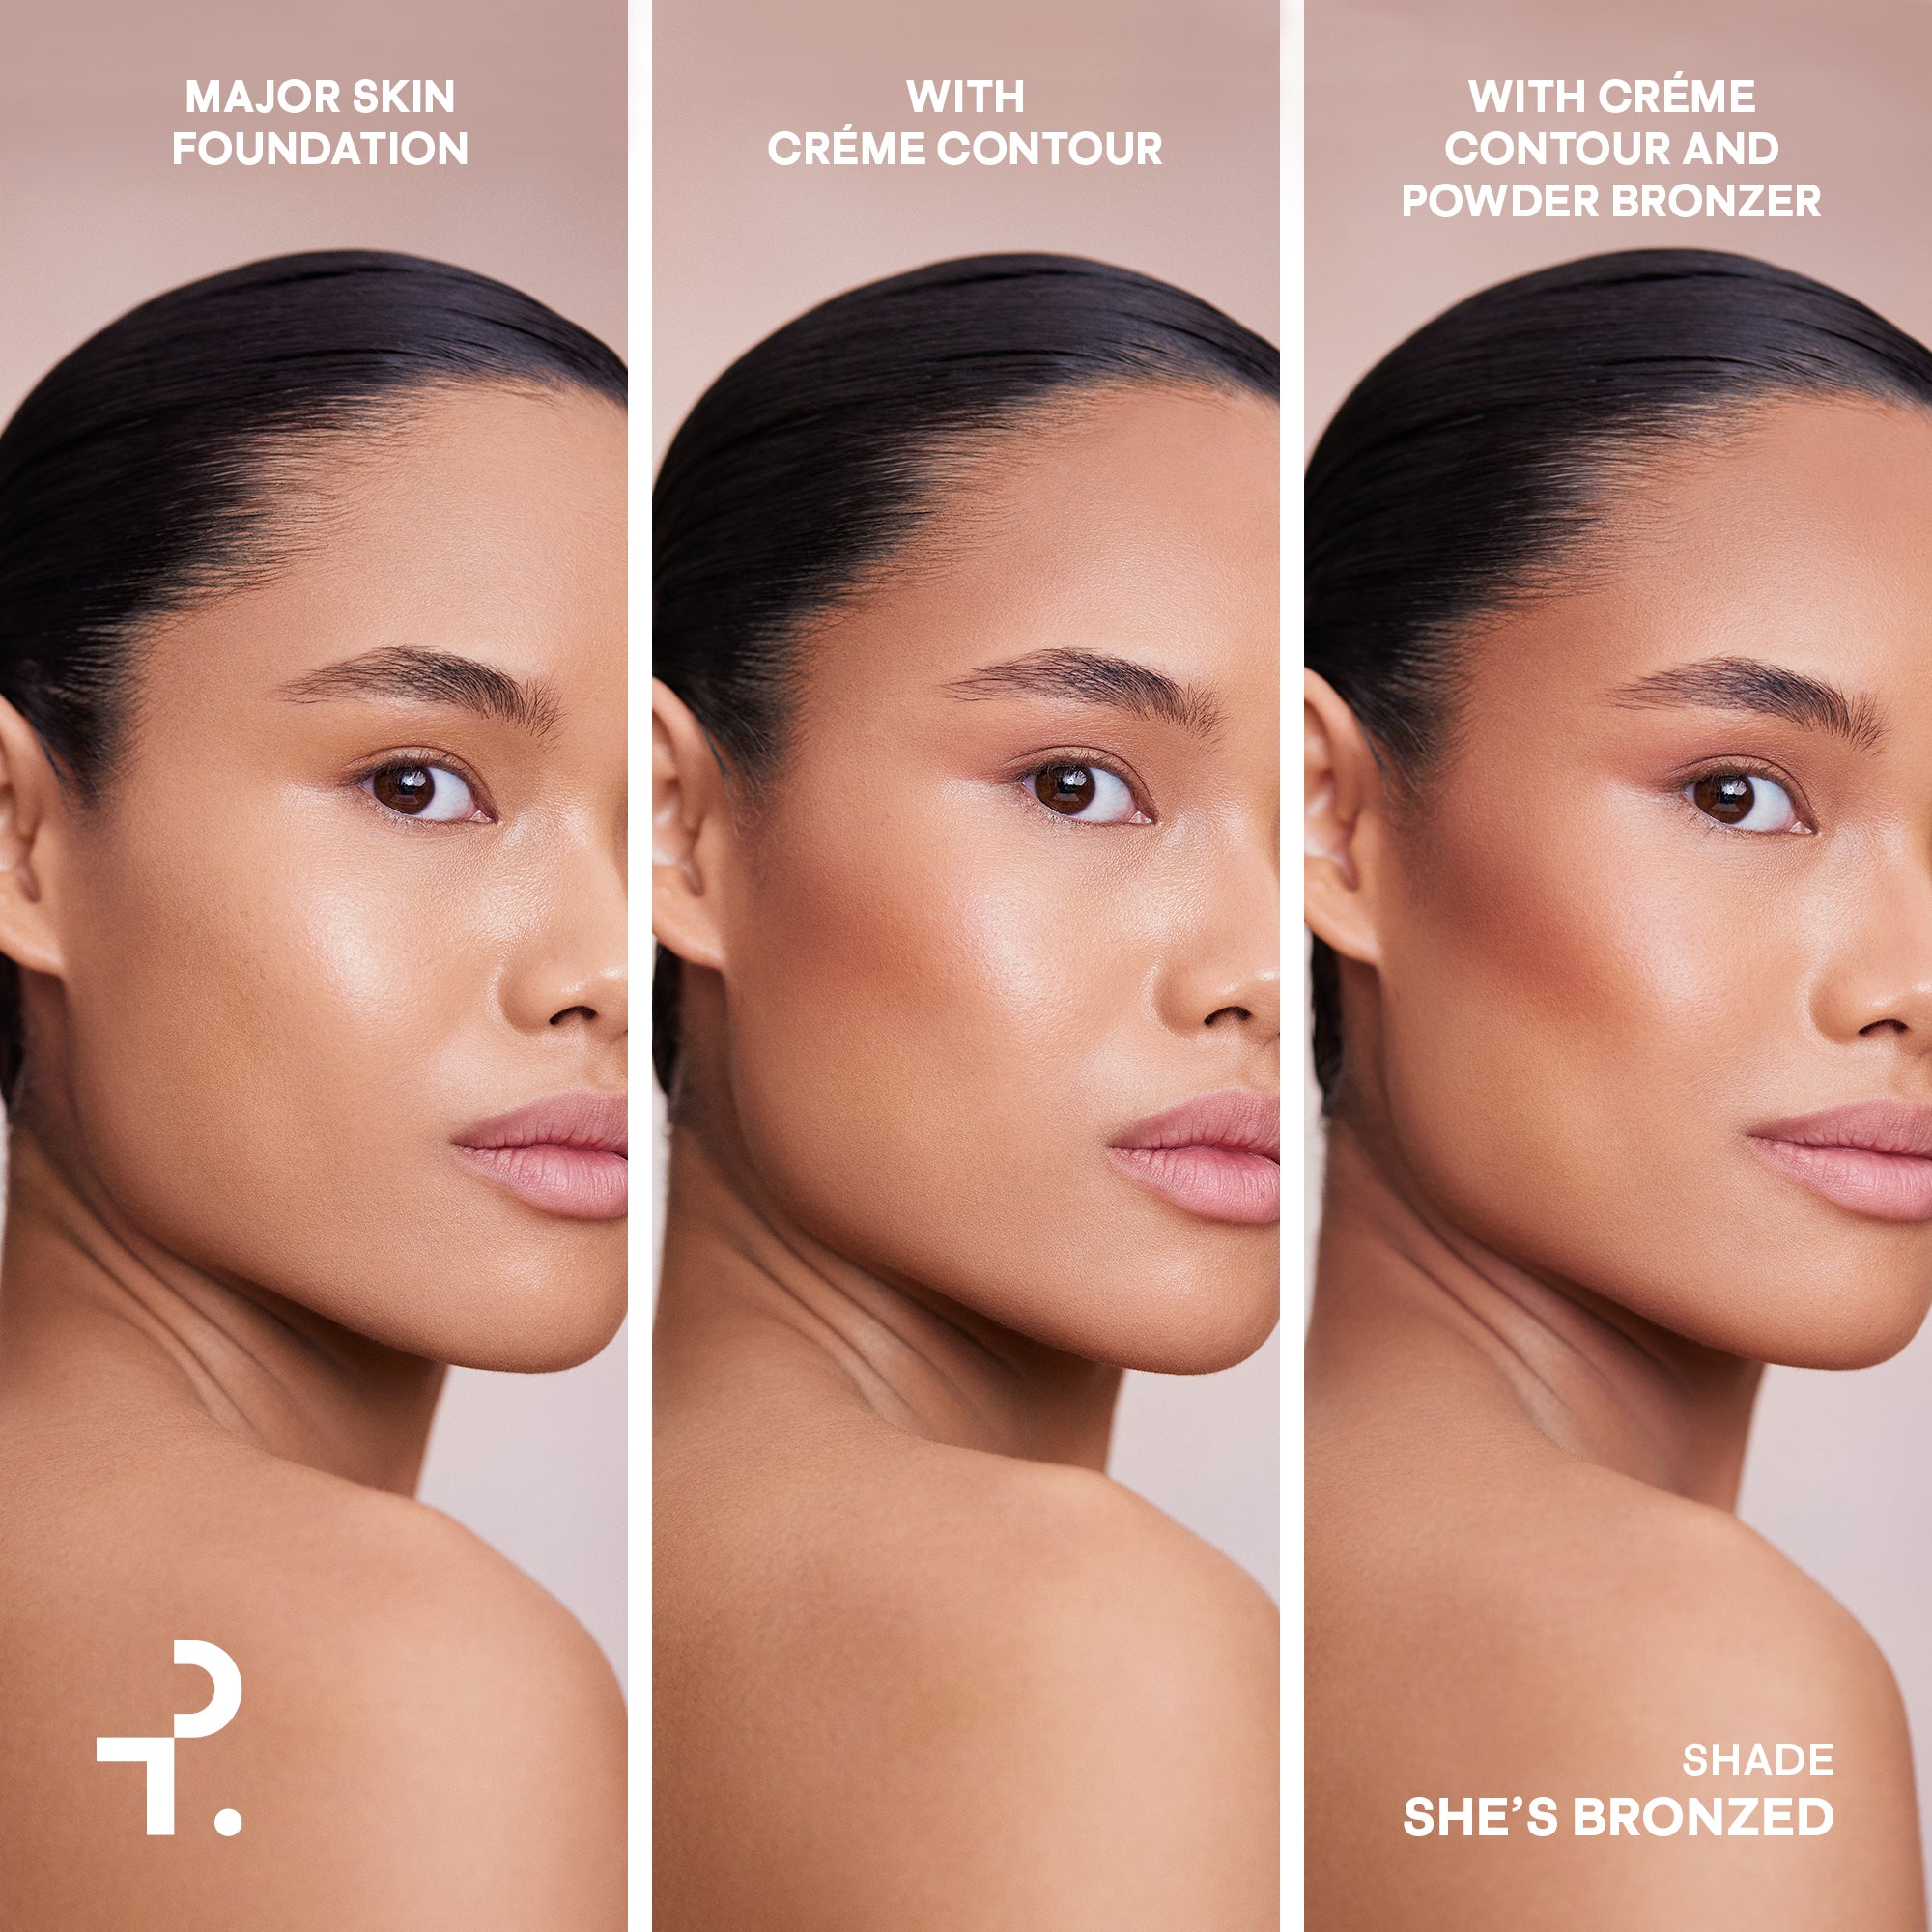
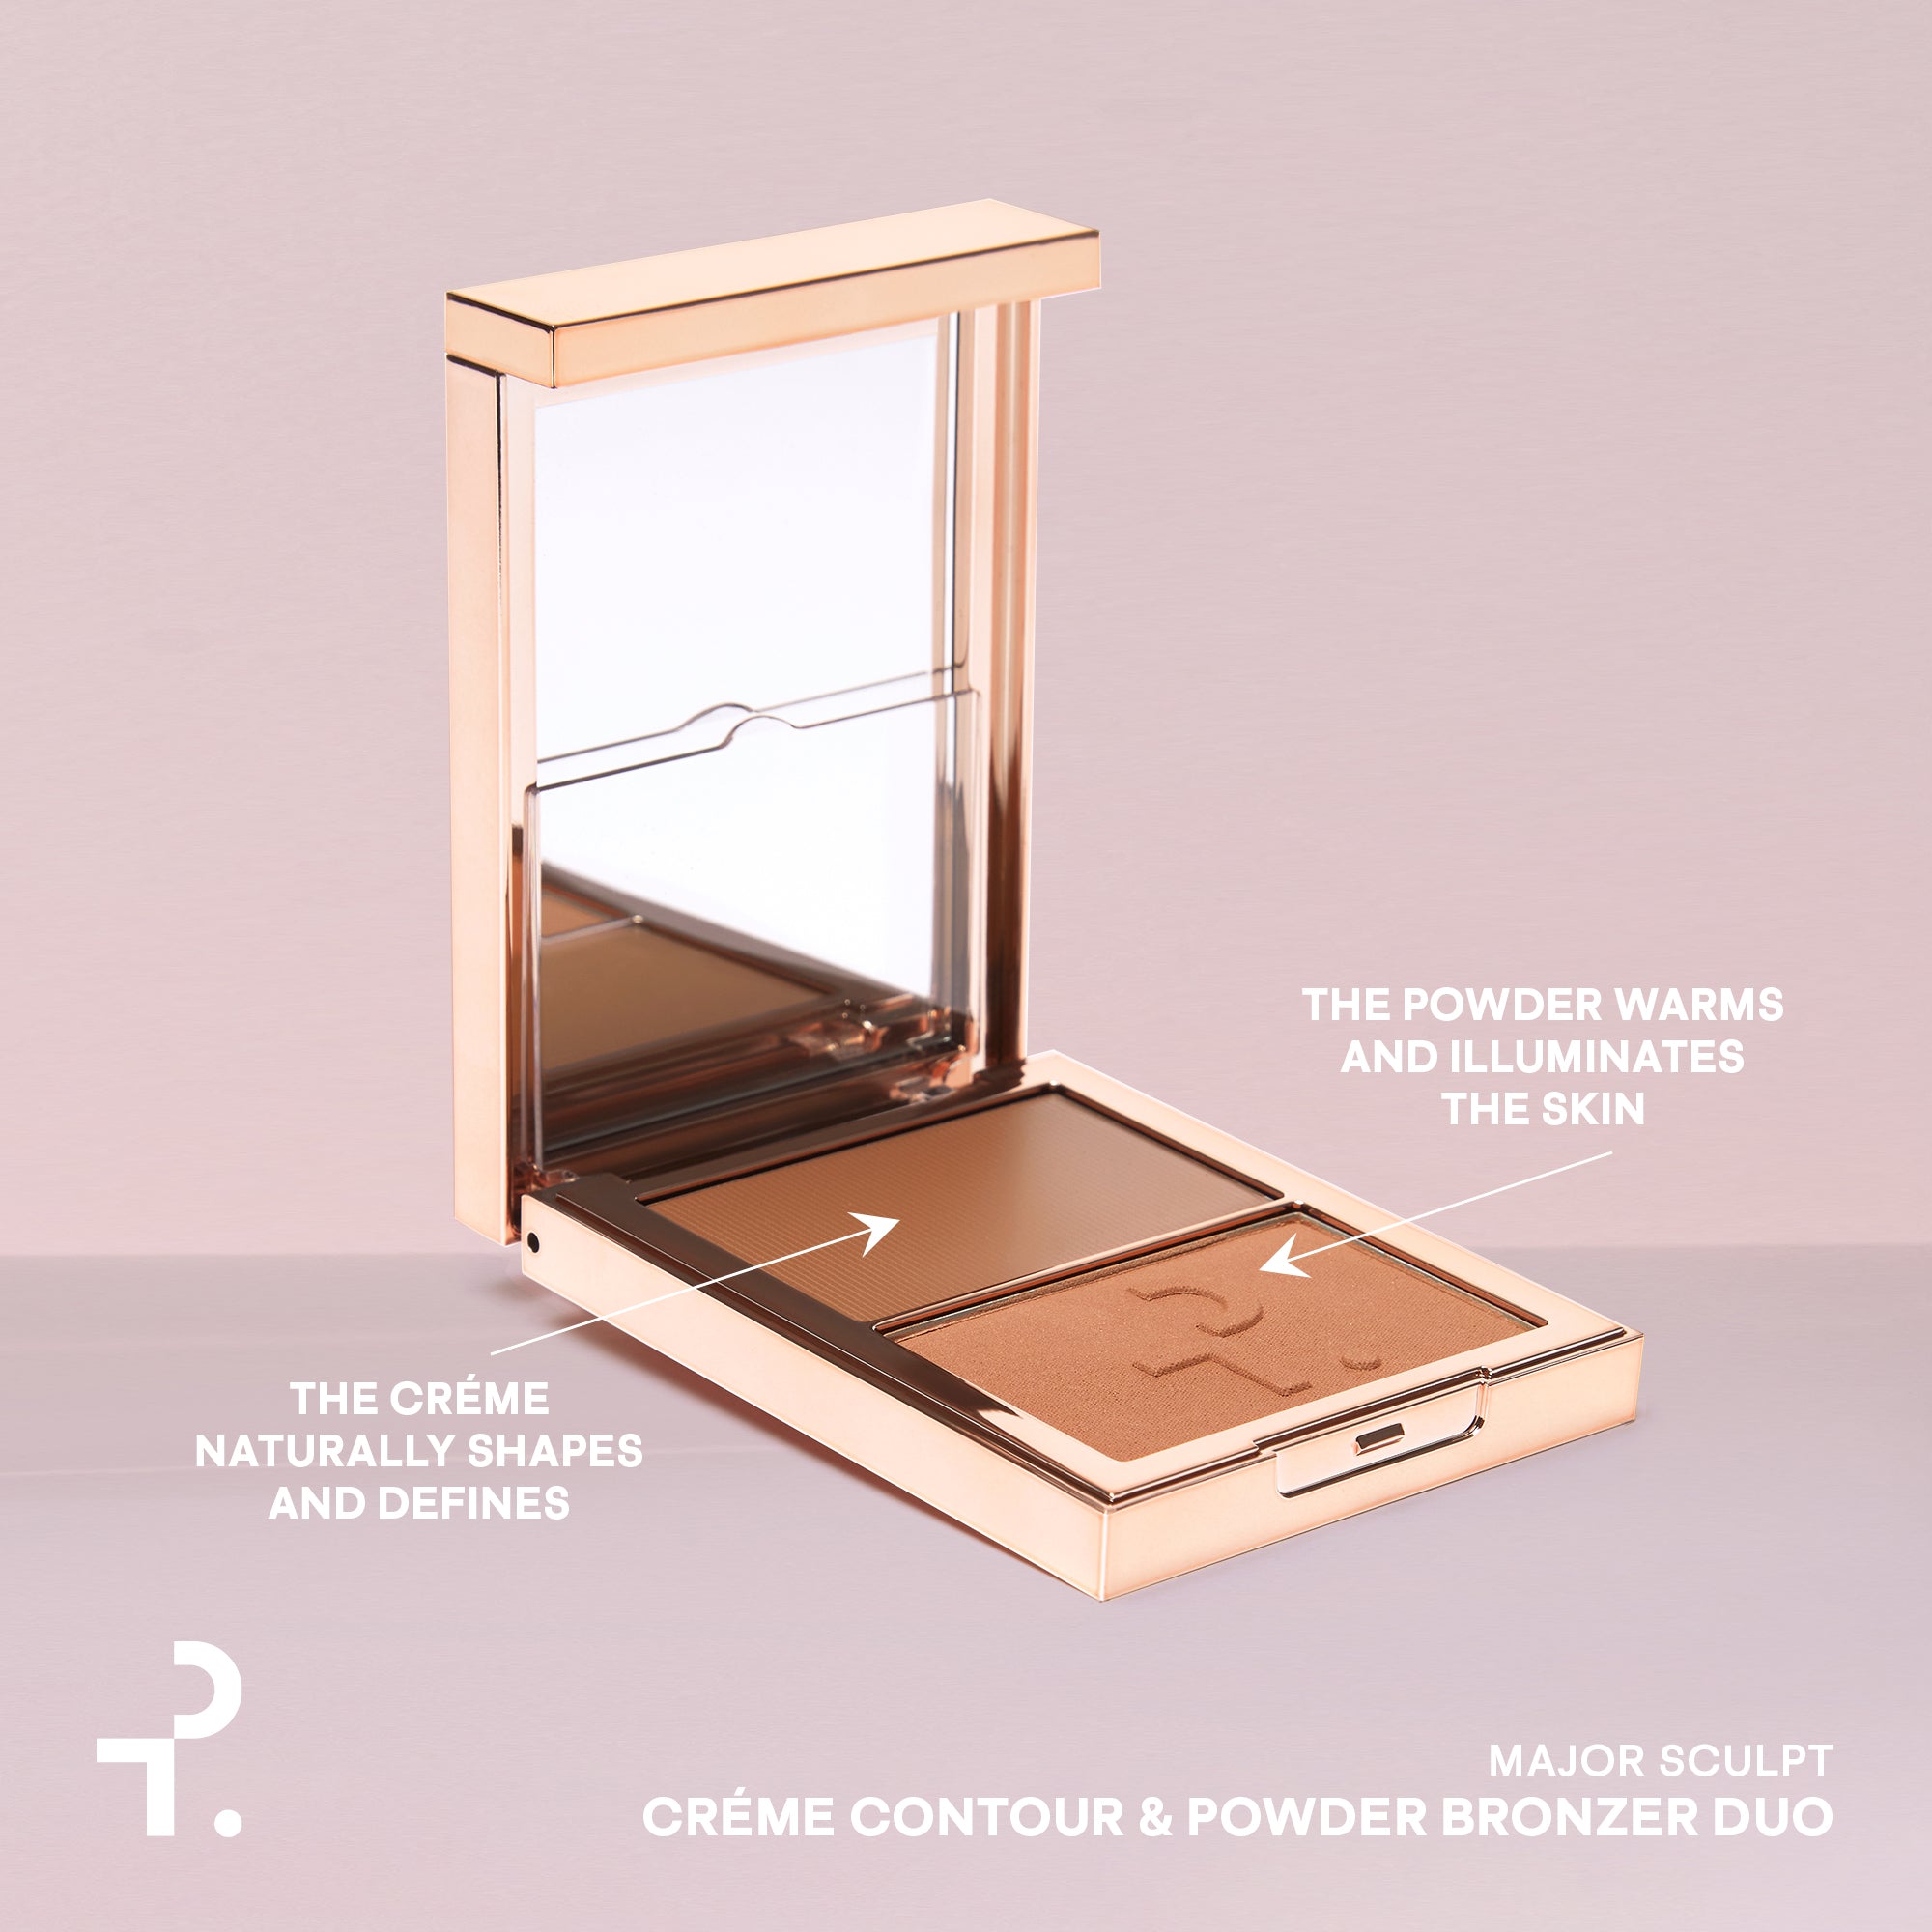
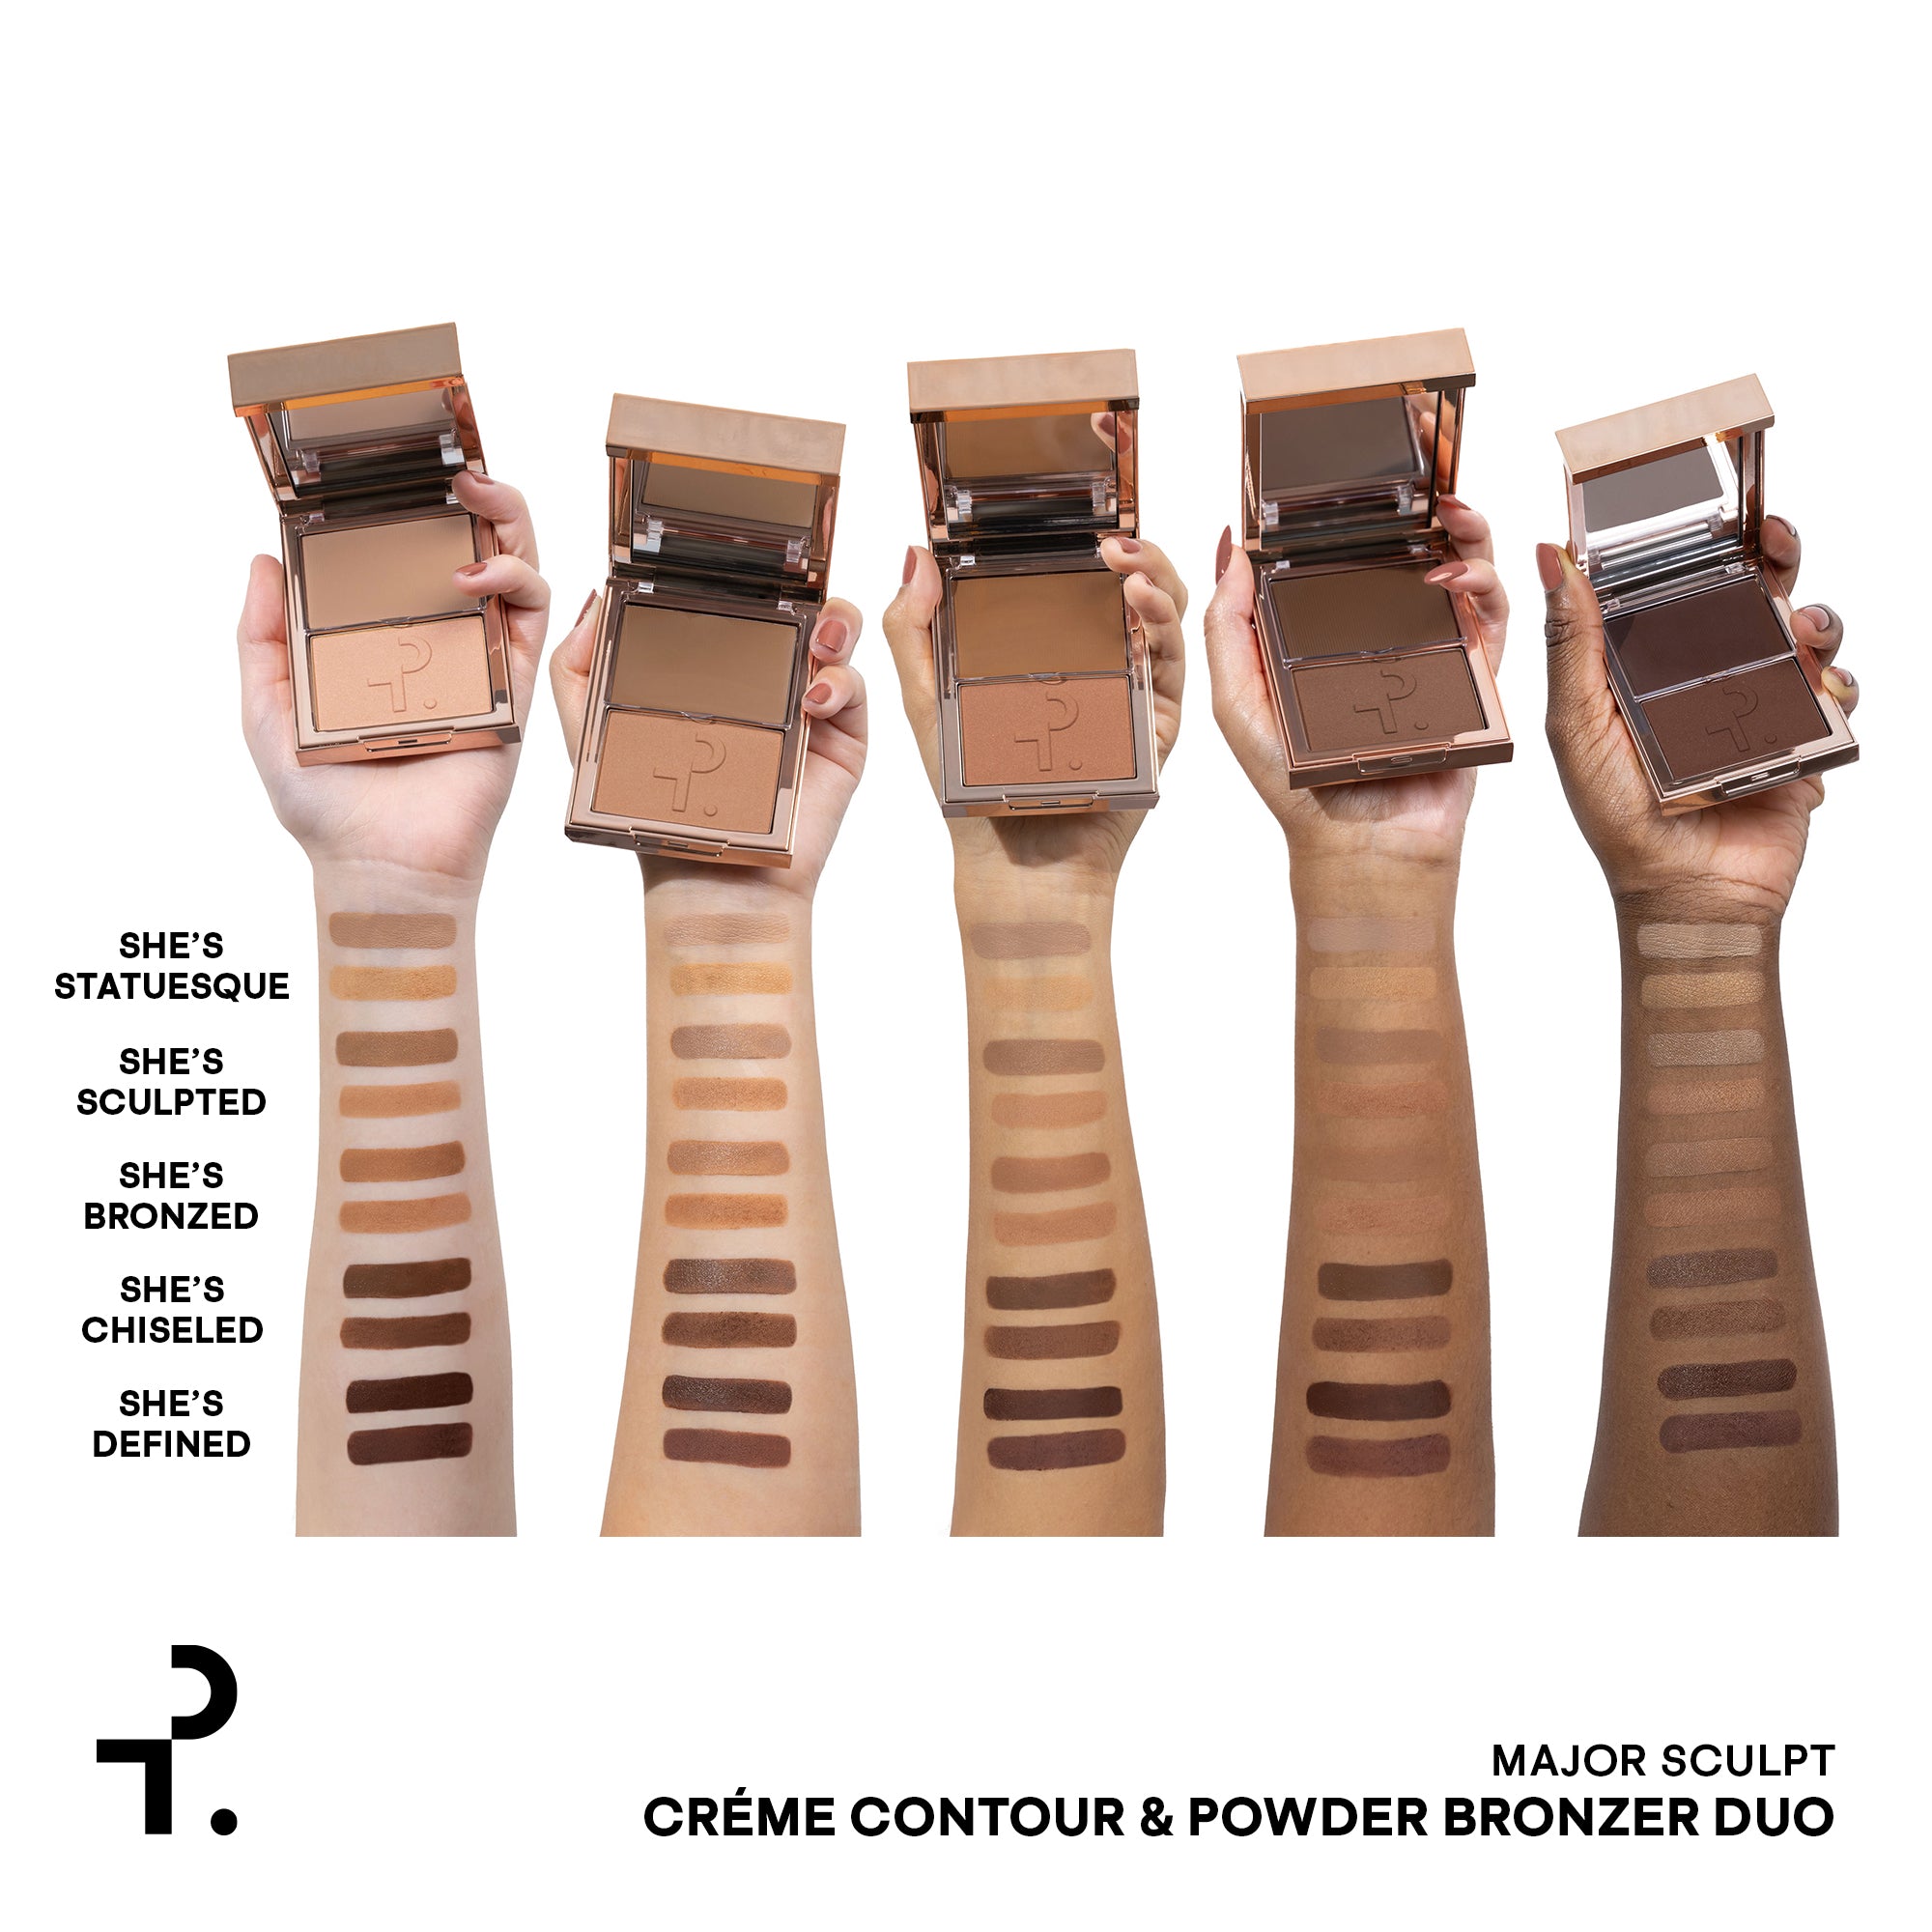
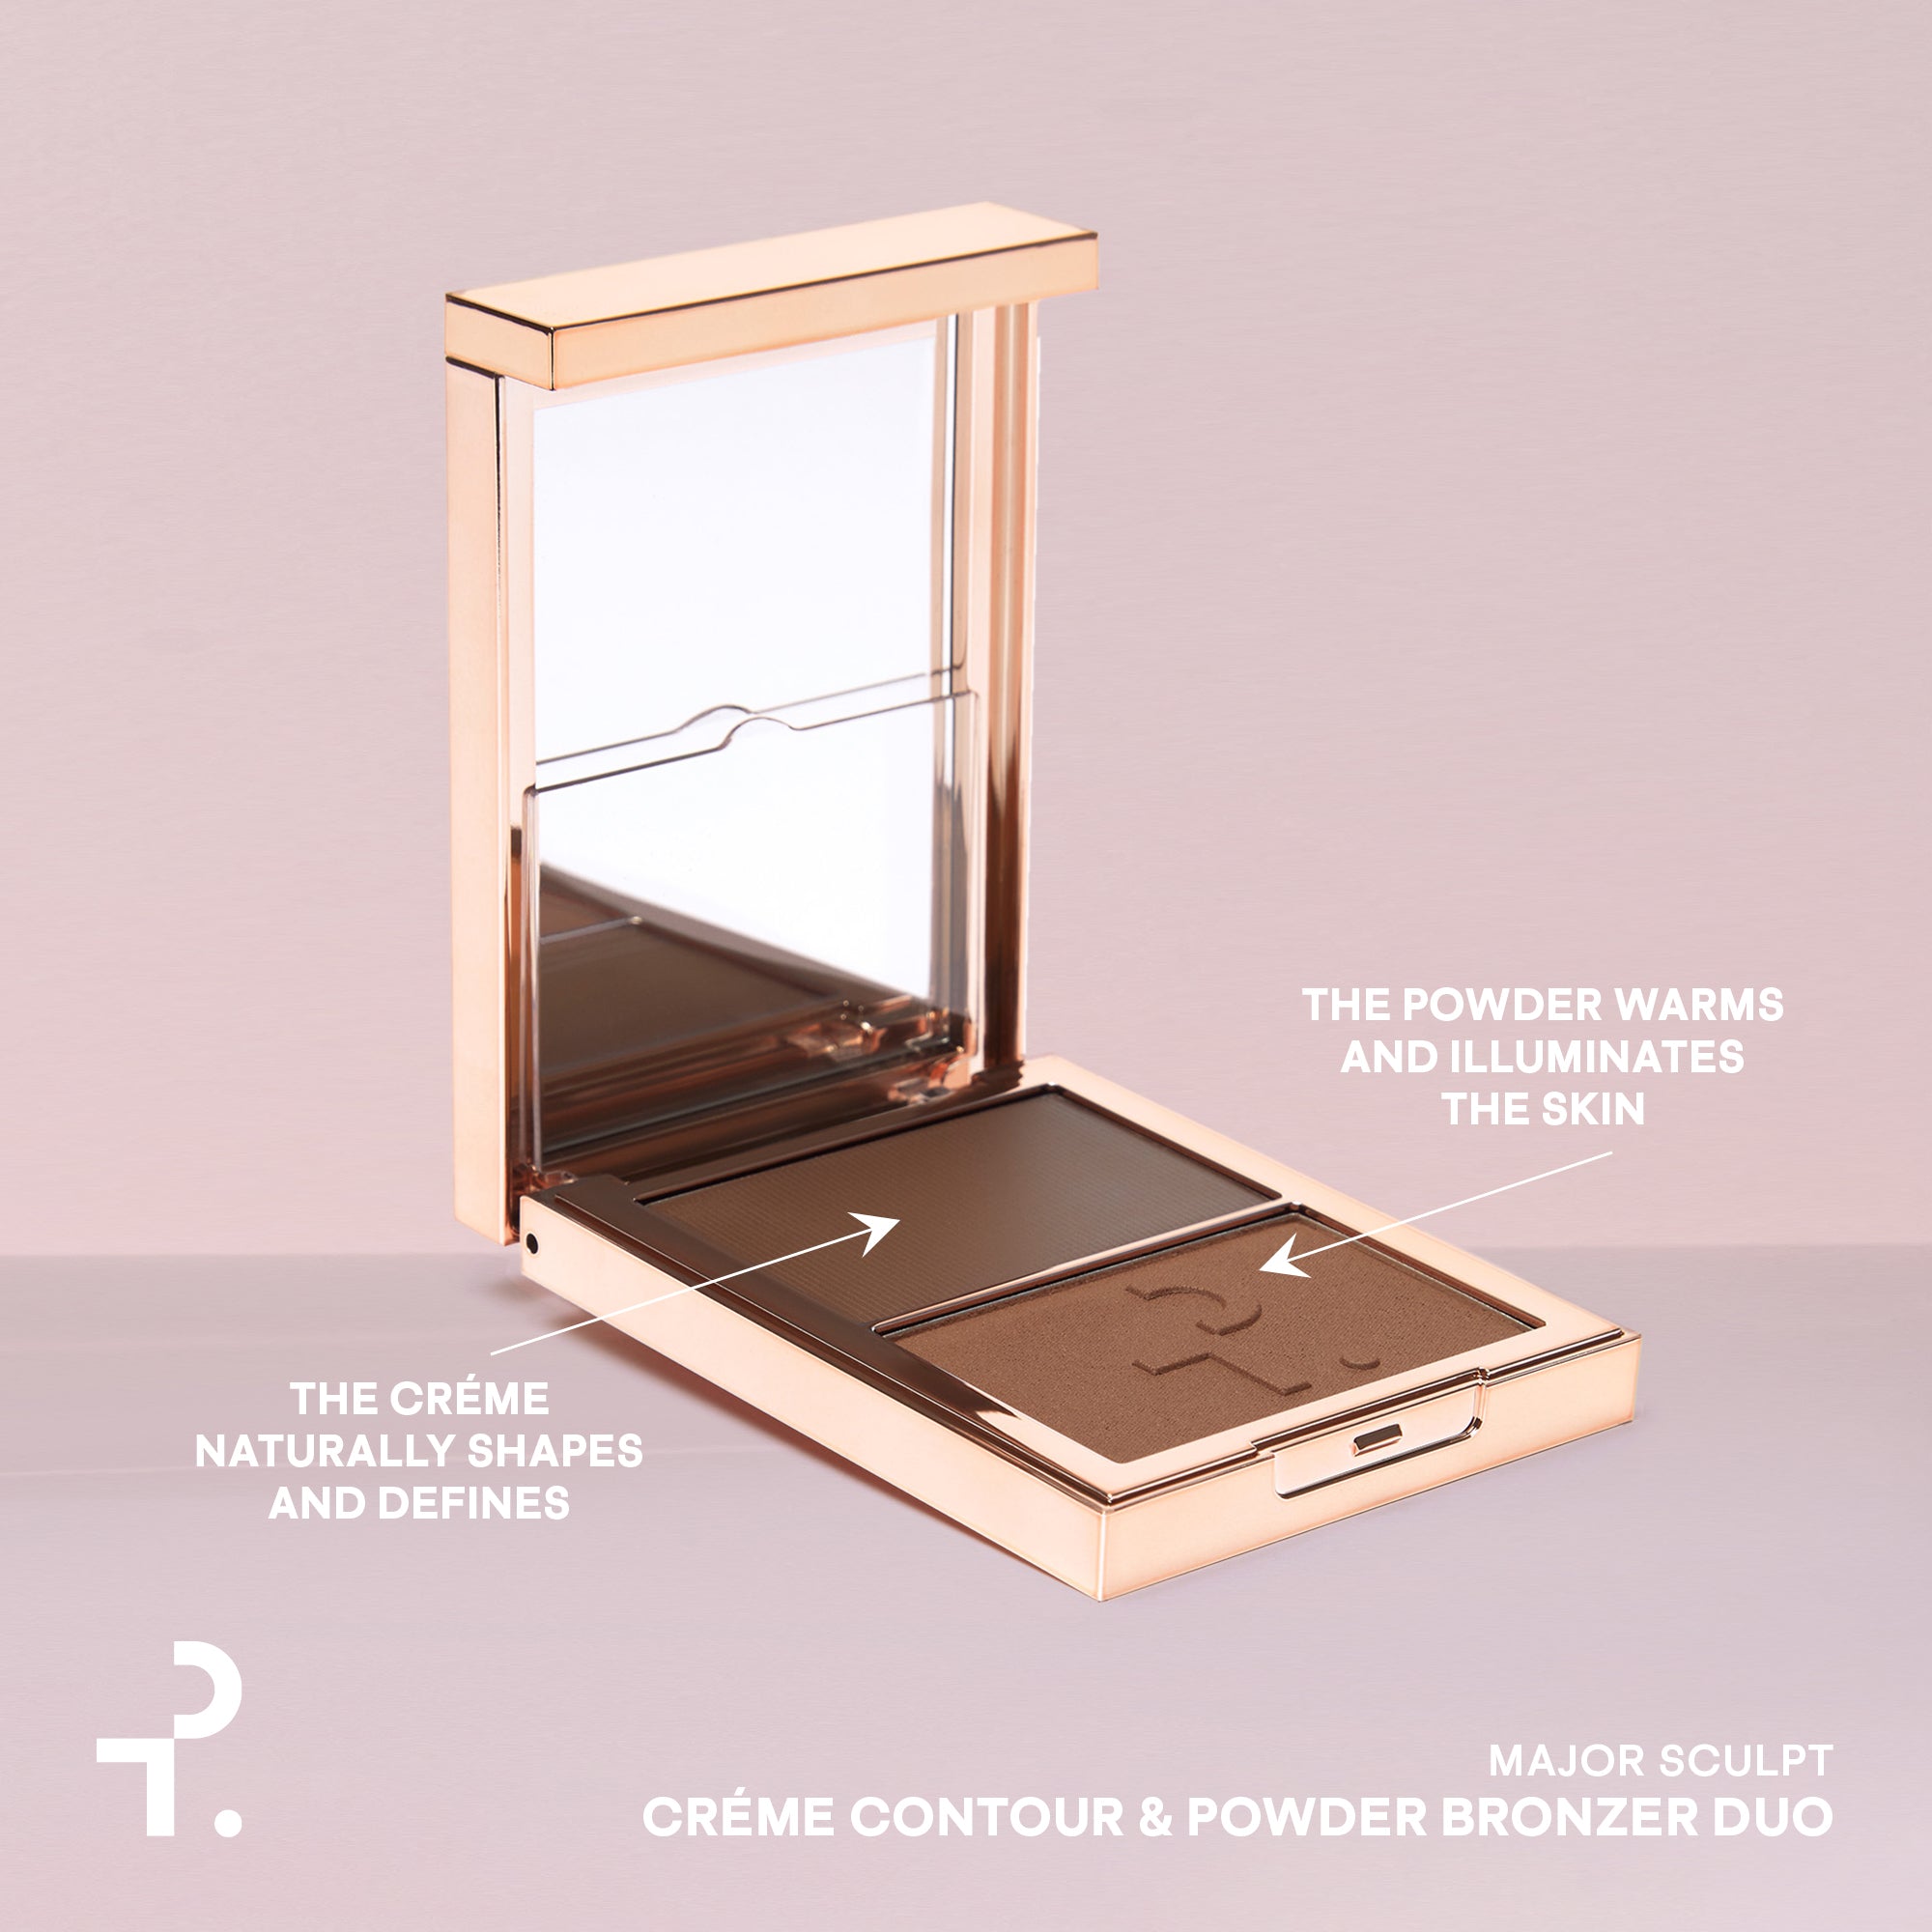
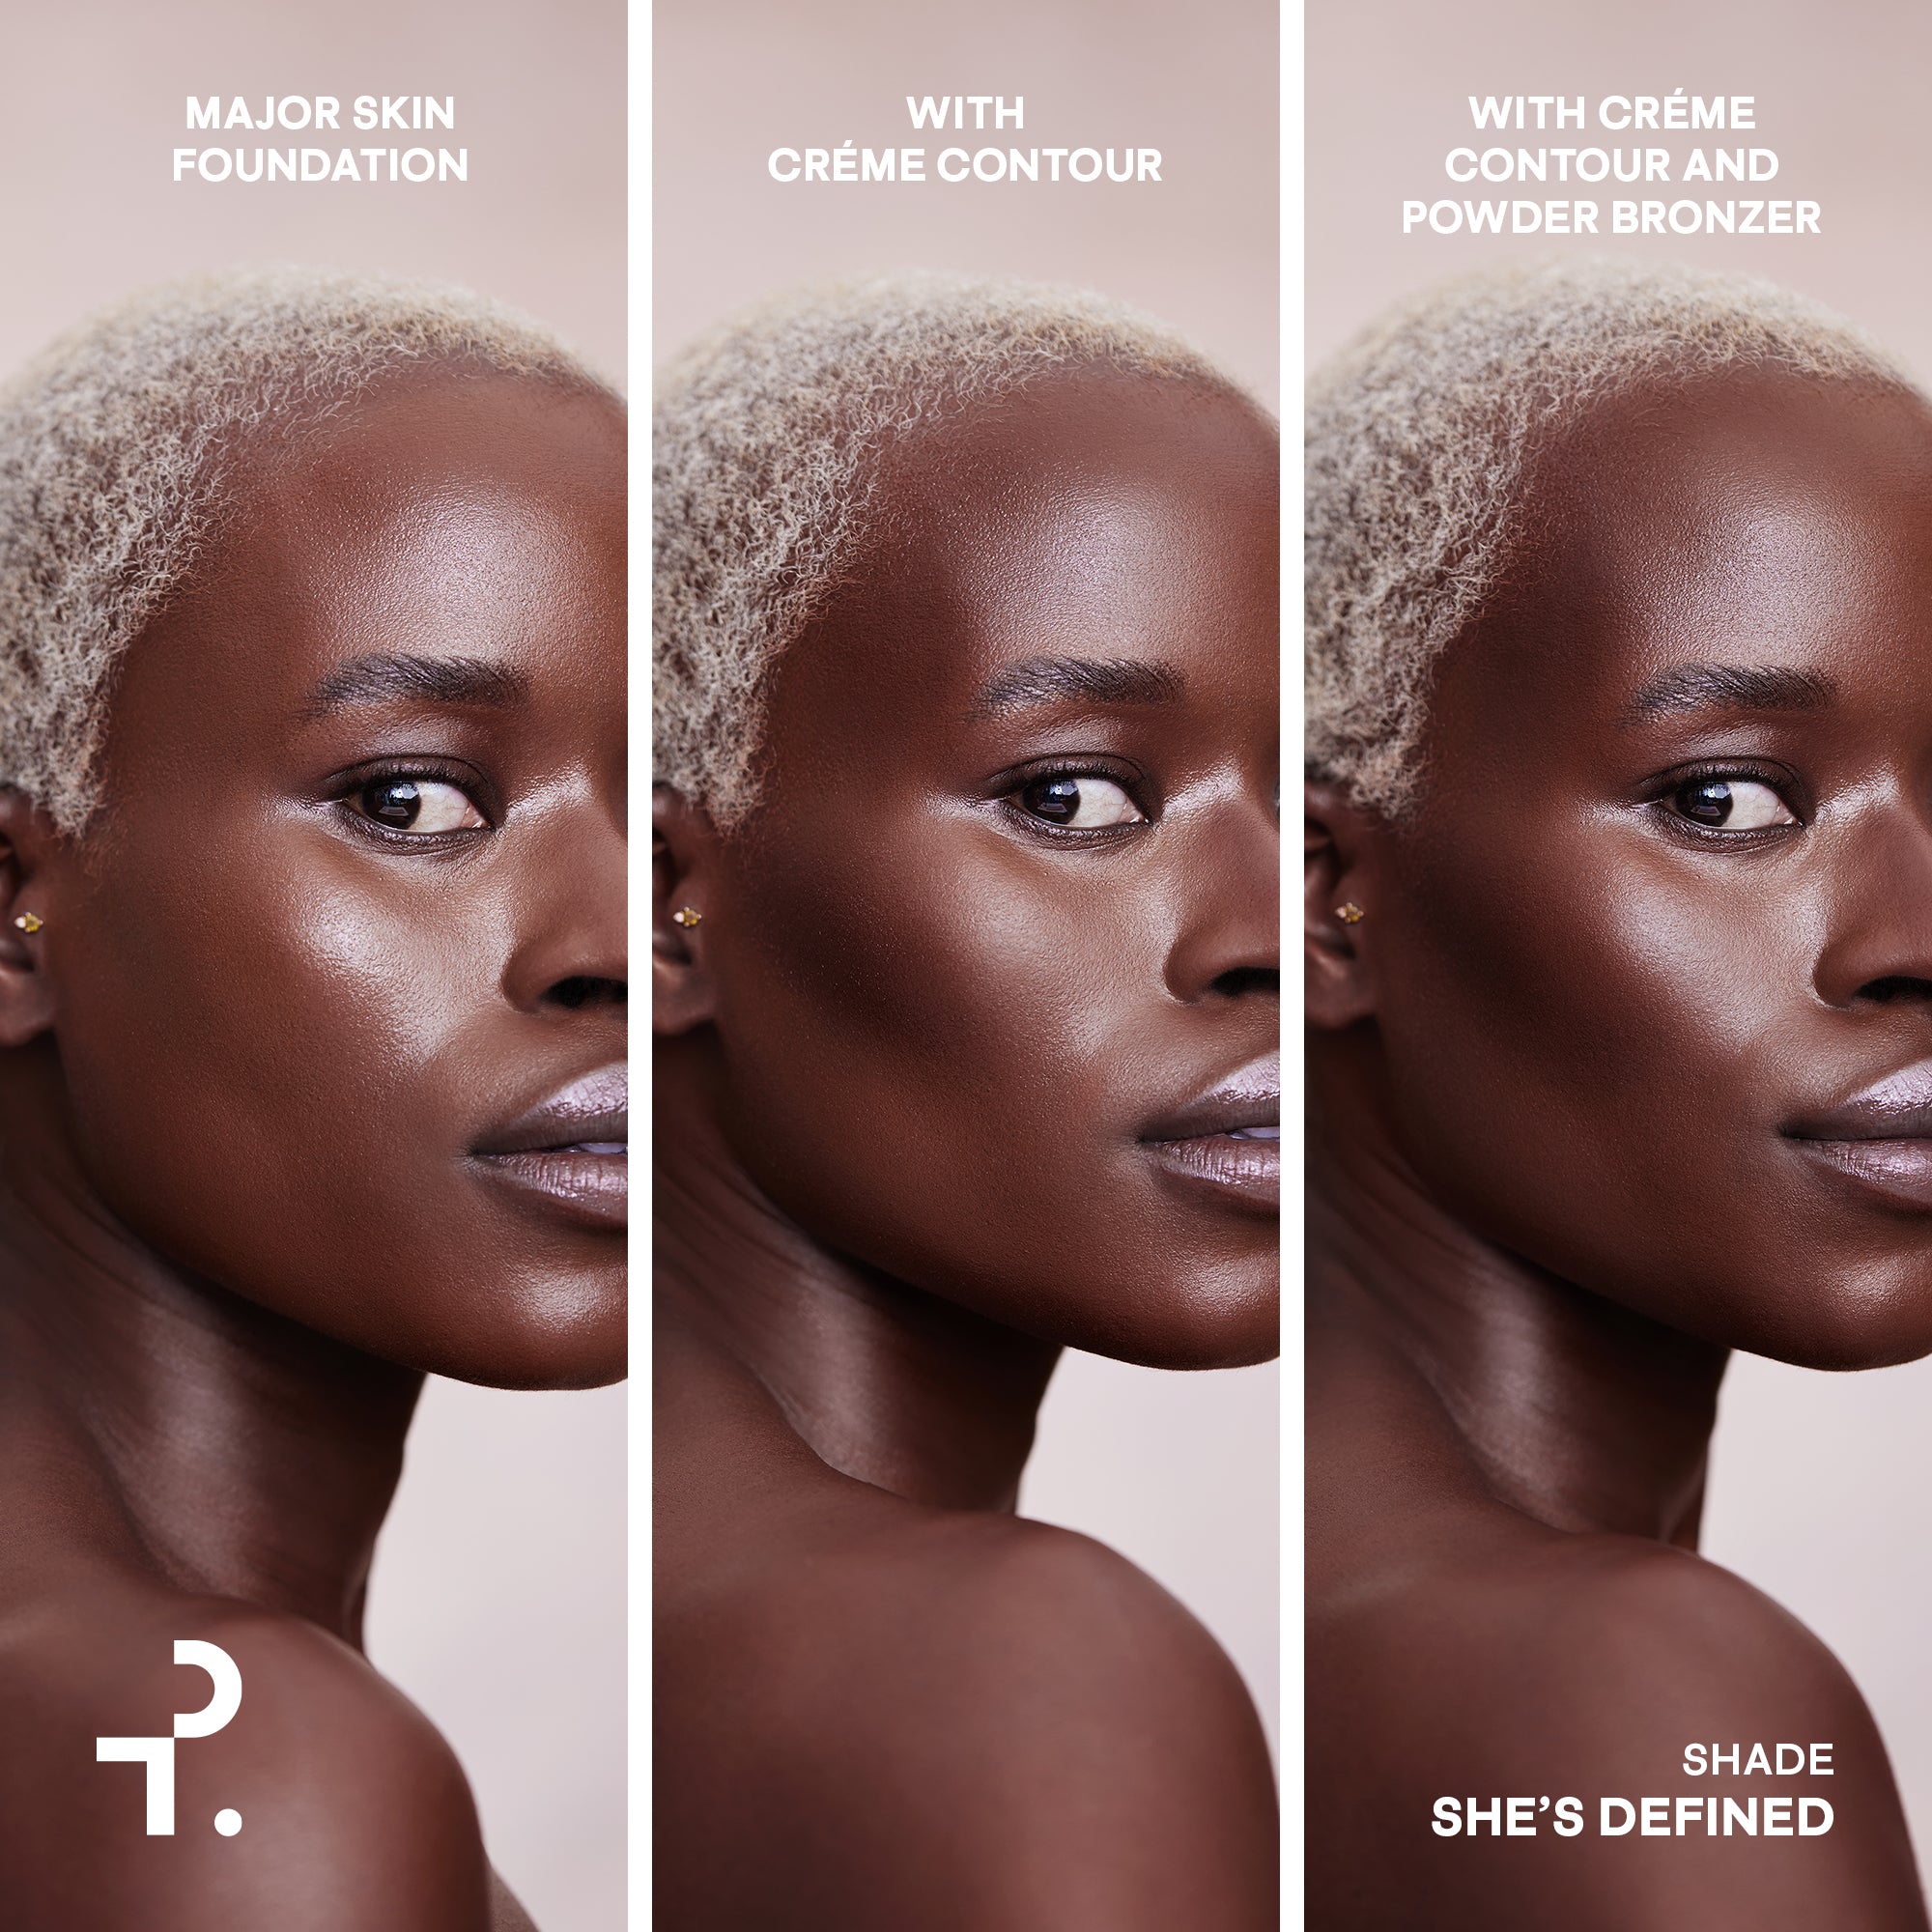
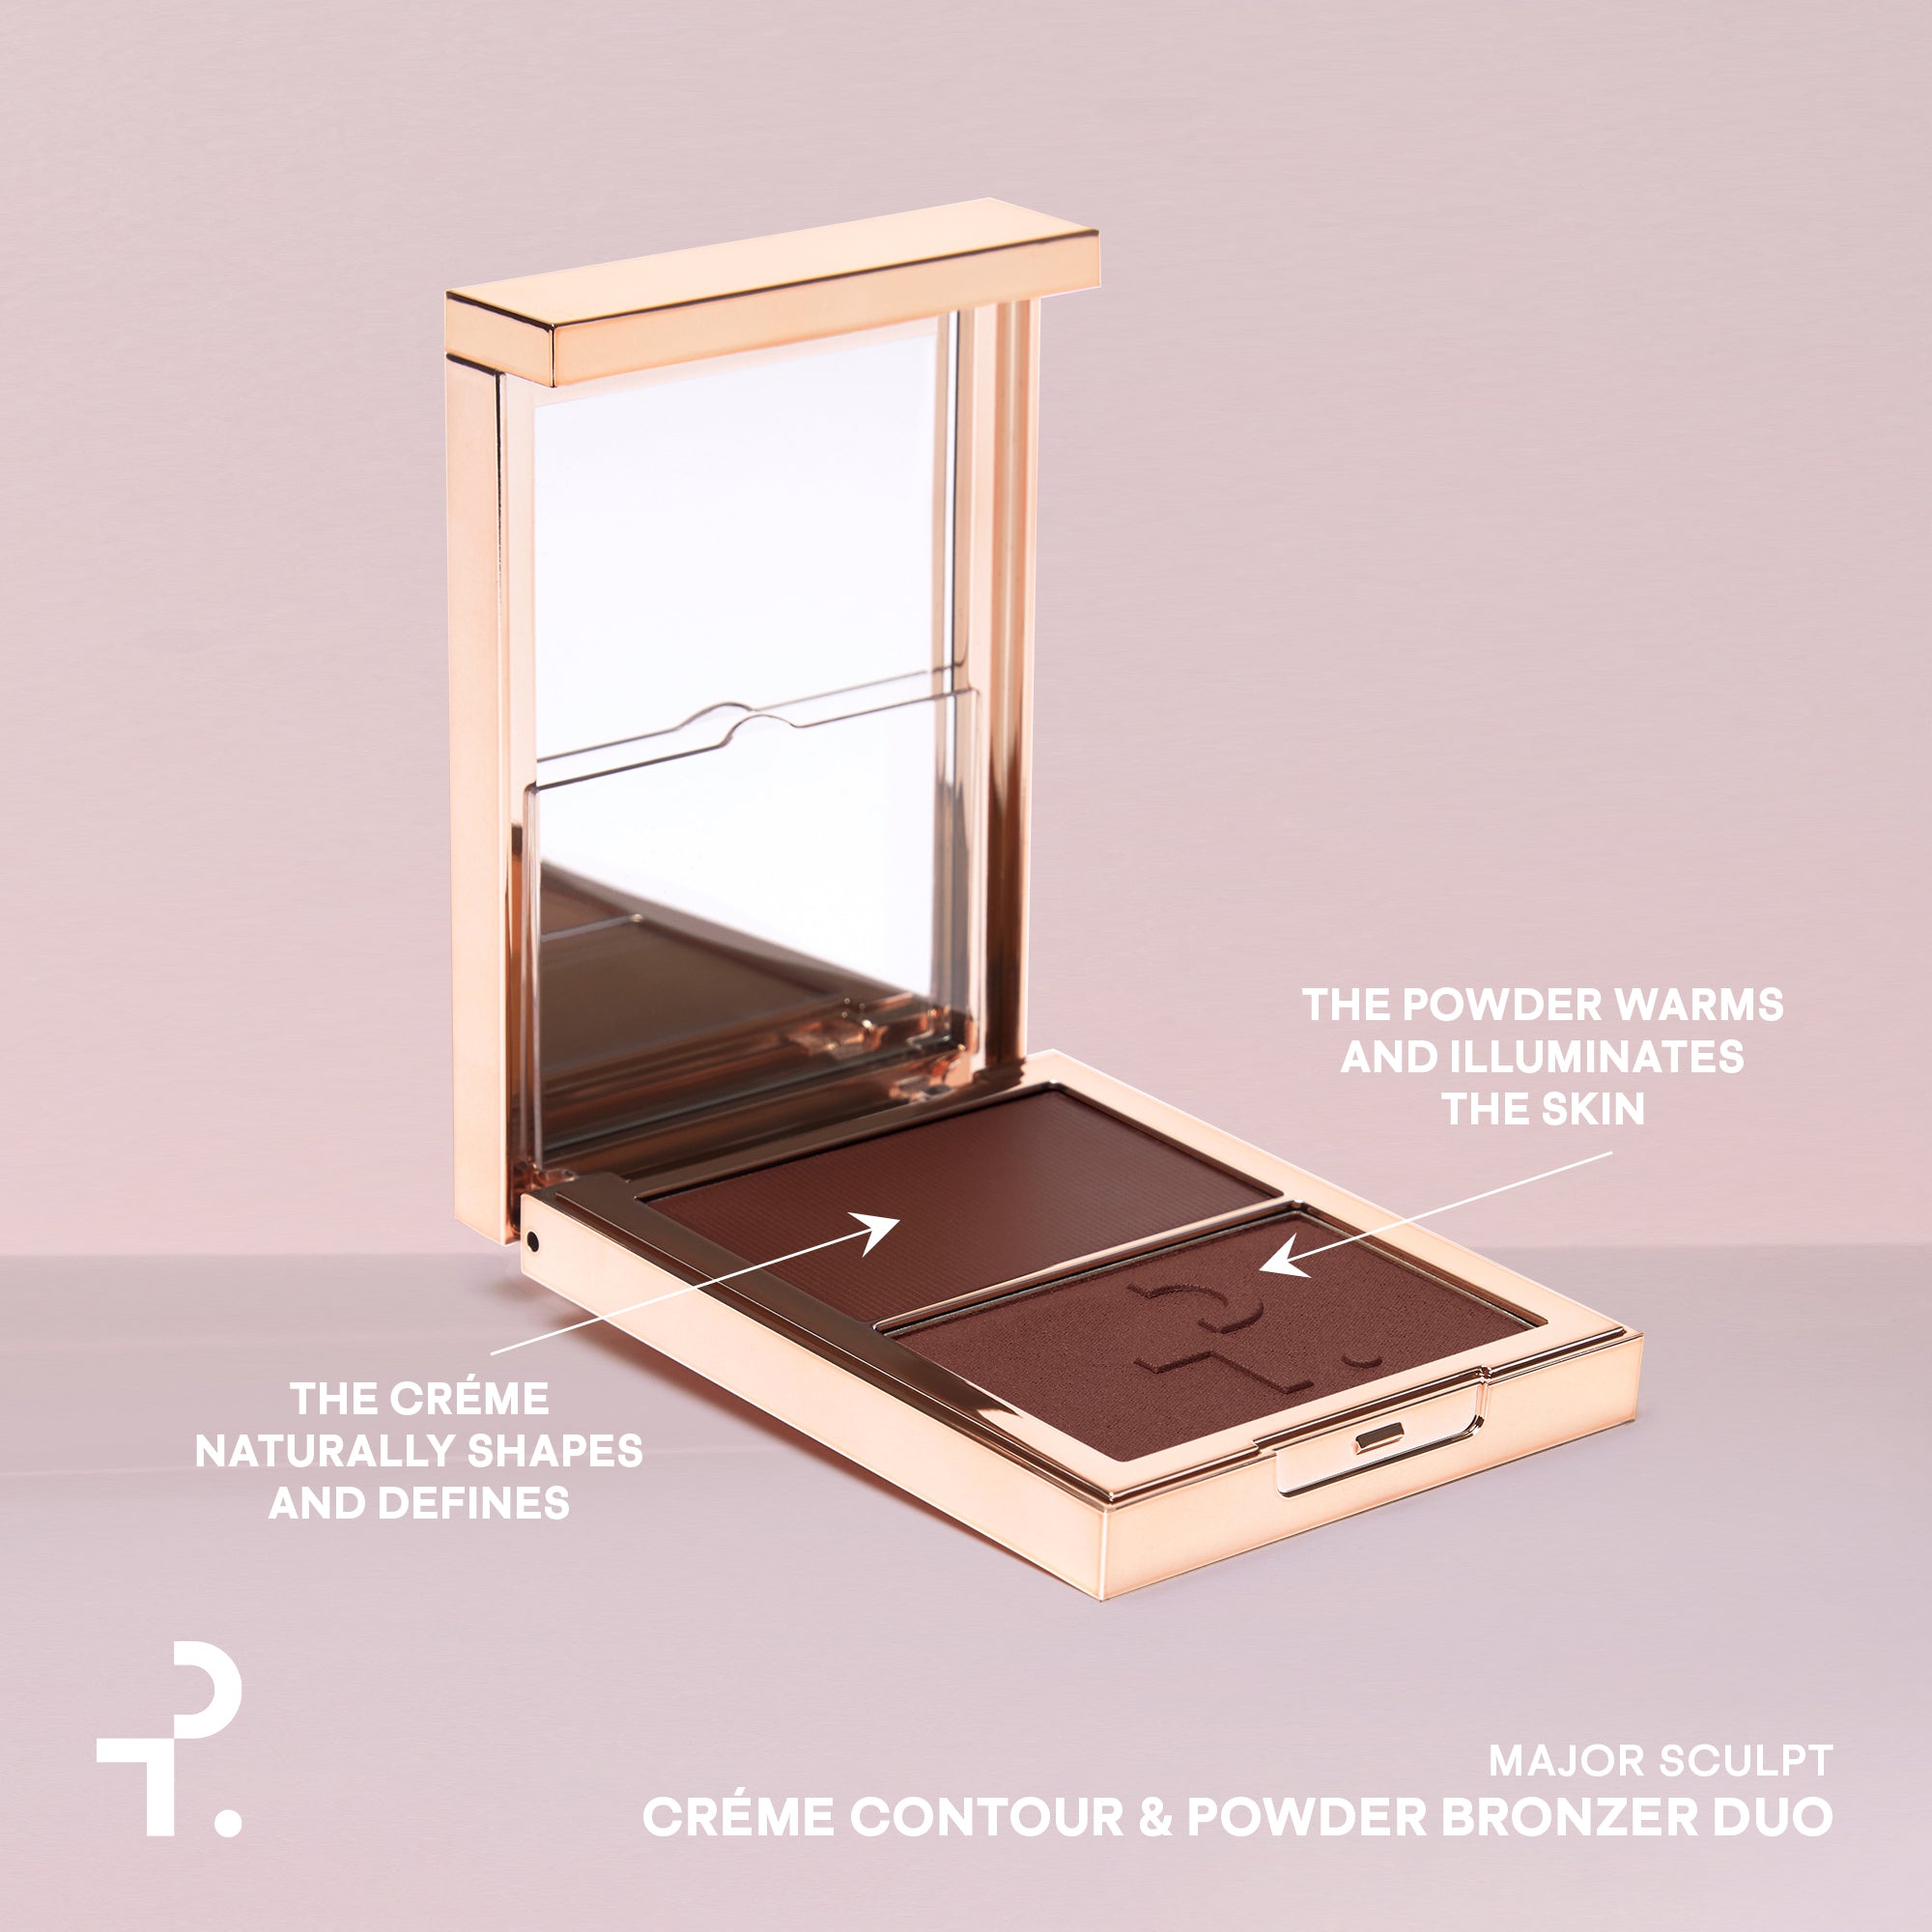
If you want to create a glowy and chiseled look, use a bronzer and contour together. This is the perfect duo for snatched, summery skin. That said, you can use both products on their own, depending on the beauty look you want to achieve.

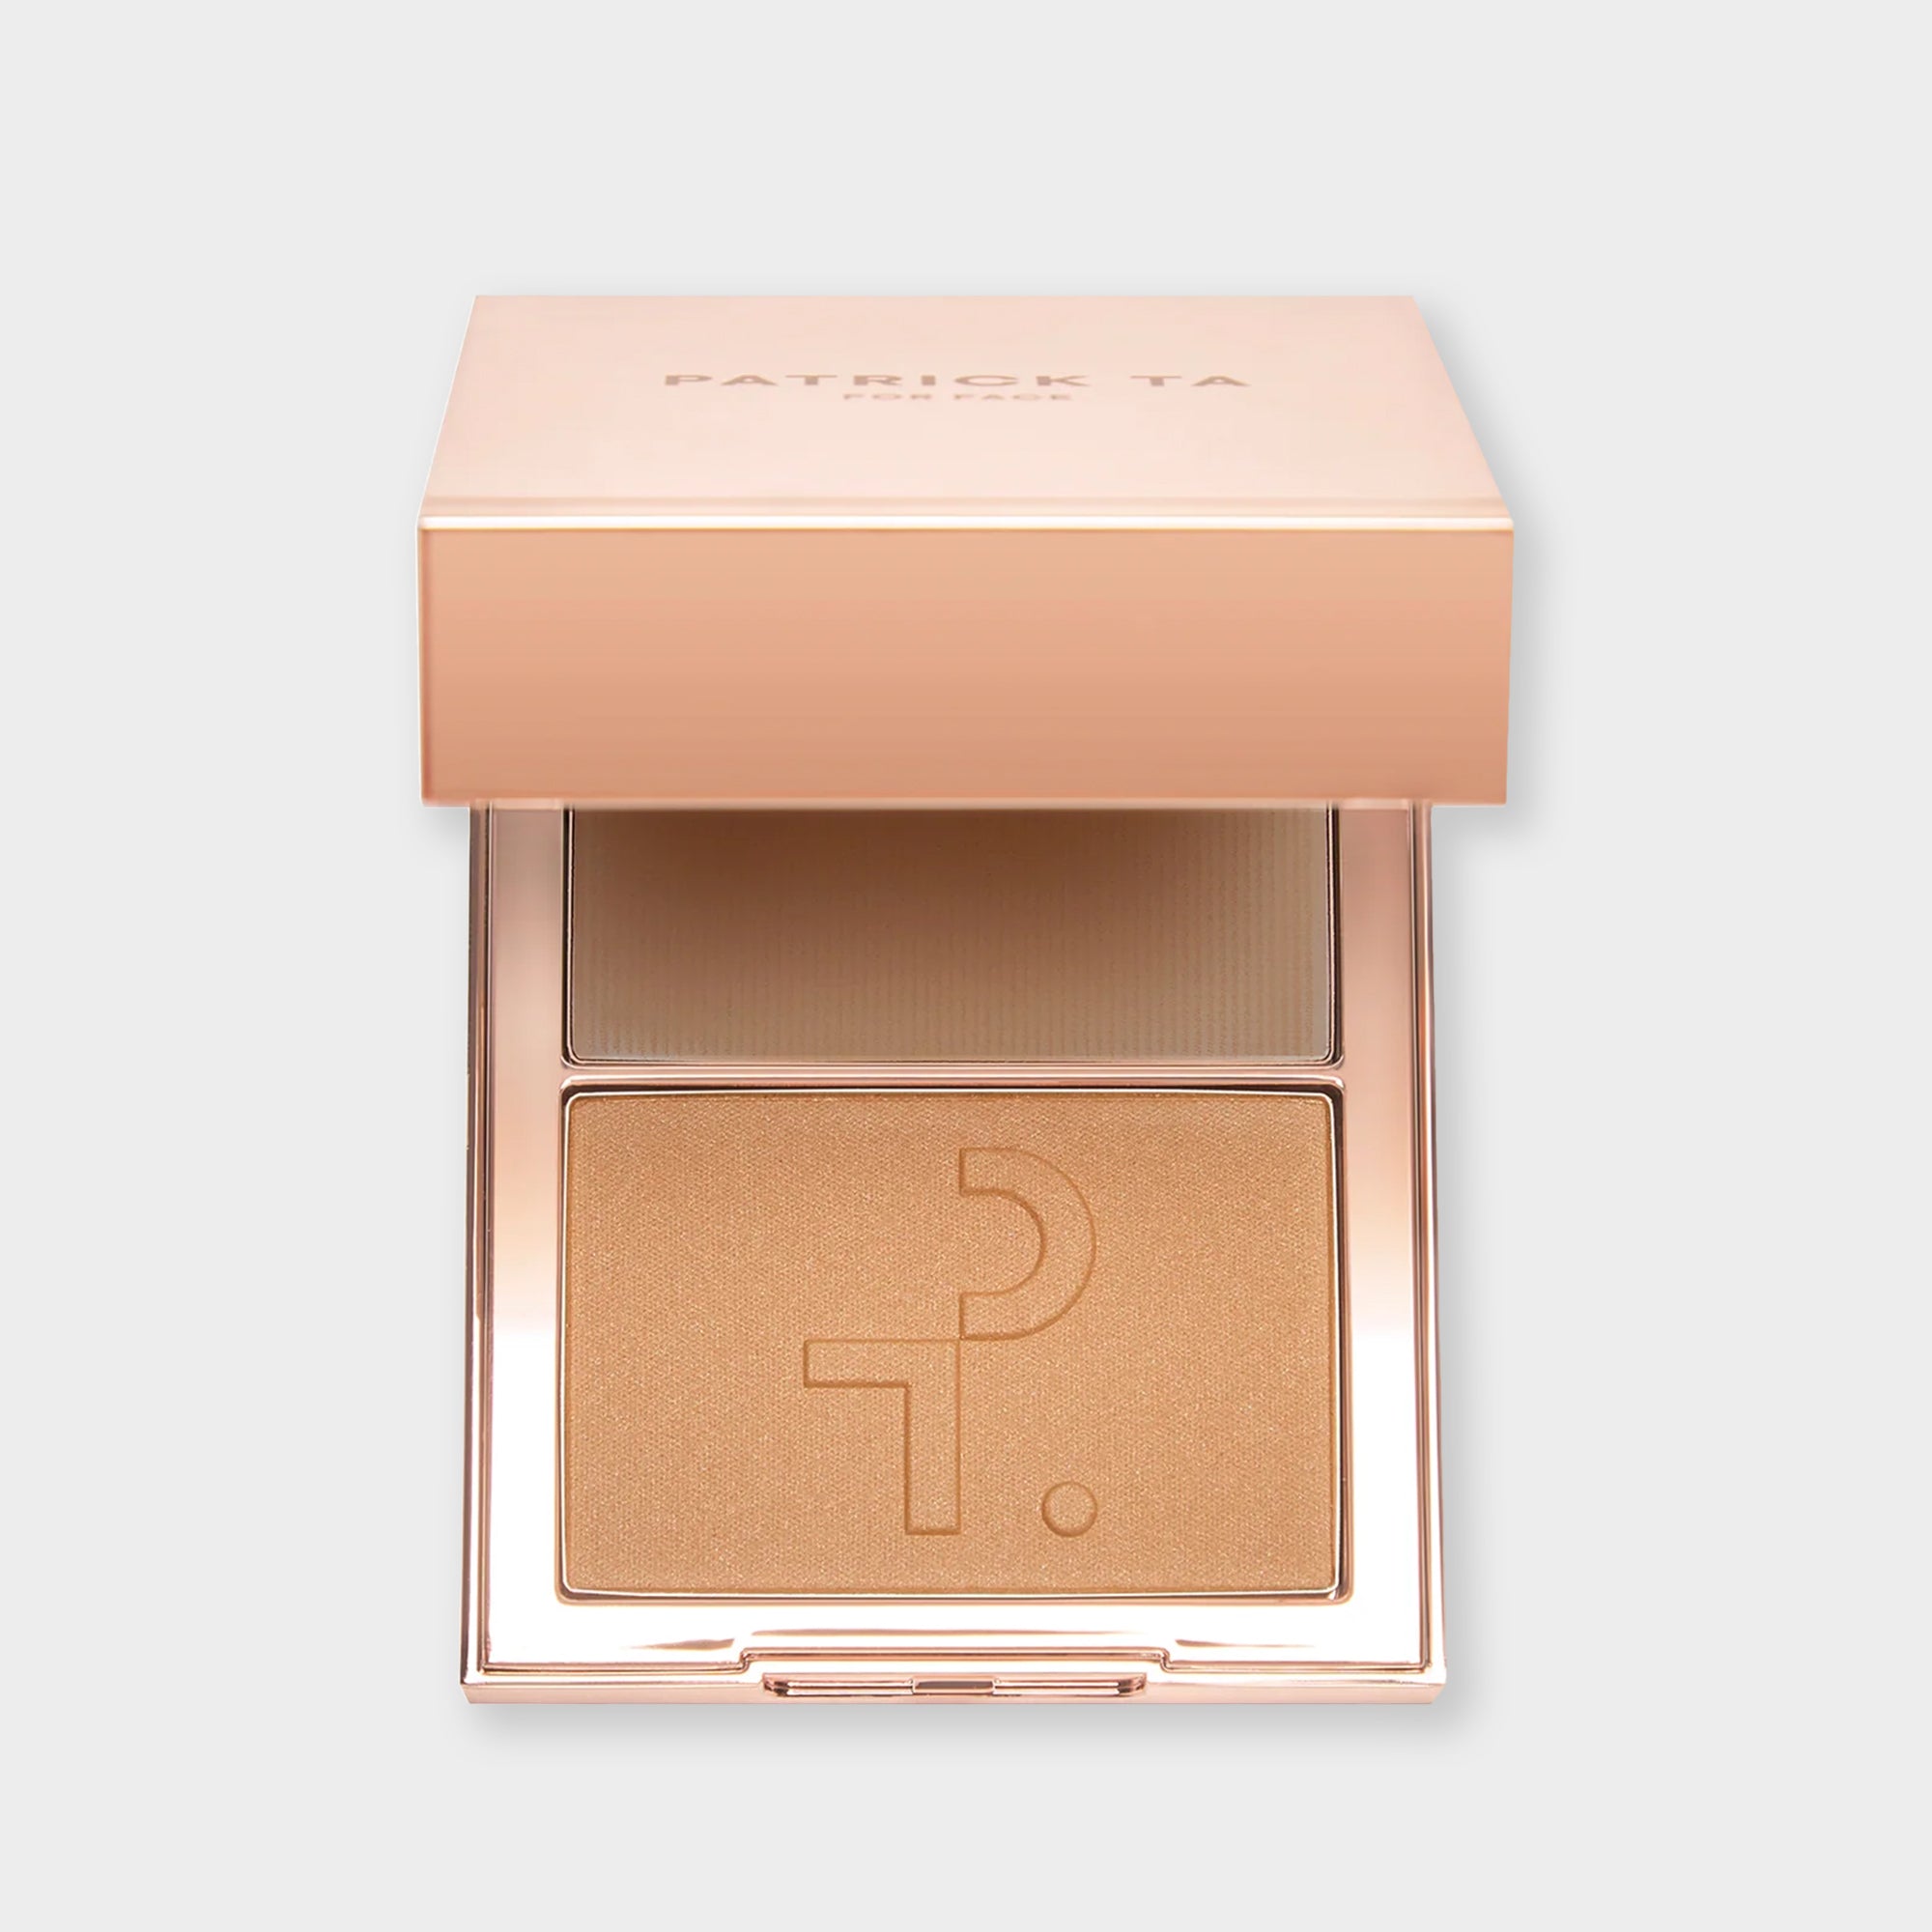
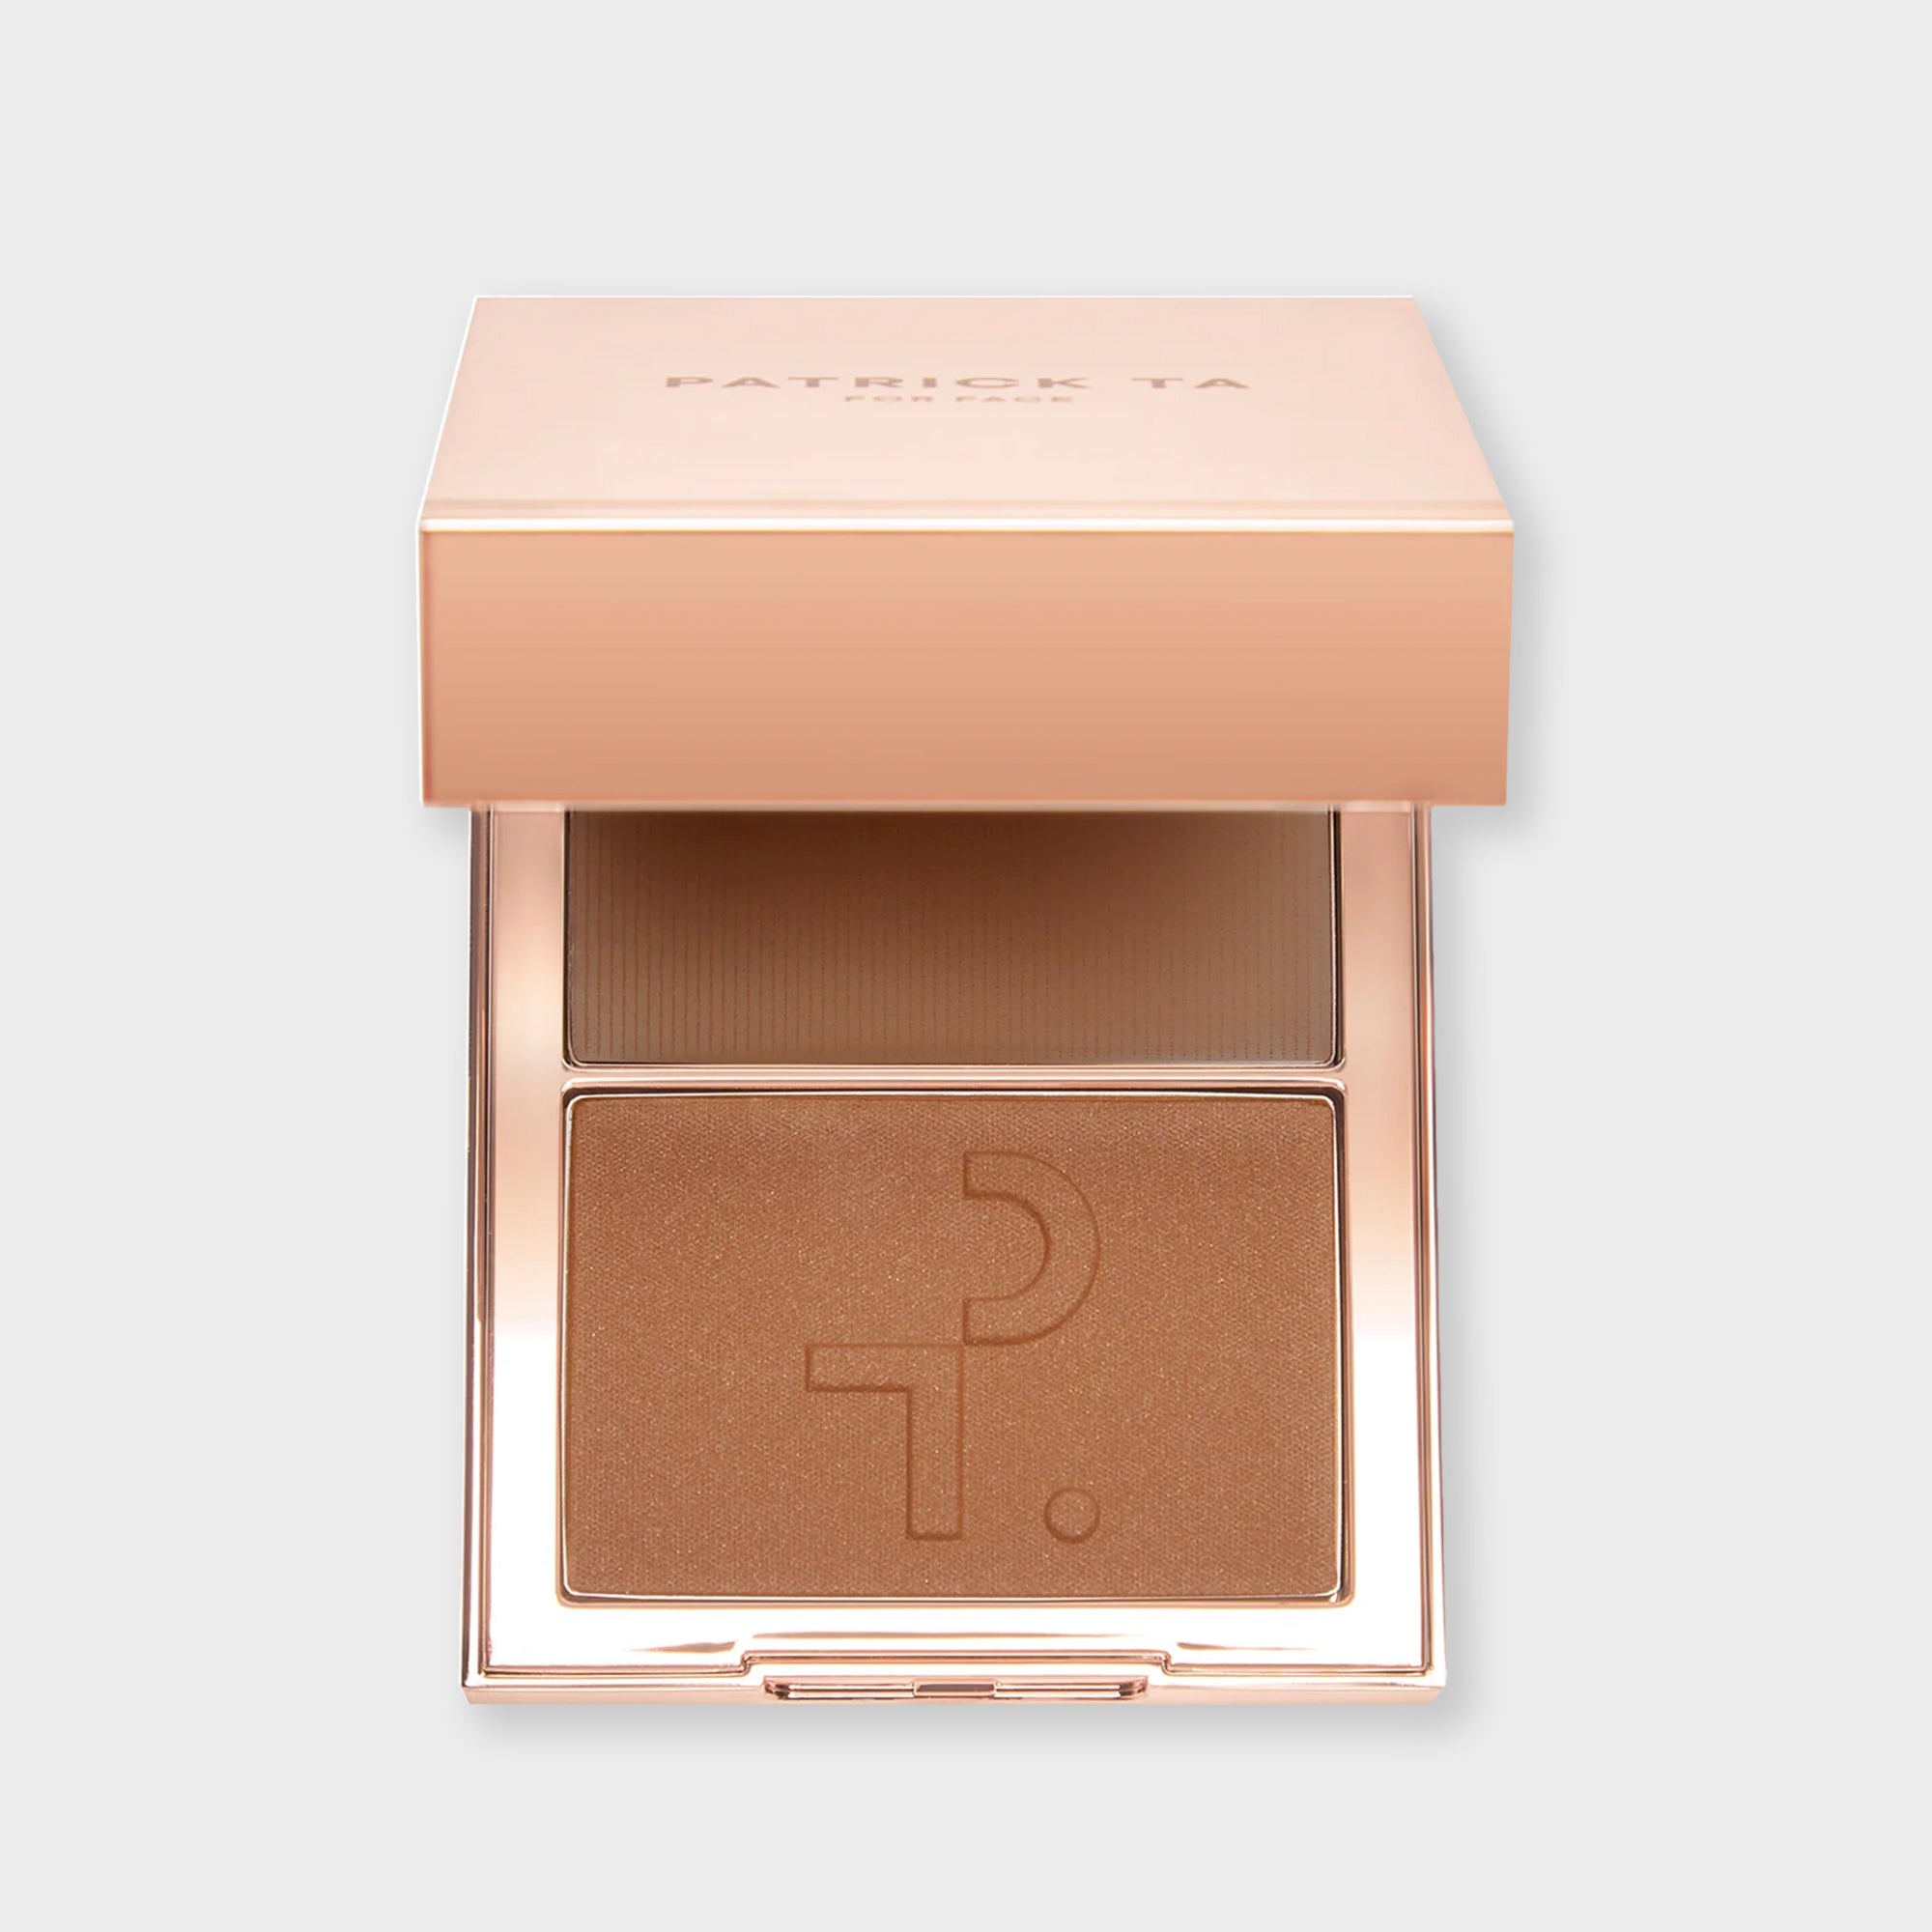
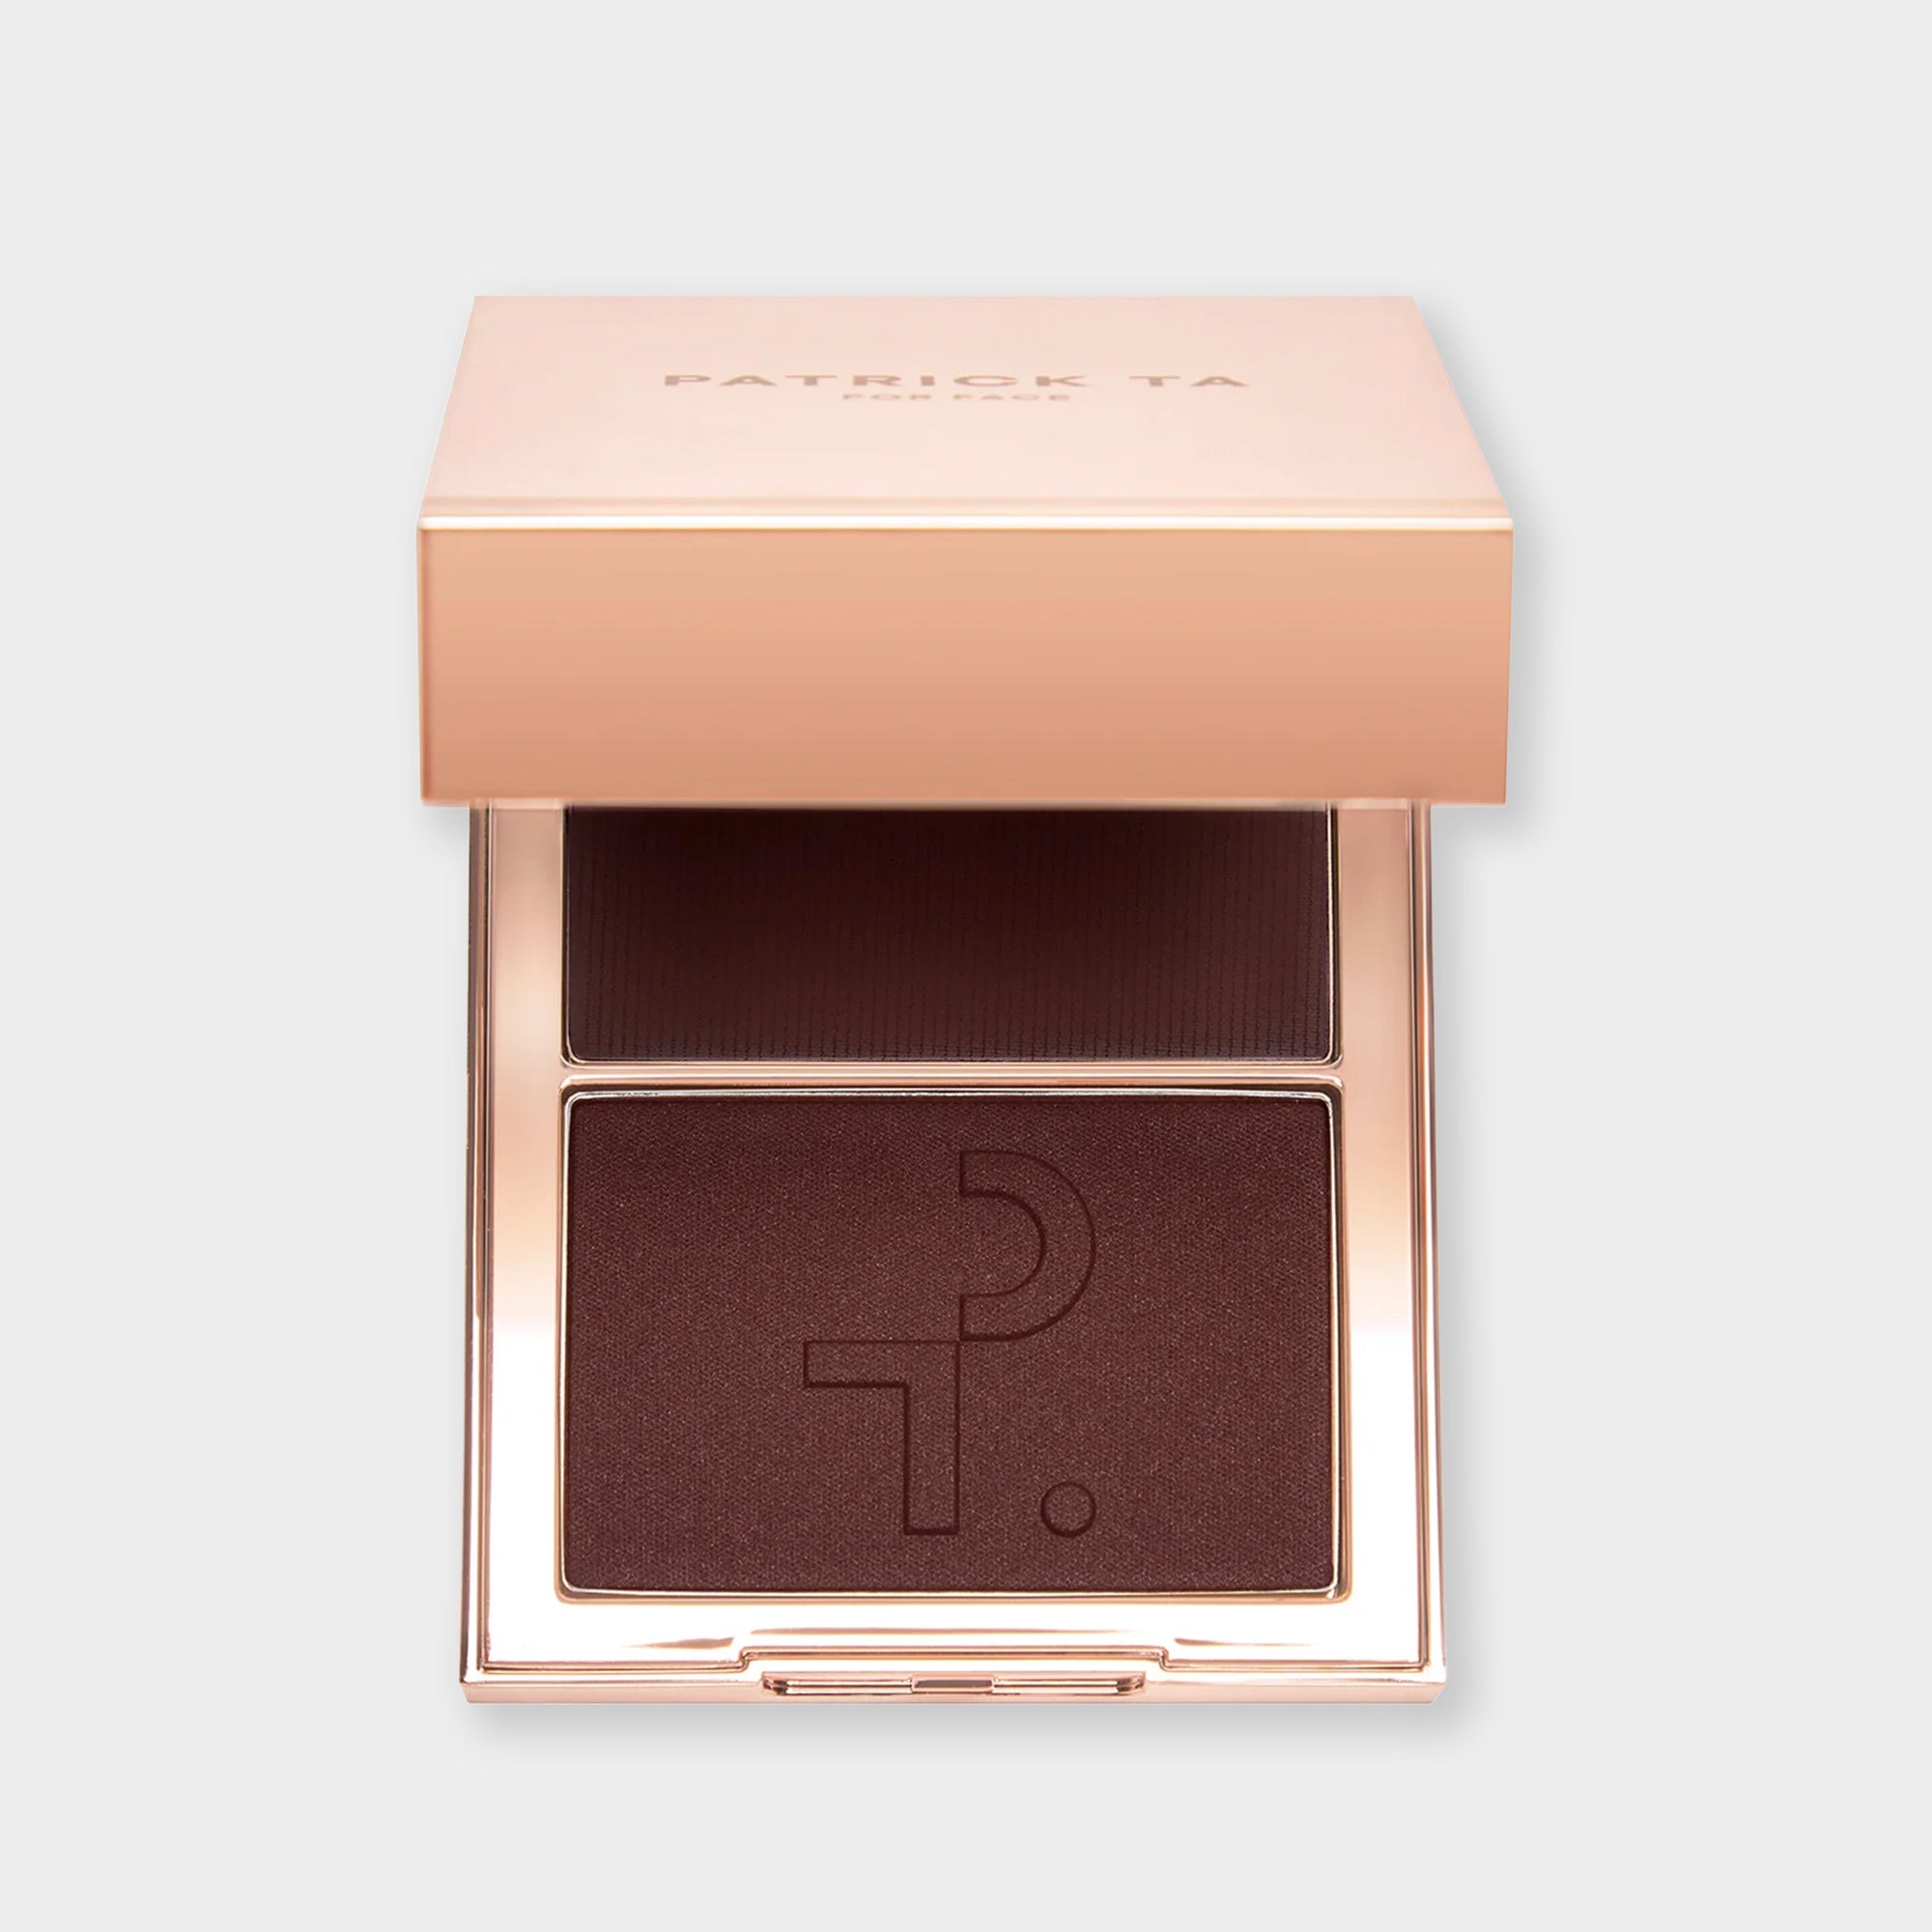
Facial Contouring 101: A Step-by-Step Guide
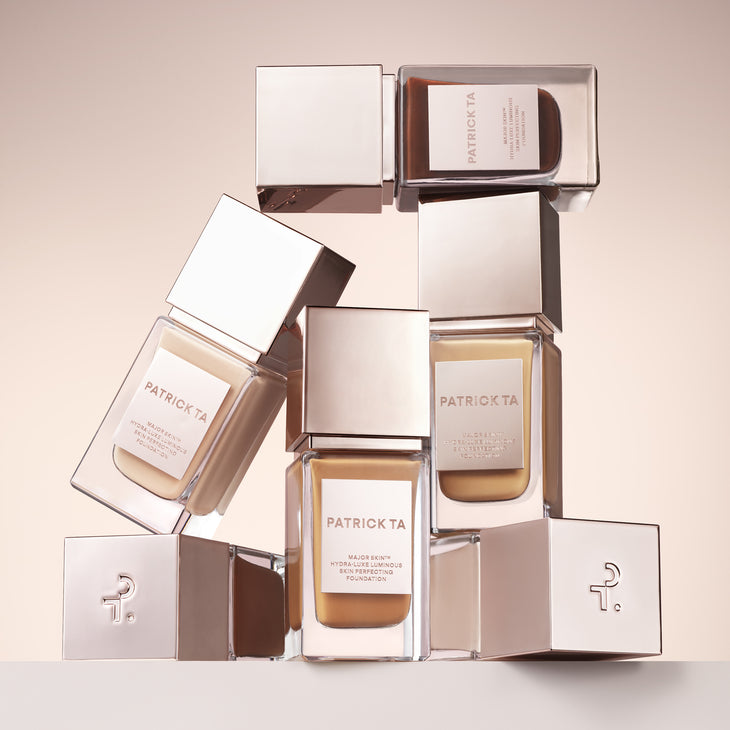
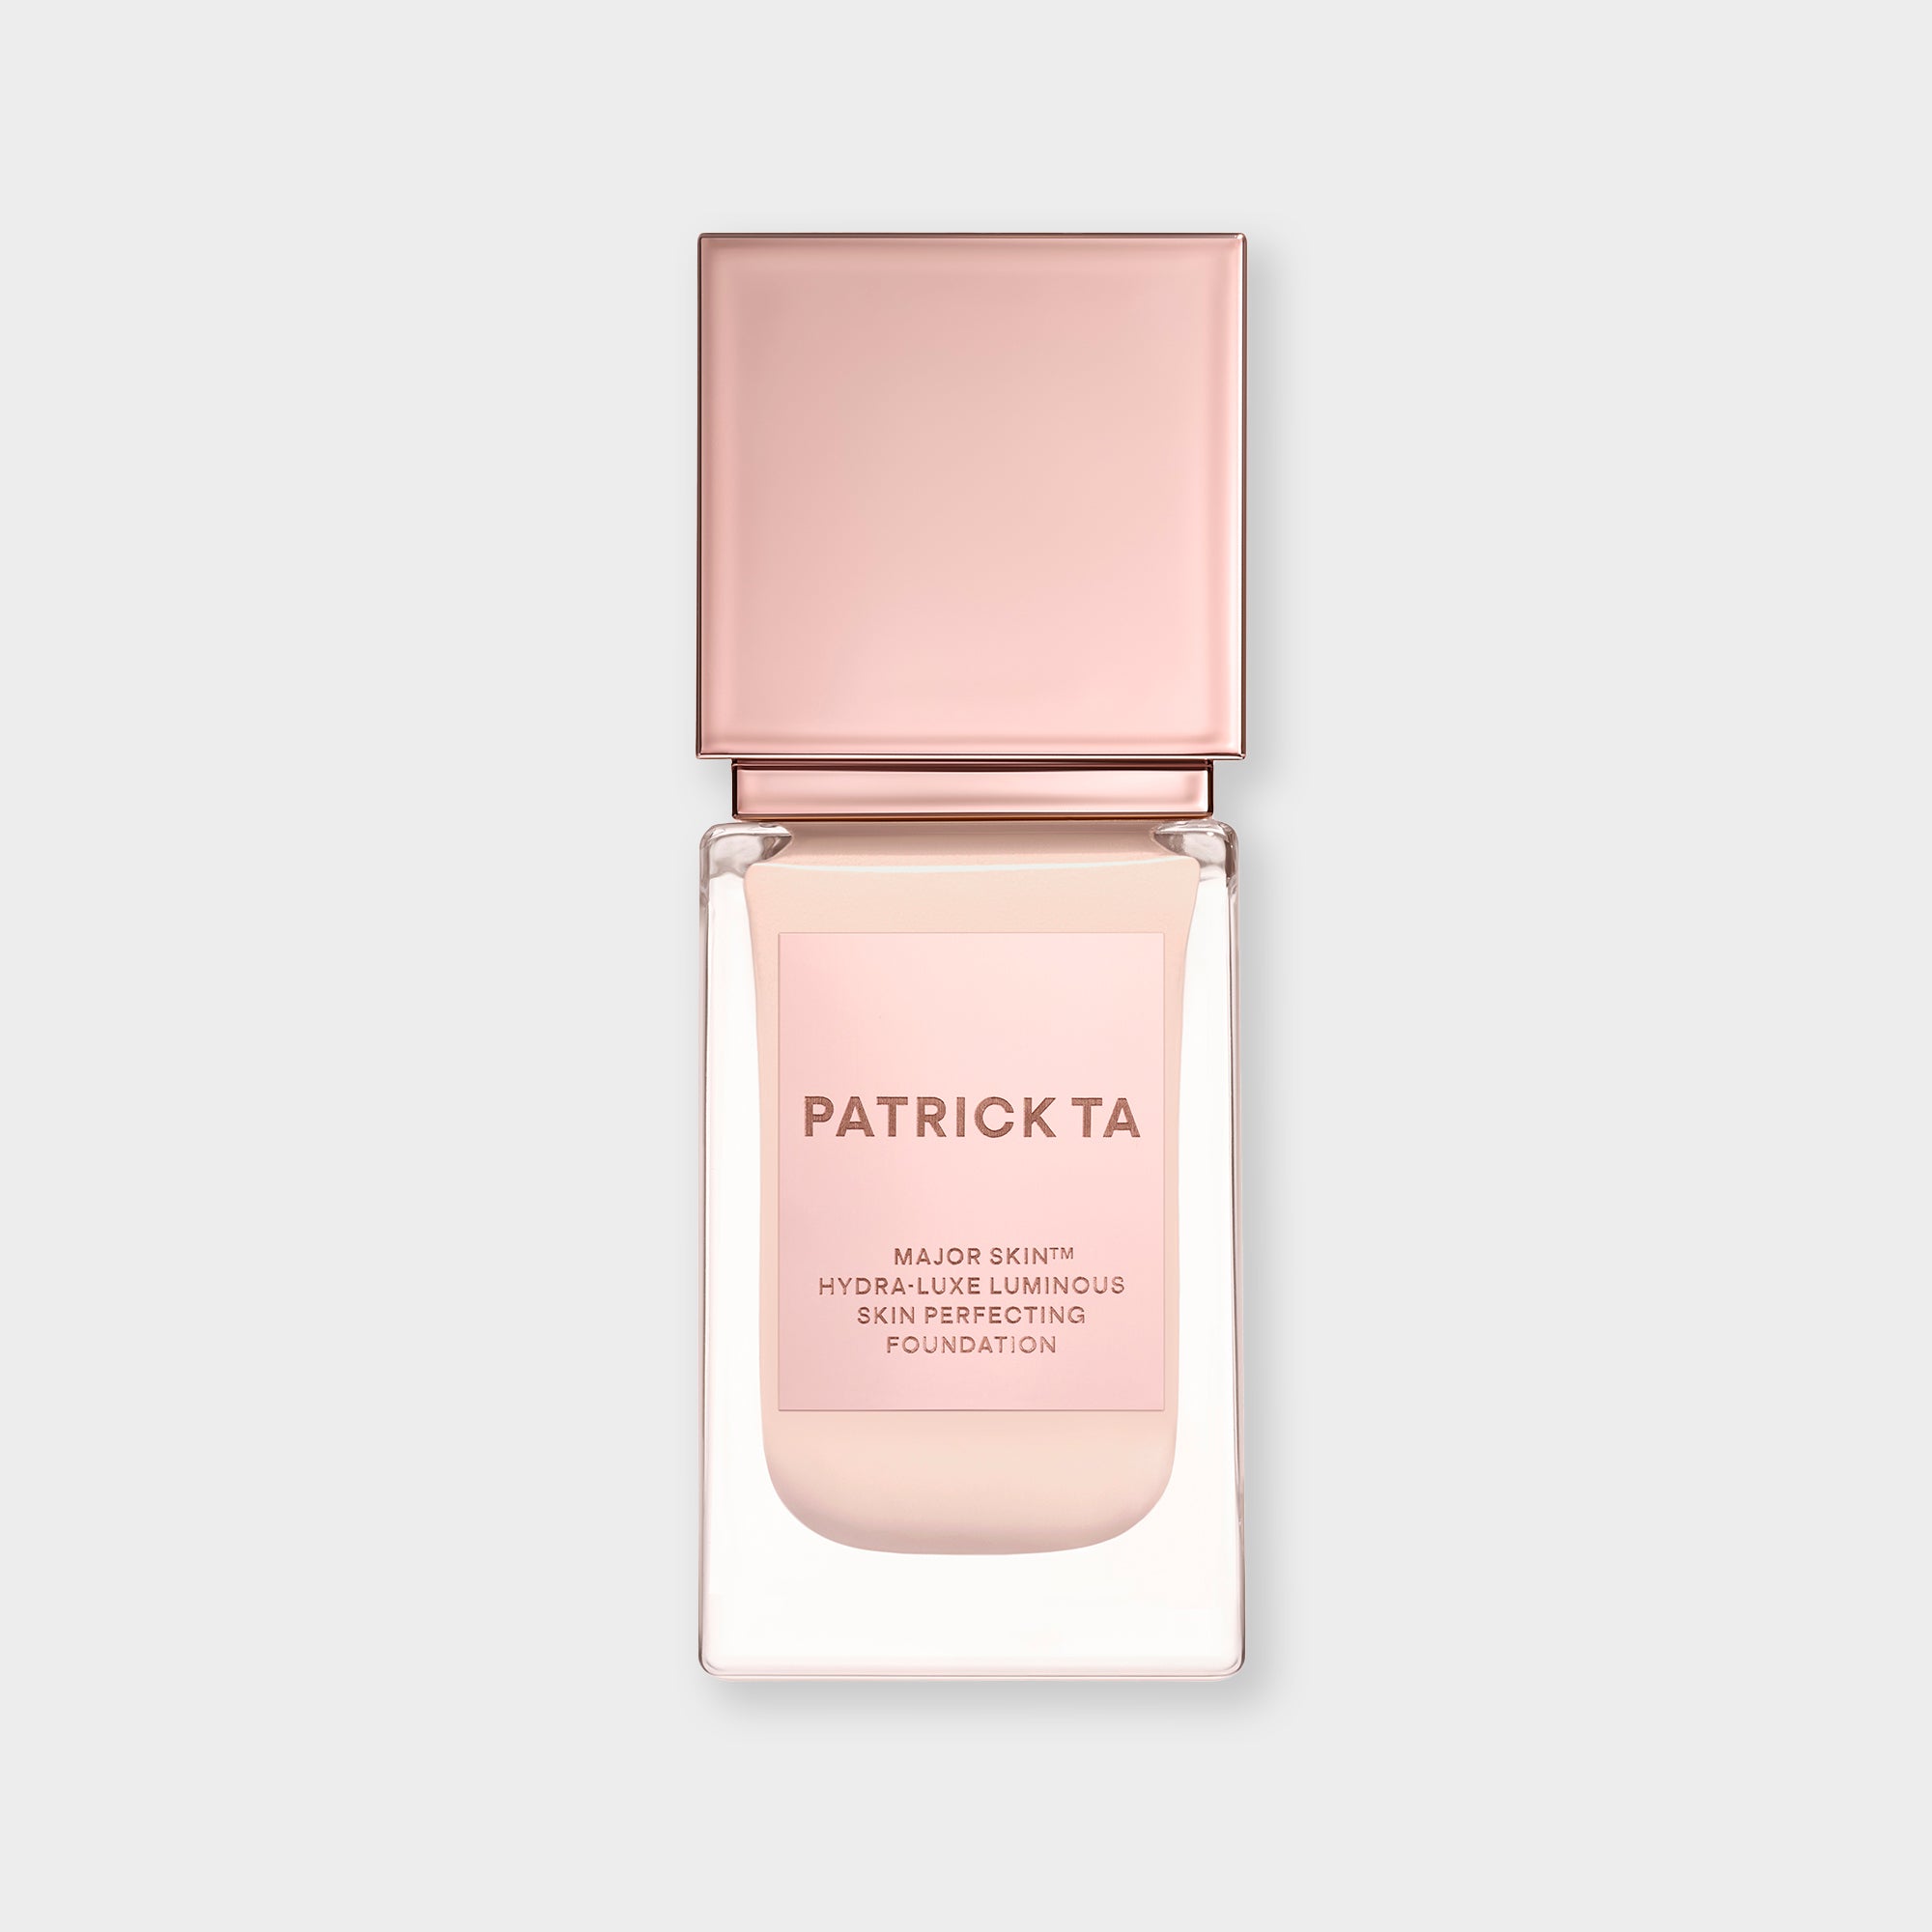
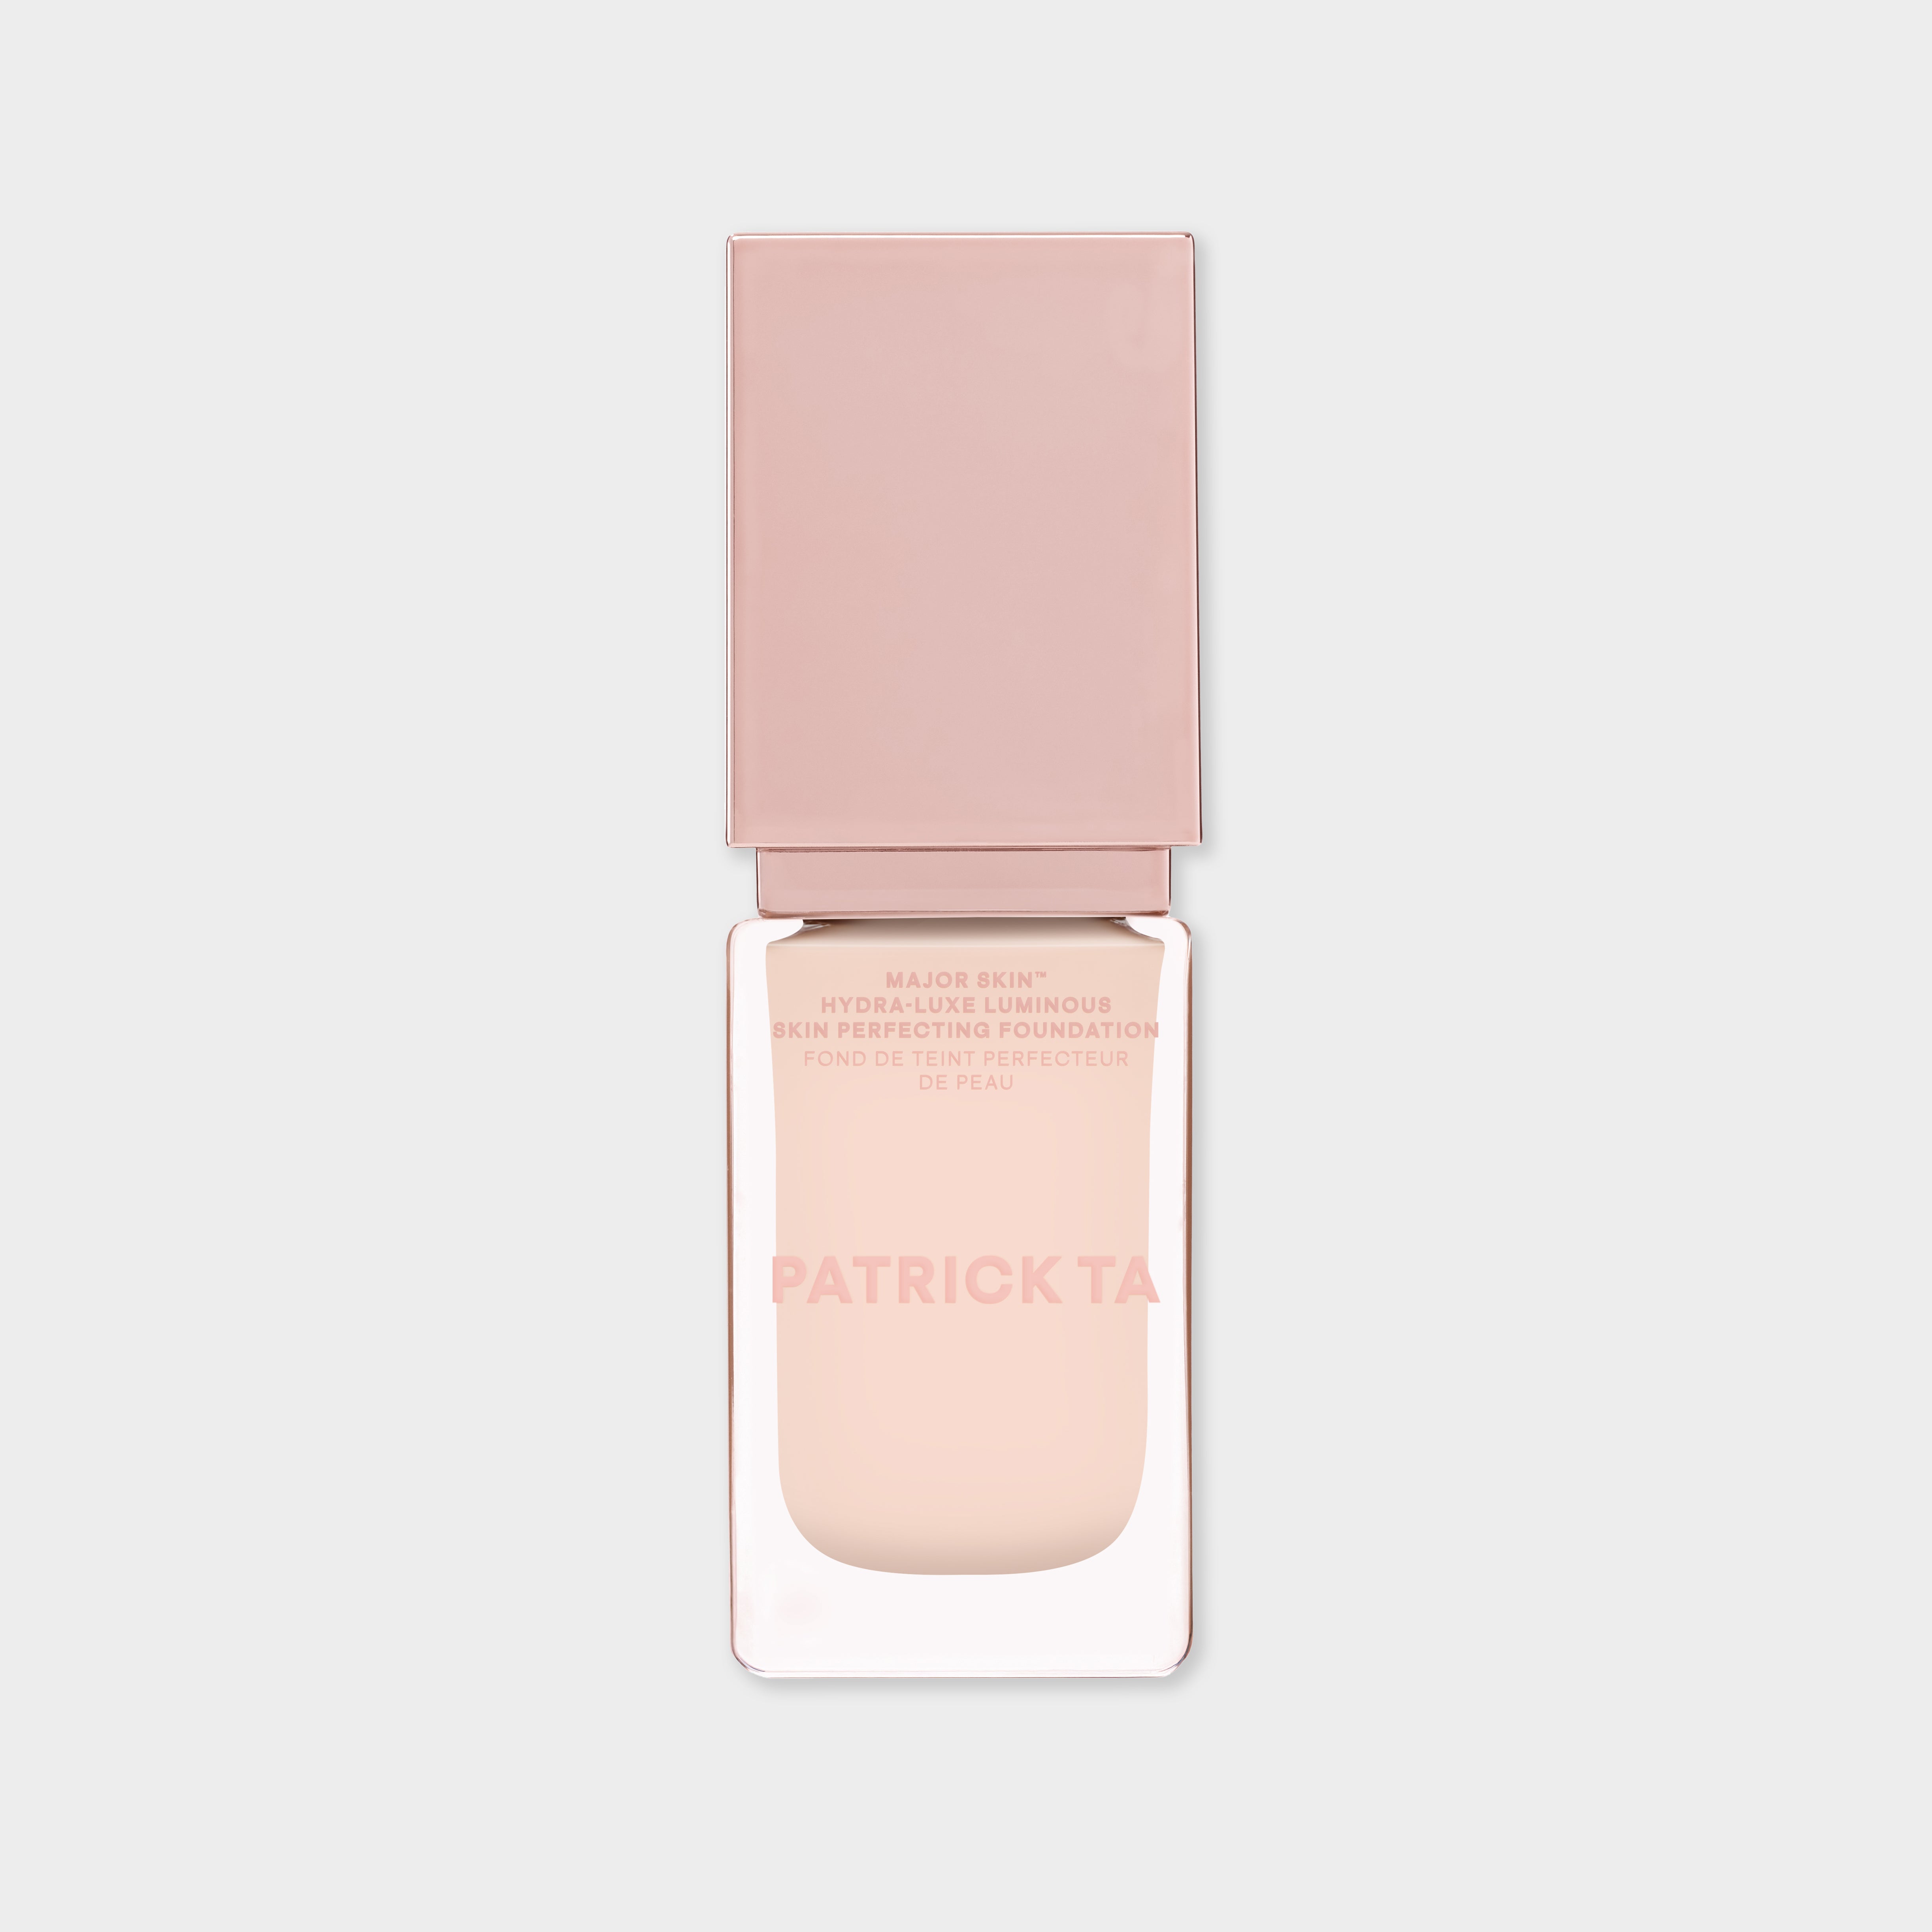
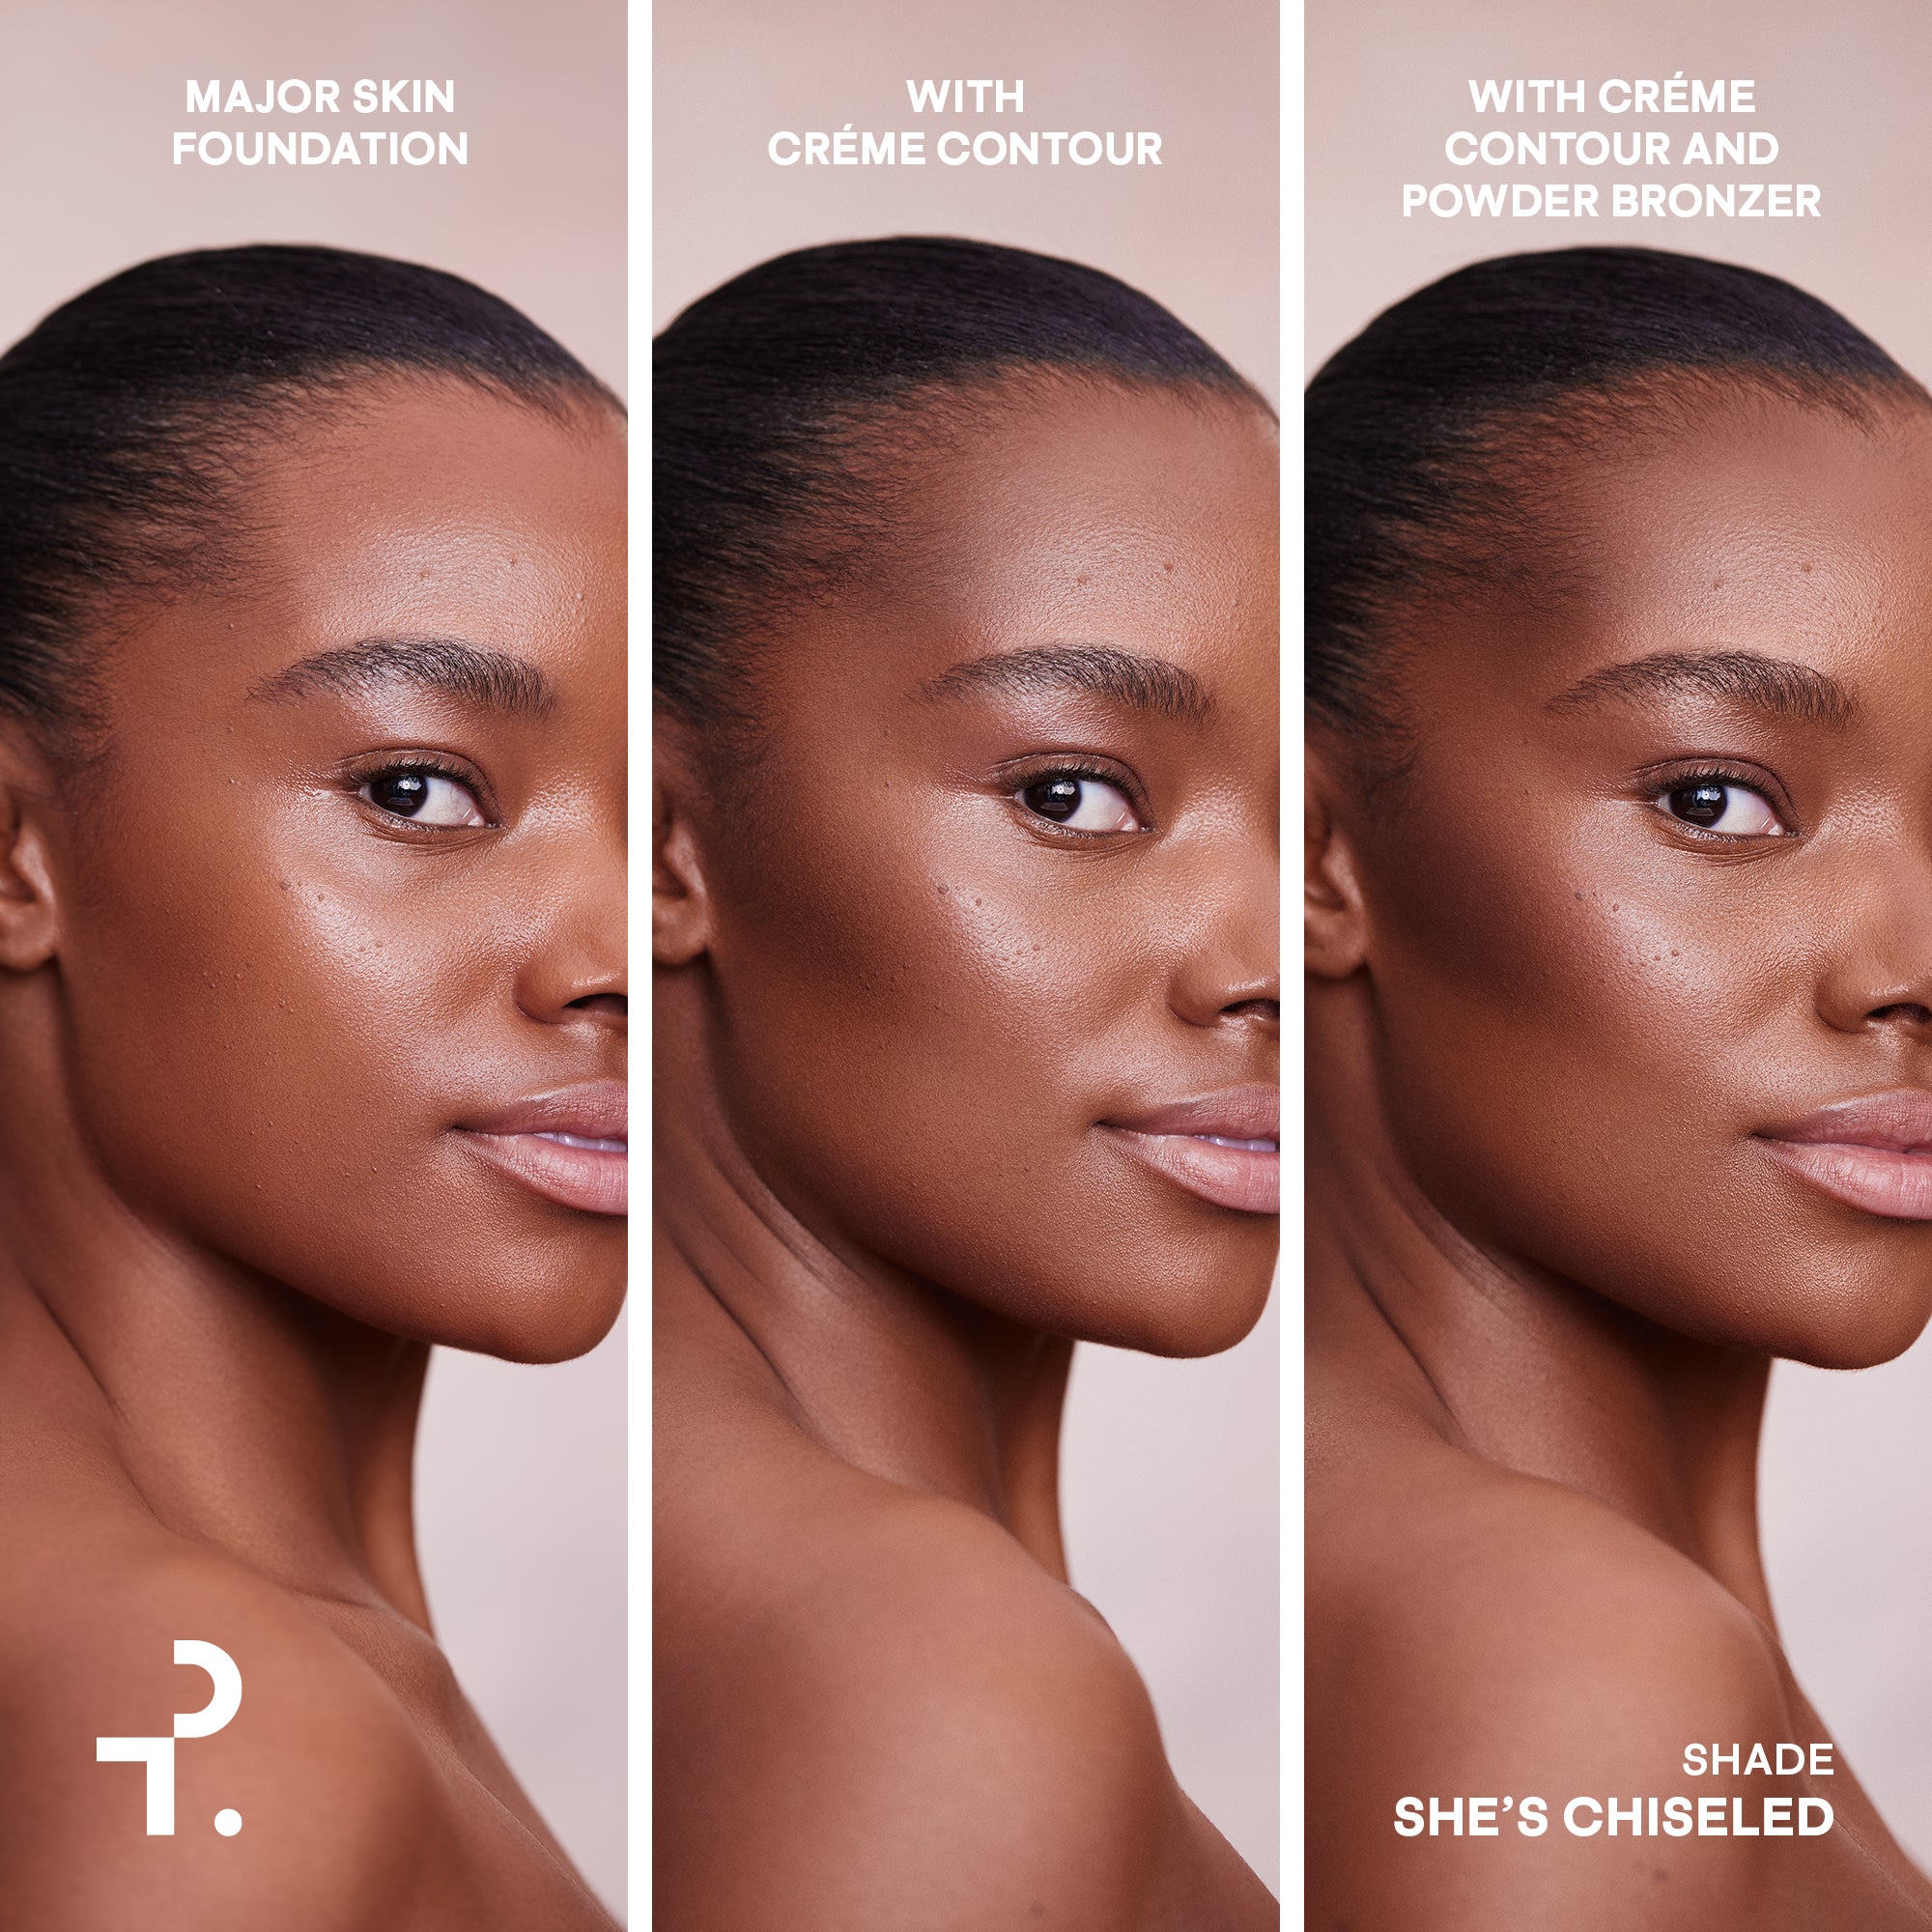
Ready to chisel? For a flawless contour, start with a smooth base. The Major Skin Hydra-Luxe Luminous Skin Perfecting Foundation provides a radiant, hydrated finish, creating the ideal canvas for sculpting. Its lightweight, buildable coverage ensures your contour looks natural and seamless, enhancing your features effortlessly.
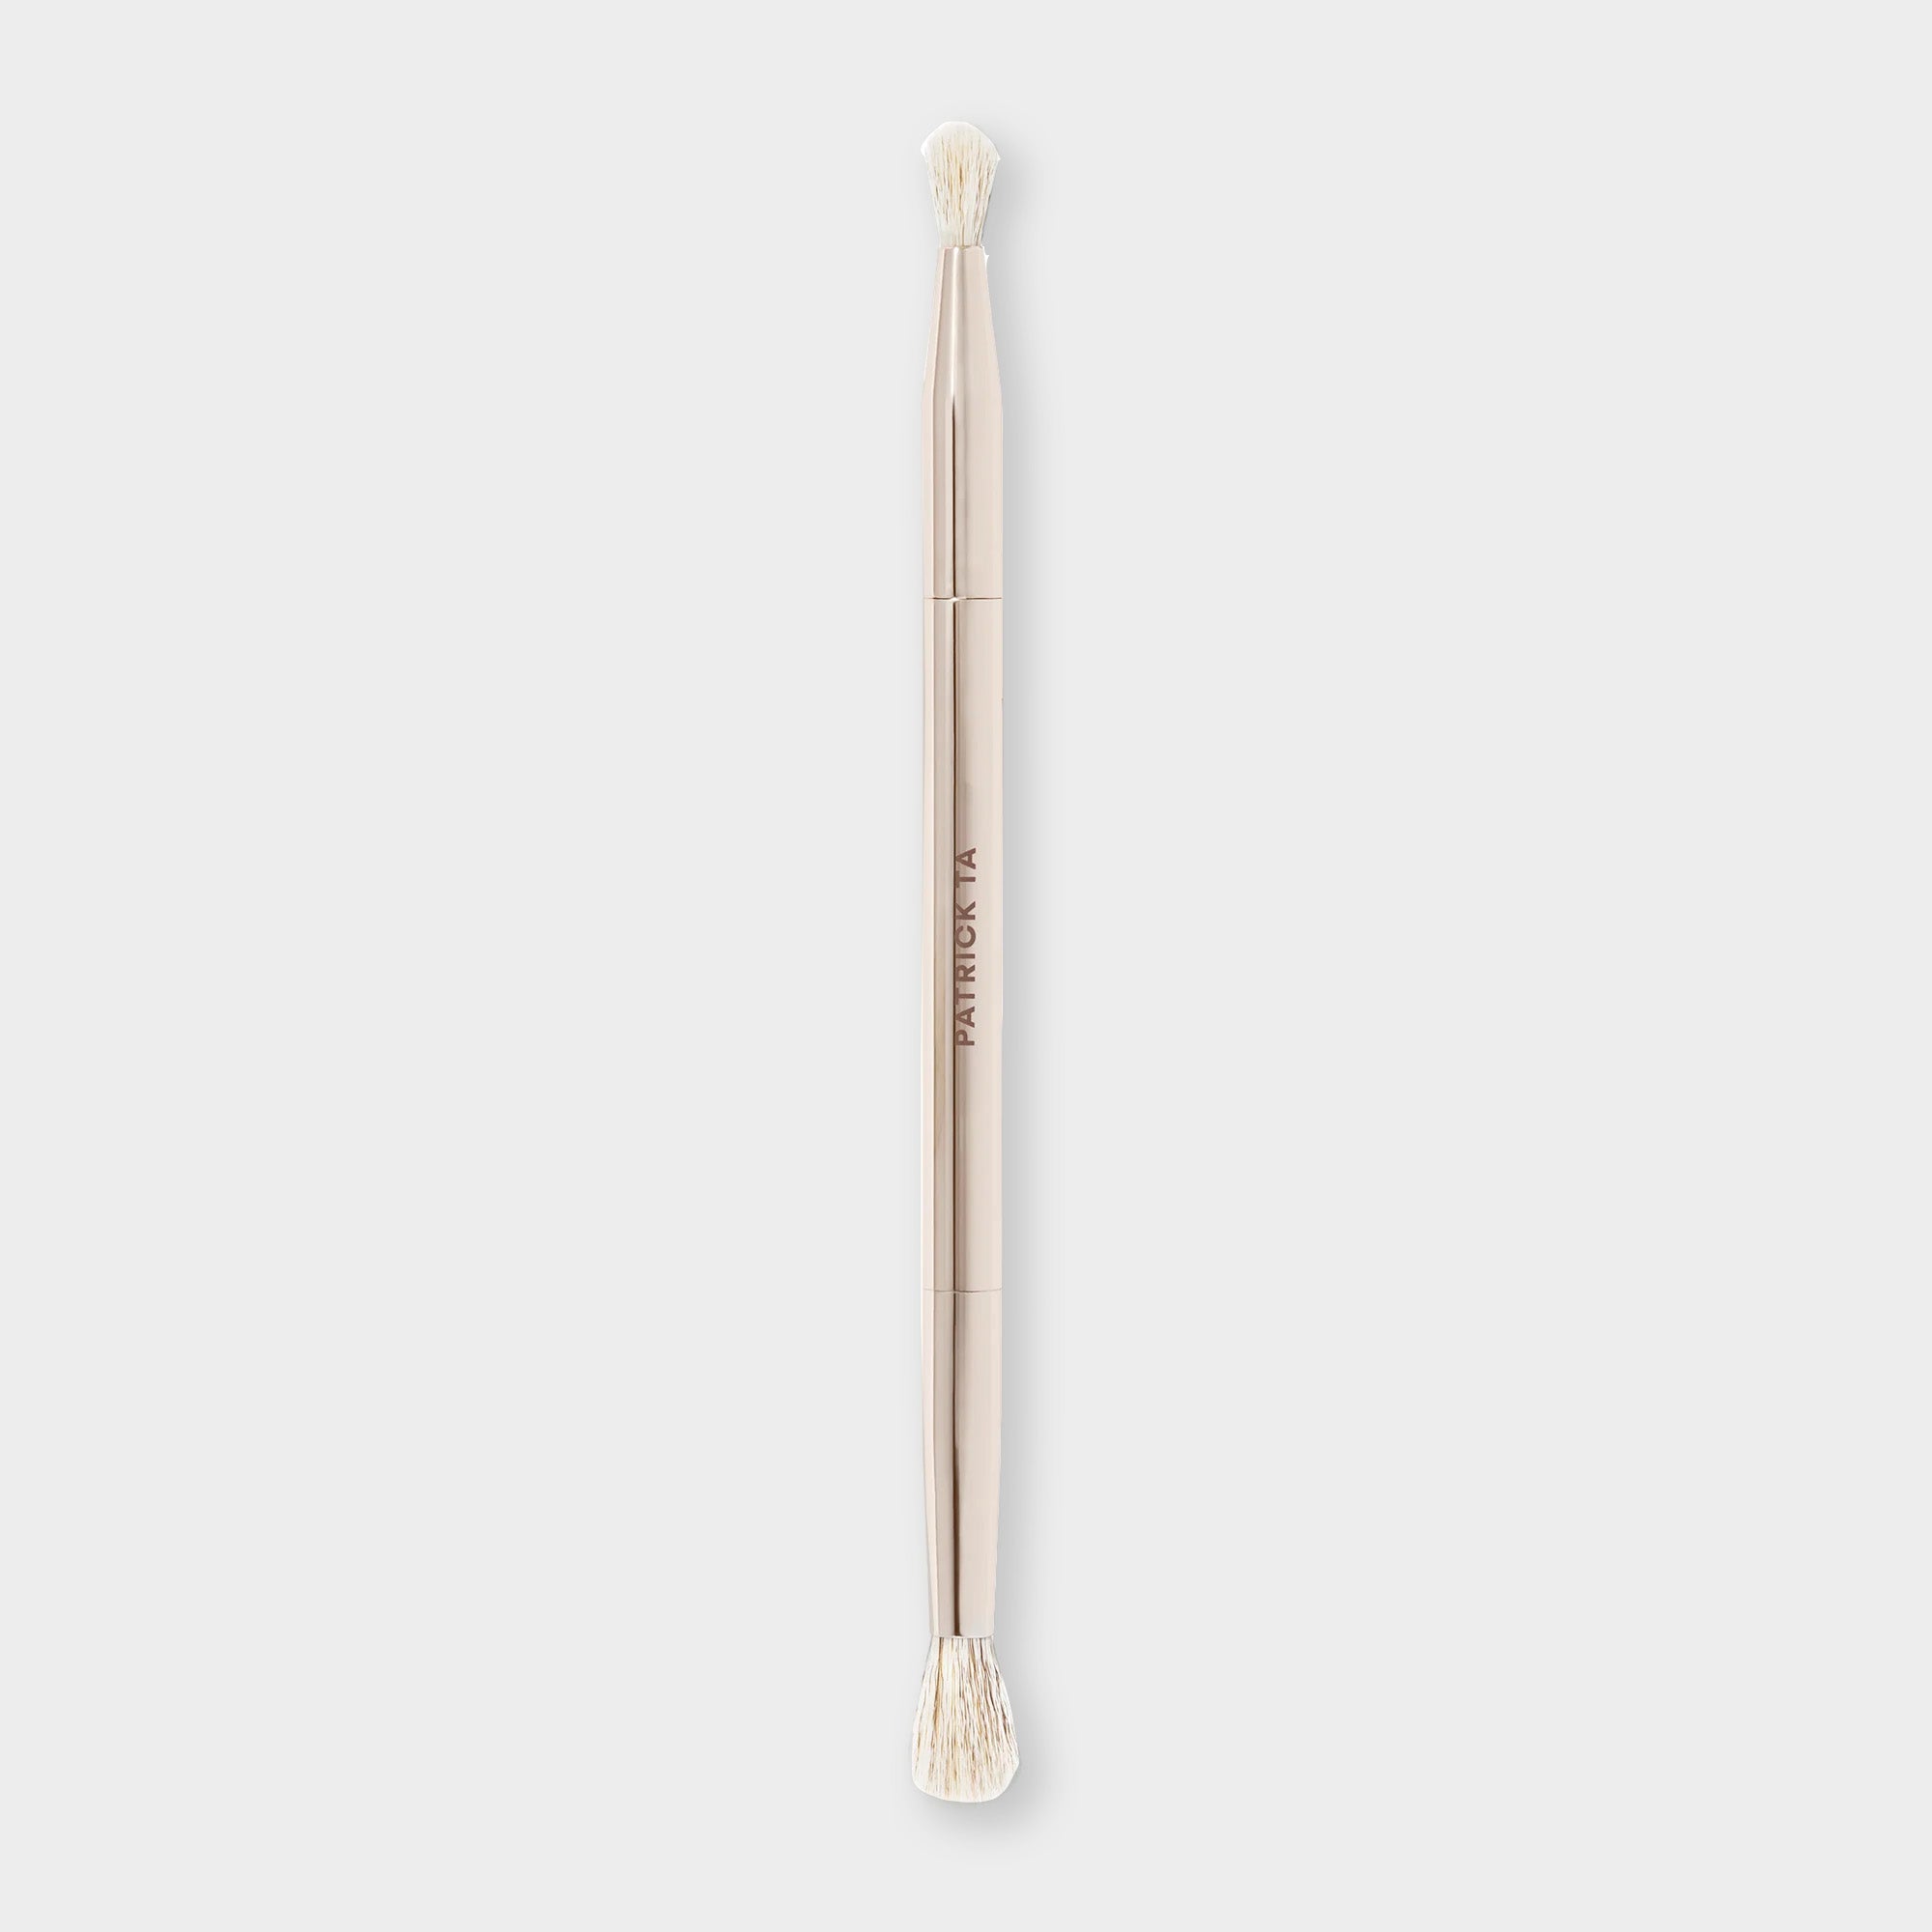
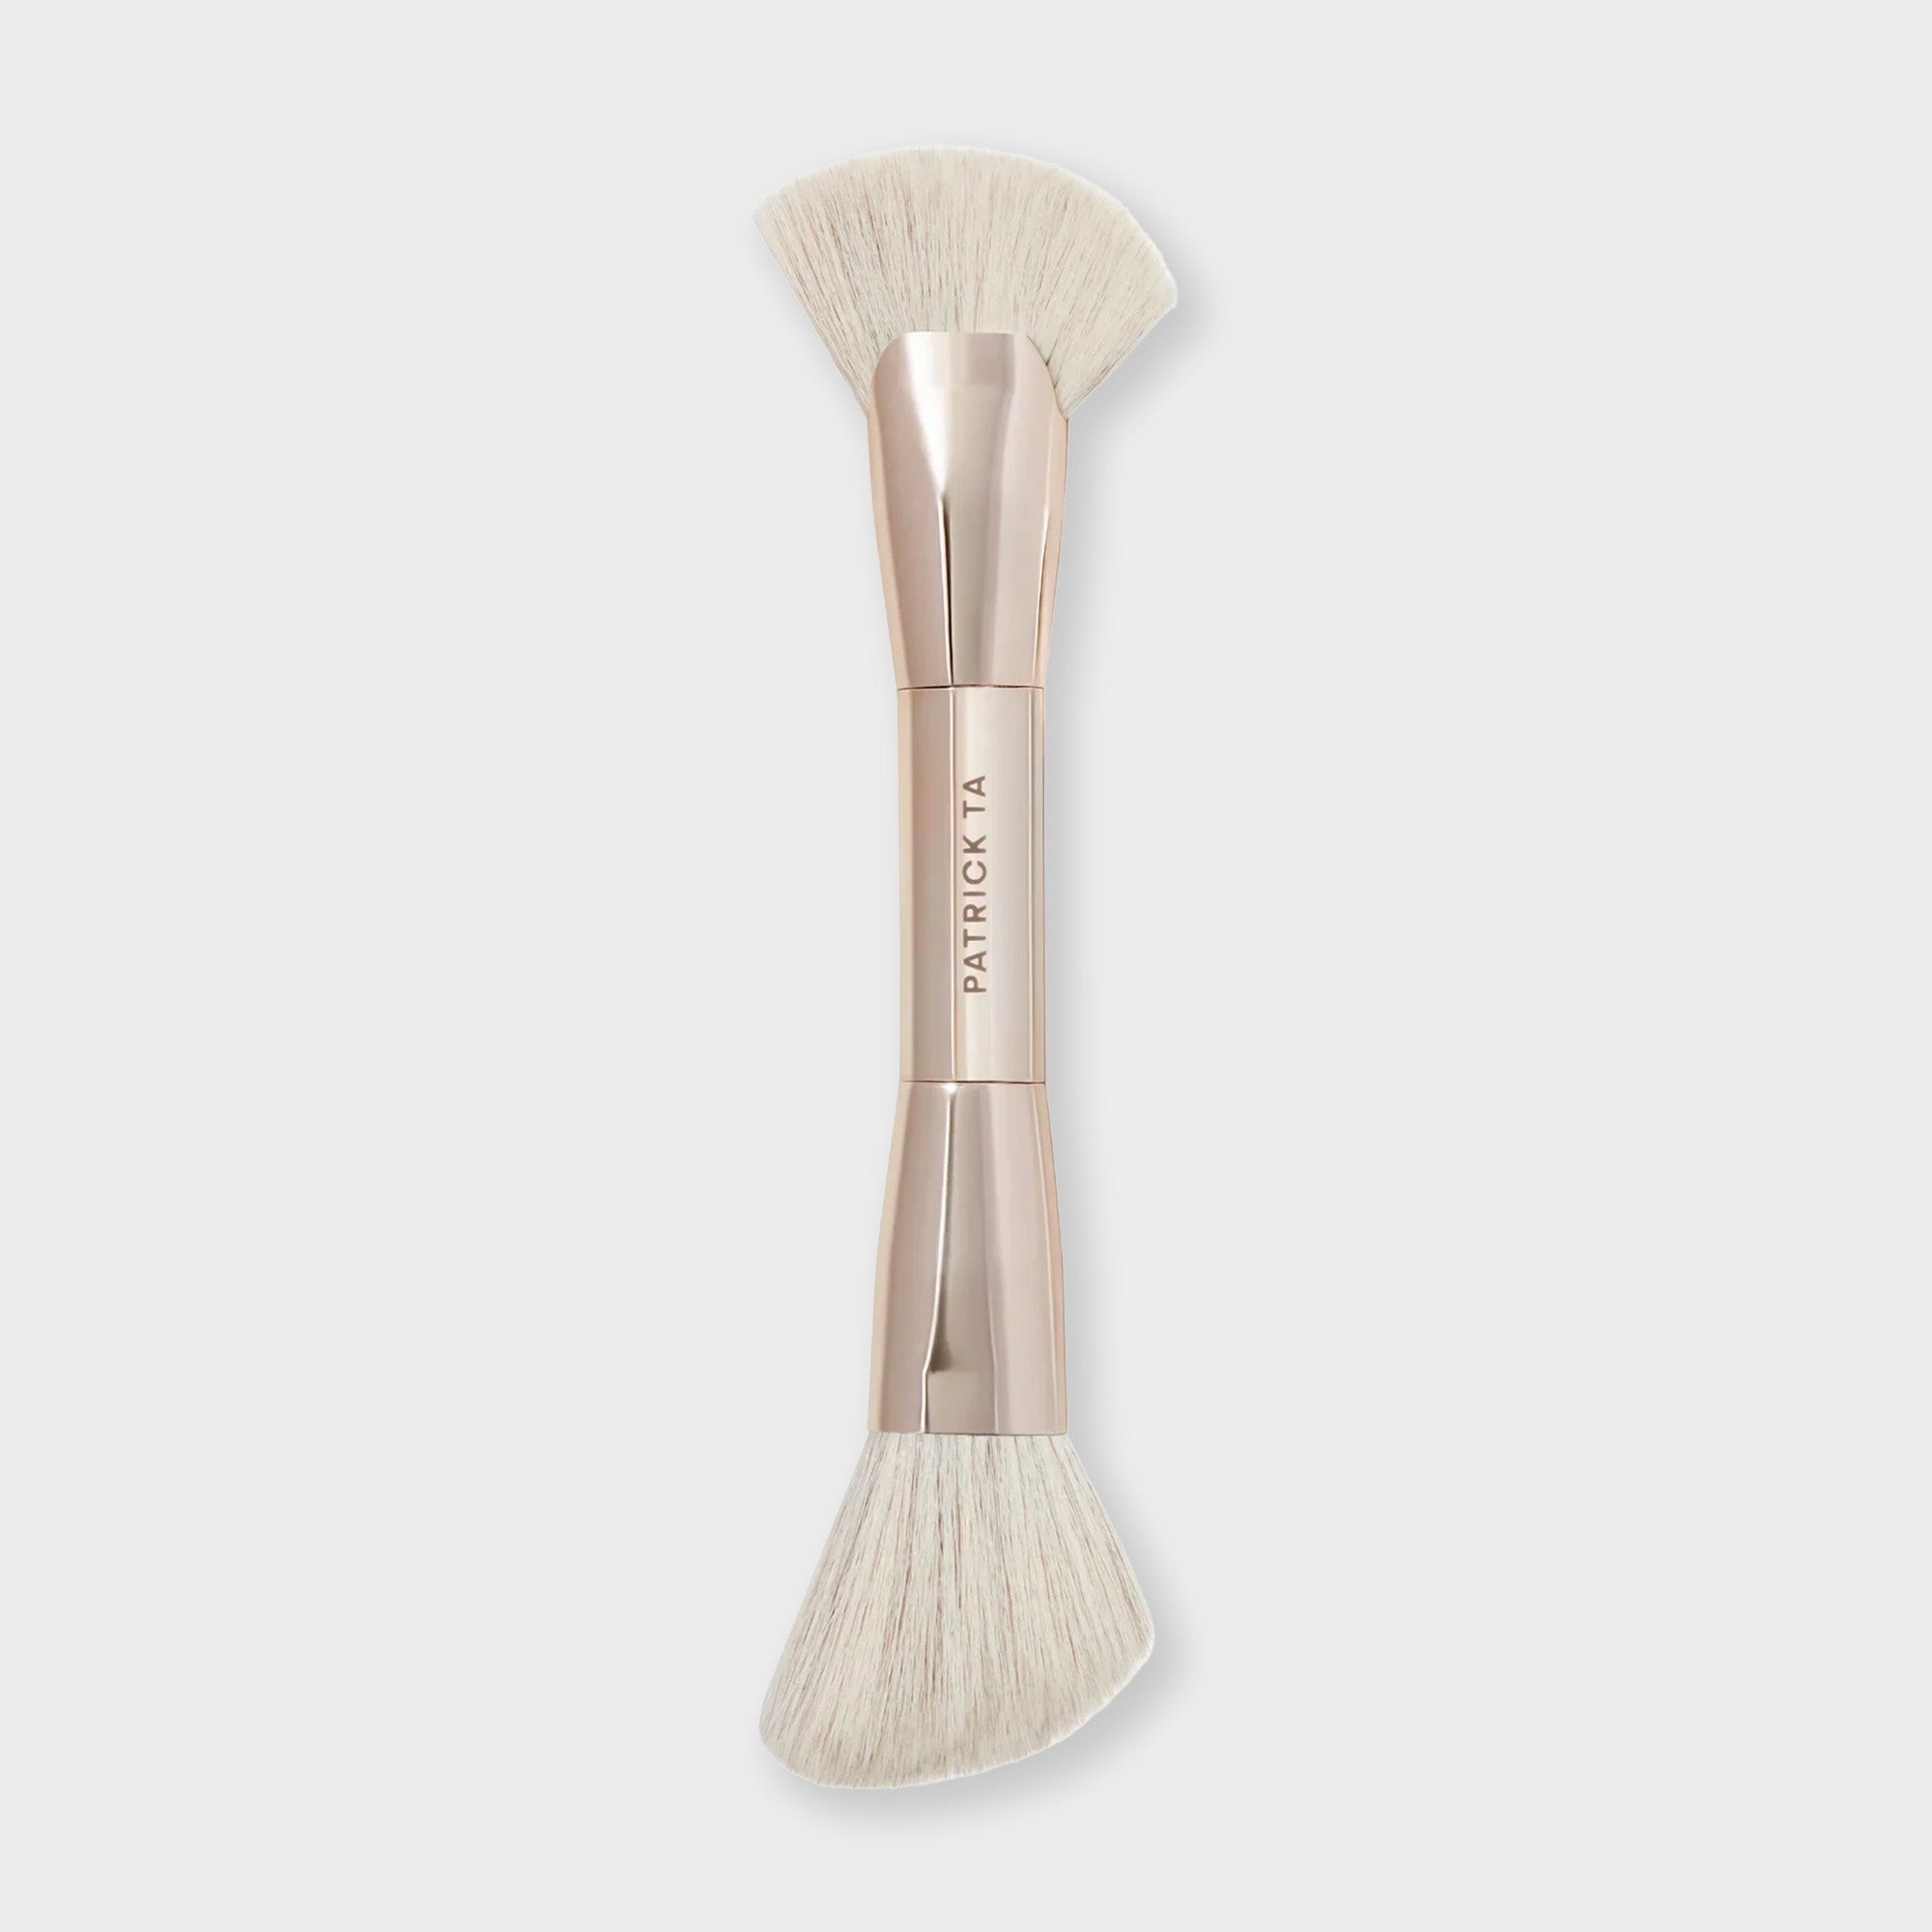
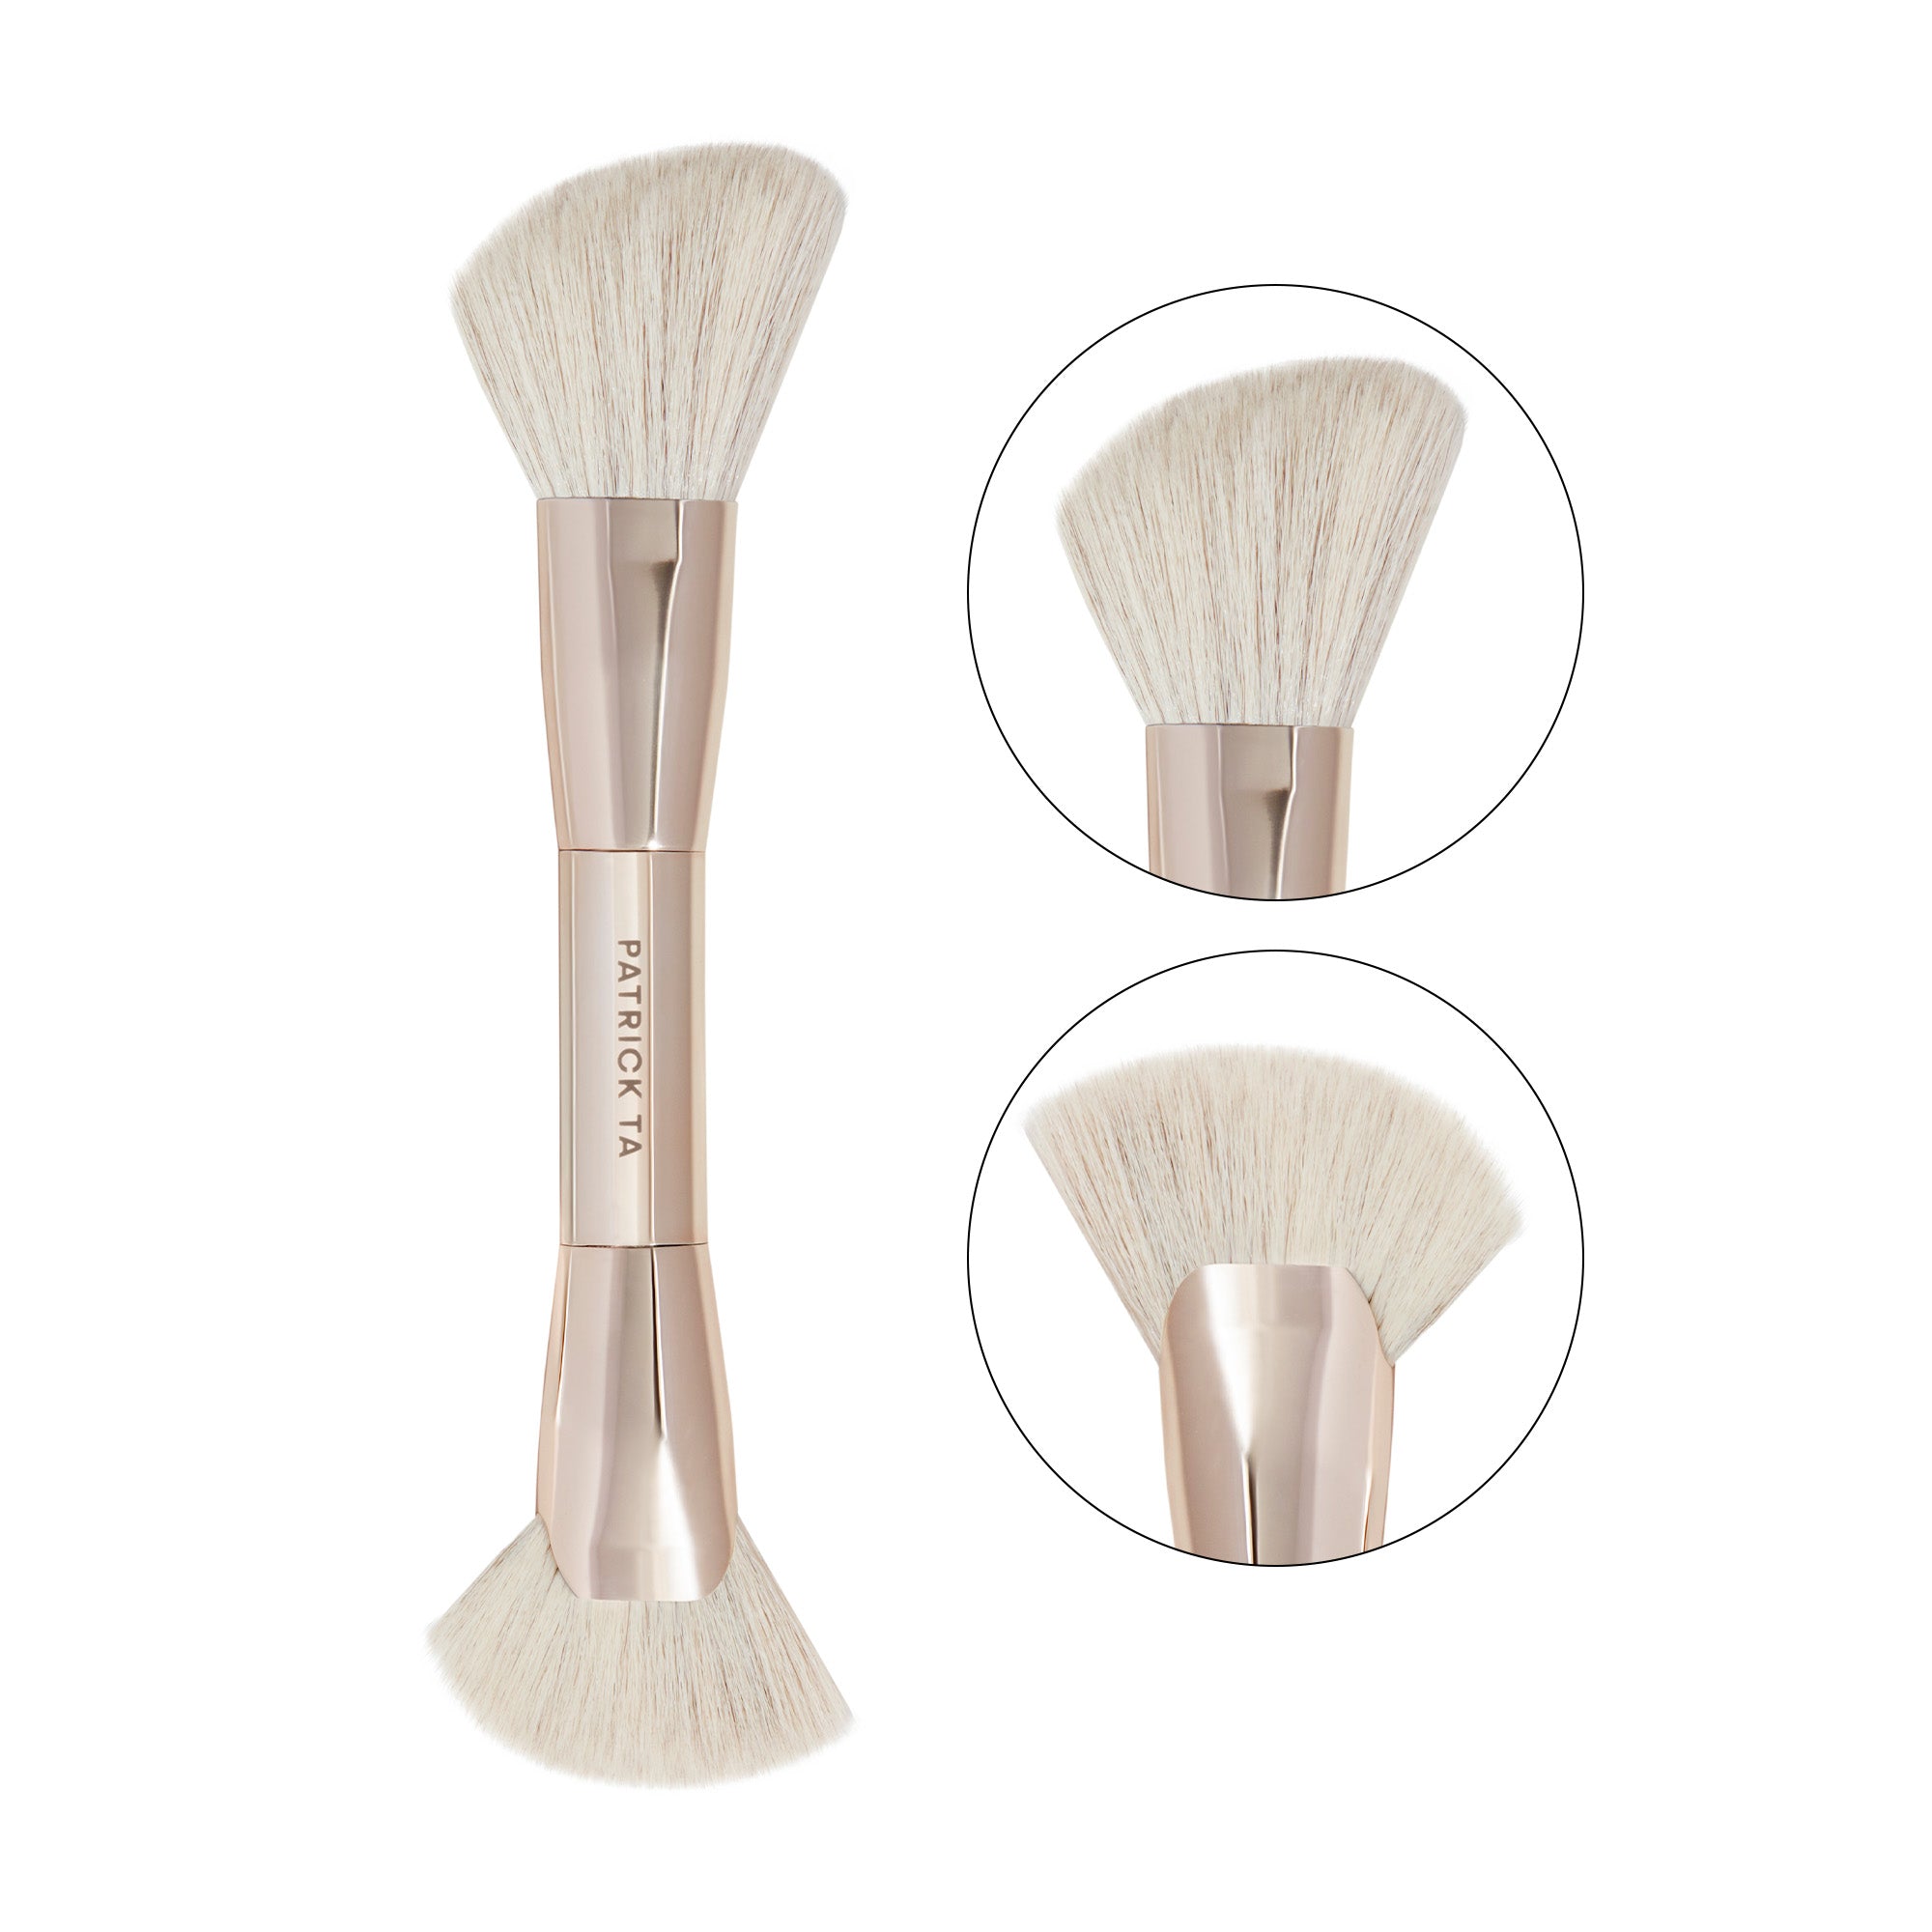
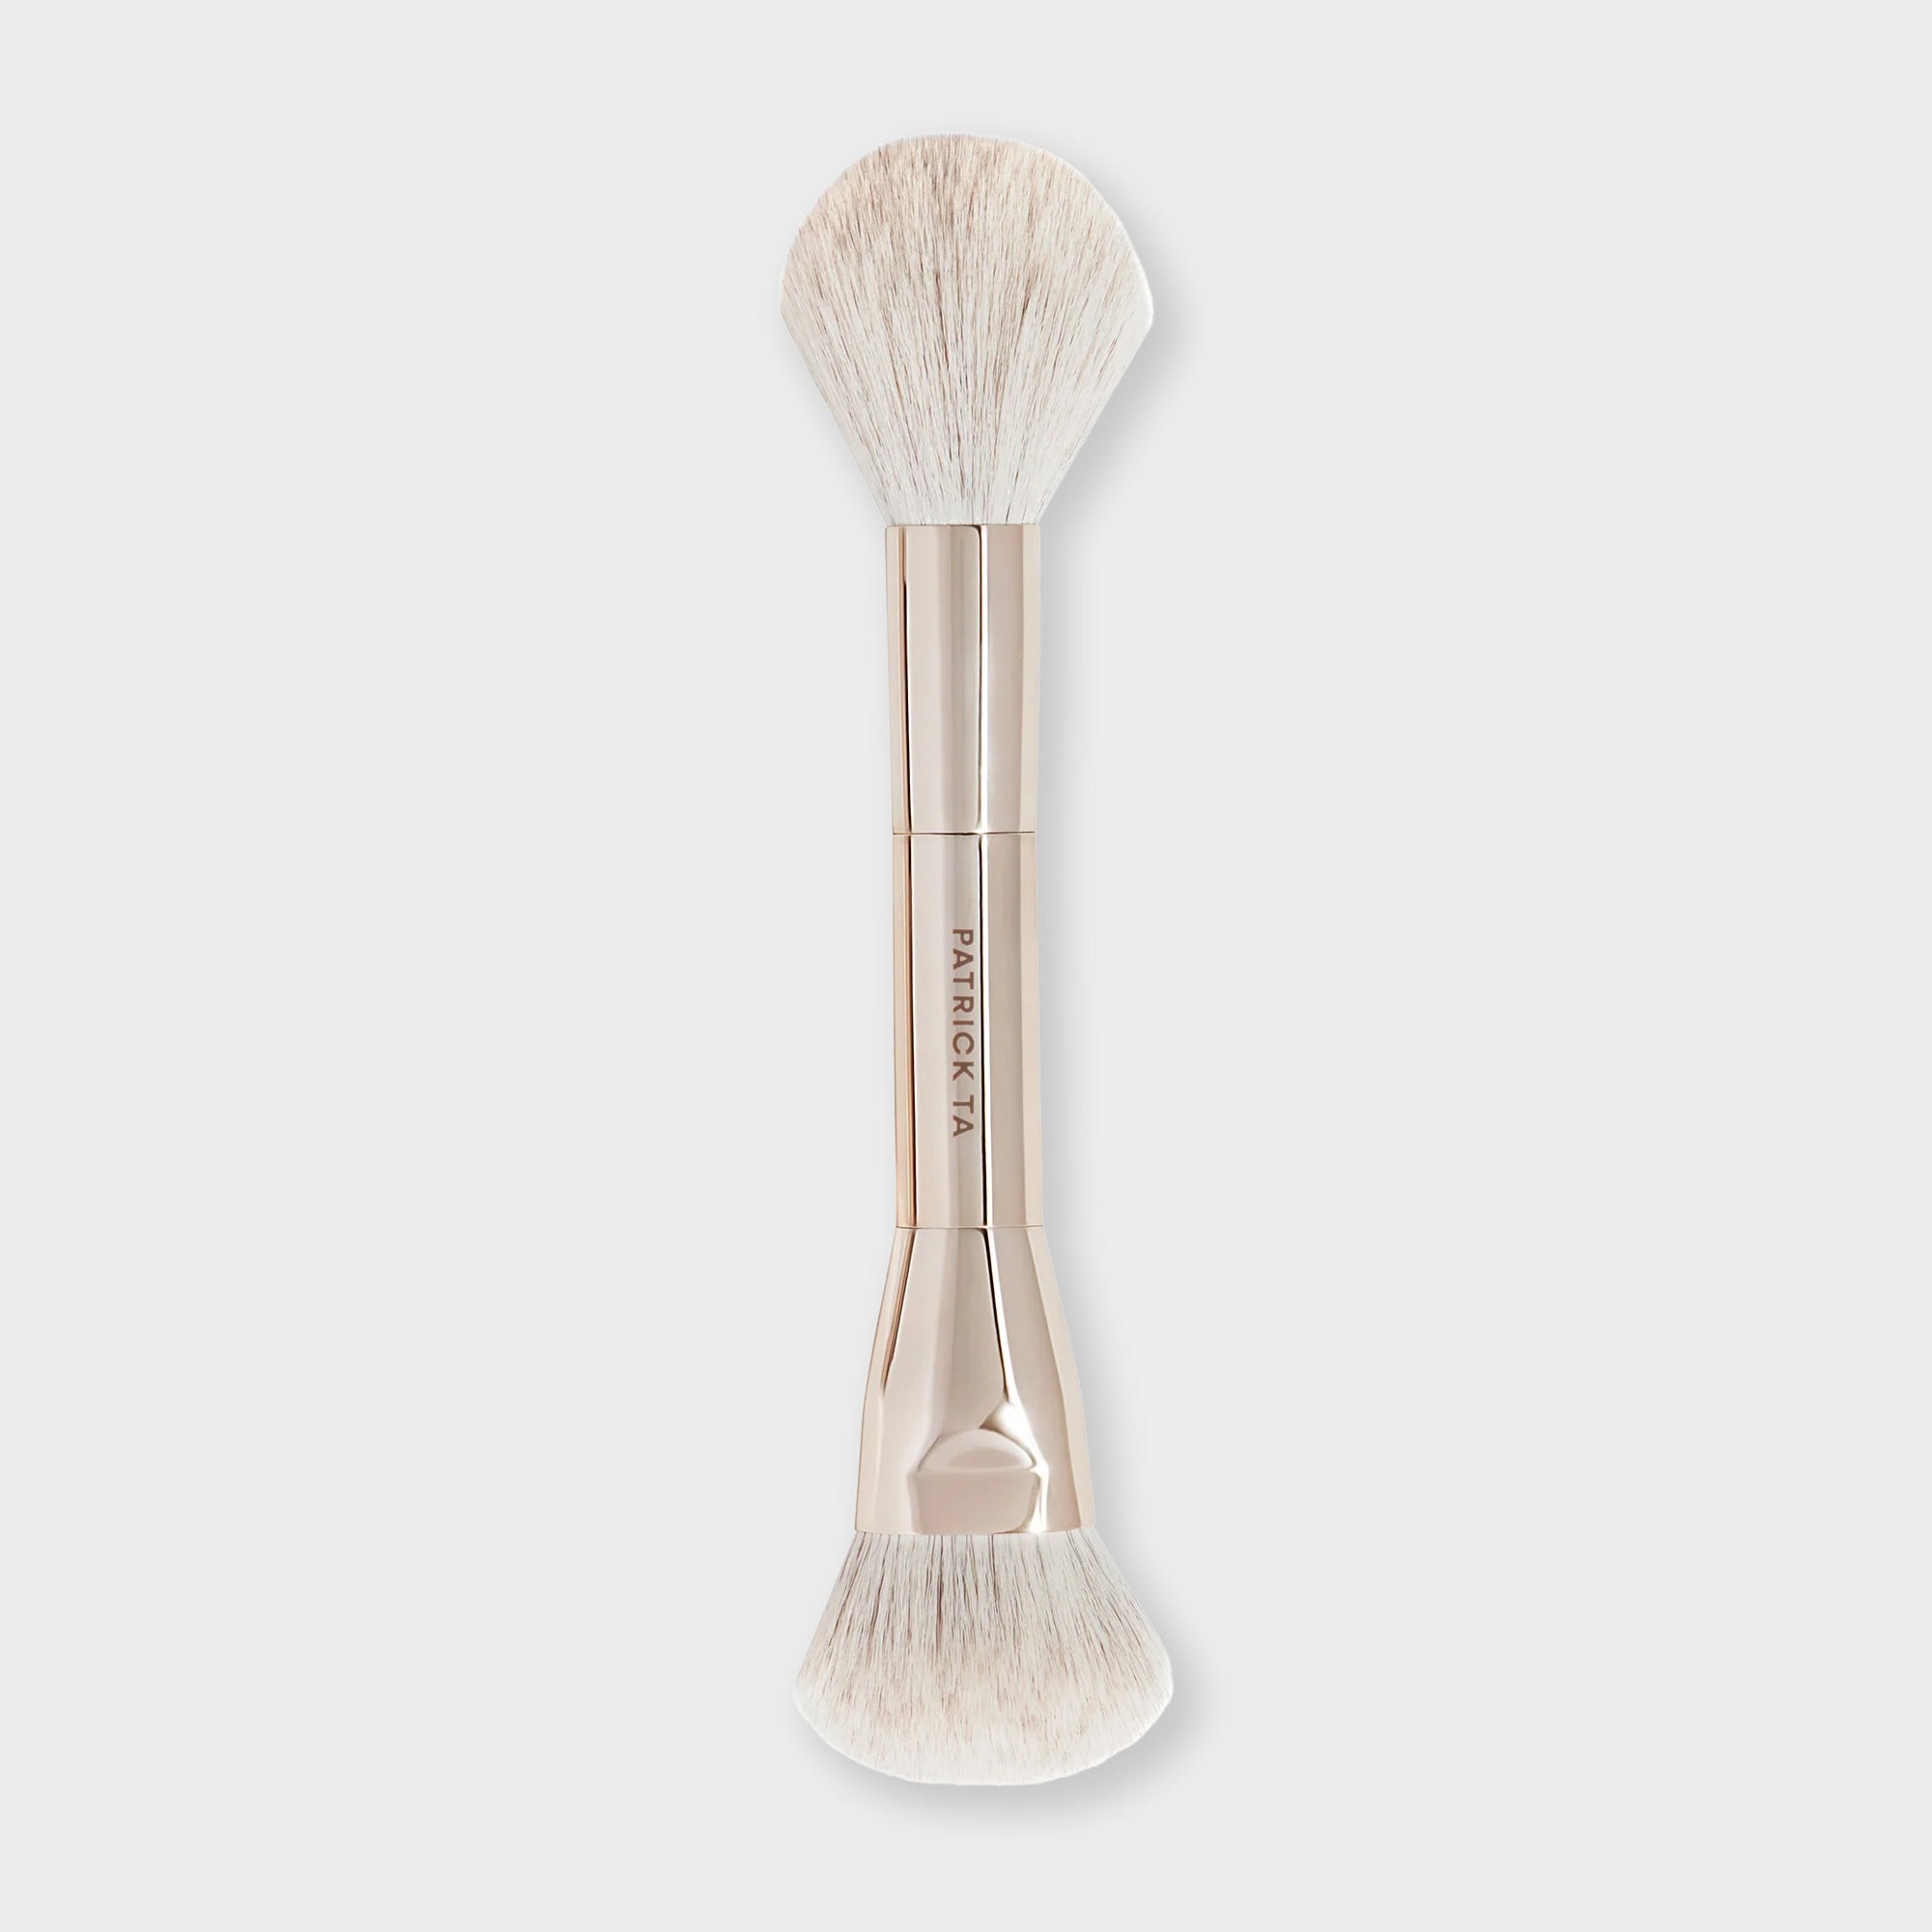
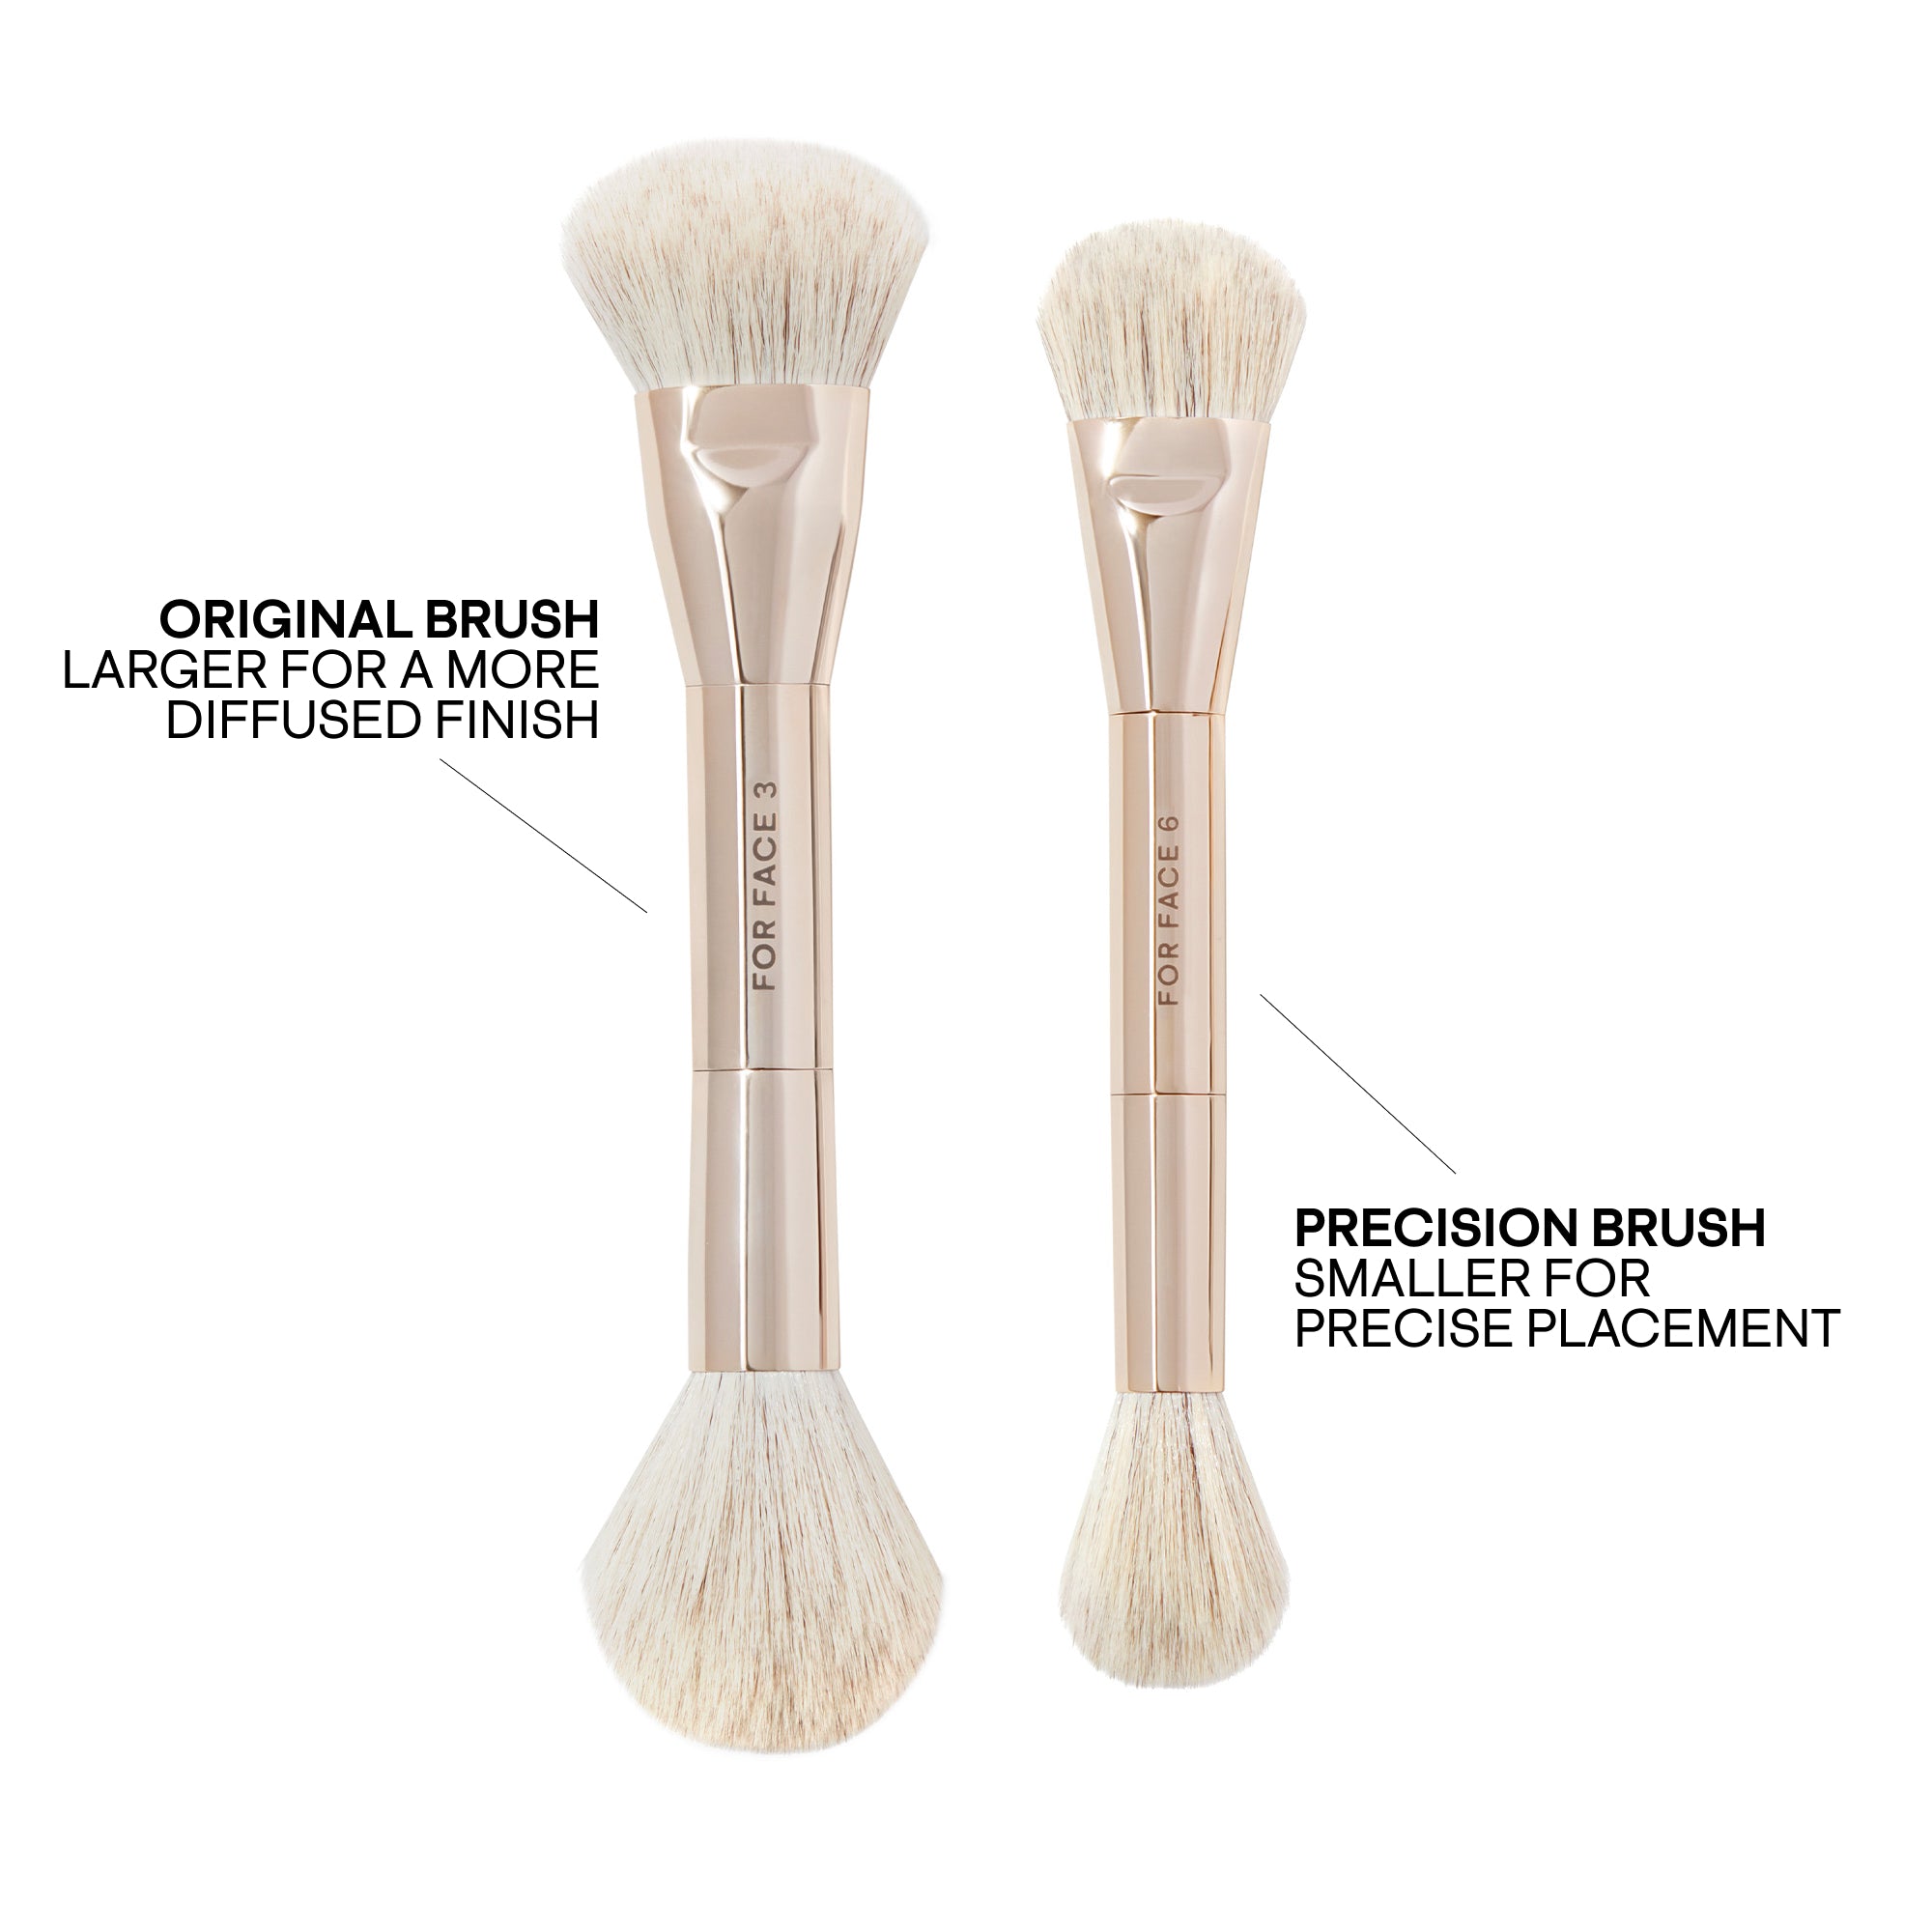
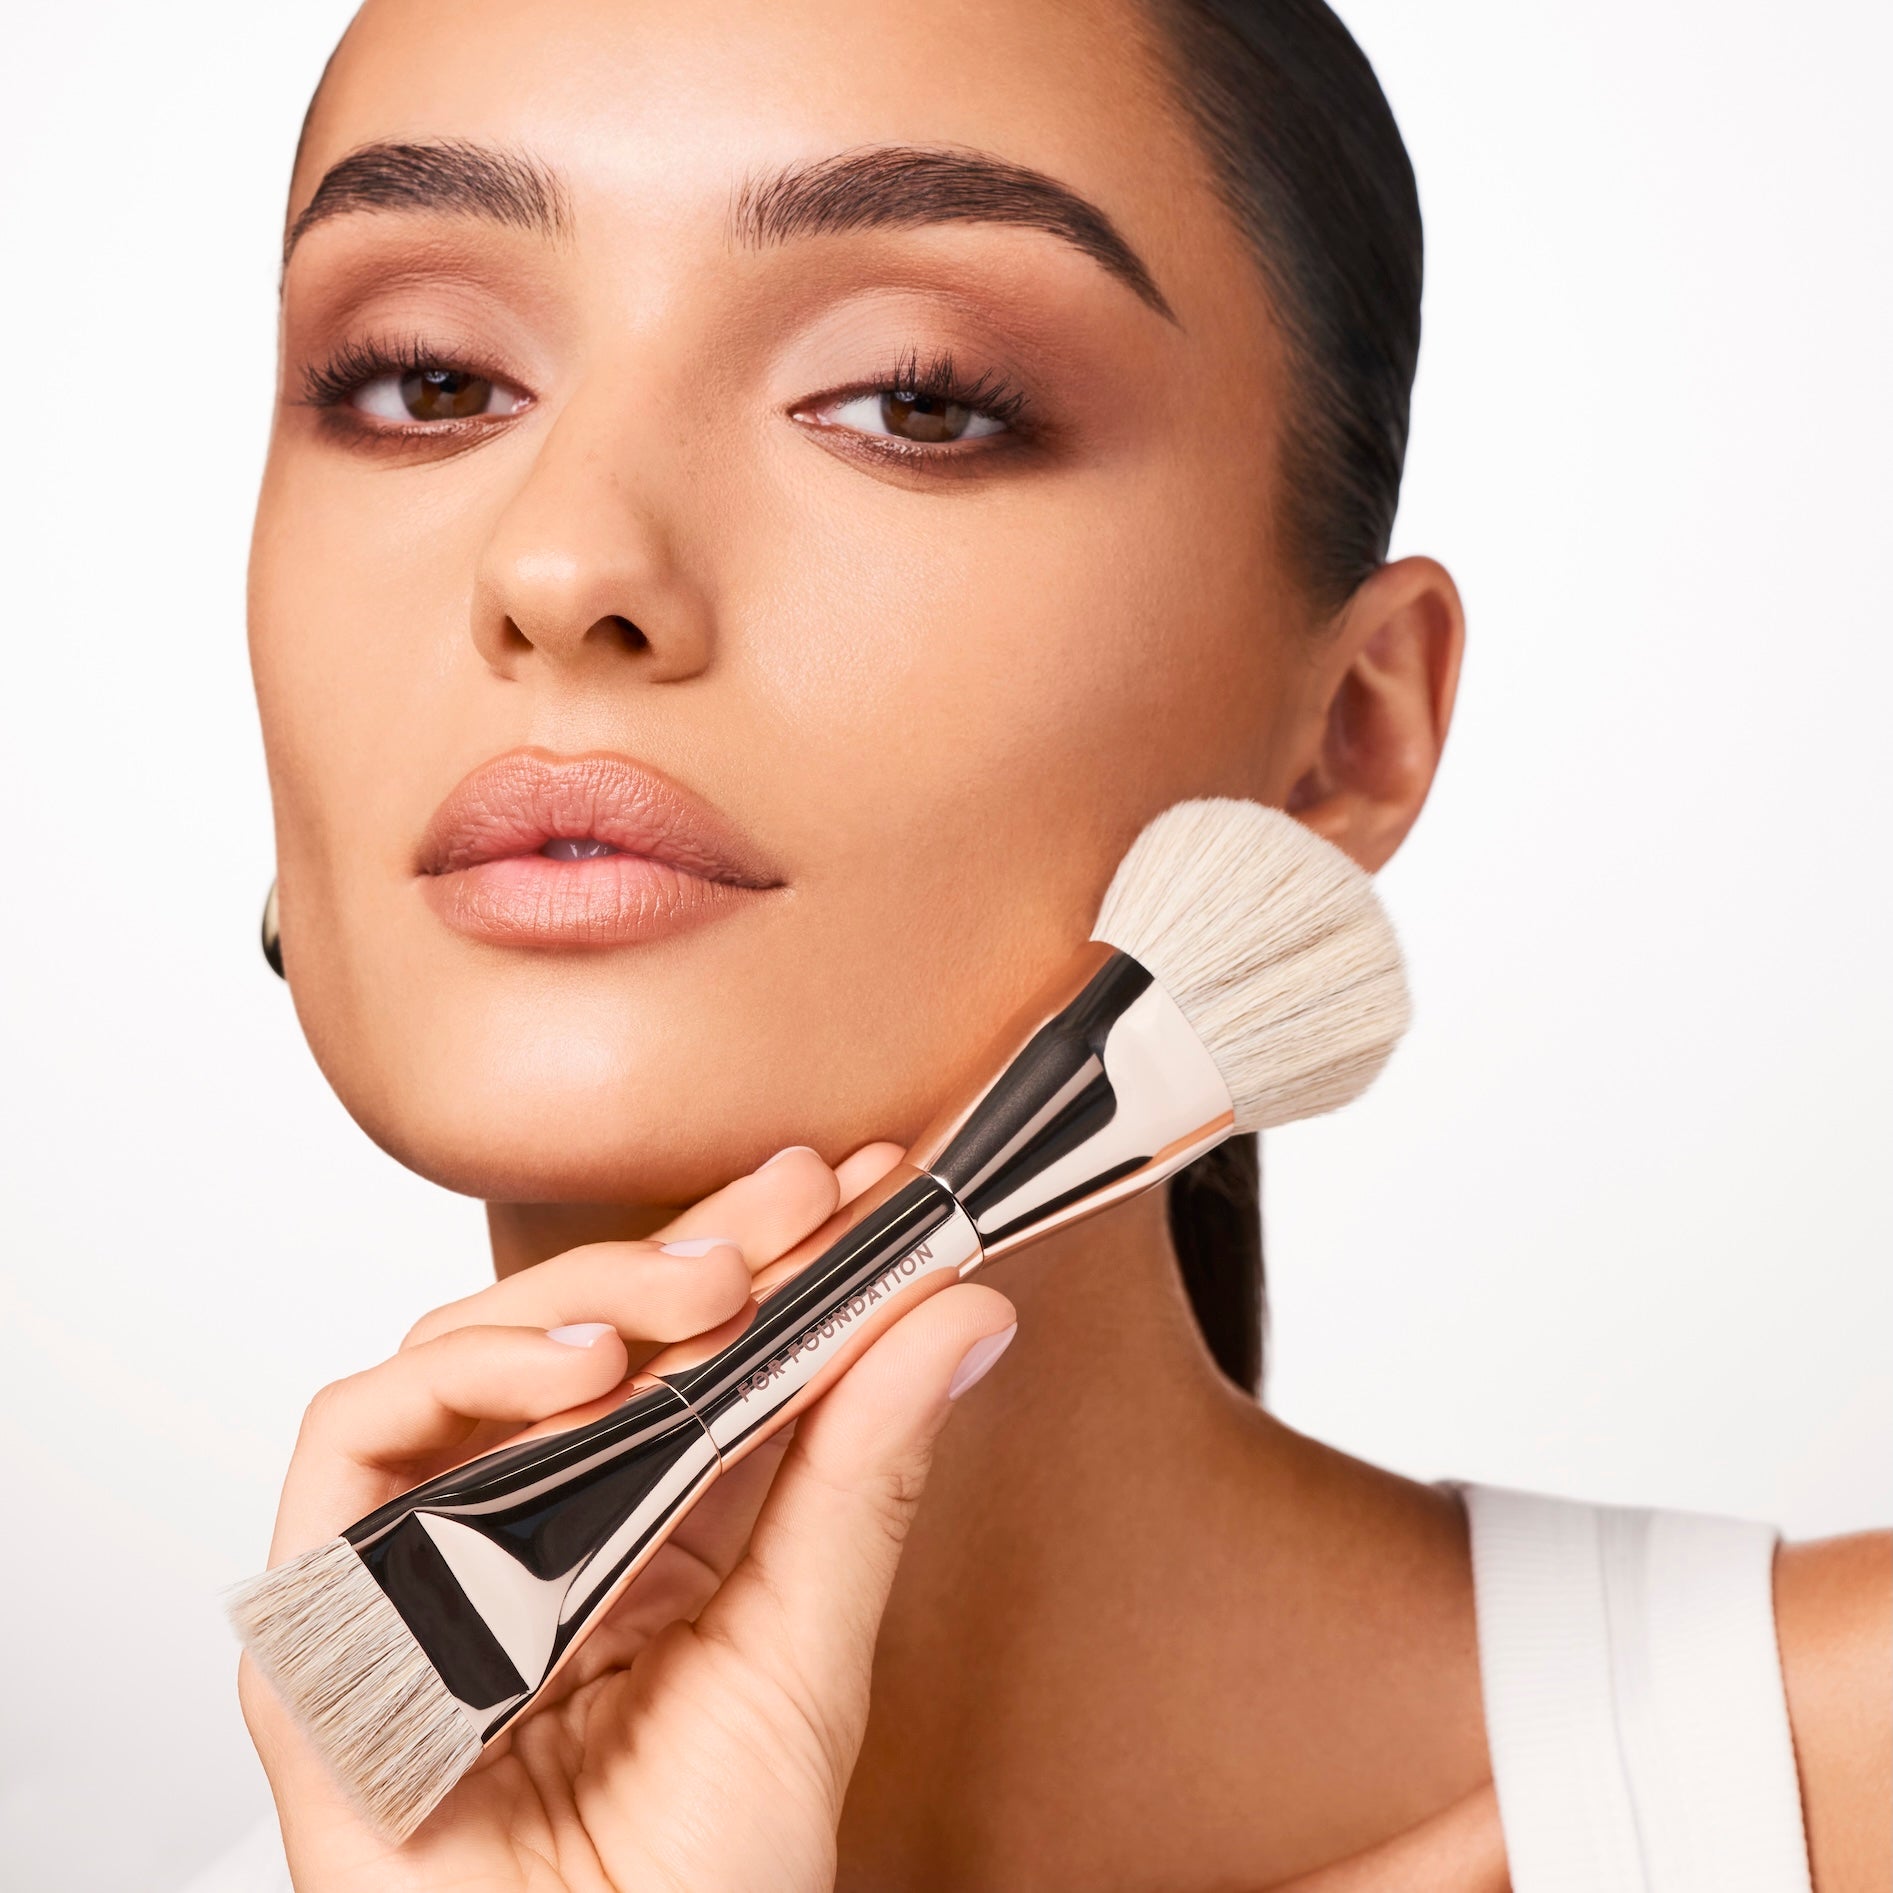
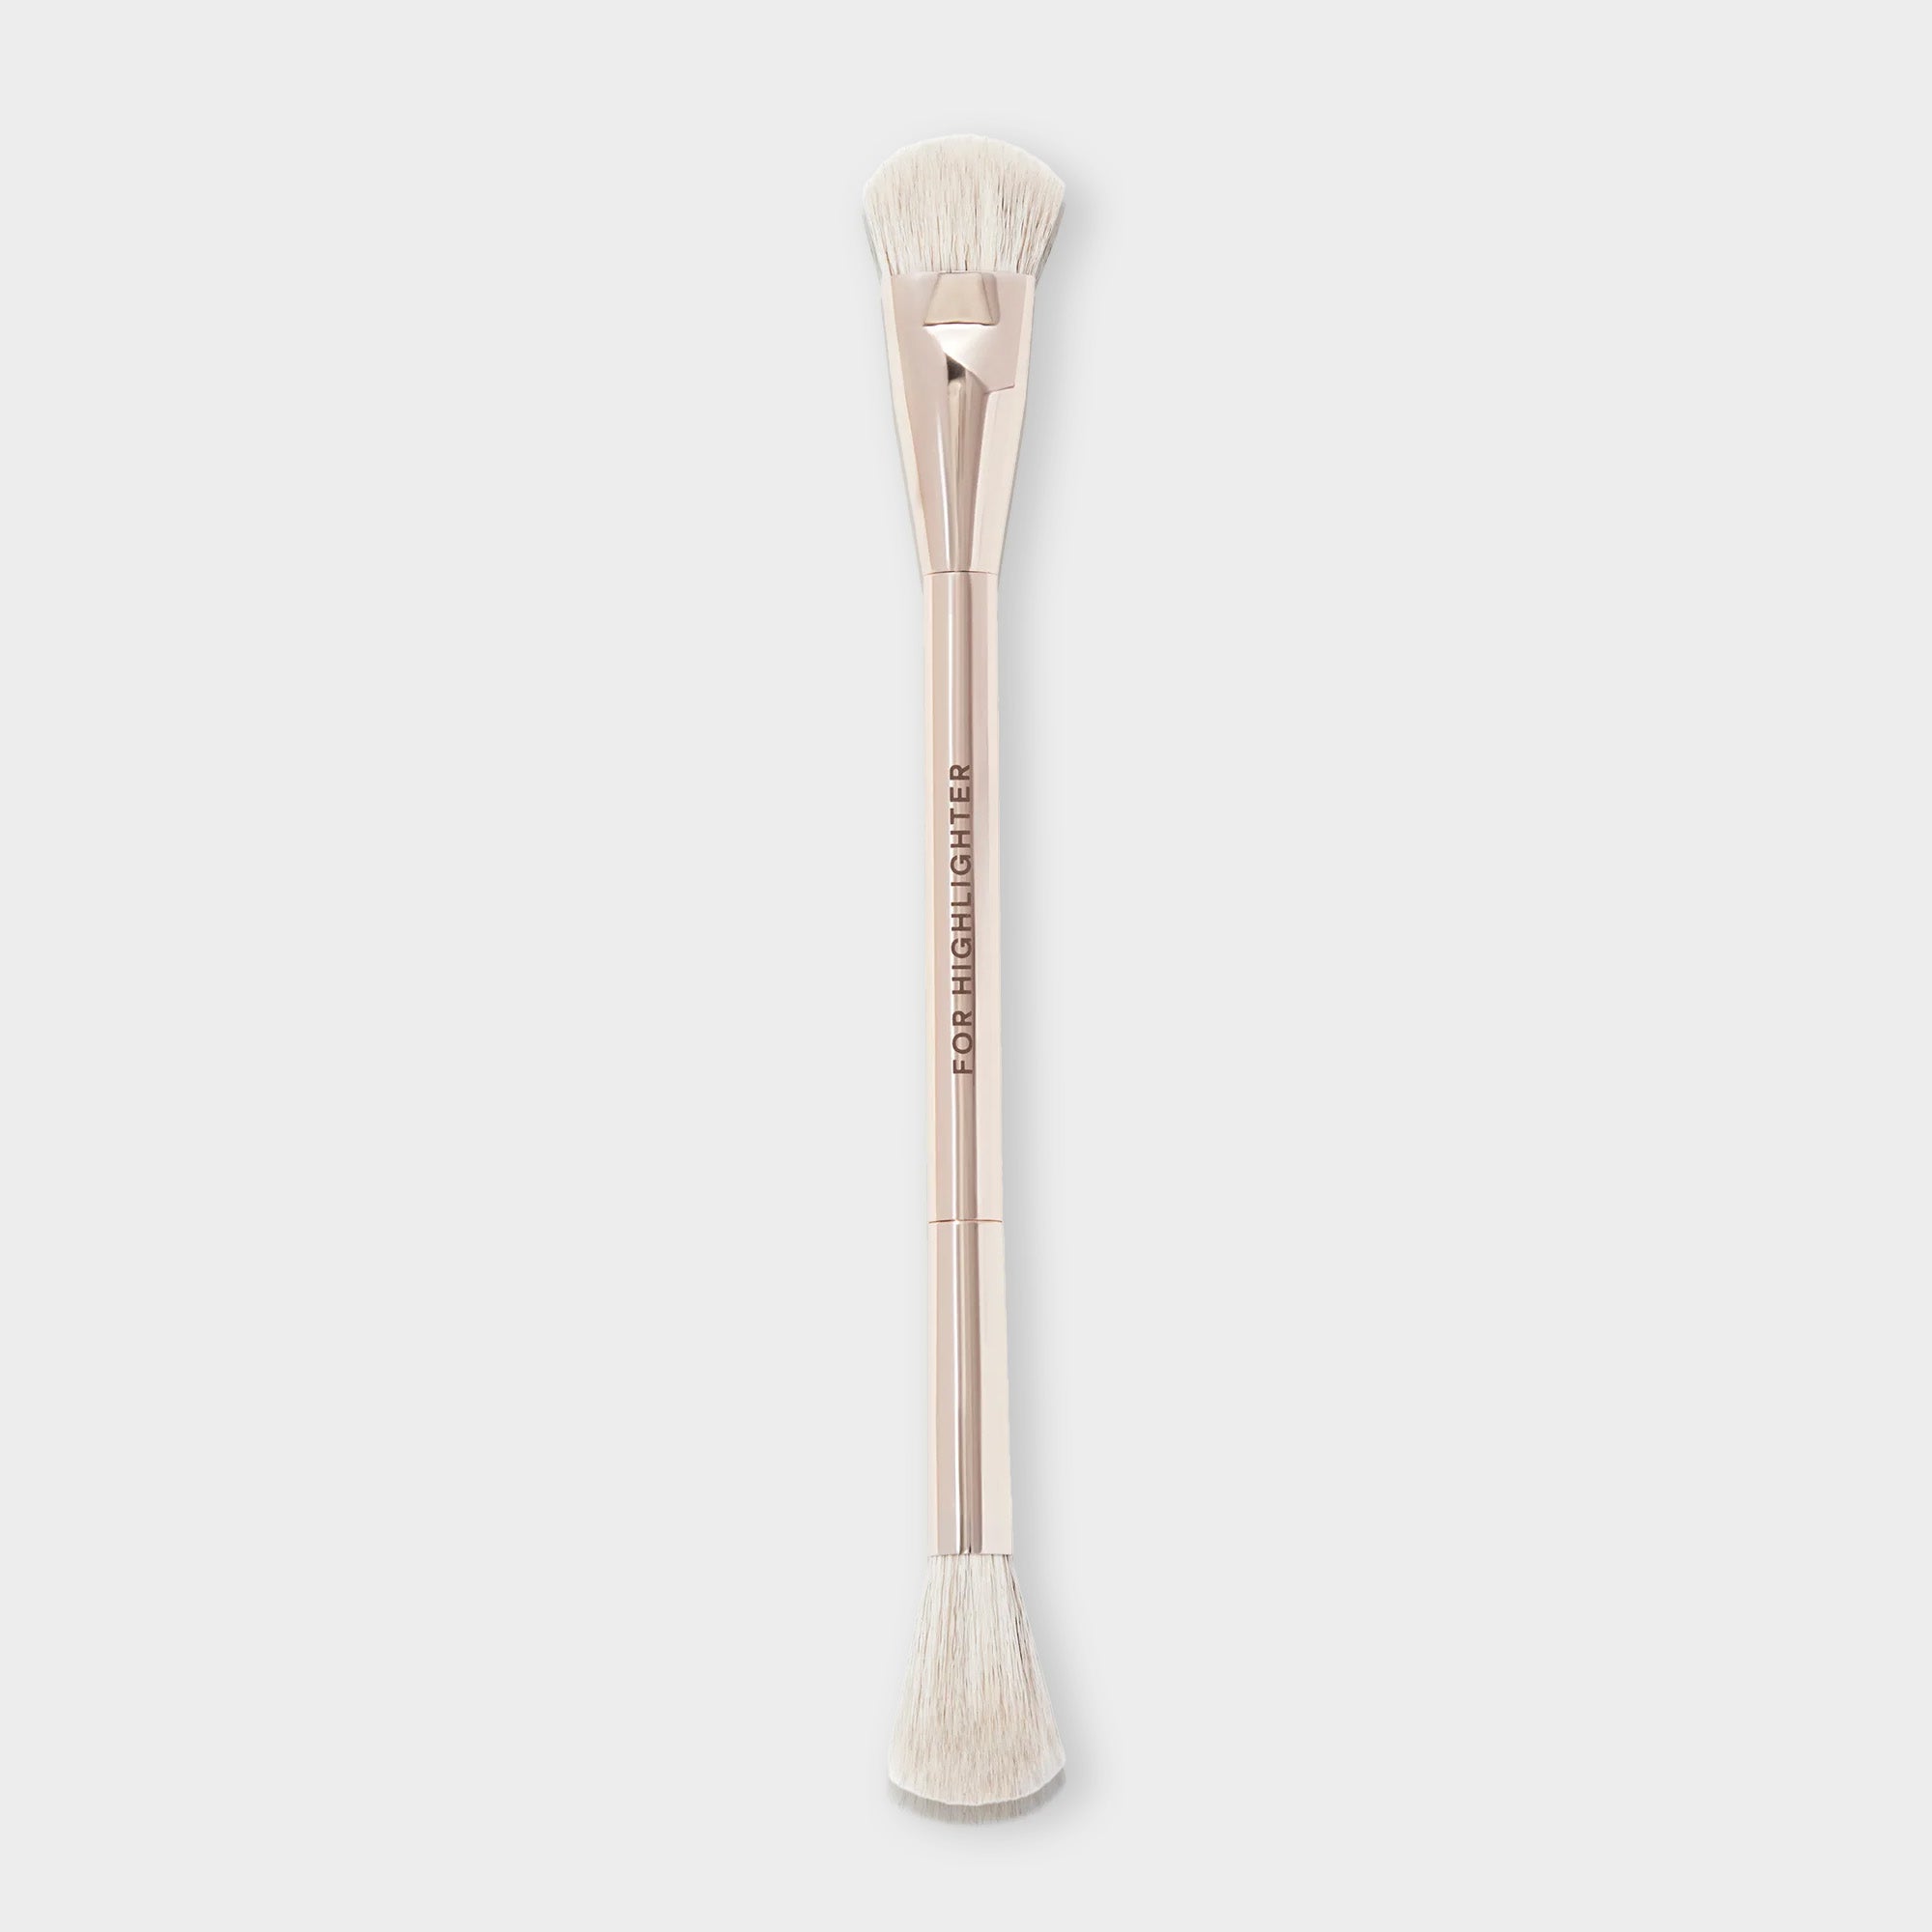
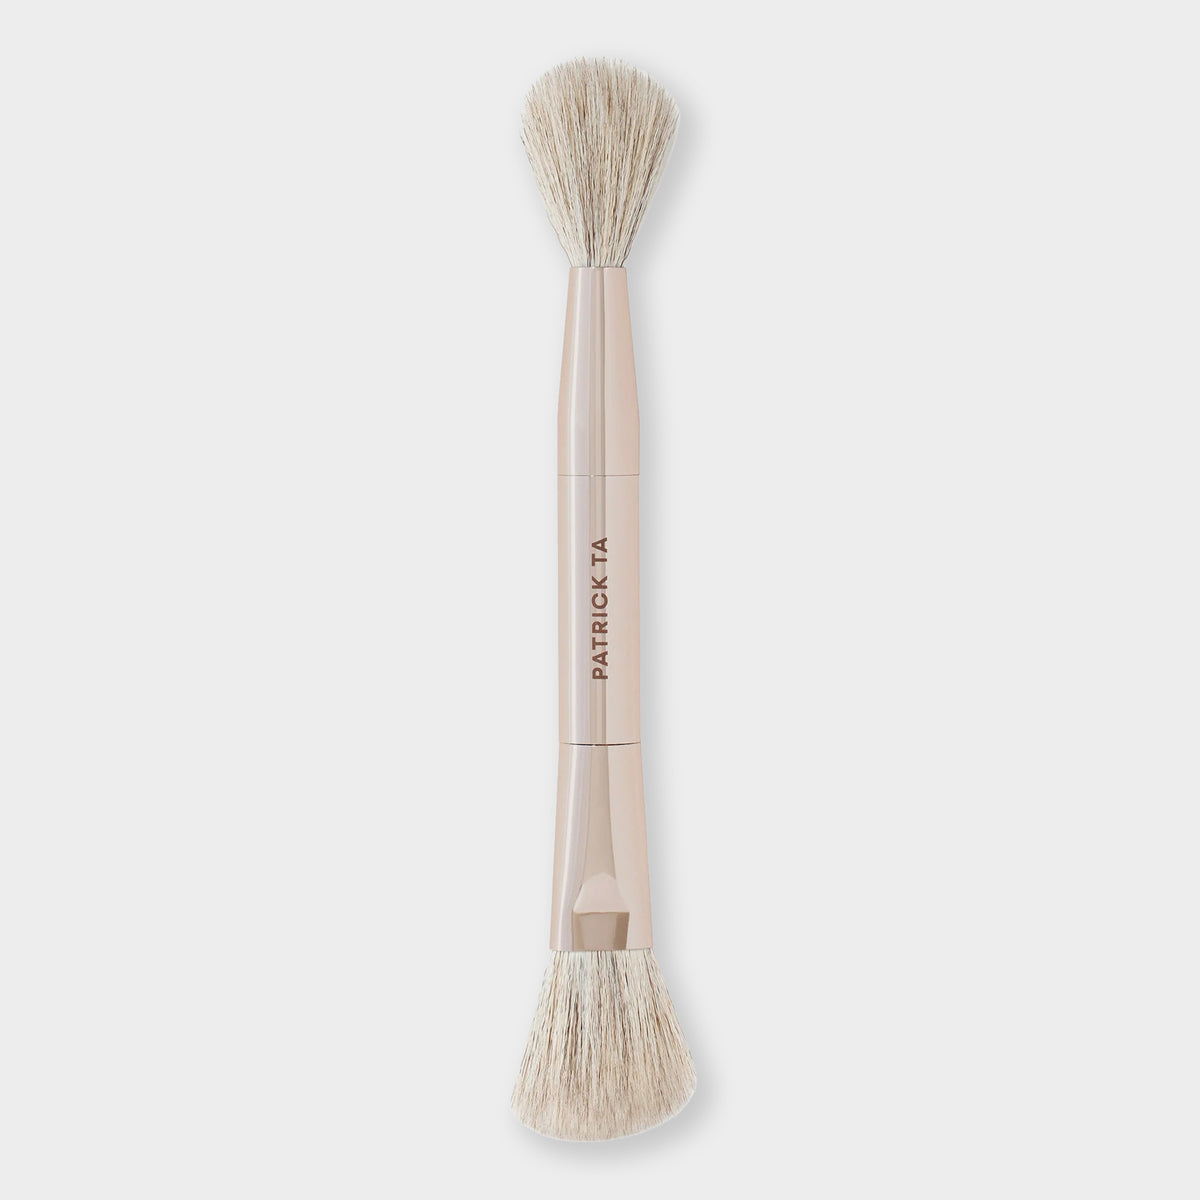
We like using the Major Sculpt Dual-Ended Sculpting Brush for precise placement and effortless blending. It’s a versatile 2-in-1 tool with a dense angled brush that gives you complete control over your contour application and a fluffy brush that sets everything in place.
Before you begin your contour routine, prep your skin by cleansing, moisturizing, and applying a primer. You’ll also want to create your base with foundation and/or concealer prior to contouring.

1. Apply to the Cheeks
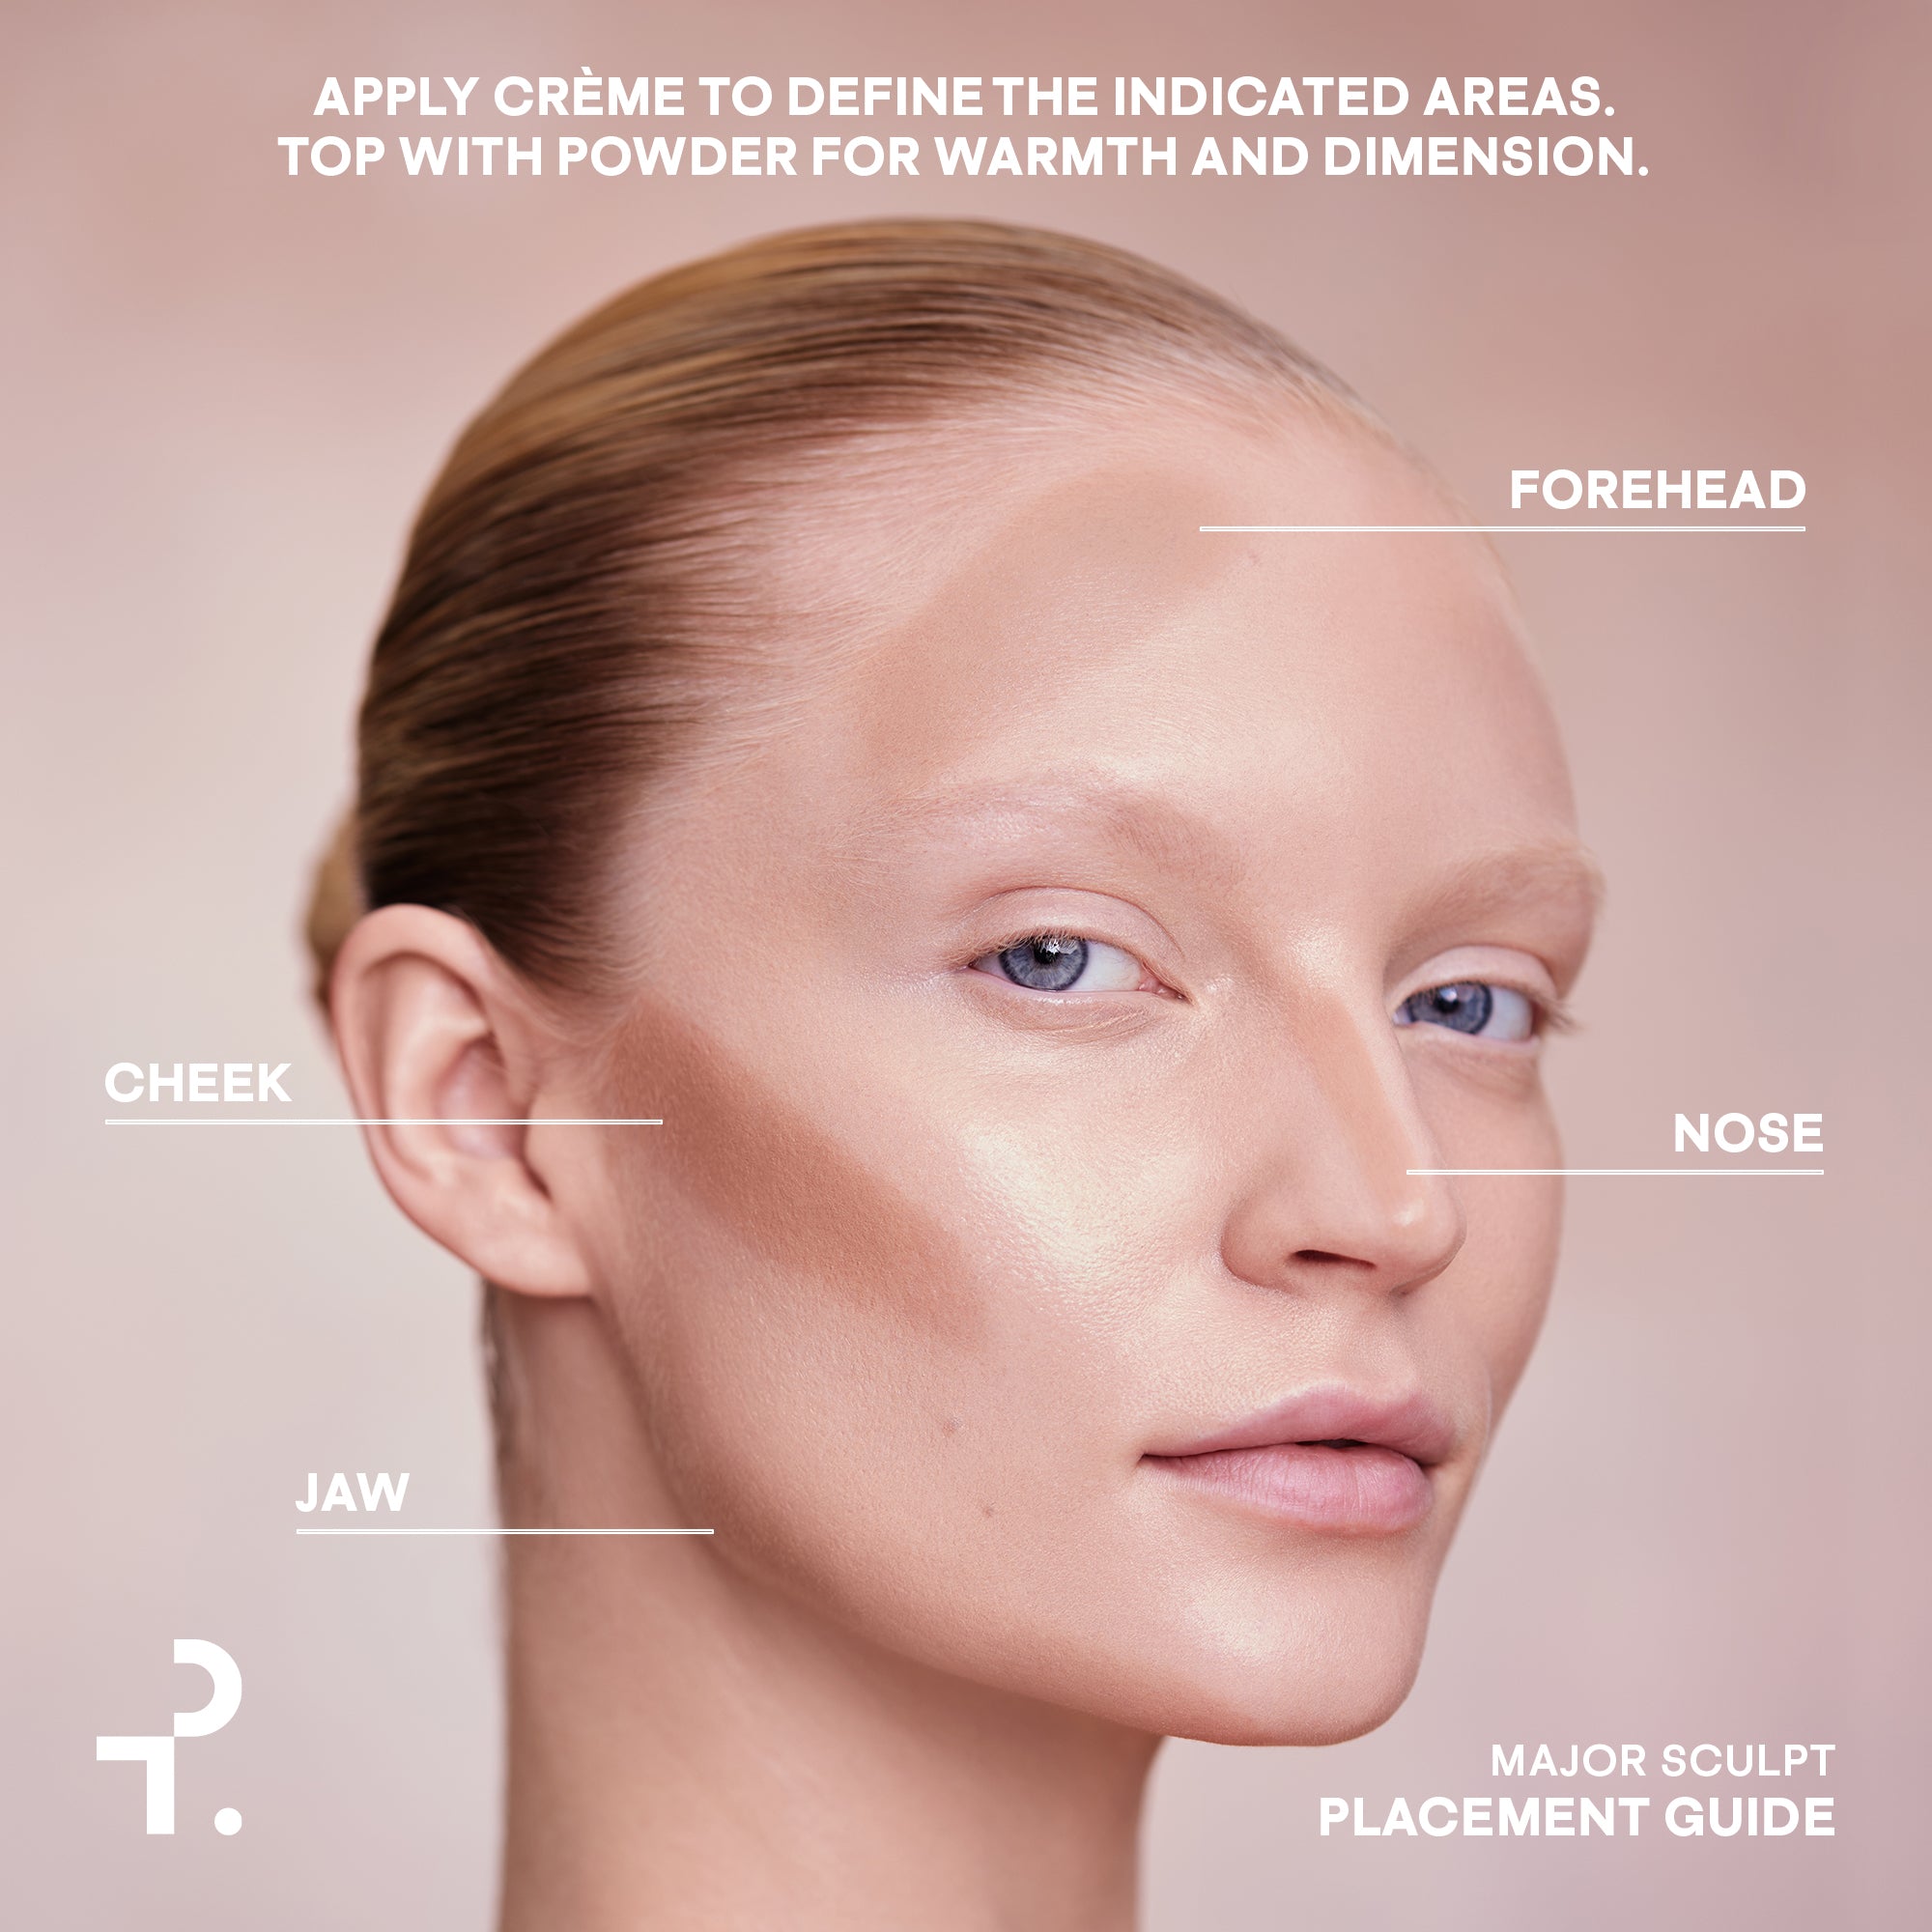
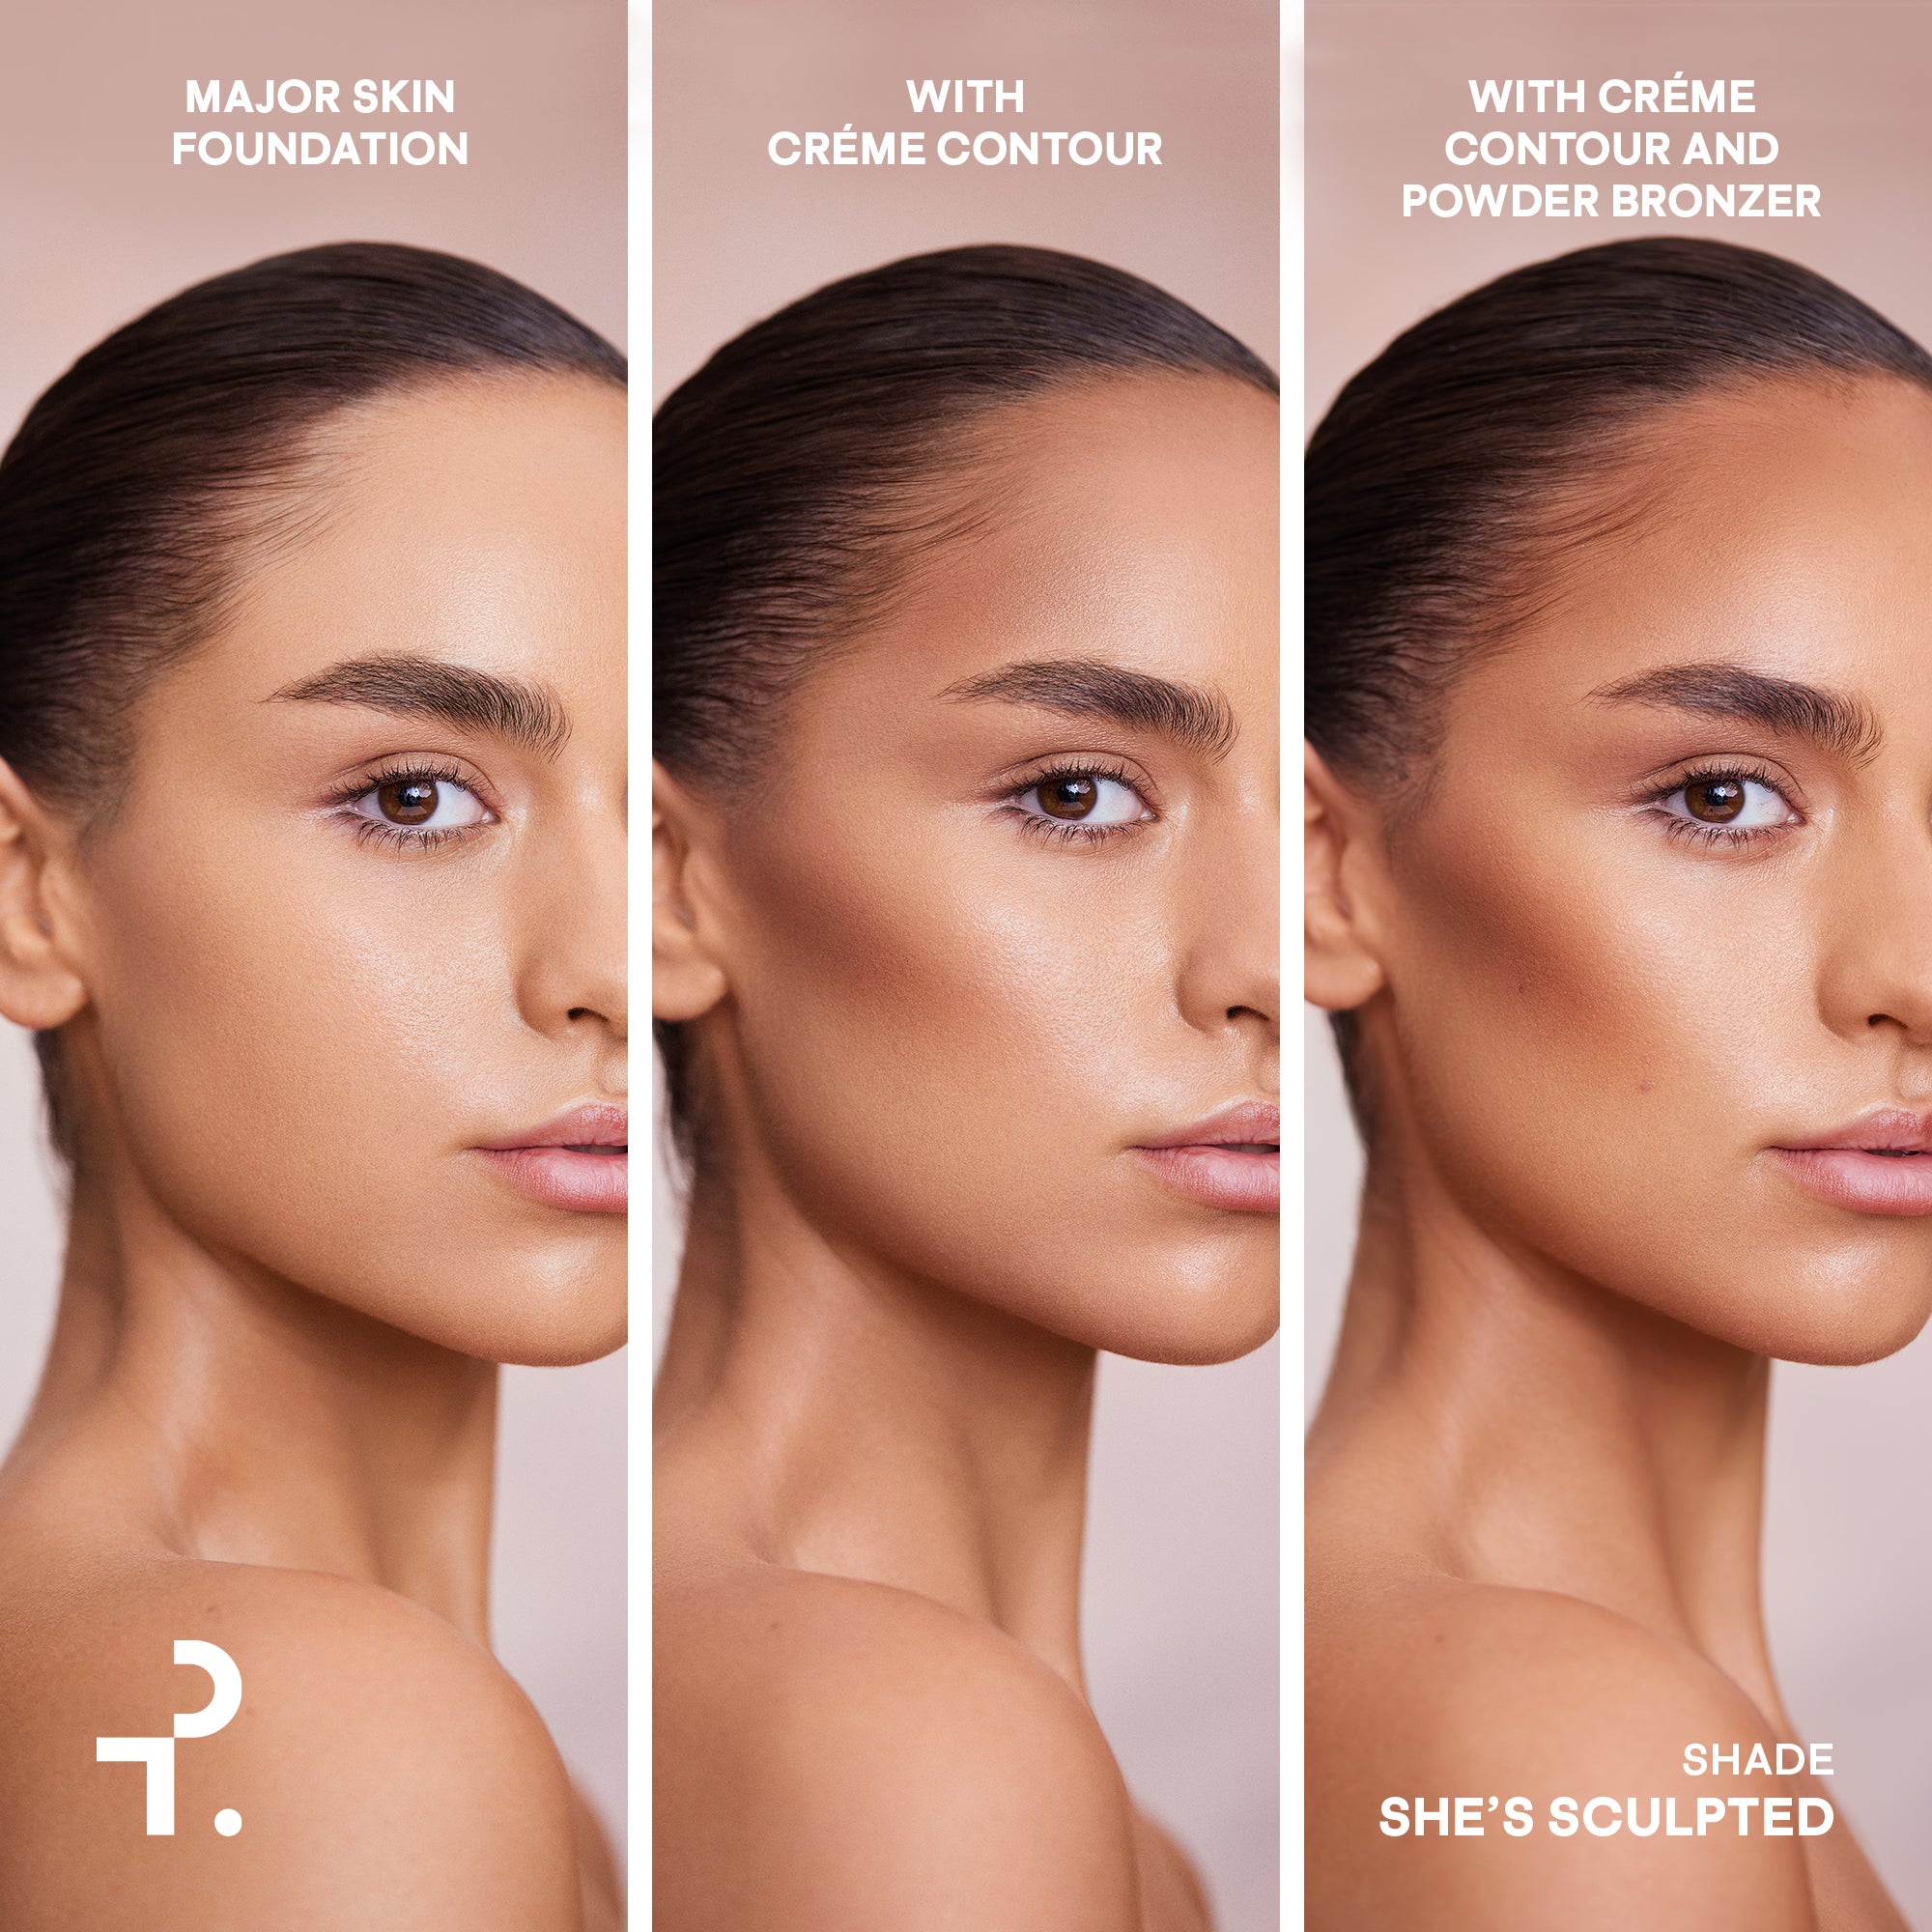
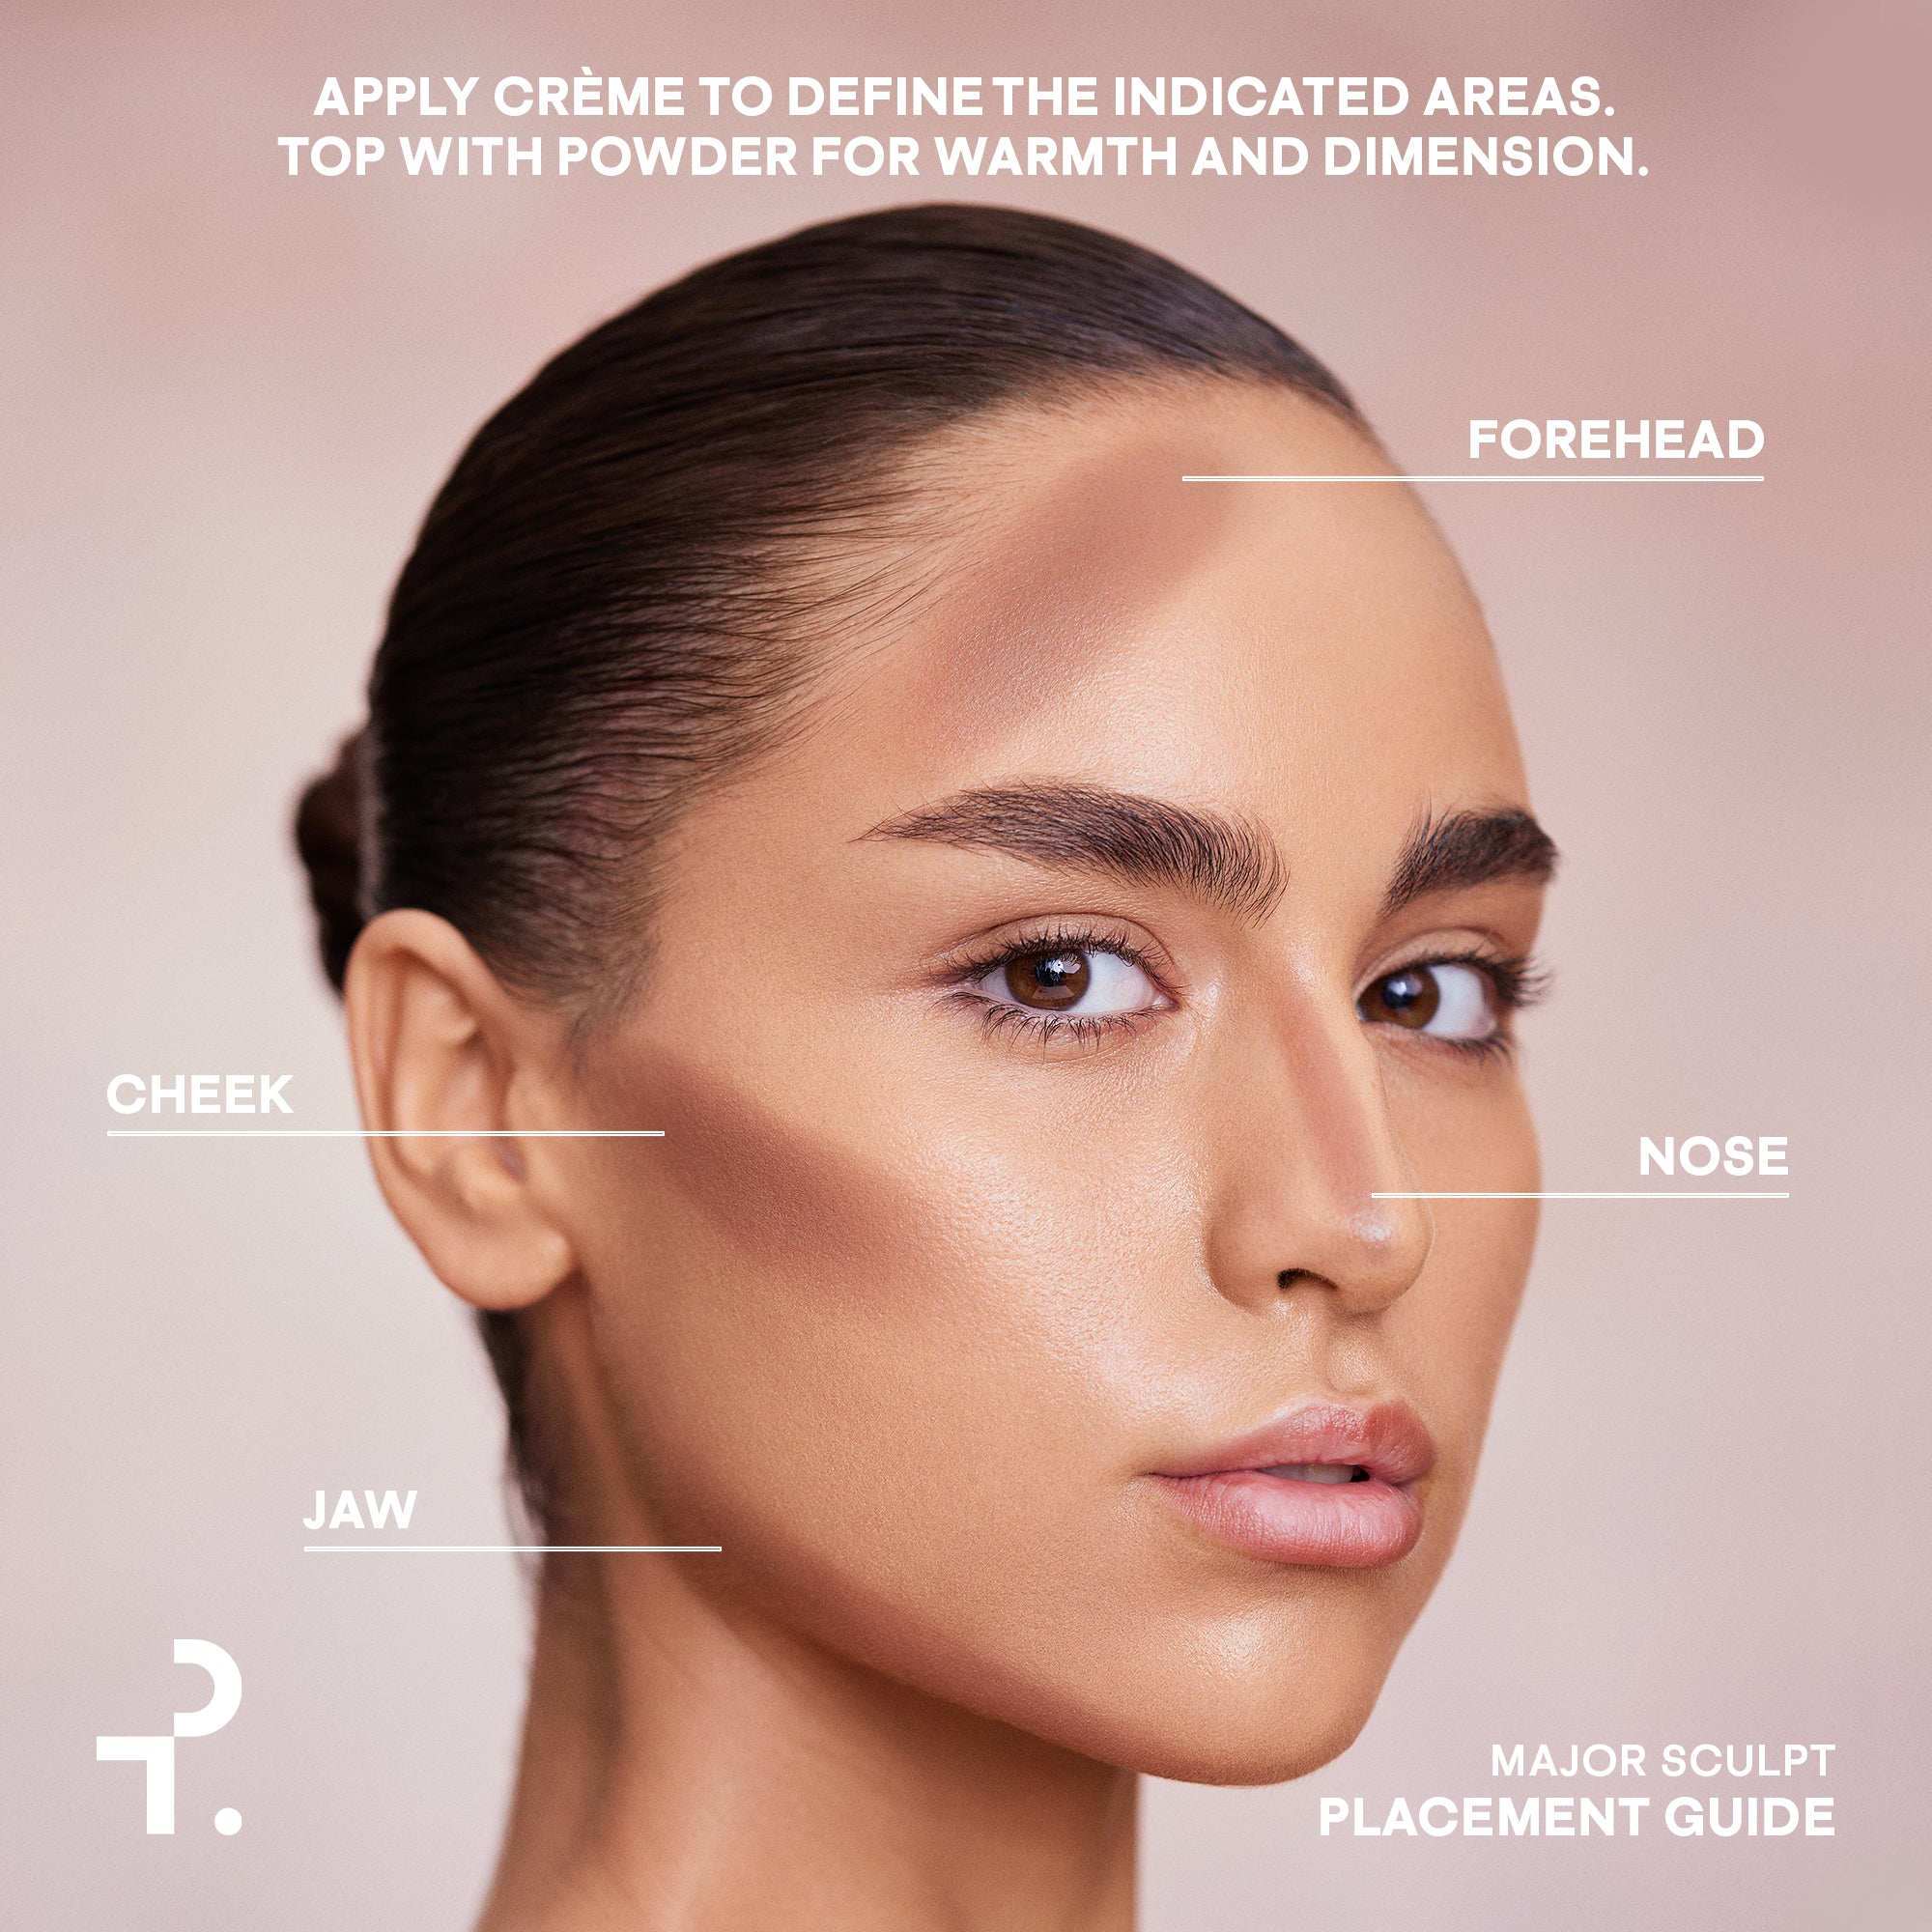
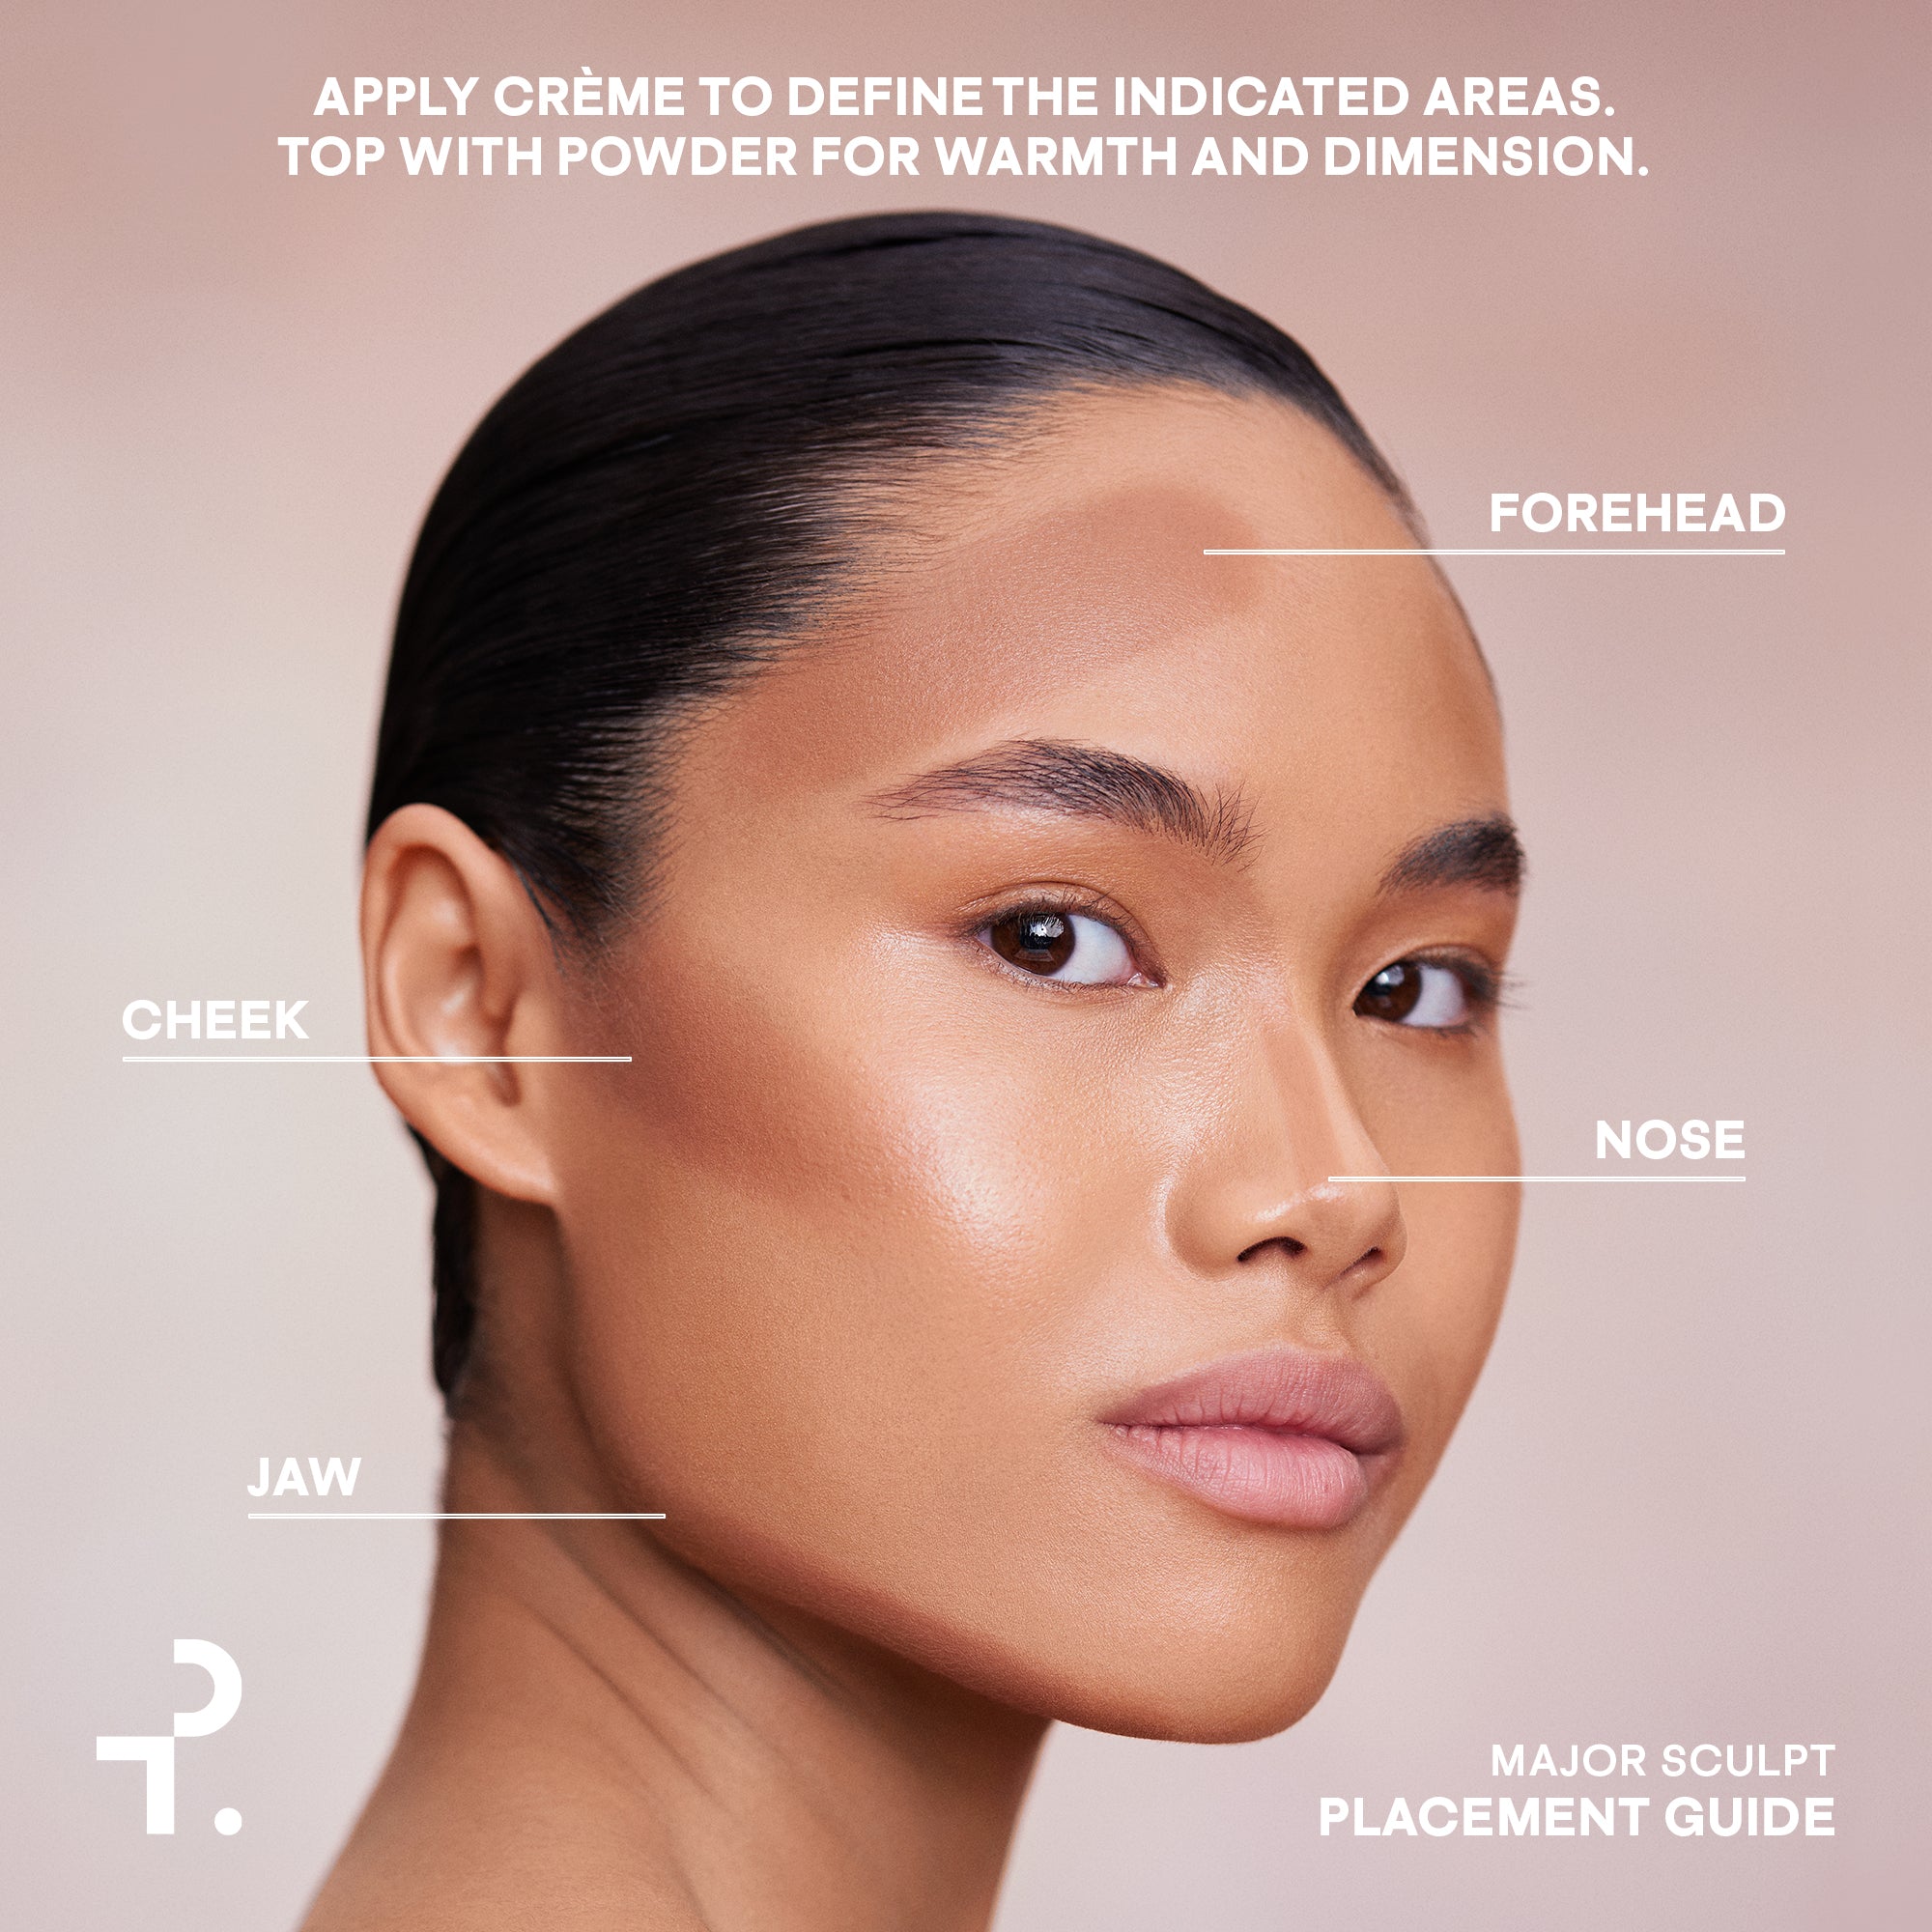
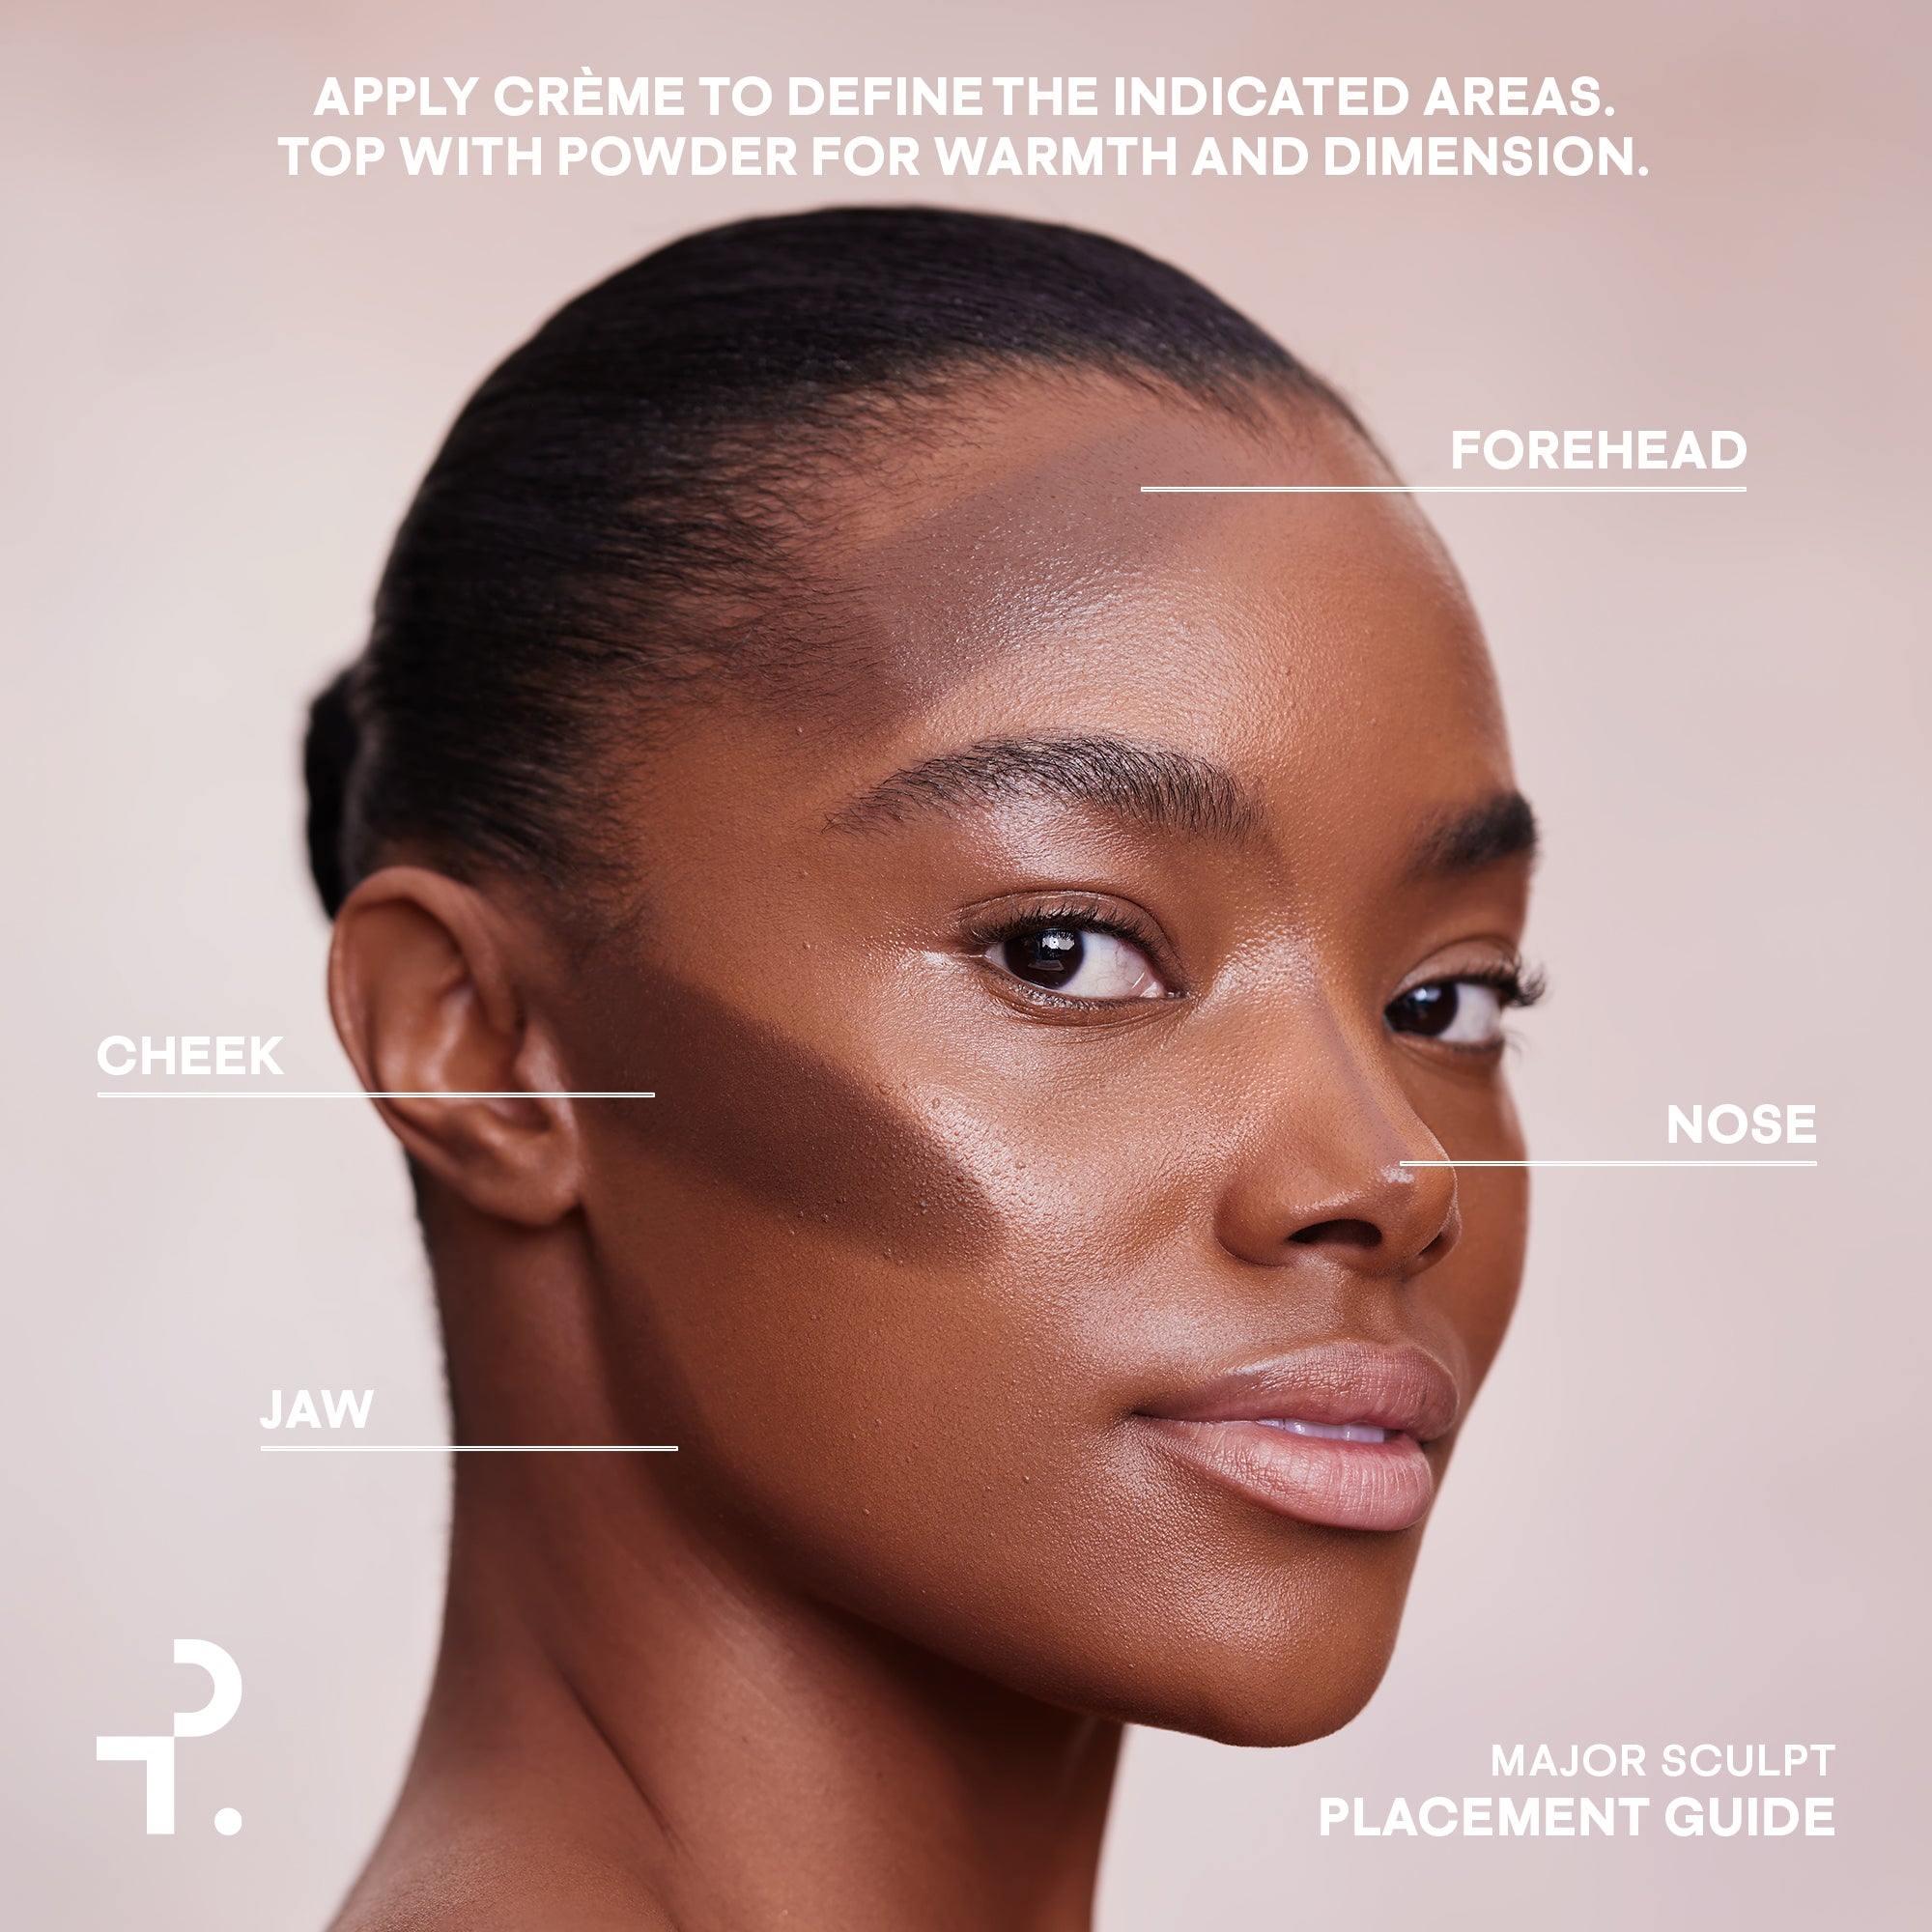
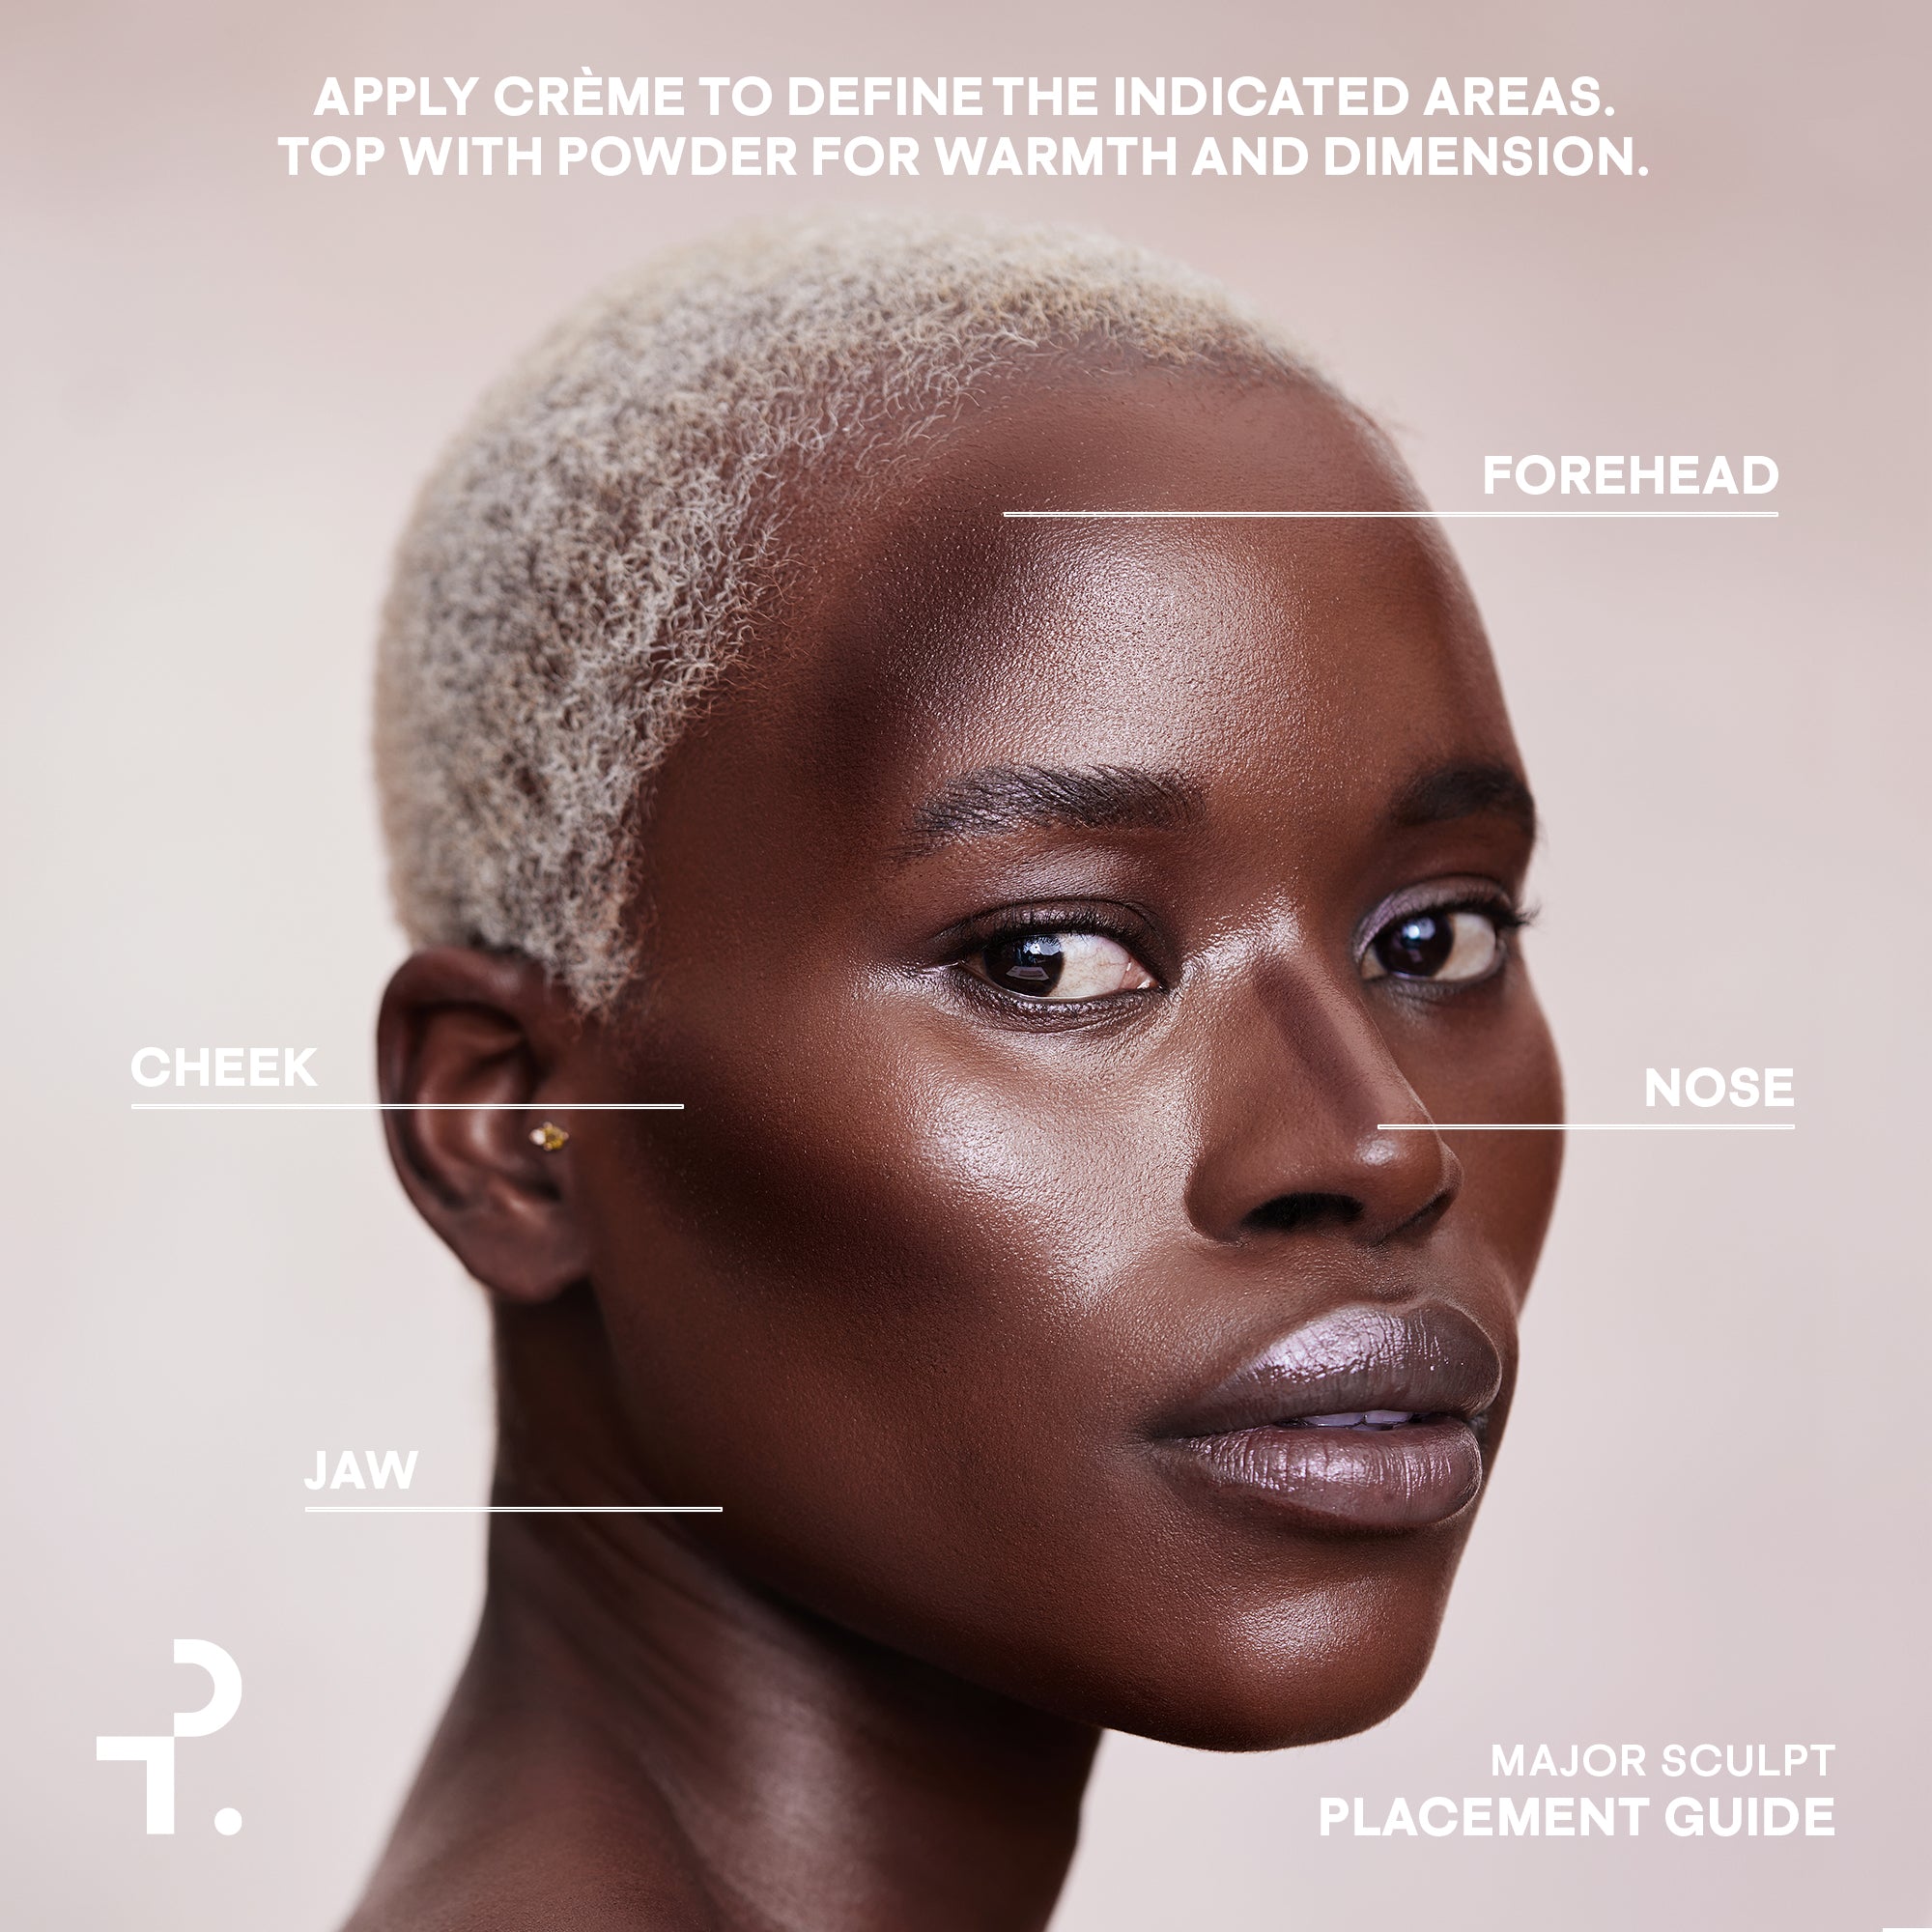
Create a line in the hollows of your cheeks, starting from your ear. With the denser end of the contour brush, use a stamping motion to press the cream into the skin. You’ll want to concentrate the darkness along the hollows, and lightly diffuse the product as you blend towards your cheekbones for the most natural look.
As you’re contouring your cheeks, it’s important to consider your face shape. For example, with round faces, Patrick recommends bringing the contour down towards the corners of the lips. Meanwhile, someone with a longer face will want to bring their contour down the hollows of their cheeks and then cut it towards the inner corners of their nose.
There may be some lines at this point, but don’t worry— we’ll come back to blend in a bit.
2. Apply to the Jaw and Forehead
After working on your cheeks, you’ll shape and define your jaw and forehead. To contour the jaw, pick up some contour with the same brush and glide the brush right underneath the jawline. A pro tip from Patrick: Bring the contour right behind your ear to give your jawline the most naturally sculpted look.
Next, move on to your forehead. Using the same stamping motion and the same contour brush, press the cream contour into the skin from the temples along the hairline up to the center of your forehead. Even if you don’t need to contour the forehead, Patrick still recommends stamping a light wash of color into the skin with your cream contour for the most seamless look between the jaw, cheeks, and forehead.
3. Blend Away Harsh Lines
Once your contour has been applied, you can use the brush to gently blend the contour into the skin. This helps get rid of any remaining harsh lines to create the most natural-looking contour possible. Patrick also likes to go back over the same areas with a makeup sponge to further blend the contour.
4. Contour the Nose
If you want to contour your nose, you can use the same cream contour. However, given the smaller coverage area, you’ll want to use a more precise contour brush—such as the Major Sculpt Dual-Ended Precision Brush.
When figuring out contour placement on the nose, keep in mind that the more space you leave between the two lines, the wider the nose will appear. You’ll want to focus the contour in the areas where you want to taper in.
Using the angled end of the contour brush, draw a line down each side of your nose. Then, cut the contour at the very tip of your nose, drawing a horizontal line that intersects the parallel nose contour lines. Finish with the fluffy end of the precision contour brush to blend it into the skin.
5. Contour the Lips
This extra step is by no means mandatory, but it is a great way to add some subtle definition around your lips for a poutier look. Pick up some cream contour with the fluffy end of the precision brush, and lightly diffuse the product right underneath the lips and on top of the cupid’s bow.
6. Set with Powder
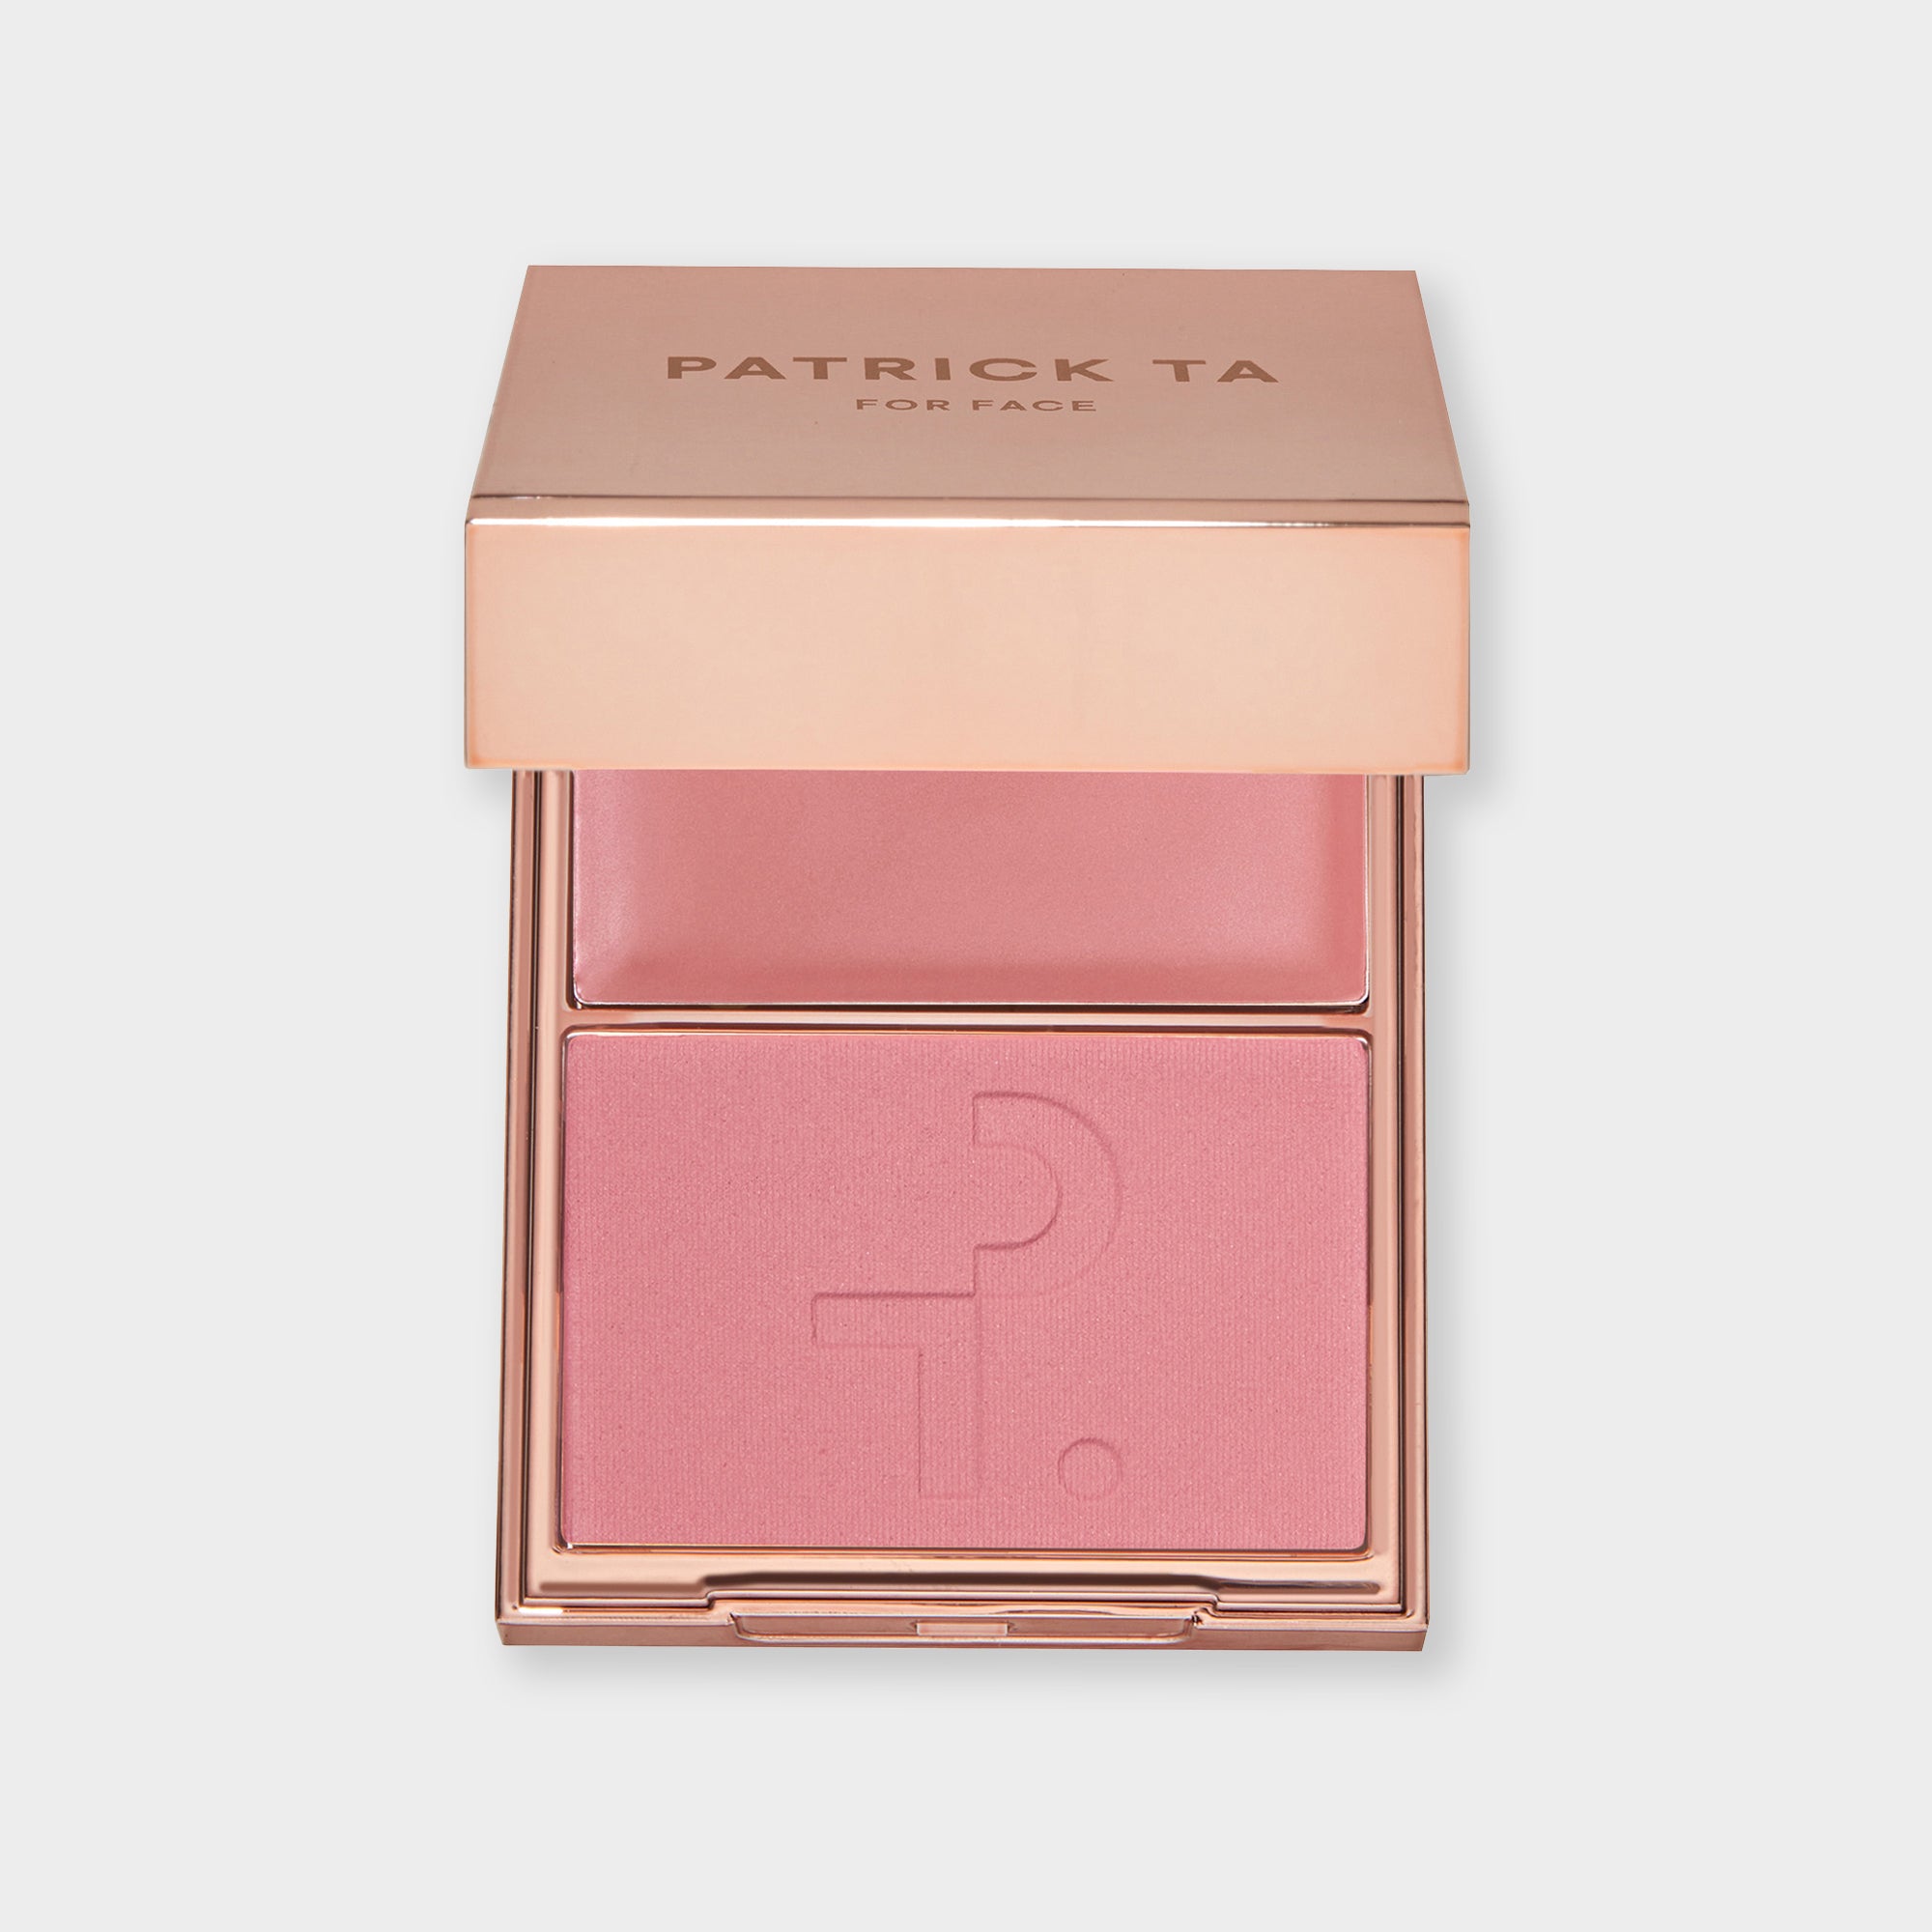
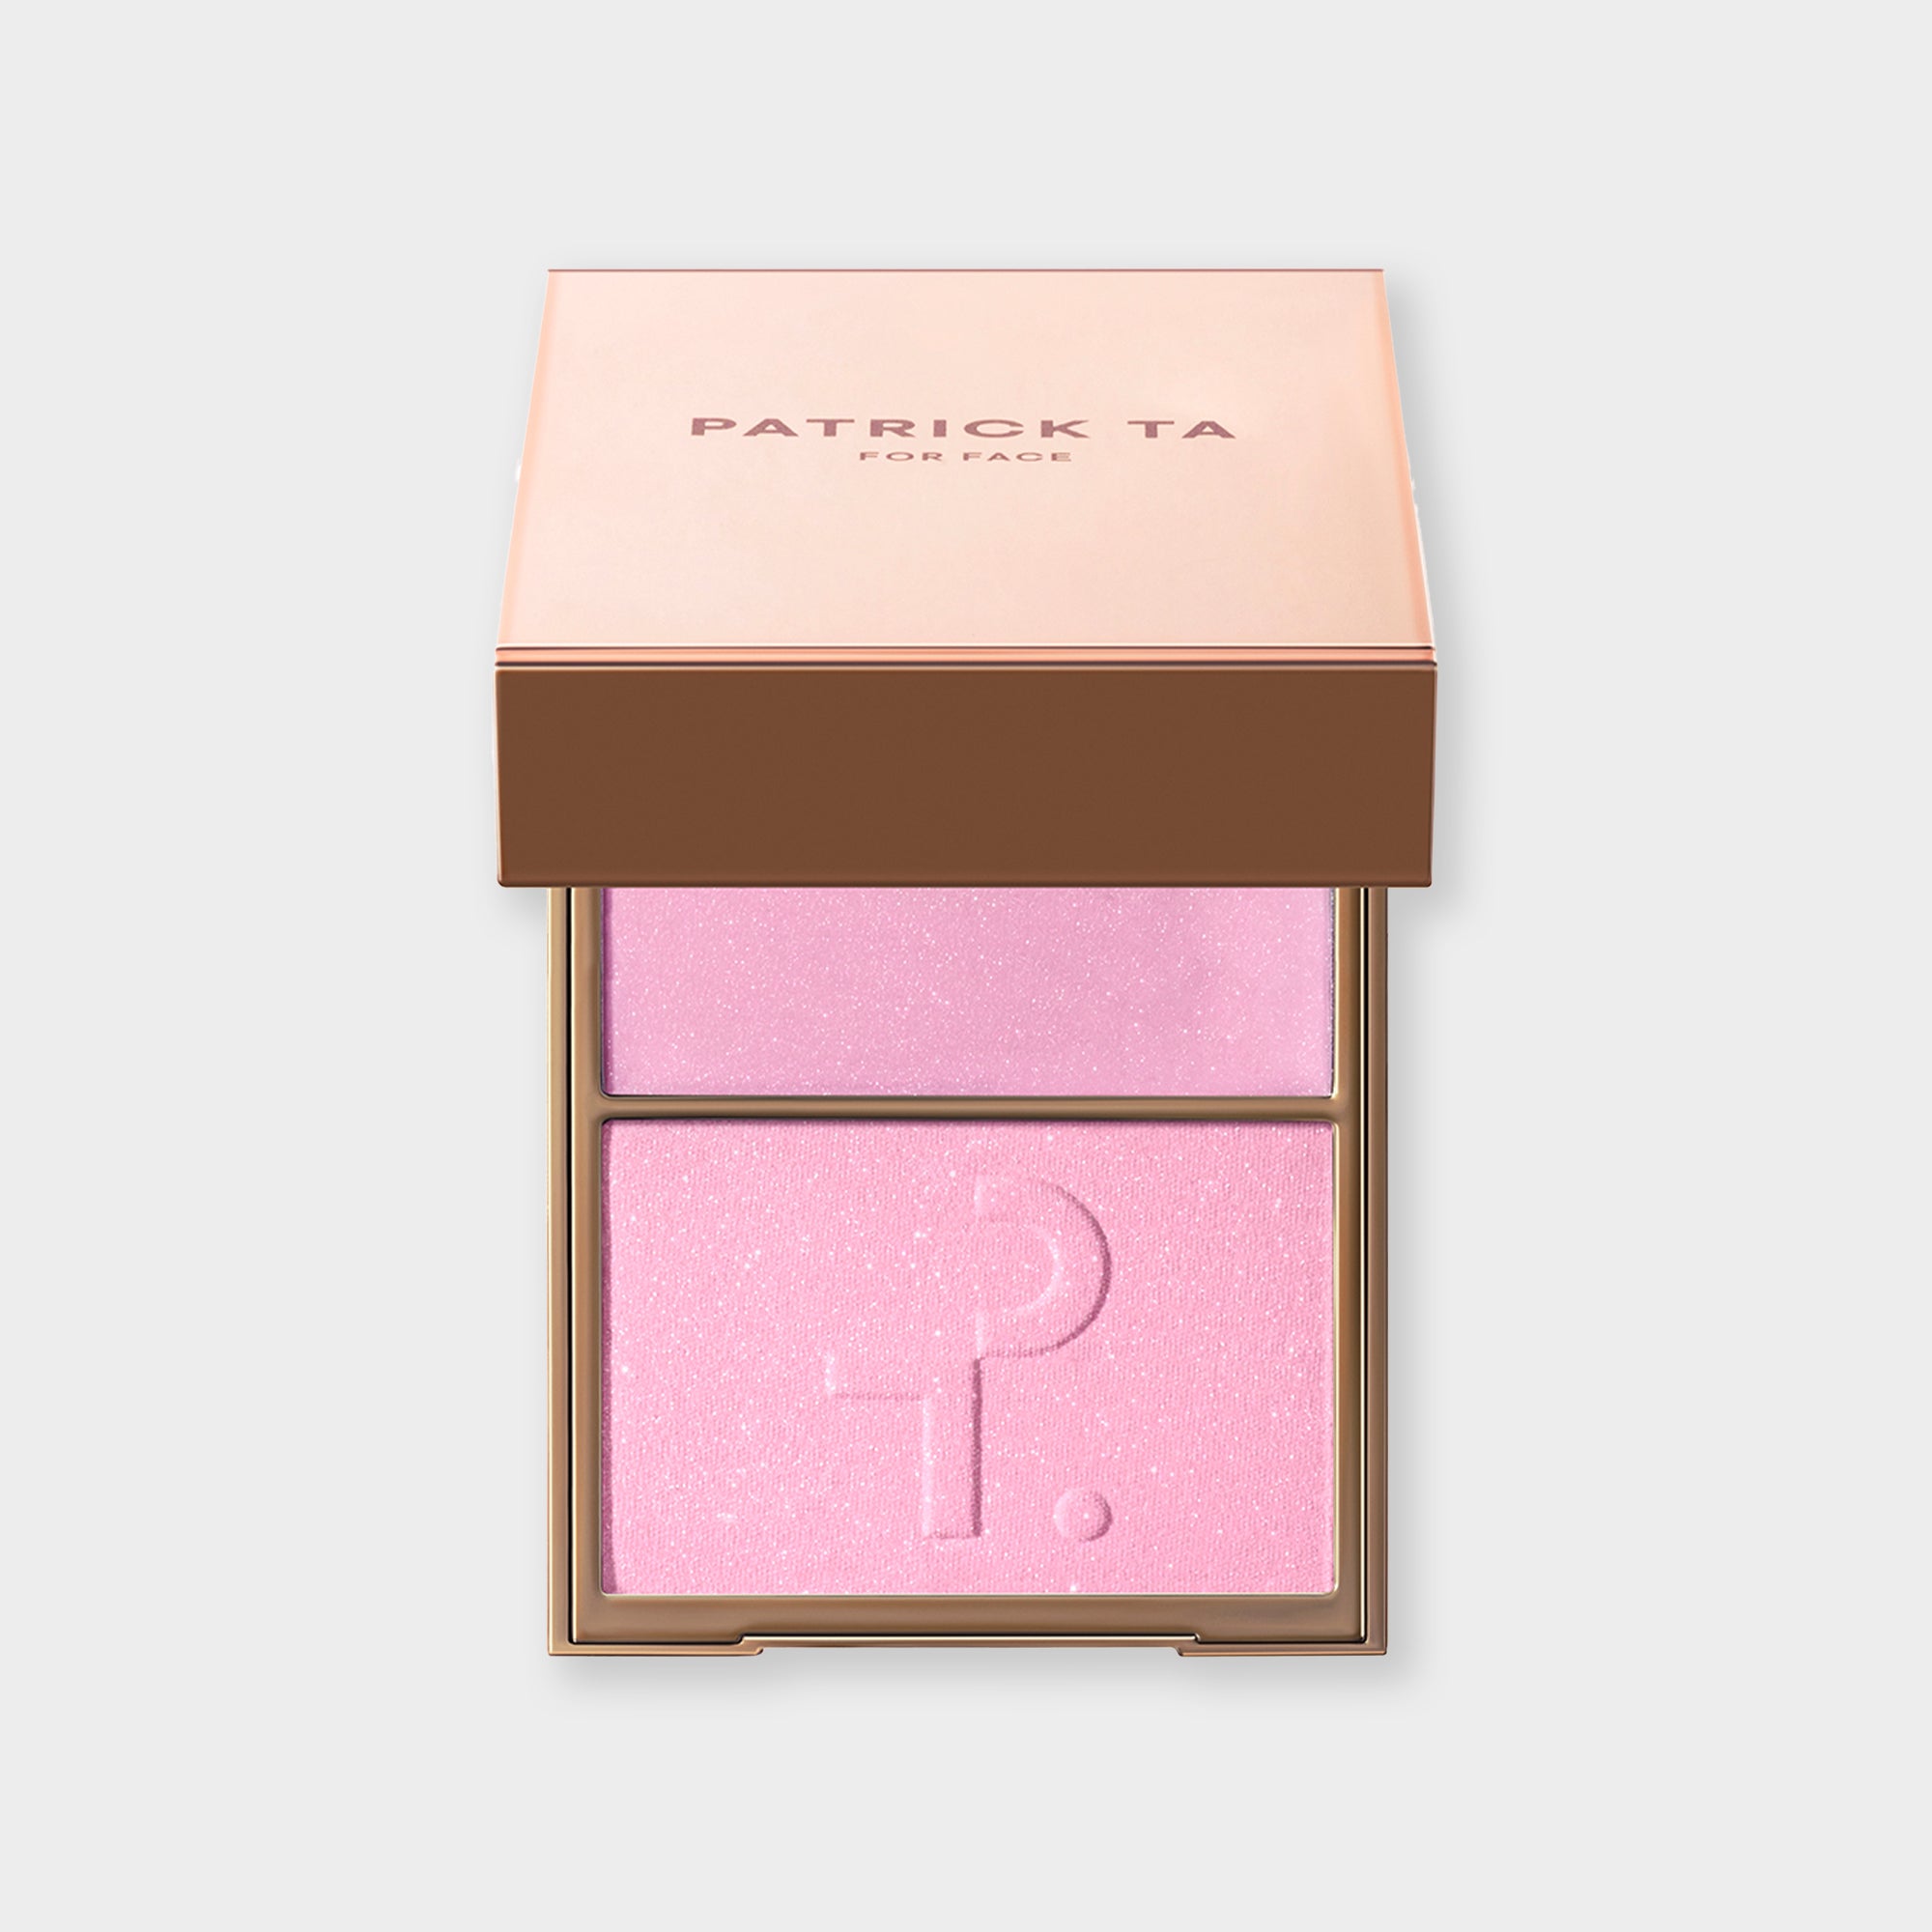
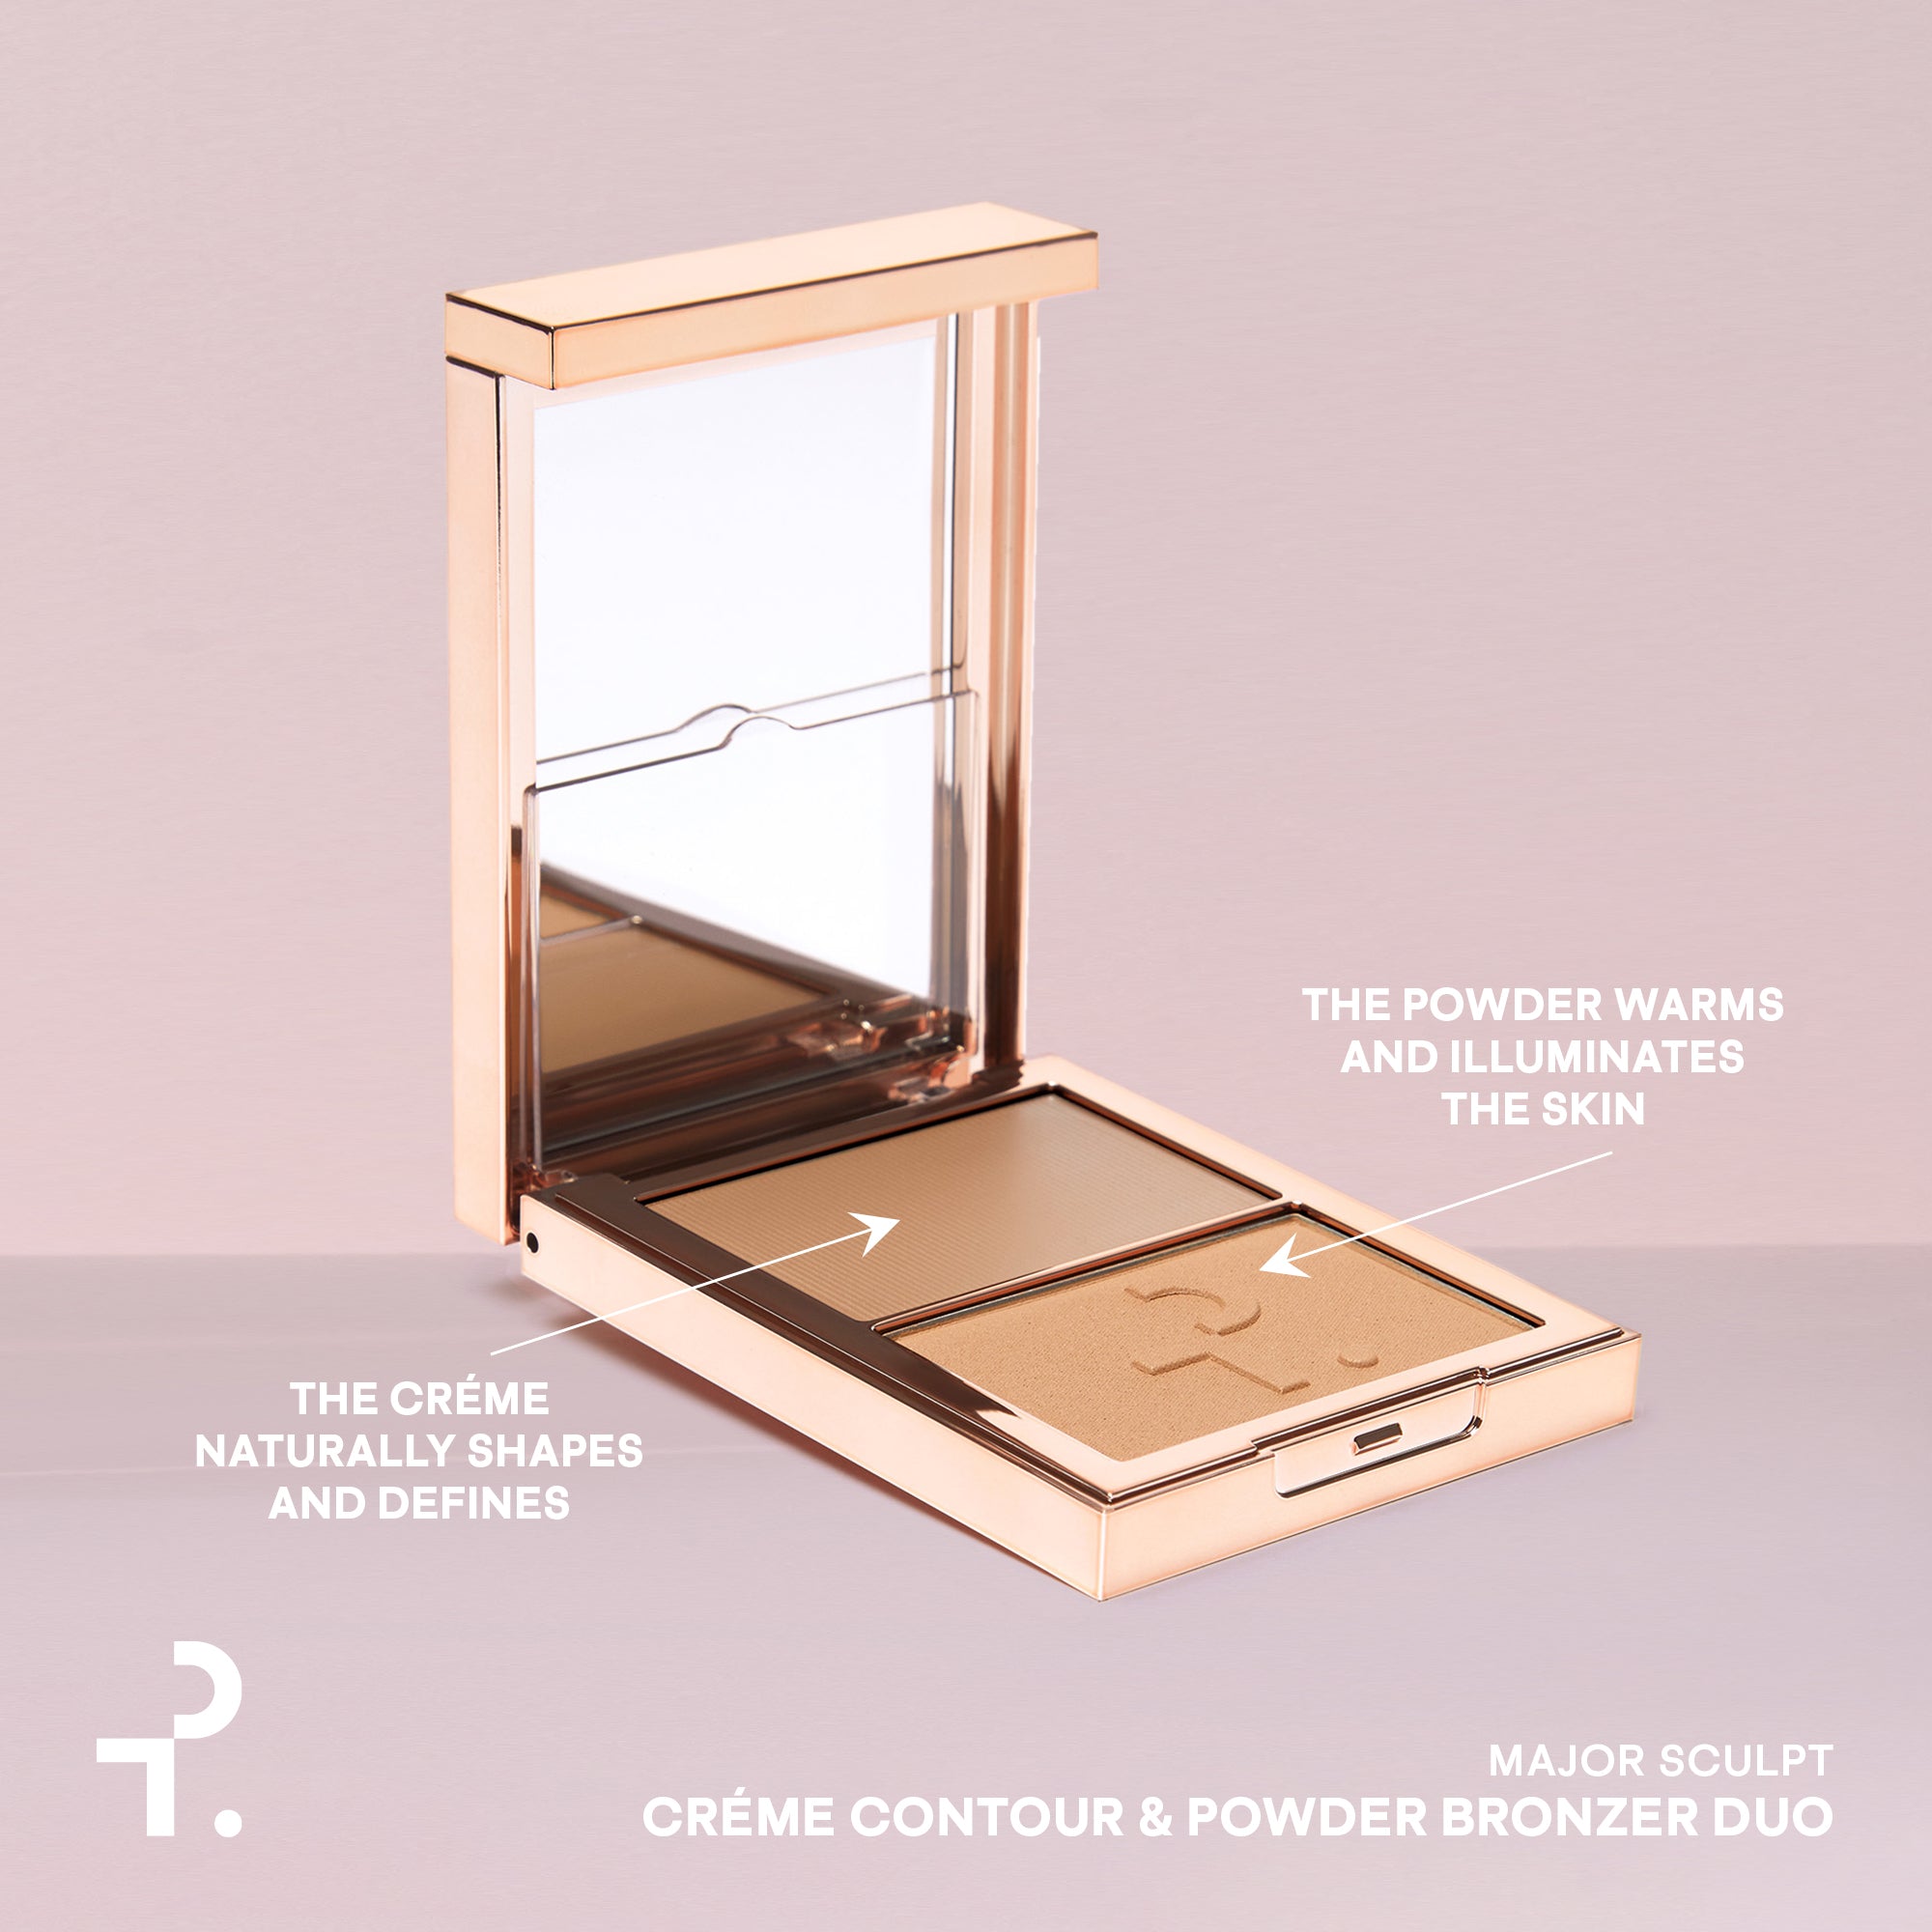
To finish off your look, set your contour with the powder bronzer. With the fluffy end of the contour brush, press the bronzer into the skin, wherever you’ve applied your cream contour. This will help keep the contour in place, and will add some illumination to your complexion.

RELATED POSTS
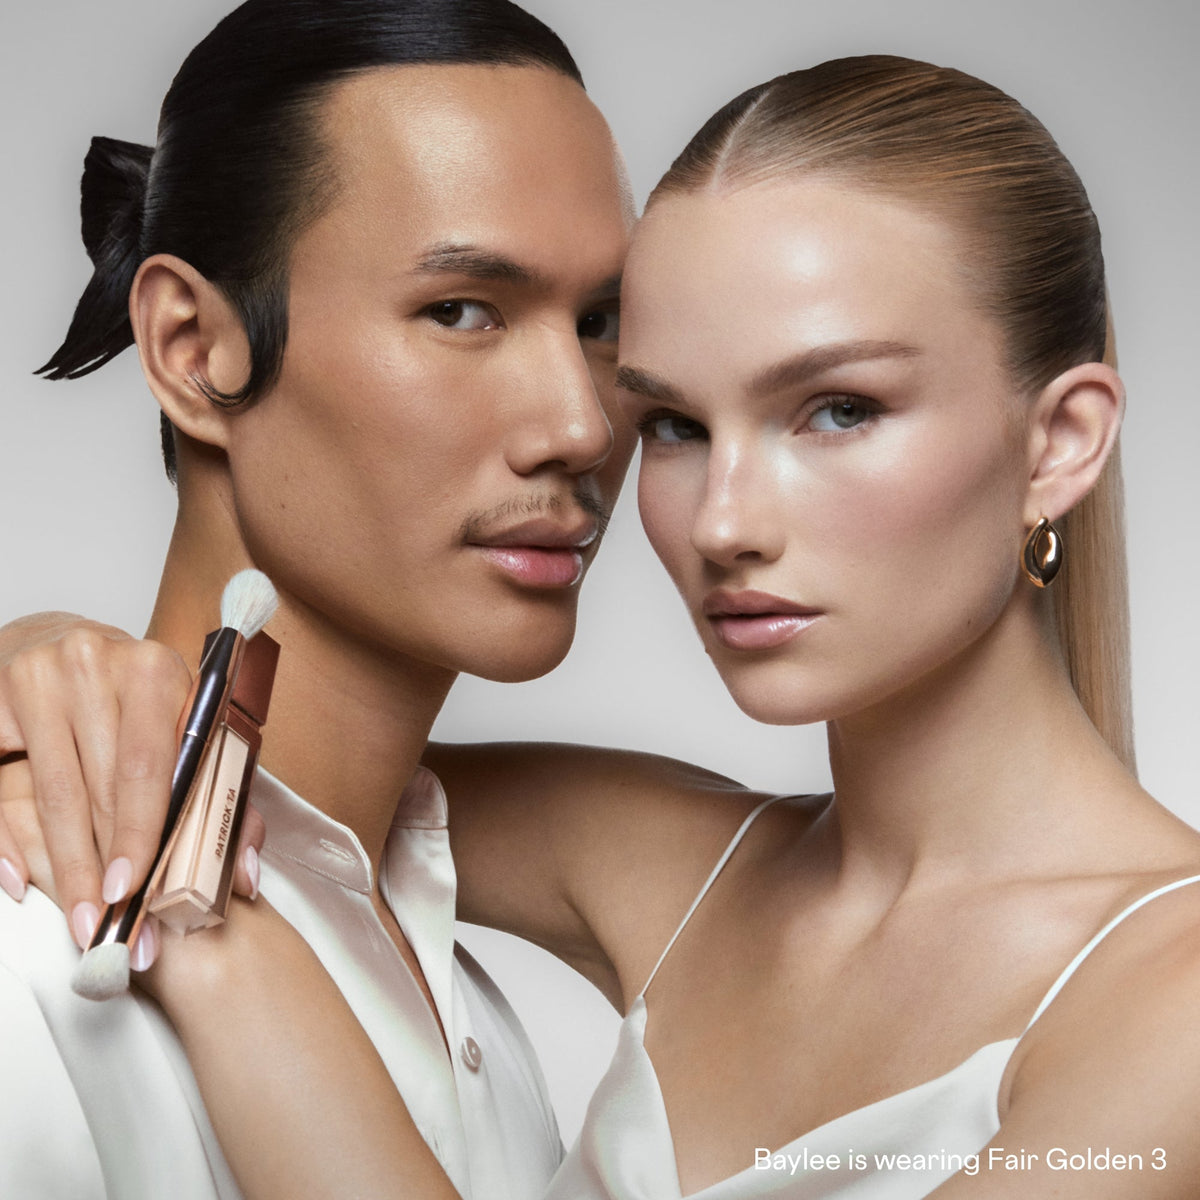
Celebrity makeup artist and founder of Patrick Ta Beauty, Patrick Ta, has once again captivated the beauty world with his innovative products, earning multiple accolades at the 2025 Allure Best of ...
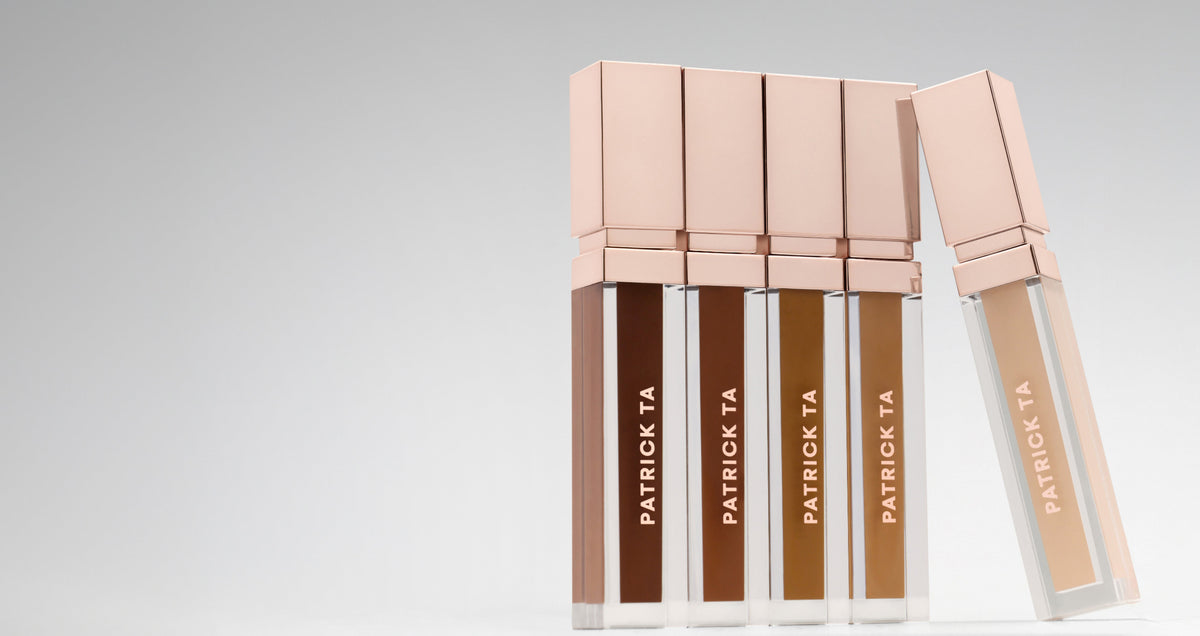
Here is Patrick's guide to concealer placement, plus how to apply it for a seamless, skin-like finish.
Here is how to find your concealer shade, how to test it, and how to use more than one shade for a flawless base
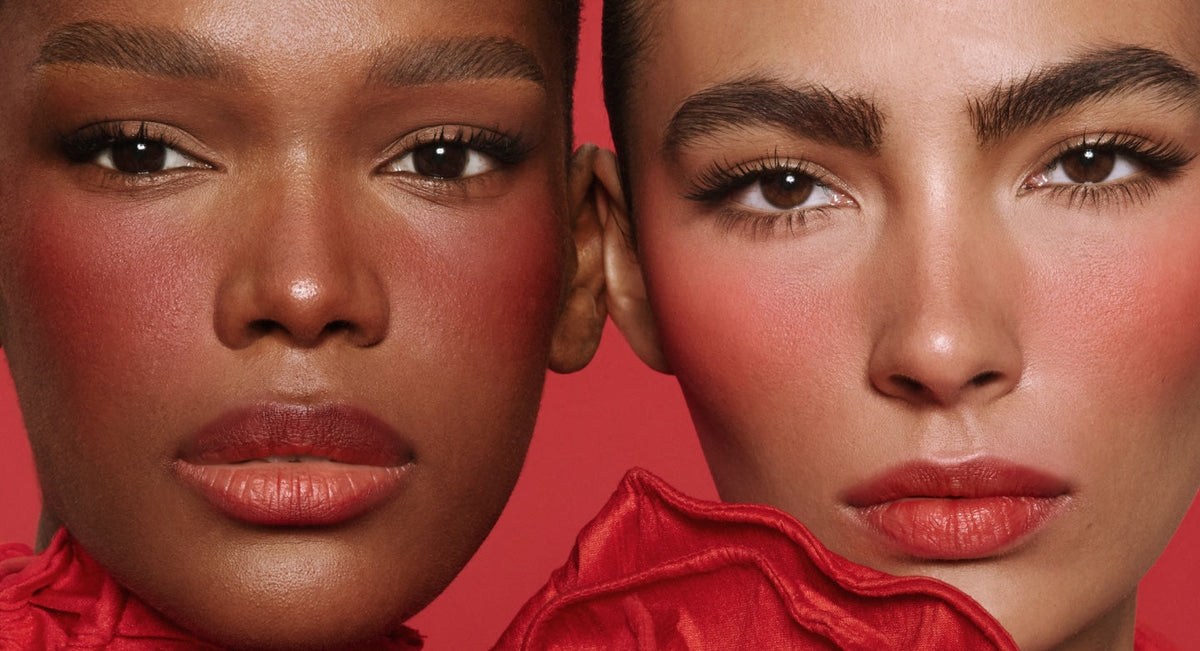
Here is why red blush has become a modern staple, how to choose the right shade for your skin tone, and how Patrick applies it for a flush that looks effortless.
Here are the shades that make brown eyes stand out and the Patrick Ta palettes that deliver them.
If you have been reaching for the same pink or peach for years, mauve blush is the easiest way to refresh your routine without going bold.
With professional tips from Patrick himself, consider this your step-by-step guide to creating the perfect smokey eye.
Follow these steps to learn how to apply eyeshadow for everything from an everyday wash of color to a defined evening look.