


Do You Contour Before or After Foundation?
Do You Contour Before or After Foundation?
You can contour either before or after applying foundation. It all comes down to the look you want to create and your makeup preferences.
Not sure what technique is best for you? Here is your ultimate guide on how to contour before and after foundation, and how to determine which method you should use in your beauty routine.
Contouring Before Foundation: Pros and Cons
Contouring prior to foundation (a technique also known as underpainting) has seen a revival on social media, but it’s an age-old trick that makeup artists have used for years.
It involves applying contour (and in some cases, blush, highlighter, and concealer) to a clean face, subtly blending it, and then layering foundation on top. This allows for a more subdued and natural contour look, as the foundation helps diffuse the makeup underneath.
Underpainting is ideal for those who want to try contouring, but are worried about it looking too intense. However, there are a few things to consider before testing it out yourself.
If you use a full-coverage foundation, underpainting won’t be the best fit for you. The opaque formula will mask the makeup underneath.
Another factor to consider is that the effect can look too subtle, especially as you’re first trying to get the hang of it. You may end up wanting to add even more contour after your foundation, ultimately using more makeup.
Contouring After Foundation: When It Works Best
Contouring after applying foundation is the more common technique. With this method, you’re able to create a more prominent sculpted look, since the contour isn’t diffused by the foundation.
You also have more control over how strong or subdued your contour appears. You can apply less product for a subtler lifted look, or blend in more for a bold, chiseled moment. The versatility means this method works for all beauty looks.
Since you’re applying your foundation first, you also have more flexibility over the type of formula you’re using. This method is ideal for all foundation coverage levels, from light to full.
Step-by-Step Guide for Contouring with Foundation
Here is your full guide to contouring both after and before applying your foundation.
Contour Before Foundation
Start with clean, moisturized, and primed skin. Take an angled contour brush, and use a stamping motion to press the contour into the skin. Apply it anywhere you want a sculpted look, such as underneath the cheekbones, along the hairline, and underneath the jaw.
Once it’s applied, take your brush and gently blend the contour into the skin. Don’t fully blend here, as you’ll continue to blend it as you apply your foundation.
Next, grab your light or medium-coverage foundation and a beauty sponge or dense makeup brush. Use your tool of choice to stamp the foundation all over the face, carefully layering it over the contour. Continue to blend until you have an even, thin layer of foundation and a flawless contour look.
Contour After Foundation
Start with clean, moisturized, and primed skin, and apply your foundation of choice all over the skin.
From there, use an angled brush to press the contour into the skin. A stamping motion ensures you don’t disturb the foundation underneath. Again, apply the contour anywhere you want to chisel and add dimension.
Once you’ve applied your contour, use your brush to blend away any harsh lines. Continue blending until you’ve achieved a natural, sculpted look.
Blending Tips for a Seamless Look
Blending is essential for achieving the most natural contour. Here are a few of our top tips and tricks for seamlessly blending your contour makeup:
- Start with Less and Build as Needed: Start with a thin, even layer of contour, and then add more product as needed. This prevents overapplication, ensuring you achieve a realistic contour.
- Use a Makeup Sponge to Diffuse: Rather than only using your brush to blend, take a damp makeup sponge and gently press it over harsh contour lines. This further diffuses contour for the most natural look.
- Set Your Look with a Bronzing Powder: For the most seamless look, we love finishing our contour with a bronzing powder. This helps set the contour while adding a sun-kissed radiance to the complexion.
Choosing the Right Contour Products for Your Routine
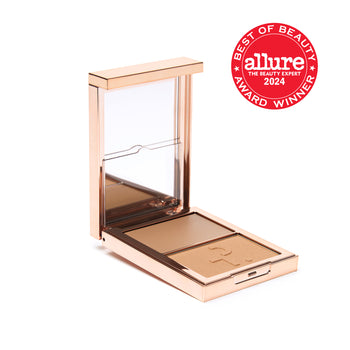
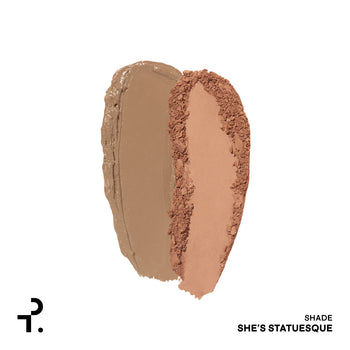
No matter which method you follow, choosing the best contour products is a must. The Patrick Ta Major Sculpt Crème Contour & Powder Bronzer Duo is the ultimate pick for effortless definition.
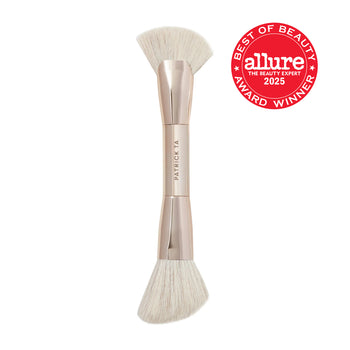
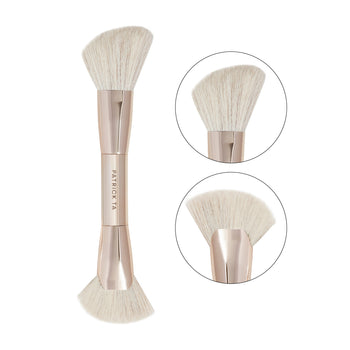
The buildable crème contour seamlessly melts into the skin for easy contour application. It leaves a skin-like finish for the most natural look. Apply it with the Major Sculpt Dual-Ended Sculpting Brush for a perfectly defined contour moment.
The two-in-one compact also features a radiance-boosting powder bronzer for that stunning, just-got-back-from-vacation warmth. Consider it your new go-to for chiseled, glowy base makeup.
@patricktabeauty
@patricktabeauty