


How To Contour & Highlight Based On Your Face Shape
How To Contour & Highlight Based On Your Face Shape
Have your attempts to contour and highlight led to results that just look…off? There’s a good chance you aren’t taking your face shape into consideration.
Knowing how to contour your face based on face shape is the secret to natural-looking results with snatched, glowing skin. Once you’ve identified your face shape, you can learn to chisel and lift like a pro.
Identifying Your Face Shape
Face shapes are broken down into these groupings:
Round: Round faces are characterized by soft angles and equal length and width measurements. The cheekbones are the widest part of the face, and the jawline and hairline are rounded.
Oval: Oval faces are longer than they are wide, and have foreheads that are a bit narrower than the cheekbones. Facial features are softer and more rounded, rather than being angular.
Oblong: With an oblong face (also referred to as a rectangular face shape), the length measurement is nearly double the width measurement. The forehead, cheeks, and jaw also nearly match in width.
Heart: A heart face shape is defined by a chin that comes to a point and a forehead that is wider than other features. Many with a heart face shape also have a widow’s peak (although this isn’t always the case).
Diamond: The cheeks are the widest part of a diamond face shape, with the forehead being more narrow and the chin coming to a point. This face shape also typically has a longer appearance.
Square: With square face shapes, the forehead, cheekbones, and jaw are all approximately the same width, and the length and width of the face are about equal in measurement. This face shape has a very structured look, with a defined jawline and sharp cheekbones.
If it’s not quite obvious yet which category you fall under, it is time to do a bit of measuring. To start, grab a fabric tape measure (don’t have one handy? A ruler will do the trick!).
Jot down the measurements for your face length (from the top of your hairline to the center of your chin), forehead width (from the left hairline to the right hairline, keeping the measuring tape flat), cheekbone width (from the high point of one cheek to the other, keeping the measuring tape flat), and jaw width (from the bottom of your ear lobe to the middle of your chin, and then double the number).
Once you have these four measurements, compare them to each other and the face shapes outlined above. By using these measurements (and a general analysis of the level of softness or definition of your features), you can narrow down the options to find what best matches your face.

Contouring and Highlighting Techniques for Each Face Shape
Here’s your ultimate guide on how to contour your face shape for the best, most natural-looking results.
Round Face Shapes
Blend your contour along the sides of the forehead and down to the temple to slim the area. Chisel your face by working the contour under the cheekbones, creating a line from the ear down towards the corner of the lips. Under the jaw, bring the contour from just below the ear all the way to the chin – this will add more length to the face. With highlighter, apply the product to the center of the forehead and chin to draw the eyes in, as well as on the top of the cheekbones above the contour.
Oval and Oblong Face Shapes
Blend contour along the hairline to create a smaller-looking forehead. You’ll also want to work it underneath the cheekbones to define, cutting the contour towards the inner corners of the nose. Blend it underneath the outer sections of the jaw to further sculpt and shorten the appearance of the face. Apply your highlighter to the center of the forehead, as well as on the high points of the cheekbones.
Heart Face Shapes
Apply your contour to your temples to help create the illusion of a smaller forehead. Accentuate the cheeks by working the contour under the cheekbones, and also apply it just underneath the chin (you can skip the jaw, since it's already well-defined). Highlight can be applied to the center of the forehead and chin, as well as on the top of the cheekbones.
Diamond Face Shapes
Apply your contour along the center of your hairline, as well as to the temples – this will help narrow the face. You can also bring the contour from the temples under the cheekbones to soften, but avoid applying it too close to the mouth (it should end in the middle of the cheeks). Apply highlight in the center of the forehead and chin.
Square Face Shapes
Work contour along the sides of your forehead and the temples. You can also apply it along your hairline for a smaller-looking forehead. Define your face by blending it under the cheekbones (stopping in the middle of the cheeks), and then work in under the out part of the jaw to slim and soften angles. Apply highlighter to the high points of the cheekbones, as well as the center of the forehead and chin.

Best Tips for Contouring and Highlighting
Beyond knowing how to contour for your specific face shape, there are tips and techniques you should keep in mind to perfect your application:
Pick the Right Shades: After applying your liquid foundation, choosing shades that complement your skin is essential. Your contour should be about two to three shades darker than your skin tone, while your highlight can be one to two shades lighter.
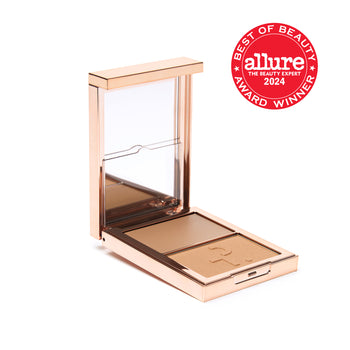
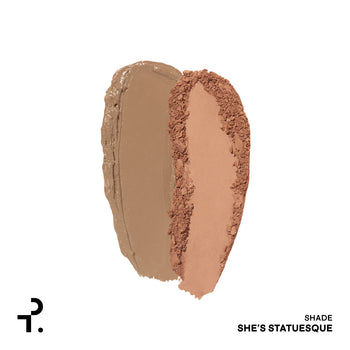
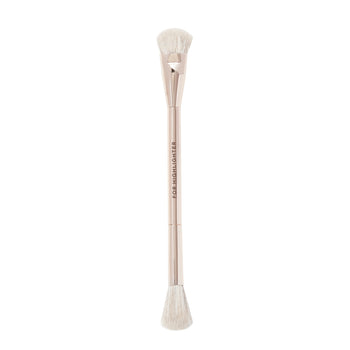
Choose Your Formula and Tools Wisely: We recommend reaching for a cream-based contour (like the one you’ll find in the Major Sculpt Crème Contour & Powder Bronzer Duo), as it’ll melt into the complexion for effortless application and a skin-like finish. Pair it with a sculpting brush for easy blending and precise placement.
Blend, Blend, Blend: Use your makeup tool of choice to ensure any harsh contour lines are blended in. This is the number one mistake we see people make. Well-blended lines = natural-looking results.
If you want to contour and highlight like a pro, you need to take your face shape into consideration. By understanding the unique features of your face and learning about proper contour and highlight placement, you’ll take your makeup skills to the next level.
@patricktabeauty
@patricktabeauty