How To Create The Perfect Nude Lip
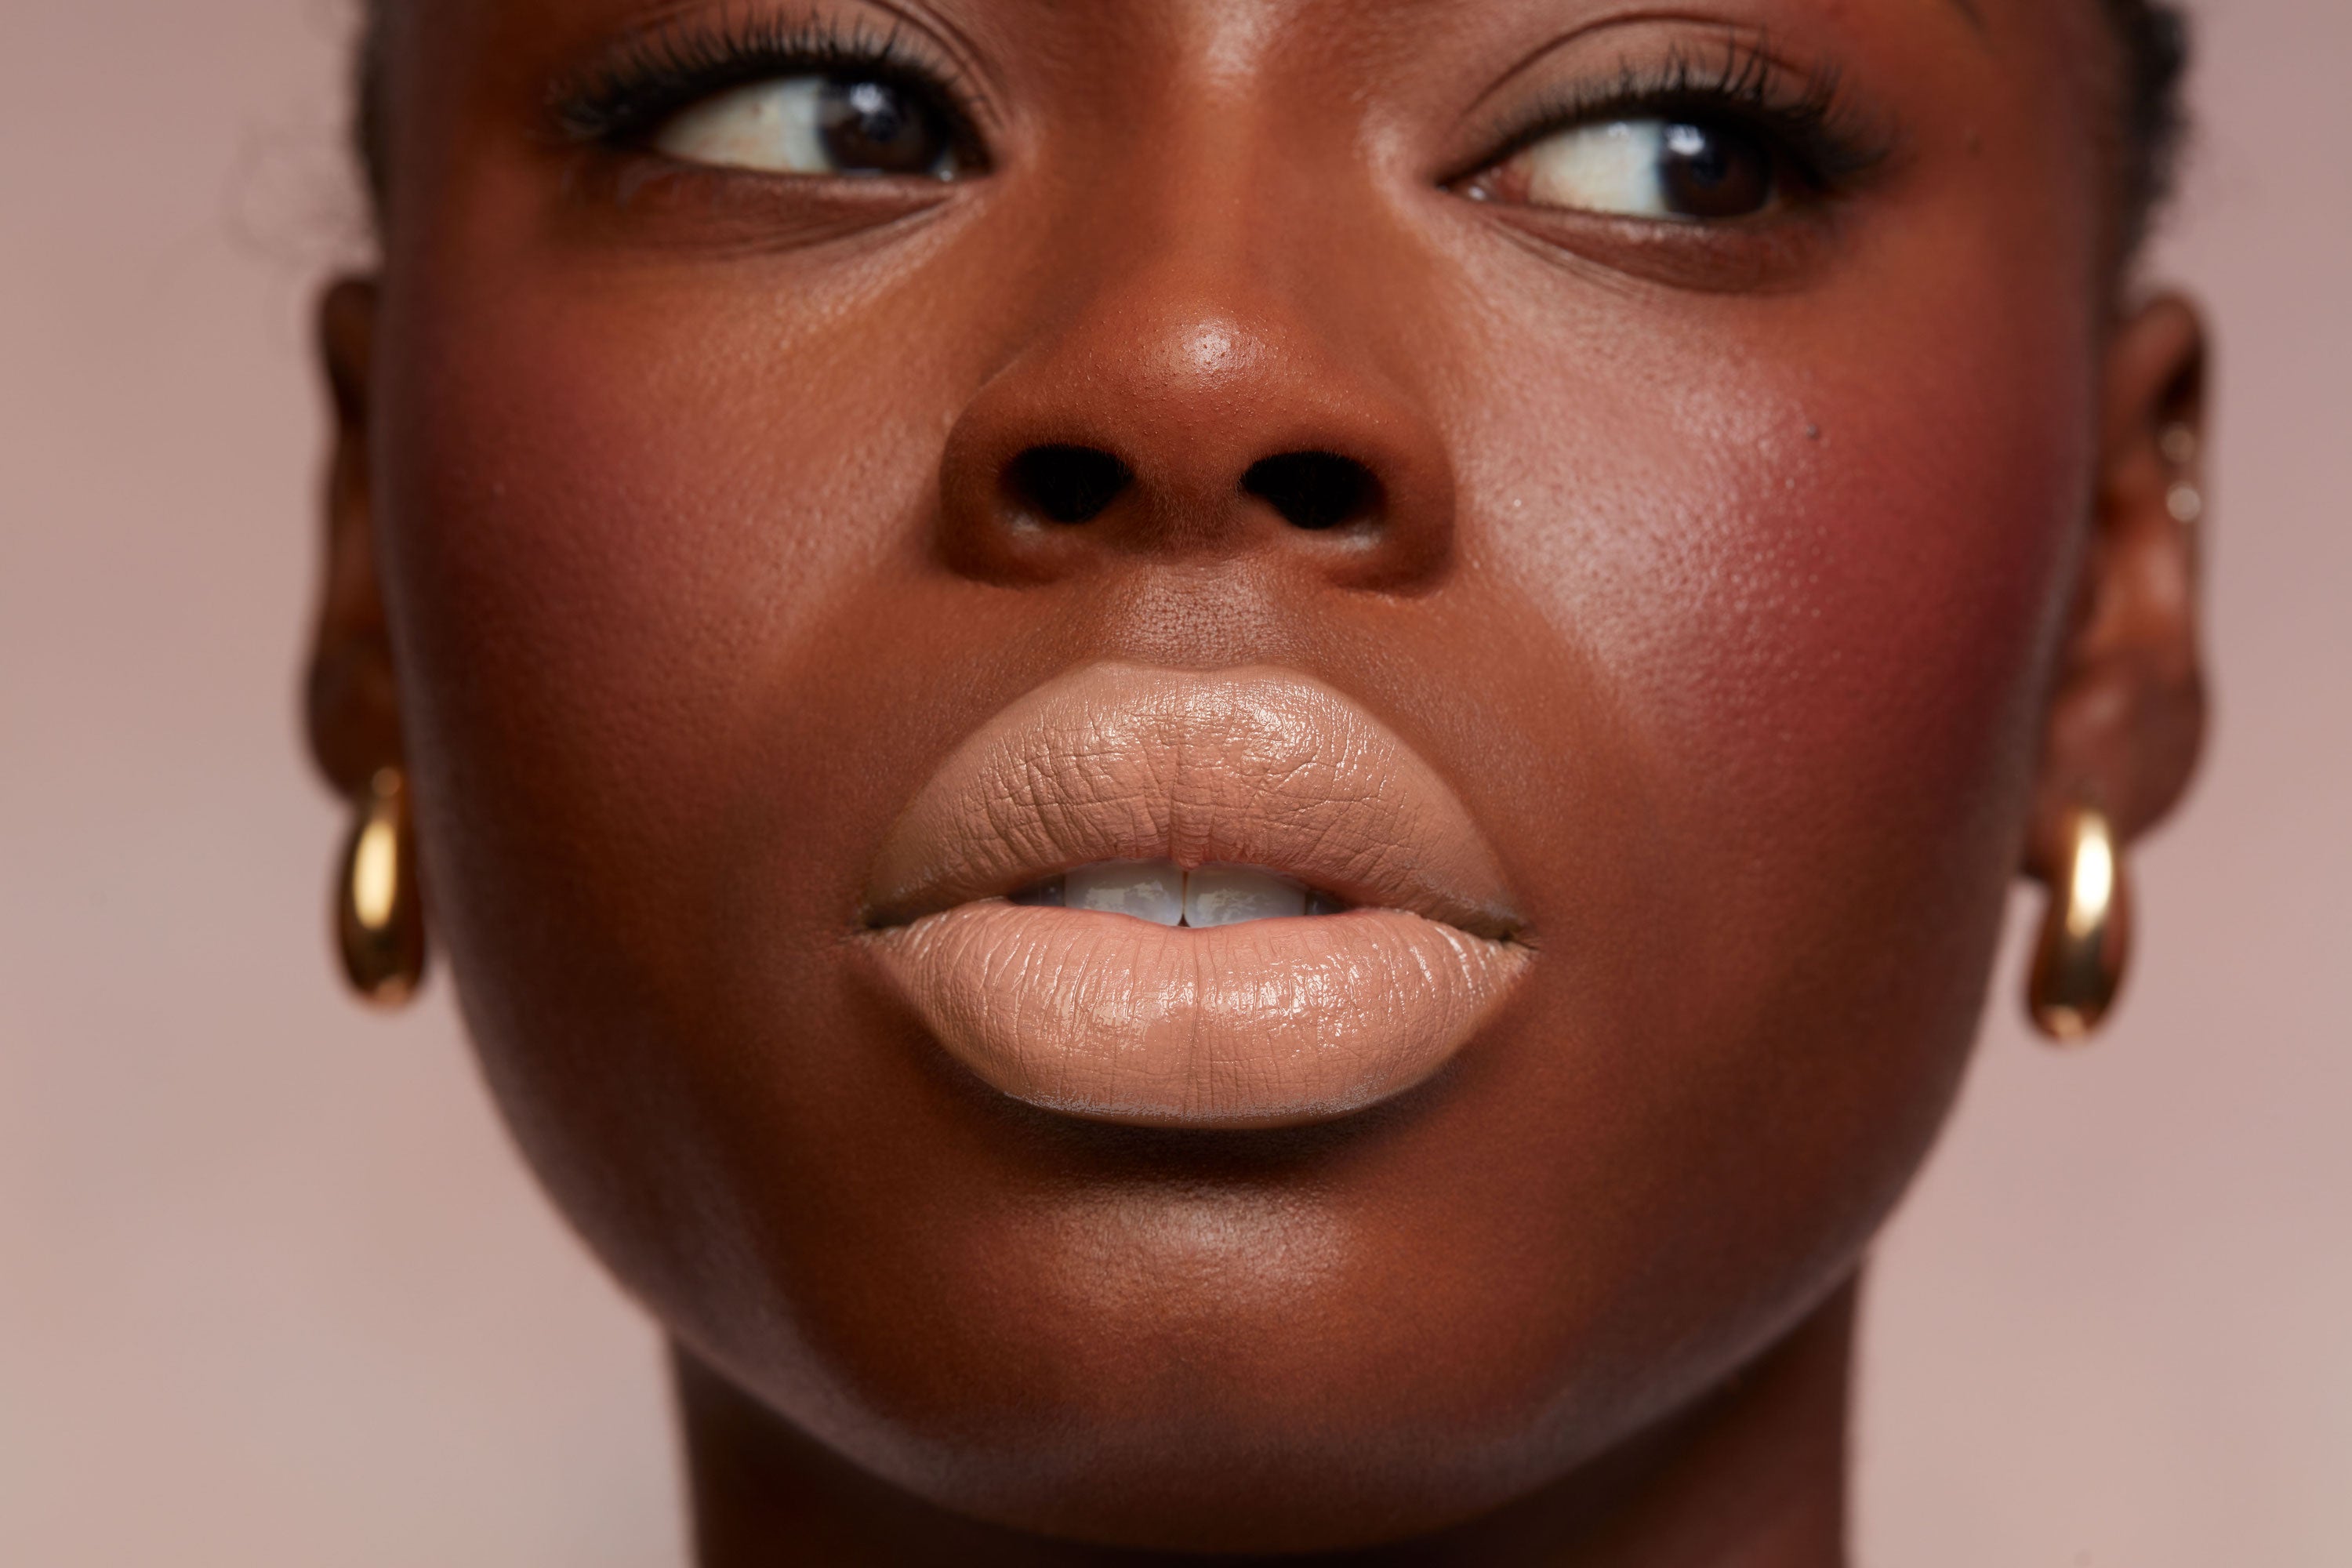
When done right, a nude lip is stunning. The classic lip look is perfect for any occasion, and is incredibly versatile. You can use it as a complement to a bold makeup feature (like a colorful eye look), apply it to amplify your natural makeup, or wear it as a statement of its own.
But there’s one problem – it’s not easy to perfect the art of the nude lip. It requires finding the right shade, as well as applying your lip products with precision. If you want to nail the look, here’s exactly how to do a nude lip that matches your features and beauty style.
Choosing the Right Nude Shade

Finding your perfect shade is hands down the most important part of creating a nude lip look. When choosing a shade, it’s important to remember that “nude” is not a one-size-fits-all term. To create your perfect nude lip, you need to find the hue that best fits your features. That’s why you’ll see nude lipsticks in a range of shades, from pale colors to deeper hues, and tones of neutral pink, light brown, rose, peachy beige, and so much more.
For nude lips, you’ll need to find a lipstick shade that is either A. close in color to your natural lips, or B. close to your skin tone. Option A will give you a gorgeous, elevated natural look, while option B creates more of a cool monochrome vibe.
So how exactly do you find your best match? The key is taking your skin tone and undertones into consideration.
Fair and light skin tones both look gorgeous with pink-leaning nudes and light pinks. Anything that is too close of a match to their skin (especially if it is lighter) can end up washing out the complexion. Those that have cool undertones look gorgeous in dustier pinks that have a cooler hue, whereas skin with warm undertones can go for pinky nudes that have a hint of brown to them (so long as they aren’t too dark).
Those with medium skin tones can work with lipsticks that are either slightly lighter or darker than their complexion. Medium complexions with cool undertones can seek out cooler nudes for a more monochromatic look, or nude shades with a touch of red or blush pink to match their lip color. On the other hand, those with warm undertones can reach for yellow-toned beige nudes, pink peachy nudes, and warm caramel hues.
For dark skin tones, nude shades that are slightly darker or lighter than the complexion are stunning. Dark complexions with cool undertones can reach for cooler shades of brown and berry nudes. Those with warm undertones will want to look for deep berry hues, as well as browns and caramels that have a hint of red.
Prepping Your Lips
As is the case with any lip makeup look, proper prep is essential. Lipstick applied on top of chapped lips is a recipe for disaster, so you’ll want to give your pout a little extra attention. For flawless application, you’ll need smooth, well-moisturized, and flake-free lips.
Start your prep process with a lip scrub. It will help buff away any dead skin or build-up on the lips that can lead to uneven lipstick application. After exfoliating, apply a lip mask to lock in moisture and boost hydration levels for super soft and supple lips.
How to Line Your Lips (and What Color to Choose)
Lining your lips is critical for adding precise definition to your nude lip, as well as letting your lip color last. When choosing the hue of your nude lip liner, you’ll want to go with a color that either matches your nude lipstick or is one shade darker. The latter adds a little extra dimension to your pout.
Once you’ve found your match, it’s time to line your lips. Start from the center, and then work outwards to create a precise line. To prolong the wear of your lip color, Patrick recommends filling in your entire lip with a liner before applying lipstick.
Applying the Nude Lip

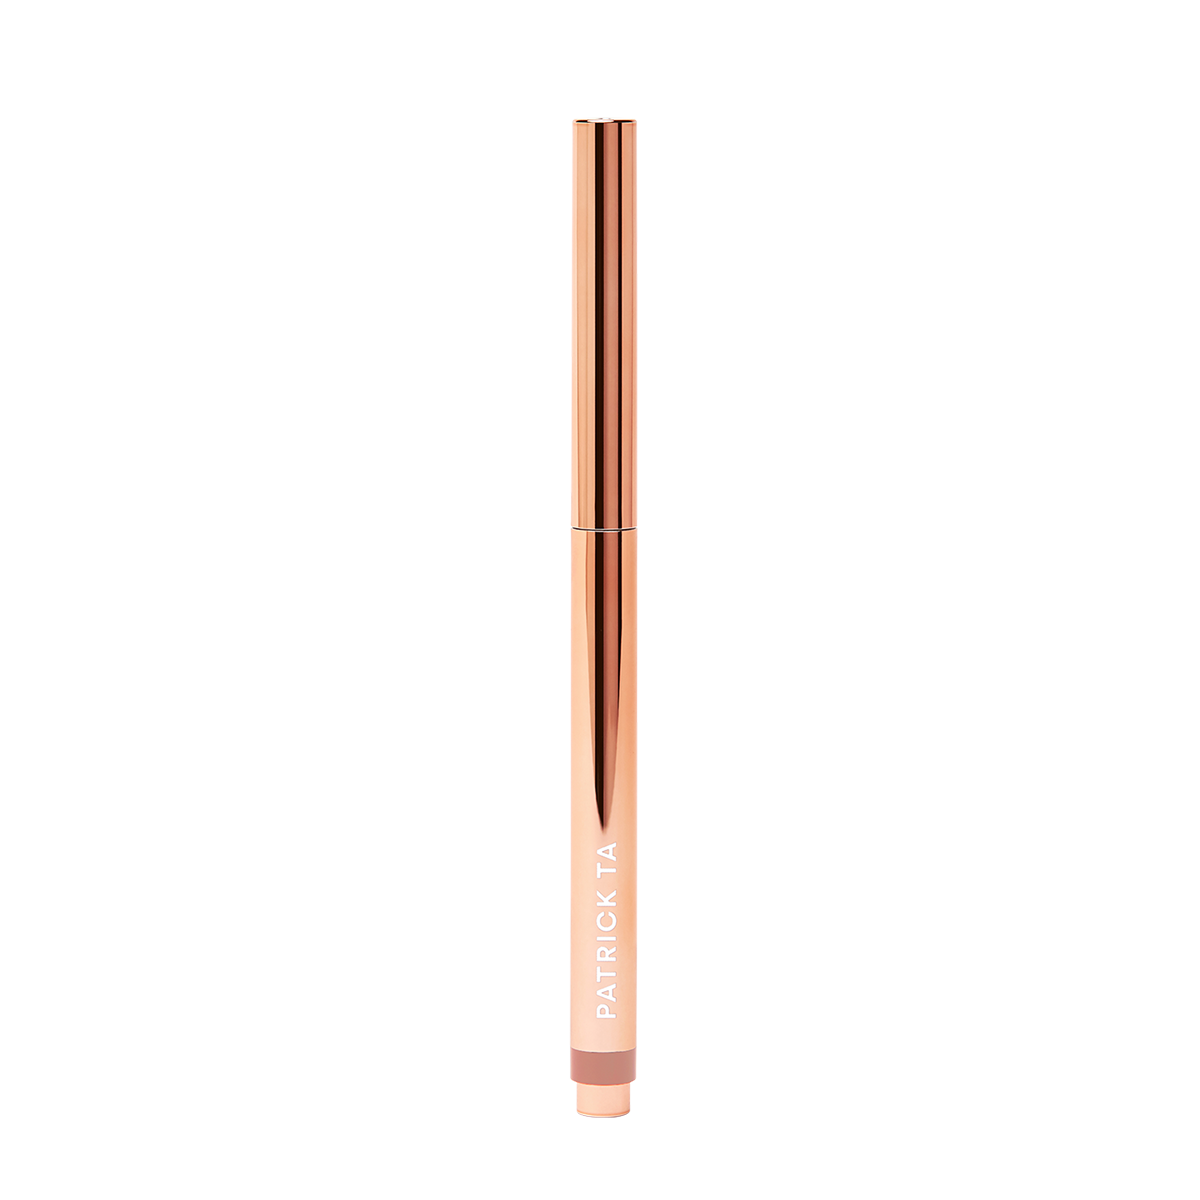
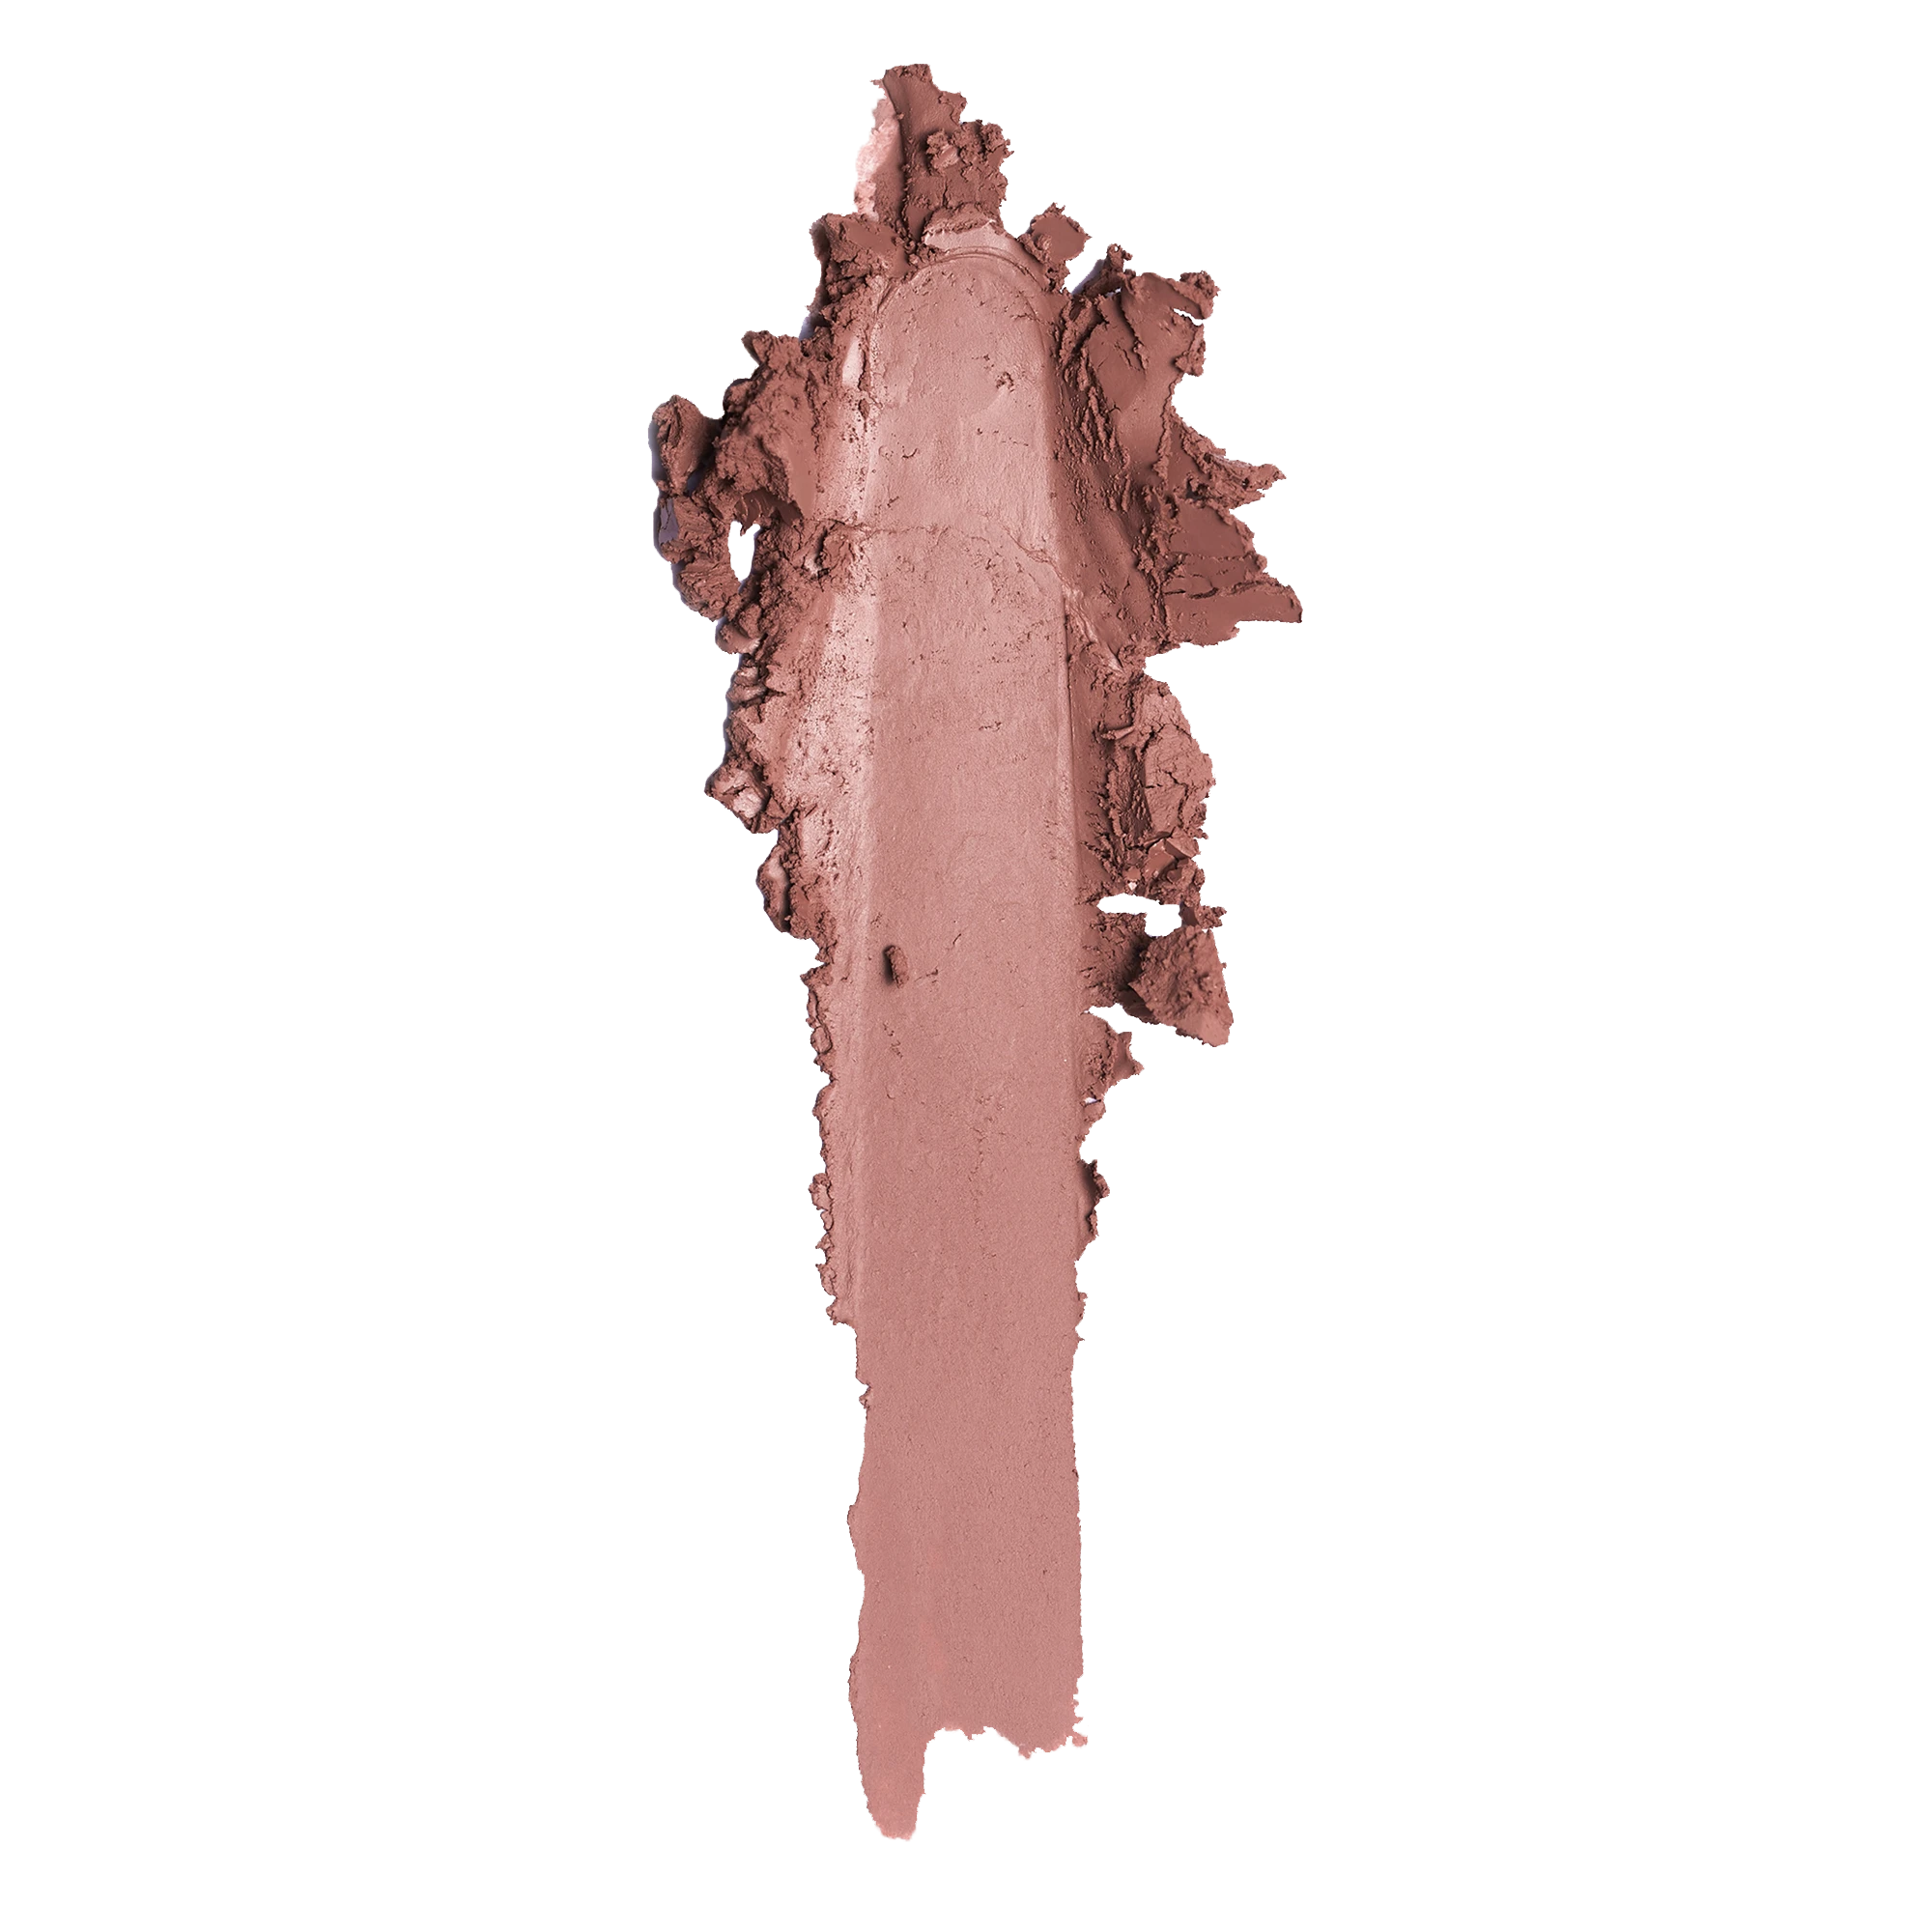
Before getting started, make sure you have the best nude lip products to create your look. We’ve already talked about lip liner, but of course, we need to discuss the star of the show: the lipstick. For the best results, we recommend going with a long-wear creamy matte lipstick that will stay in place all day long. A matte finish is perfect for a classic nude look, but if desired, you can top it with a gloss – we’ll cover that in a moment.
Once you’ve lined your lips, start by applying your lipstick in the center of your lips, and then work your way out, creating an even coat on the lips. If needed, you can use a lip brush for more precise application.
Adding Dimension and Shine to Your Nude Lip
If you want to add a little extra luster to your lips, top your pout with a clear lip gloss. This brings the eyes right to the lips, and gives the illusion of a fuller pout. You can even amp up the volume with a plumping gloss for stunning, full lips.
If you want to add a bit more dimension to your pout, you can also apply a touch of a lighter-colored lipstick to the center of your lips. This creates a beautiful ombre effect. Simply dab the lighter shade in the middle of your lips, and use your fingers to blend out for a seamless look.
Finishing Touches and Tips
To round out your full makeup look, we recommend pairing your nude lip with a touch of color on the cheeks, as well as a wash of bronzer. This is especially important if you are creating a nude lip that is a lighter shade than your natural skin tone or lip color. Adding more color to your face helps energize your complexion and prevent you from looking washed out.
By refining your nude lip skill, you’re taking your makeup artistry to the next level. Use this versatile look to elevate your everyday makeup and to let your features shine.
@patricktabeauty
@patricktabeauty


