Perfecting the Art of the Smokey Eye
Every beauty enthusiast should learn how to do a smokey eye. This look is incredibly versatile and adaptable for just about any occasion. It’s also super flattering and can be adjusted to fit your style. With professional tips from Patrick himself, consider this your ultimate guide to perfecting the art of the smokey eye.

Understanding the Basics
A smokey look brings the drama, and all the attention, right to your eyes. By blending and layering different eyeshadow tones within the same color family, you’ll get a sultry, seamless gradient that adds major depth and dimension.
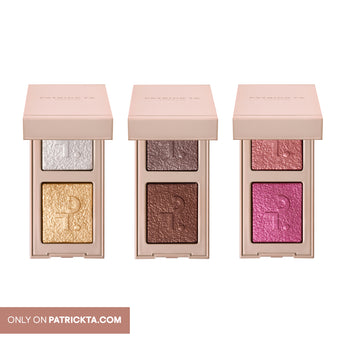
For Patrick’s signature smokey eye tutorial, you’ll want to choose three to four different eyeshadow shades, plus a mascara and eyeliner to complete the look.
One more thing: Eye makeup should be the very first step in your glam routine. That way, you can easily brush away any eyeshadow fallout or wipe off mascara smudges without having to worry about ruining the rest of your makeup.
Prepping the Canvas
Before you reach for the eyeshadow, you need to prep your skin. The secret to flawless application and an eye makeup look that lasts is properly preparing your canvas with an eyeshadow primer. This smooths out the skin so that you can easily blend in the shadows. It also gives your makeup something to grip onto so it doesn’t smudge or fade throughout the day.
After moisturizing your skin, apply a primer. Create a thin, even layer, spreading the primer from the lids up to the brow bones.
Building the Base
Once the skin is primed, it’s time to start working with eyeshadows. First, you’ll create the base for your look.
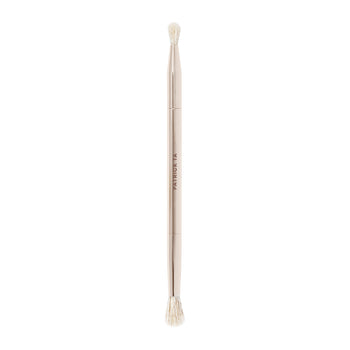
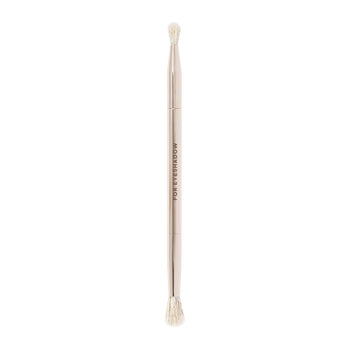
Reach for a light or mid-toned shade, depending on your preferences and the look you are going for. Use an eyeshadow brush to work the shadow into your crease and the outer V, taking your time to build to your desired pigment and coverage. Then, take a clean fluffy eyeshadow brush to blend, blend, blend. Soften any lines, and work the eyeshadow towards the lids and brow bone for a beautifully diffused look.
Adding Depth and Dimension

After creating your base, you’ll use deeper shades to add dimension to your eyes.
First, take an eyeshadow shade that is darker than the one you used for your base. Work that shade into the crease, and blend it all across the lid, taking the time to carefully diffuse the pigment.
Next, you will reach for an eyeshadow that is even darker than the shade you just worked with. With an eyeshadow brush, use a stamping motion to pack that deeper color onto the lids, being sure to cover the entire lid. You may need to go in a few times to create an even layer of pigment. Blend as needed to soften any harsh lines.
Intensifying the Look
Turn up the intensity with a gel eyeliner. Start by tightlining your eyes, applying the liner to the lower waterline. From there, line the lower lash line with the same eyeliner. Use an eyeliner brush to smudge it out, ensuring you do so before the formula dries down. This helps diffuse the color and create more of a smokey look.
Next, move to the upper lash line. Tightline again by working the eyeliner into the upper waterline. With a dark eyeshadow and an eyeliner brush, you can also line the outer part of the upper lash line to make the lashes look fuller and add even more drama to the look. Using a powder helps add to the smokey style of this eye makeup look.

Finishing Touches
Finish off your eyes by curling your lashes, then coating them with mascara.
Once your lashes are complete, you can clean up any makeup fallout and erase any mistakes. Patrick likes to use a makeup towelette to gently clear away excess shadow that may have fallen underneath the eyes. Brought the darker shadow up too high? Patrick recommends using a face powder that matches your skin tone to erase. Simply blend along the brow bone with a fresh, fluffy eyeshadow brush to clean it up.
Inspirations and Variations
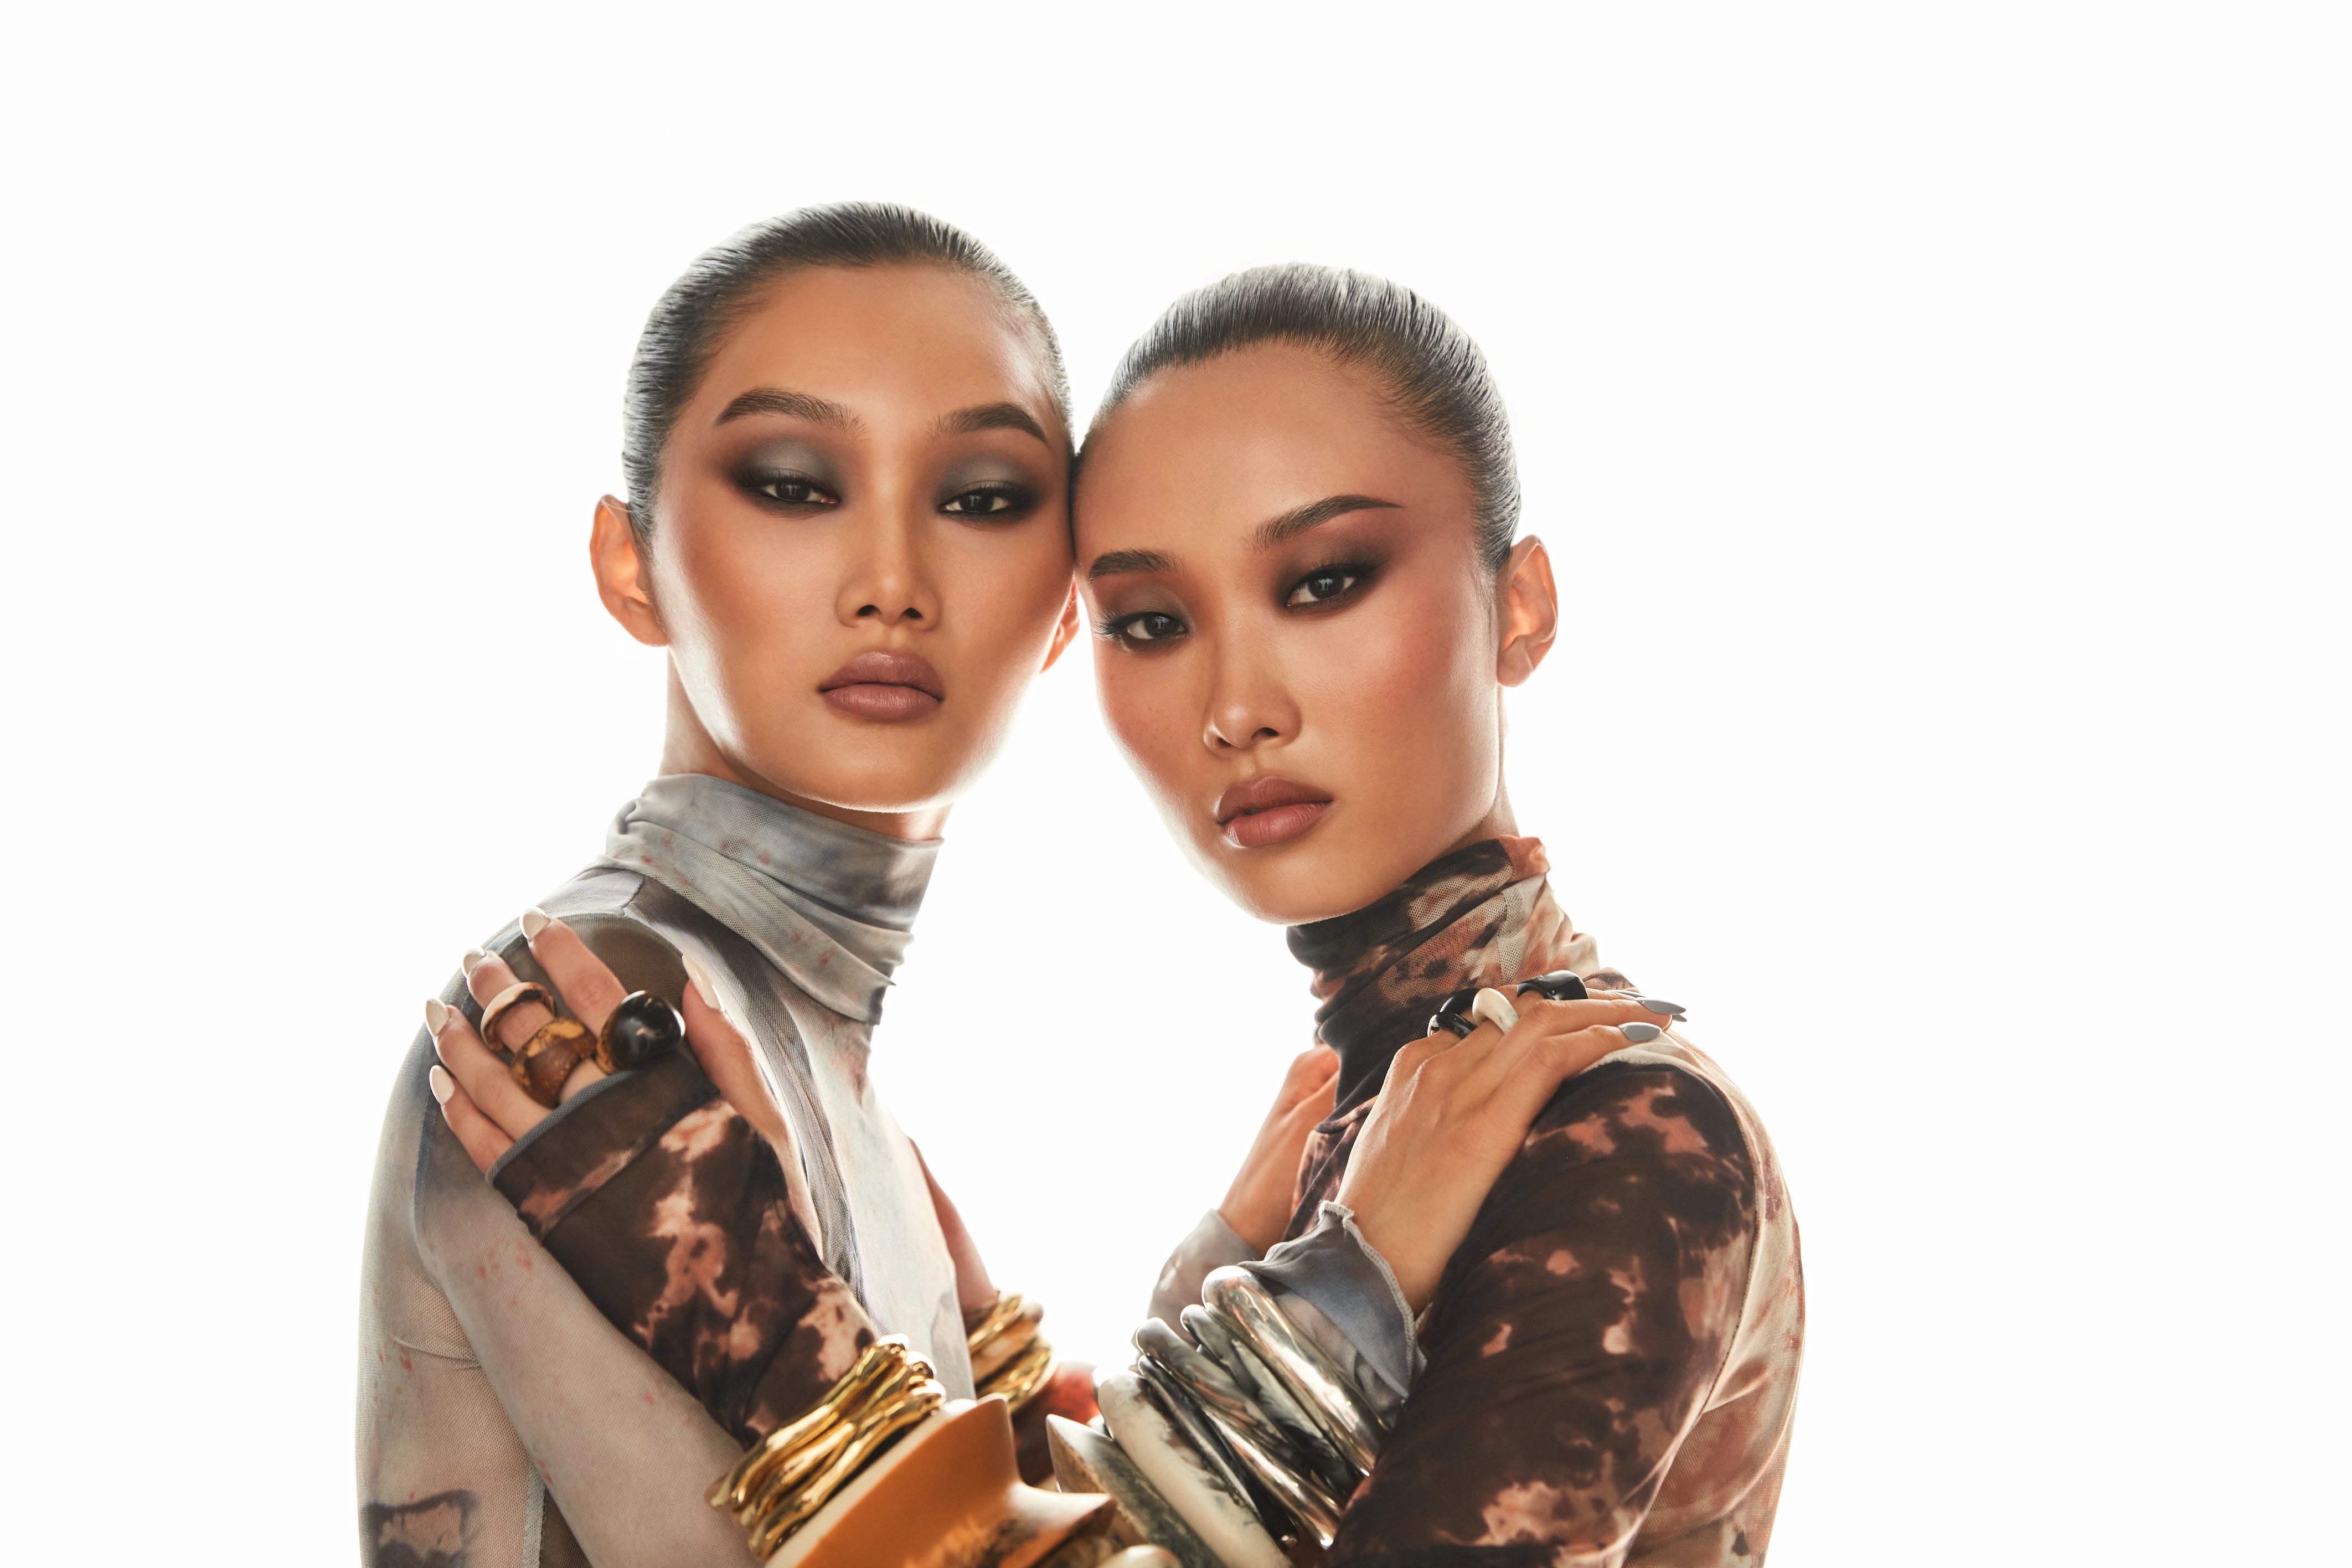
A more “classic” smokey look typically uses matte eyeshadows in black, gray, brown, blue, or green hues. That said, there are no fast and hard rules – this eye makeup look is totally versatile. Feel free to work with different colors and finishes that match the occasion and fit your unique style.
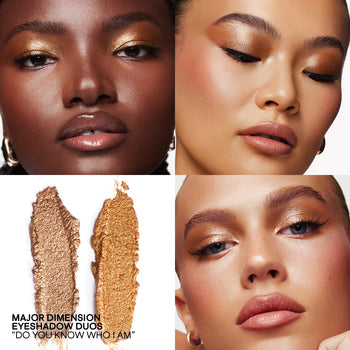
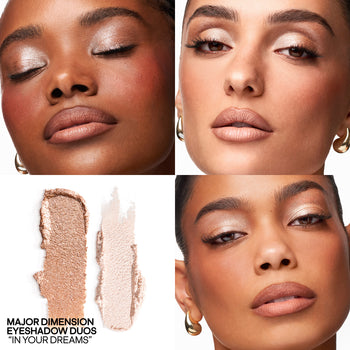
Reimagine the smokey look with pink or purple shades for a sweeter take, or go for a metallic vibe with copper or silver hues. You can also work with lighter eyeshadows or use less eyeliner for a subtle smokey makeup look. Prefer more drama? Intensify with a darker base shade. The opportunities are endless when it comes to this makeup technique, so do what feels best for your features, preferences, and style.
Best Occasions for a Smokey Eye Look

Given the versatility of a smokey eye, there’s really no wrong time to wear it. It’s the perfect look for date night, drinks with friends, or a night out on the town. Even a softer smokey look is gorgeous for a daytime event.
Ultimately, if you want a makeup look that works for multiple occasions, you’ll want a smokey eye in your makeup arsenal.
@patricktabeauty
@patricktabeauty
