






Quick Summary
- Start every natural makeup look with moisturizer and primer before reaching for any color, because a smooth, hydrated base lets lighter coverage formulas blend evenly and last all day.
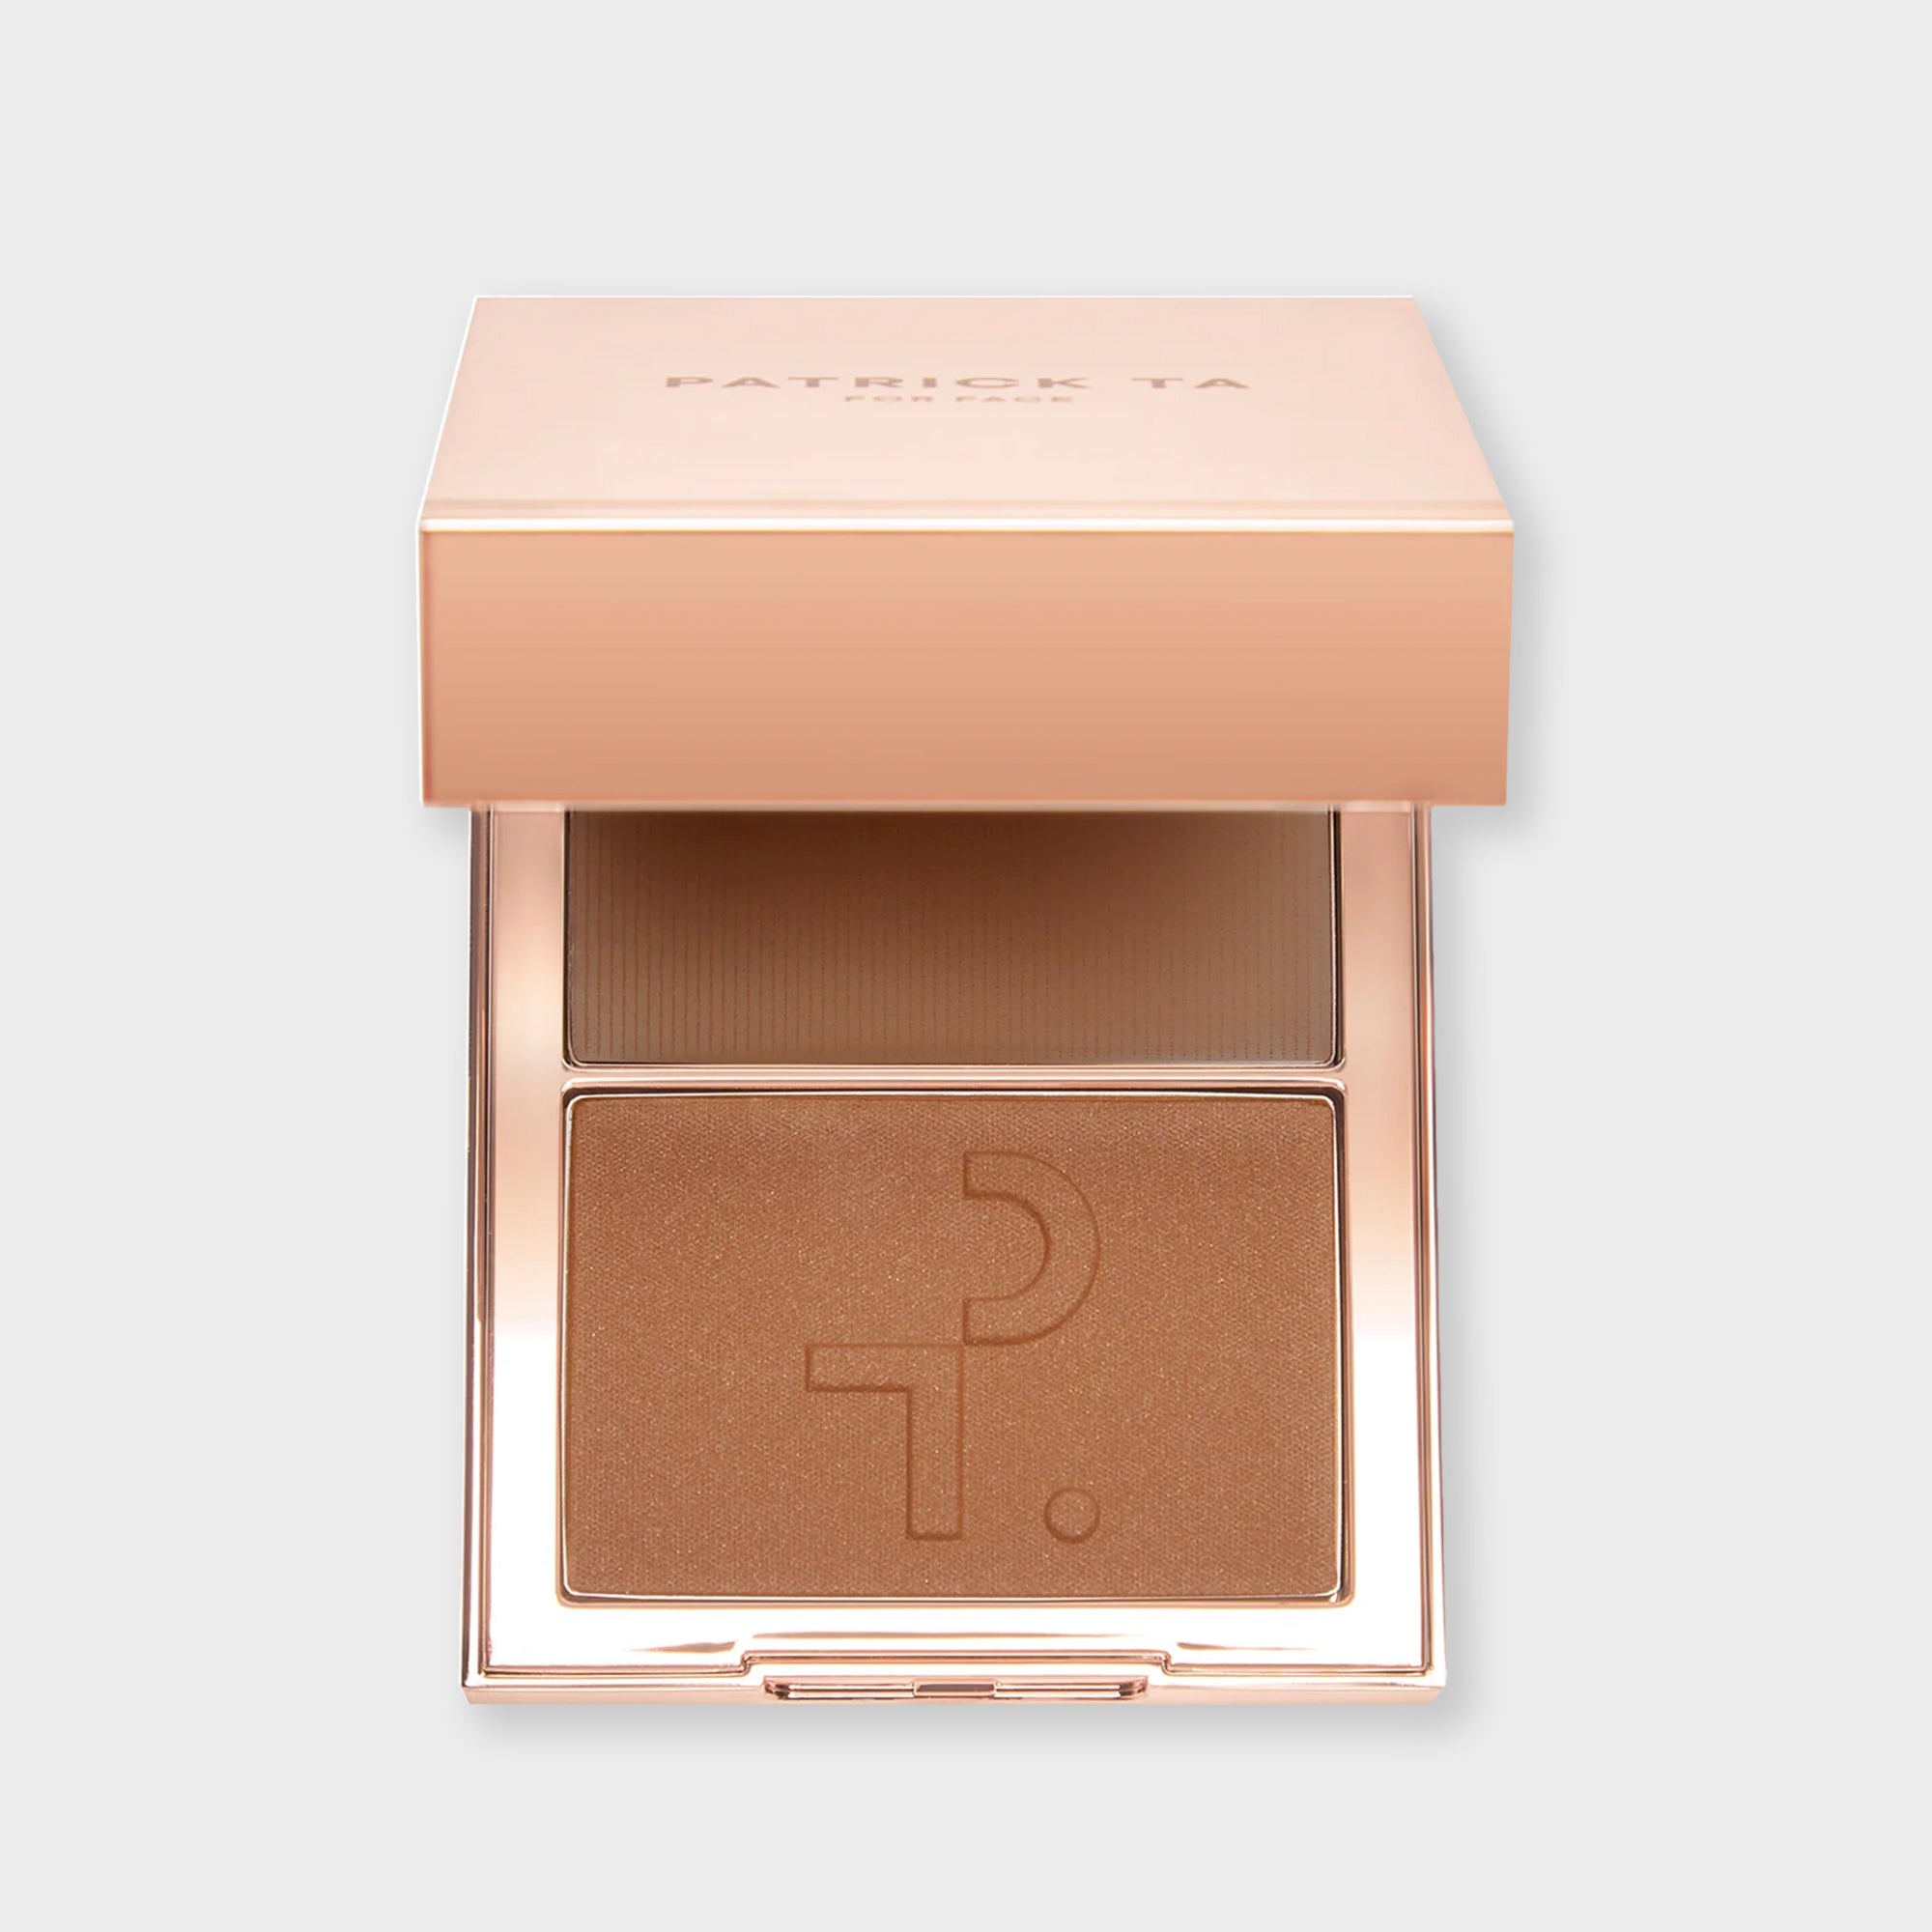
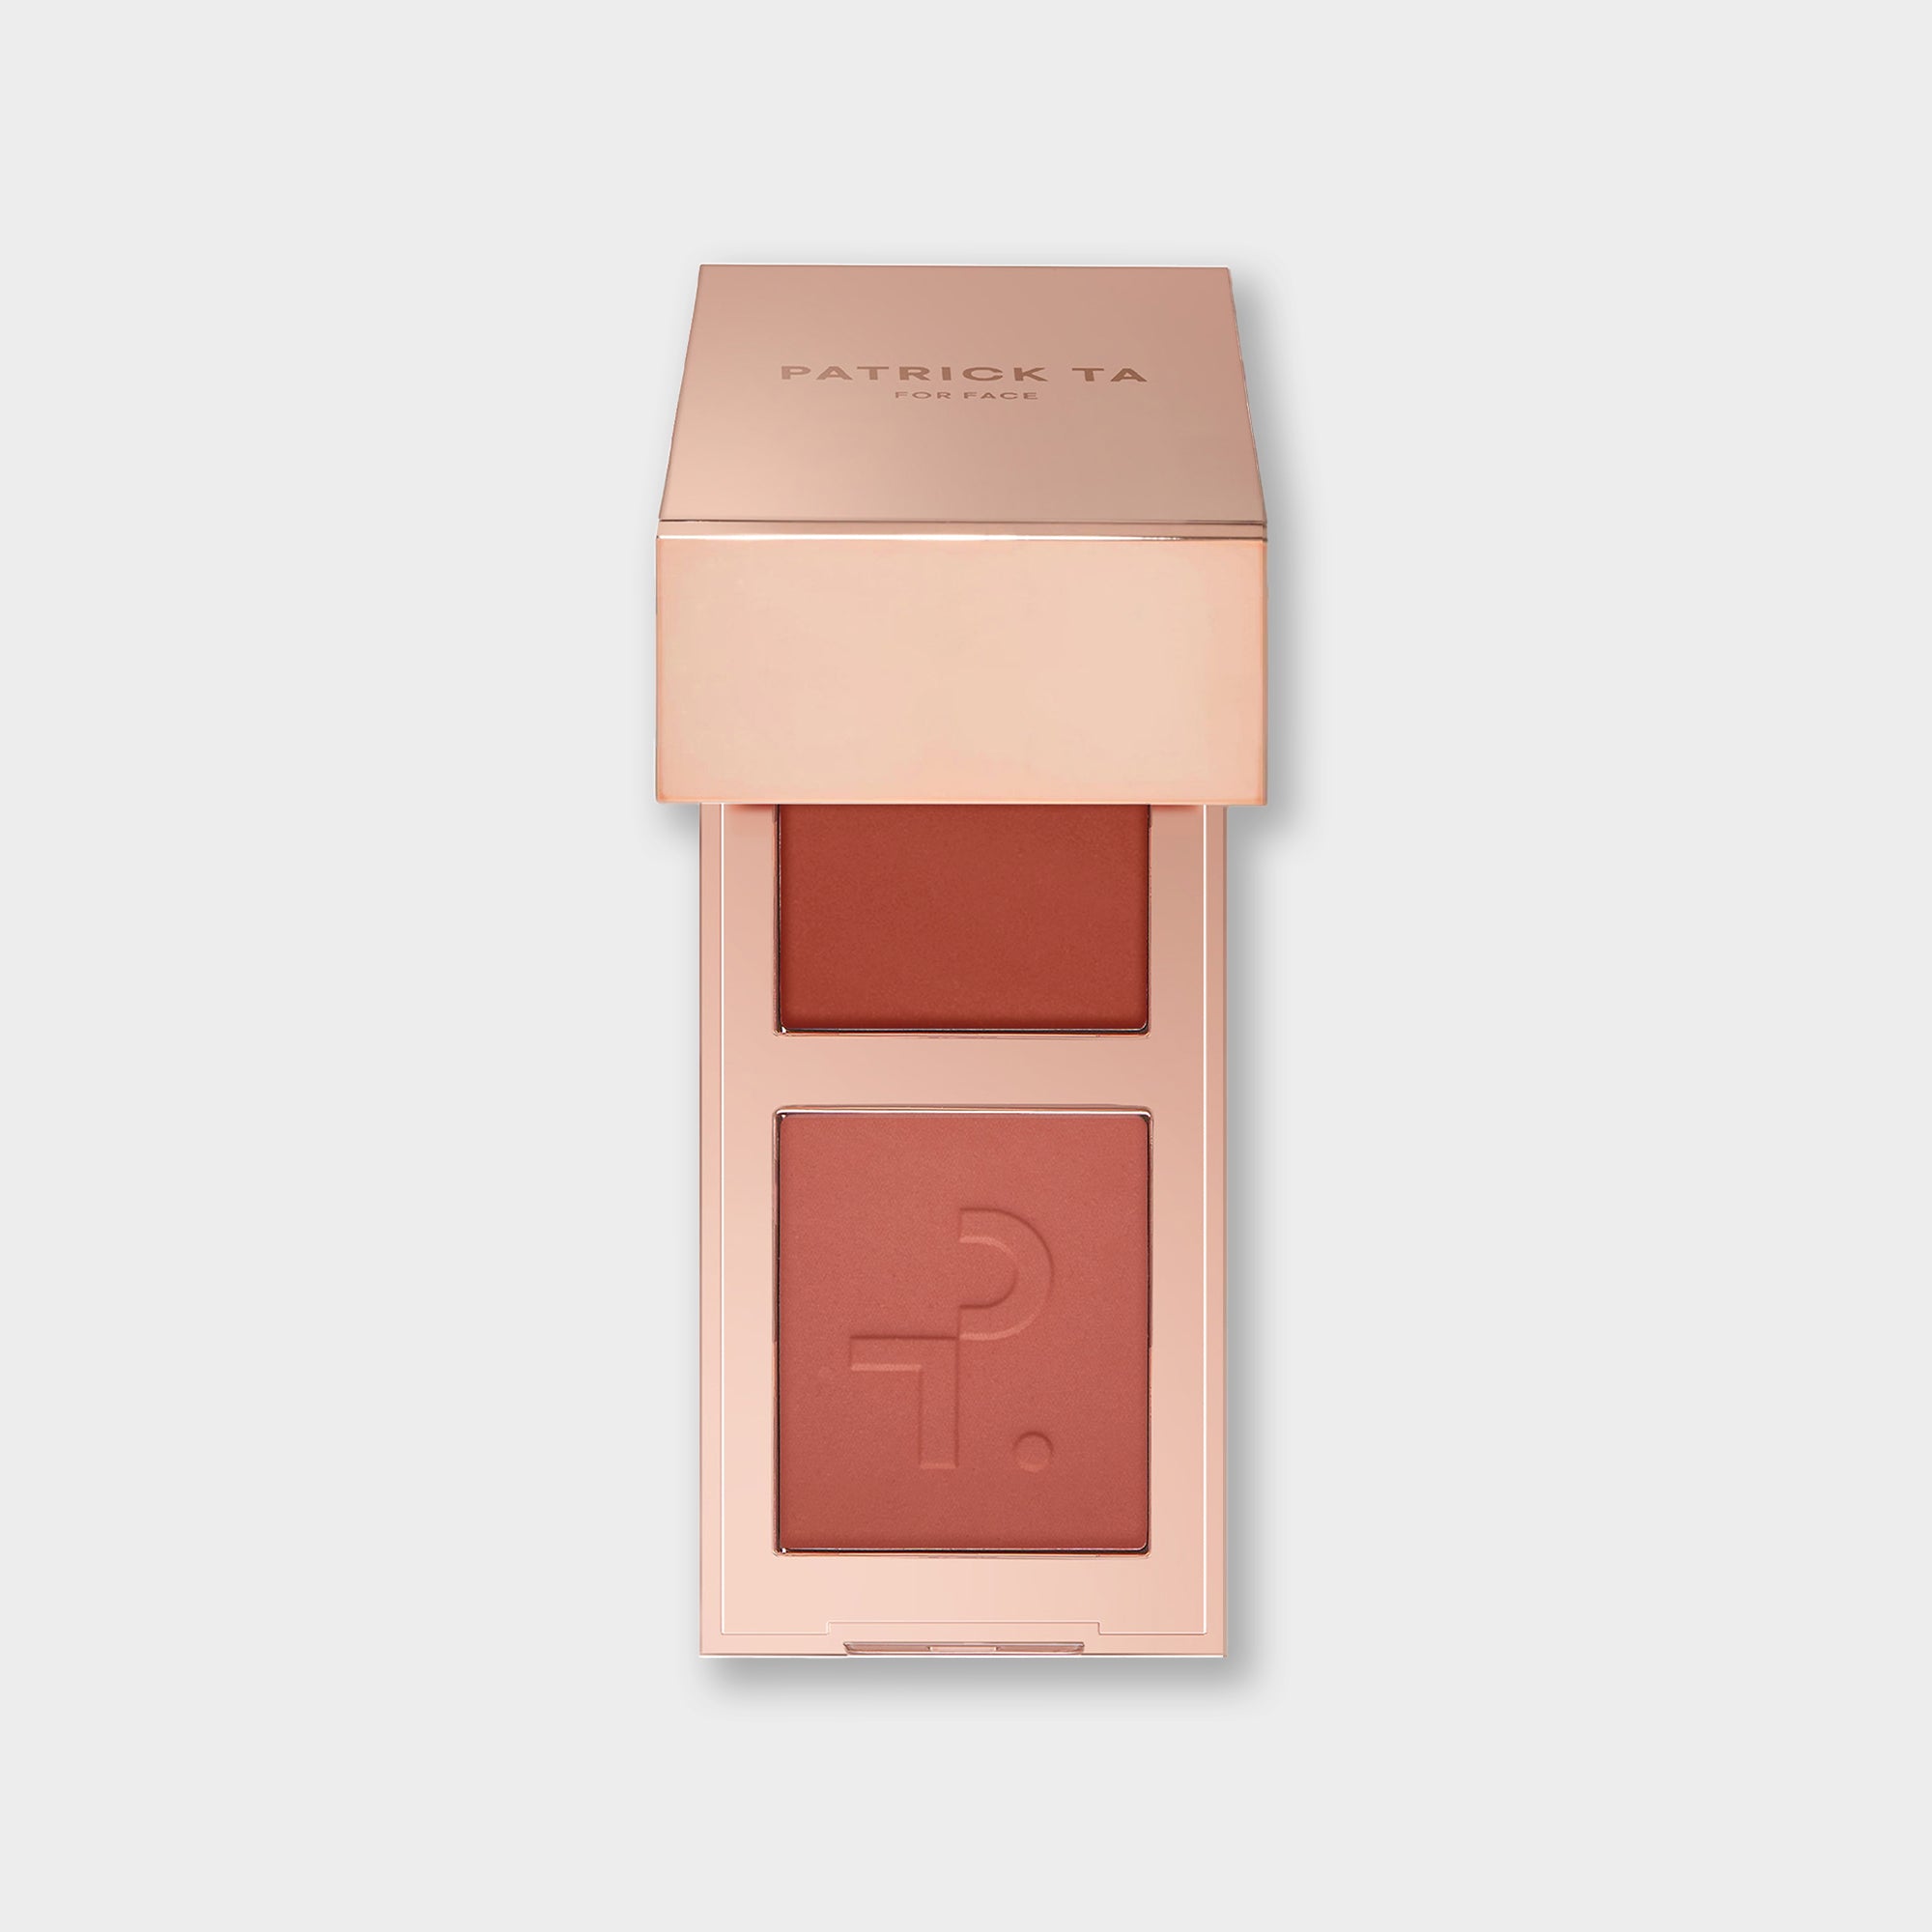
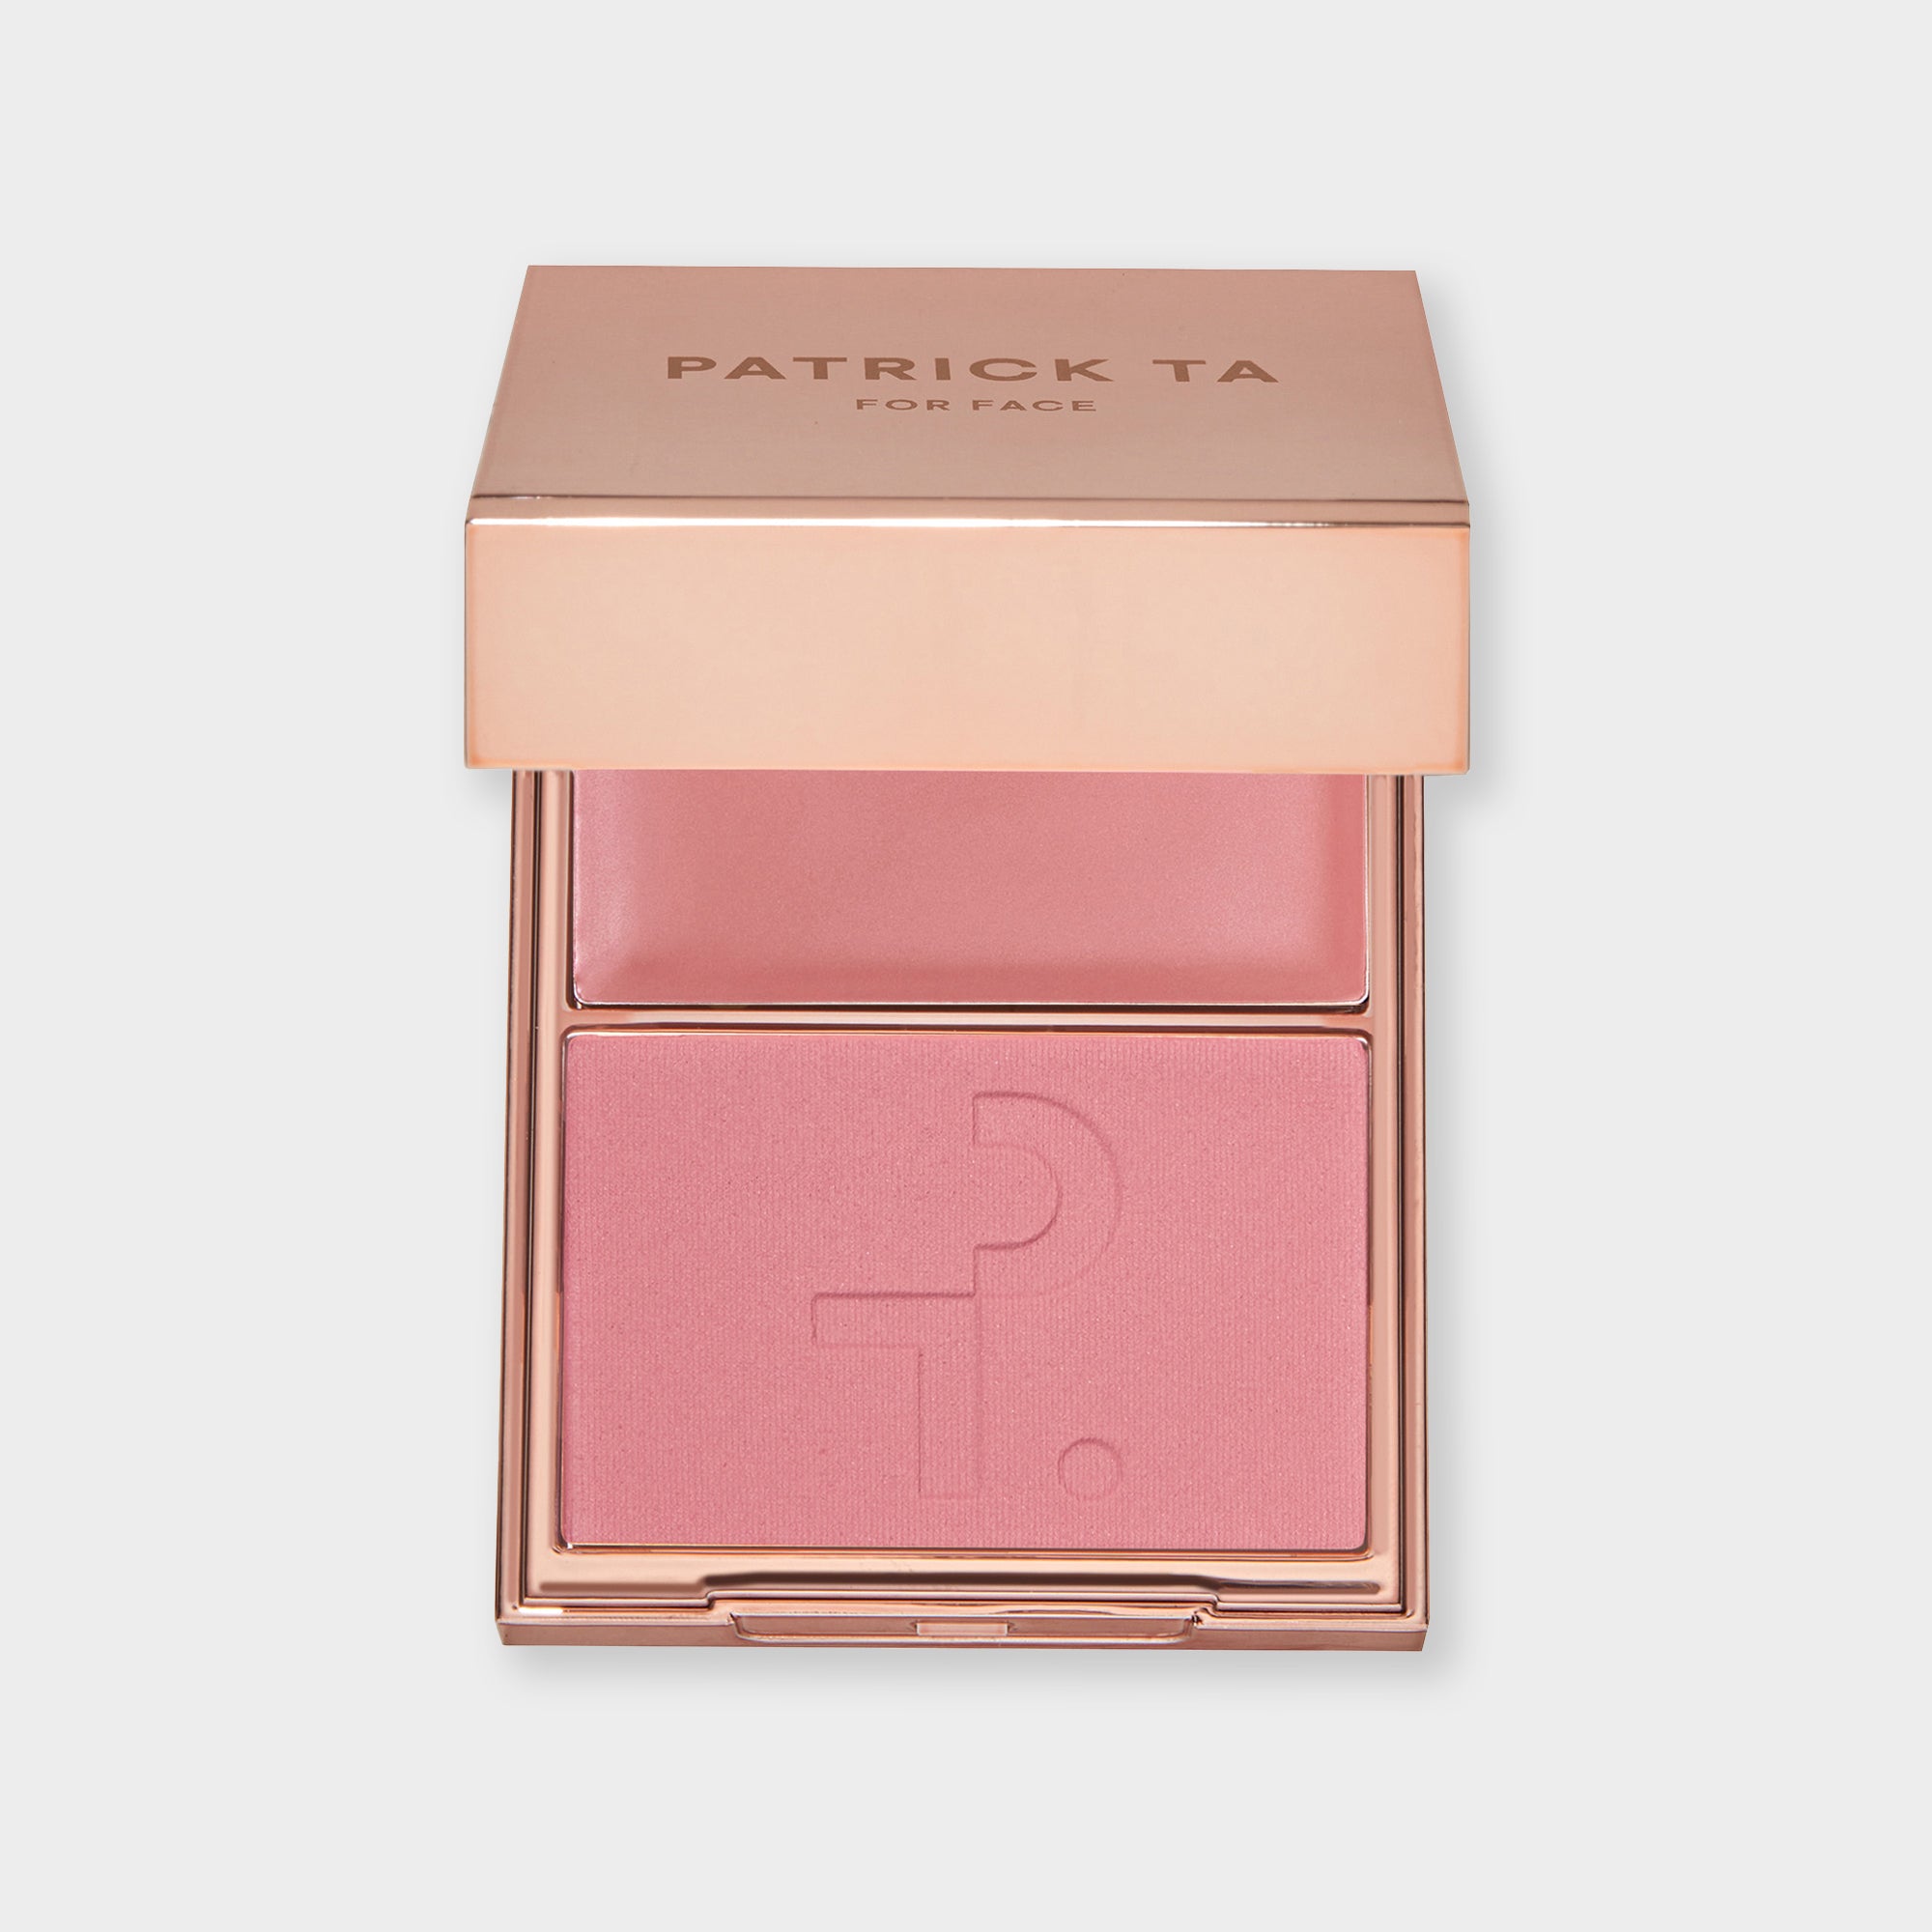
- Patrick's technique for natural blush is to stamp the Major Headlines Crème Blush onto the apples of your cheeks with a dense brush rather than sweeping, so color deposits evenly for a flush that looks like it comes from within.
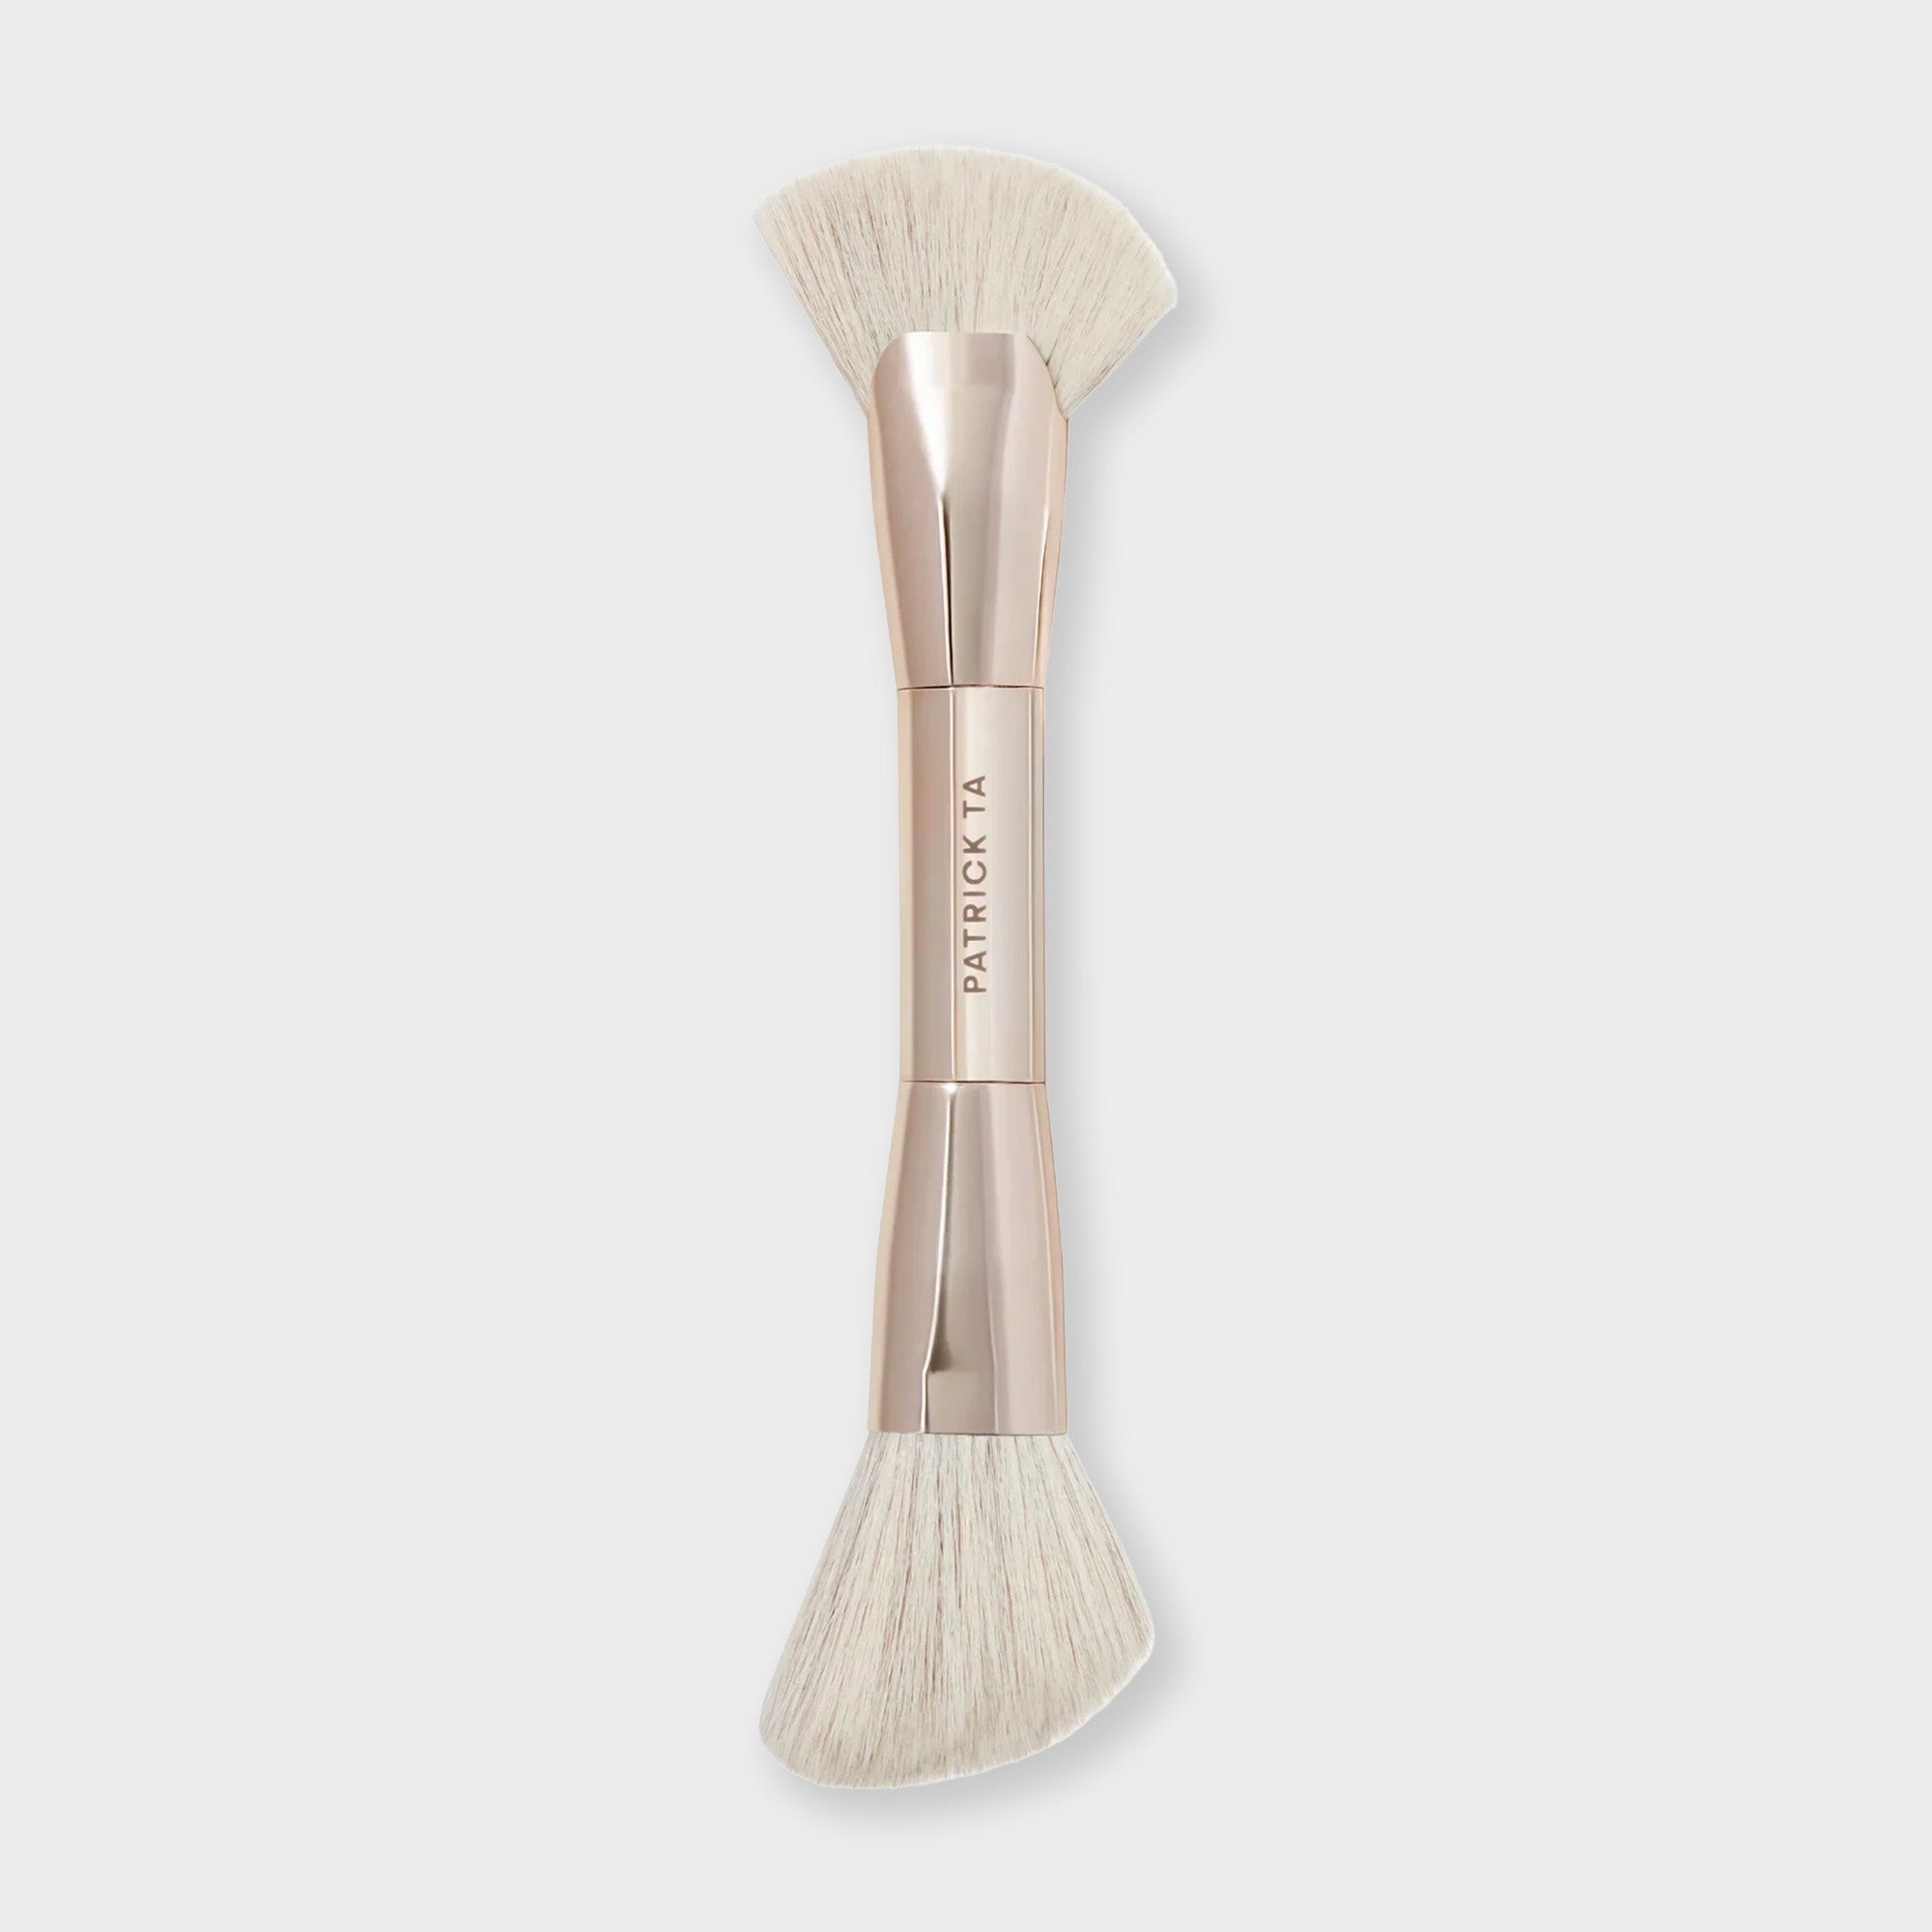
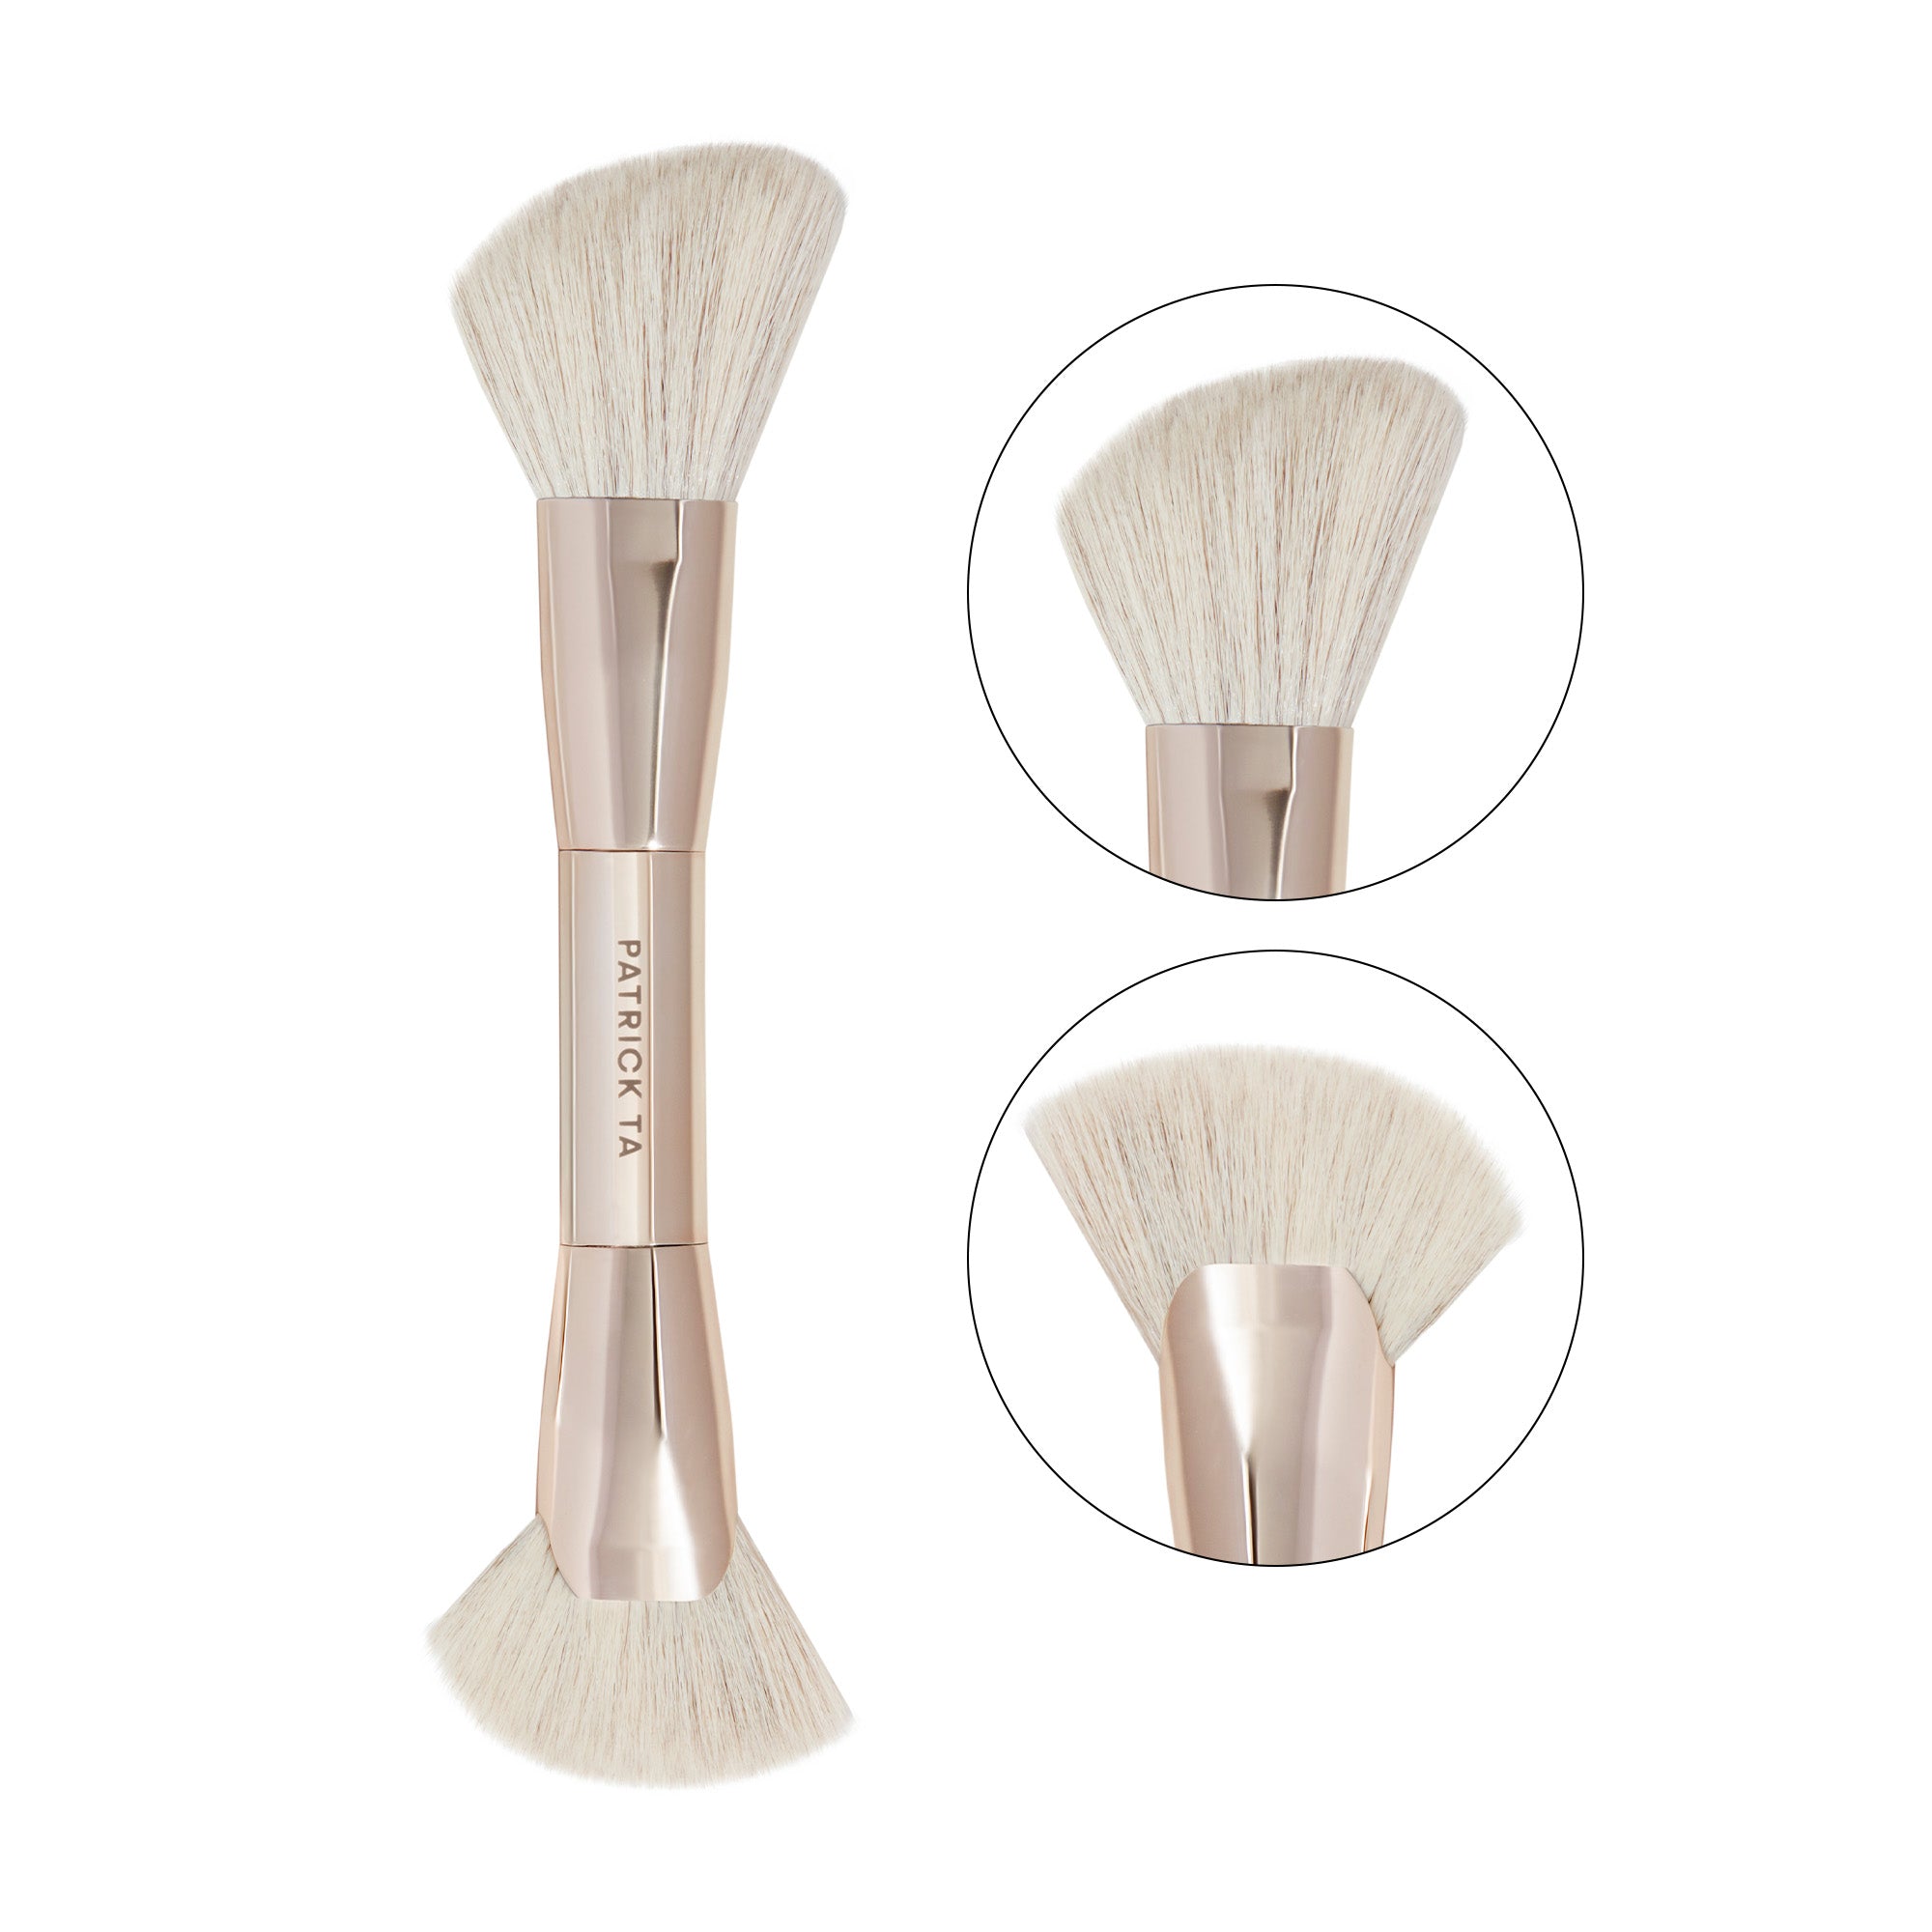
- Diffuse bronzing powder with a fluffy complexion brush onto the high points of your face, along the forehead, nose, cheekbones, and jaw, where sunlight naturally hits for a believable post-vacation warmth.
- Skip the contour stick entirely for a natural look. It can overpower a lighter base, so let bronzer and blush carry the dimension on your cheeks instead.
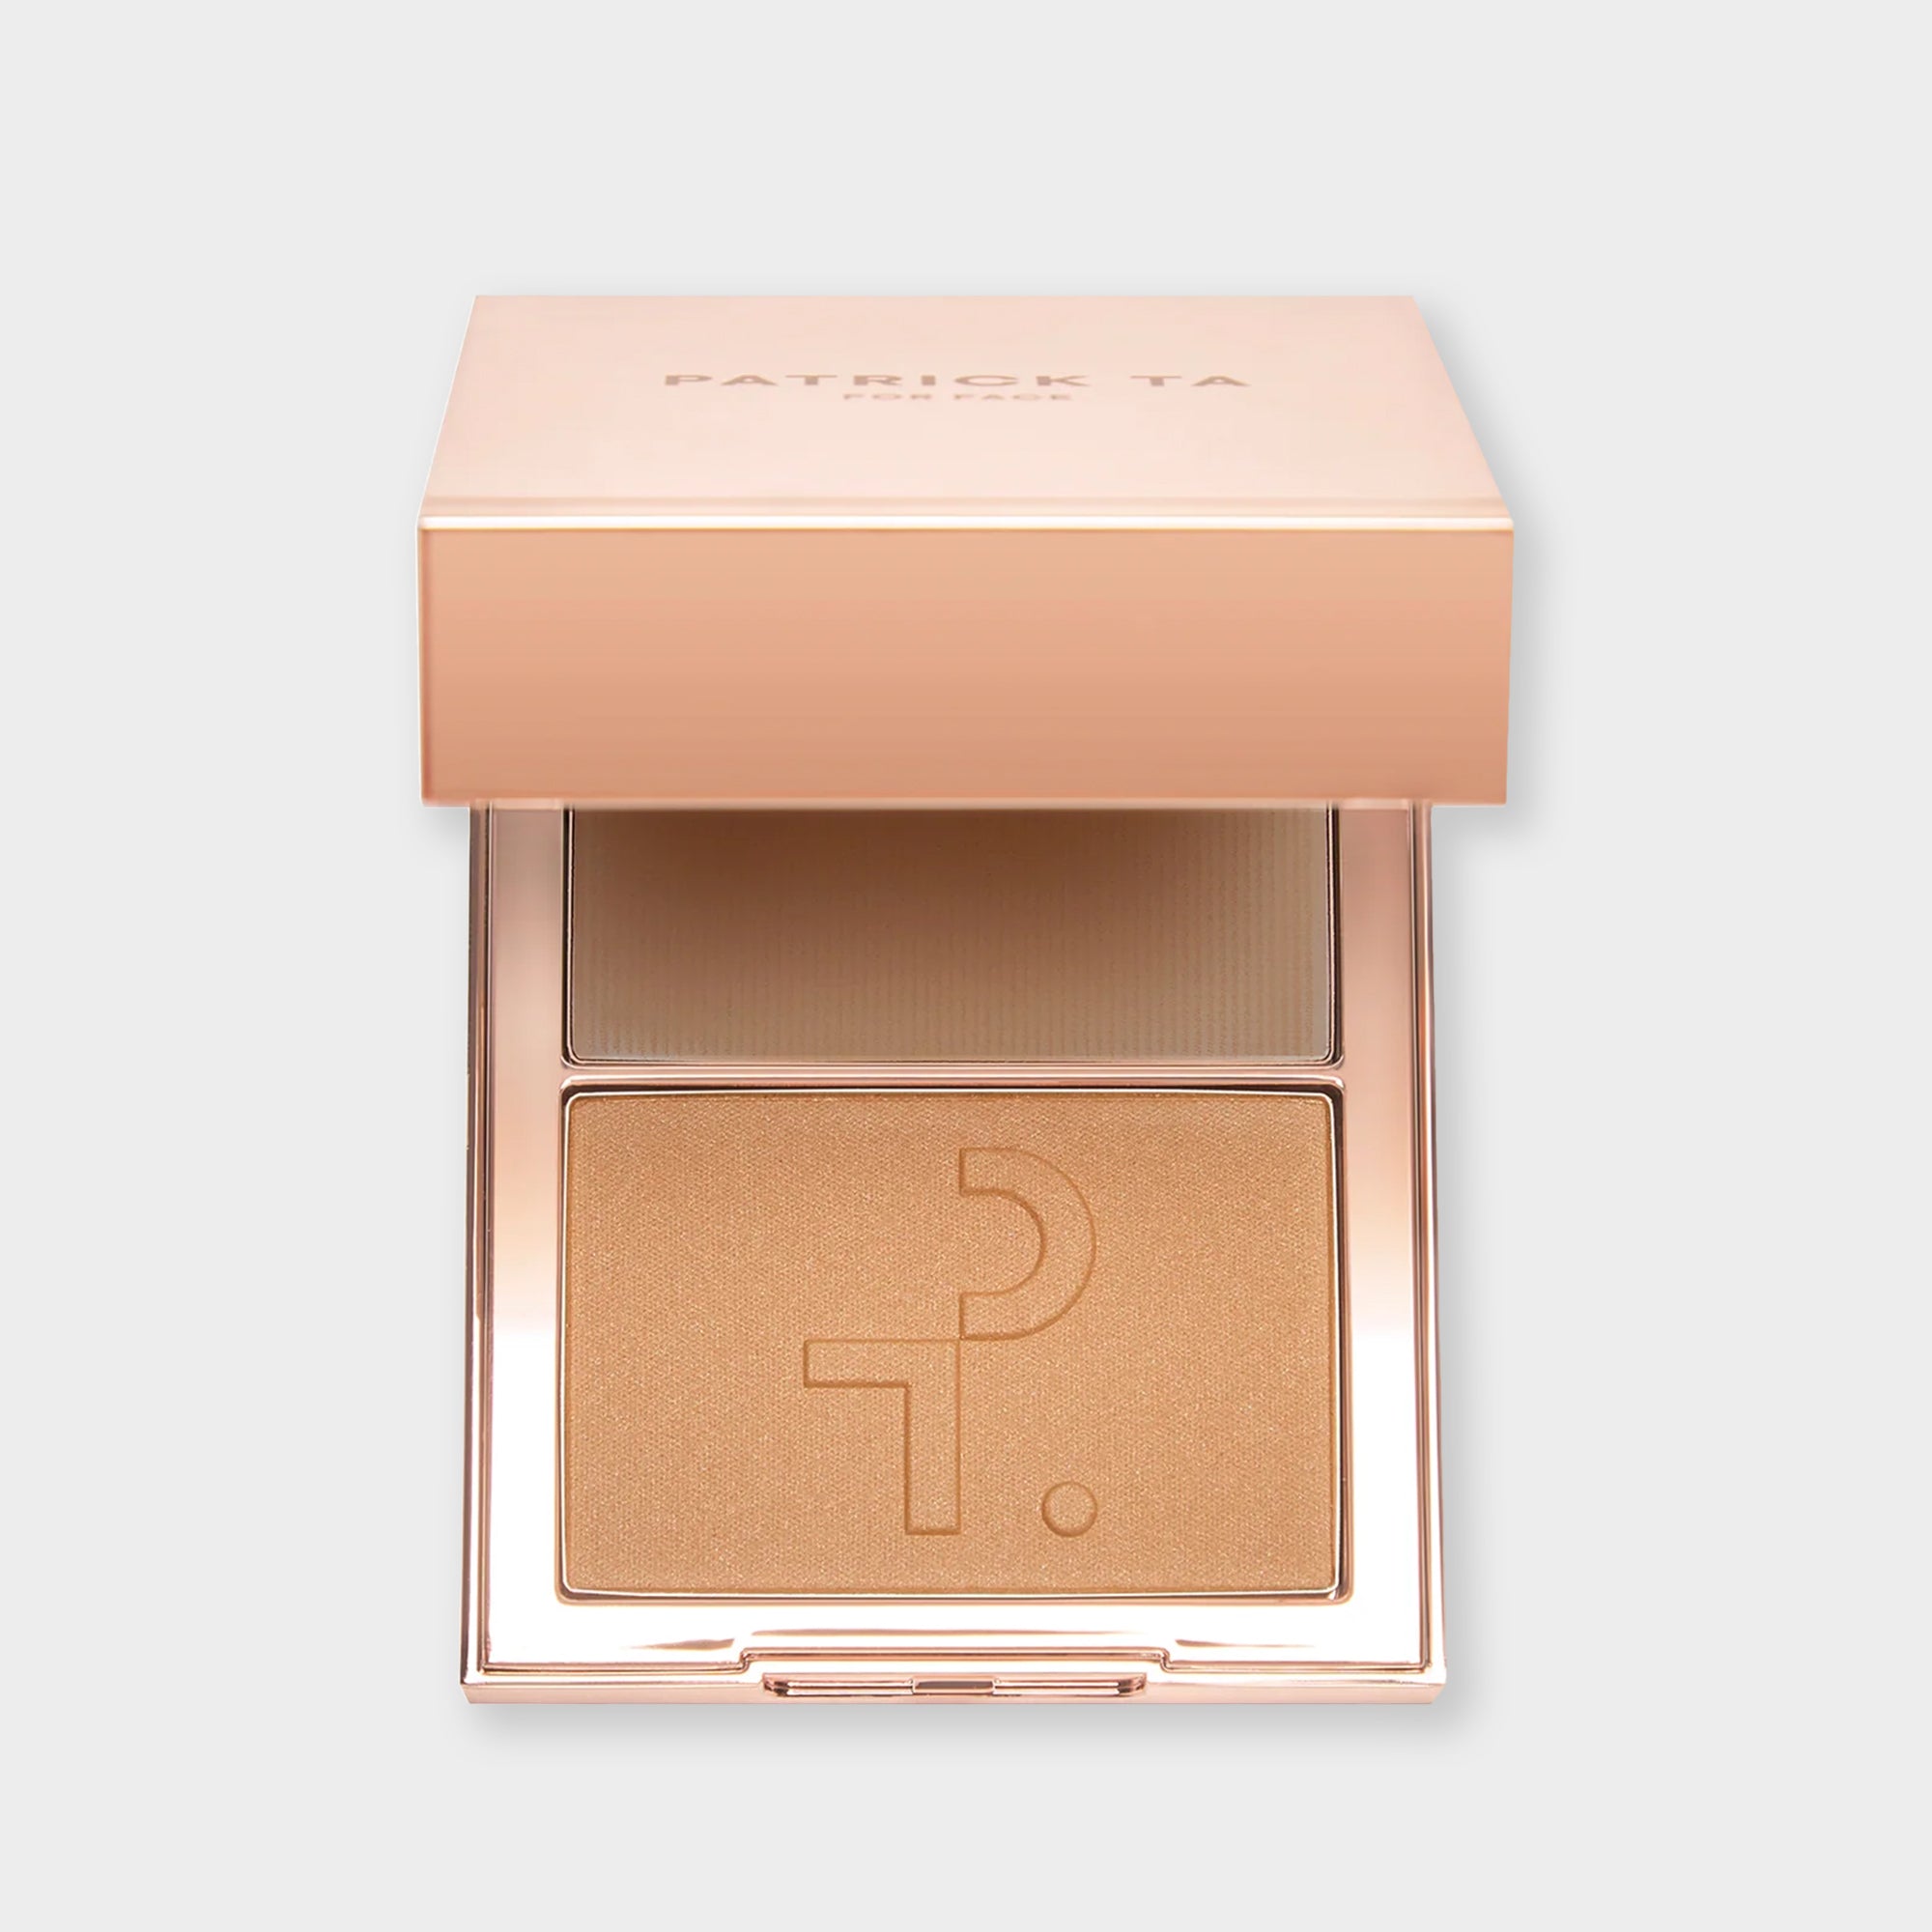
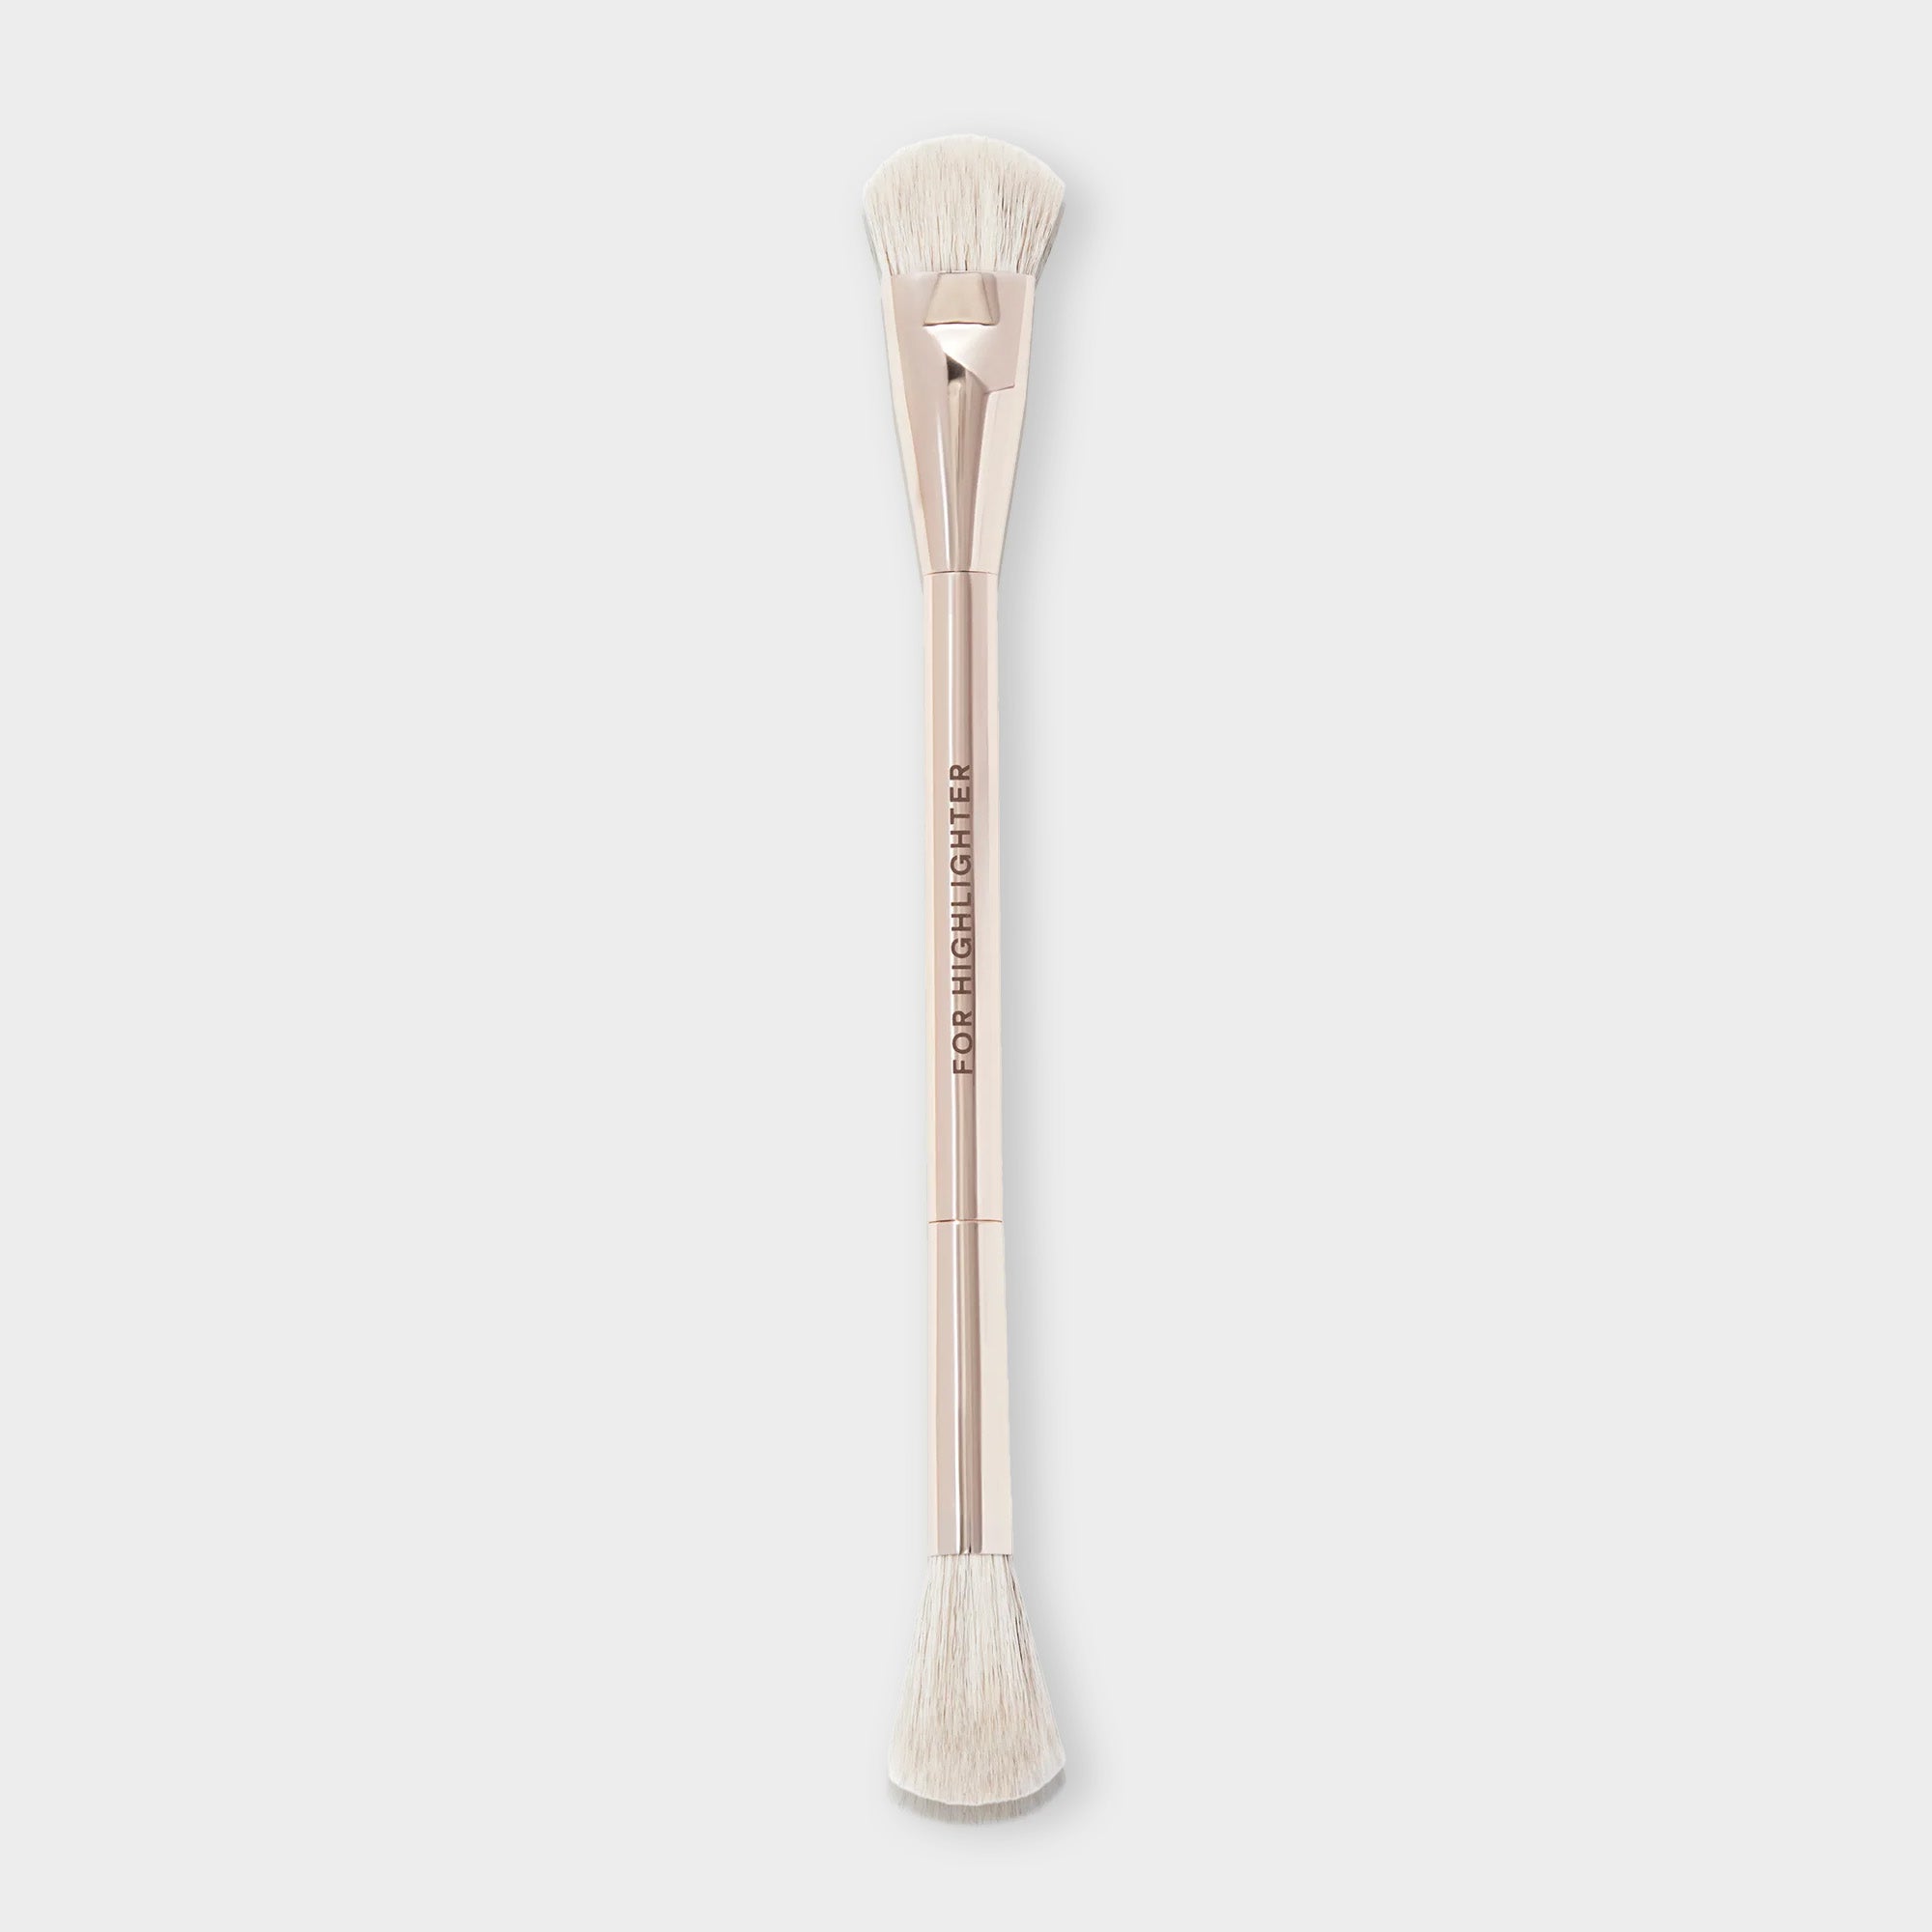
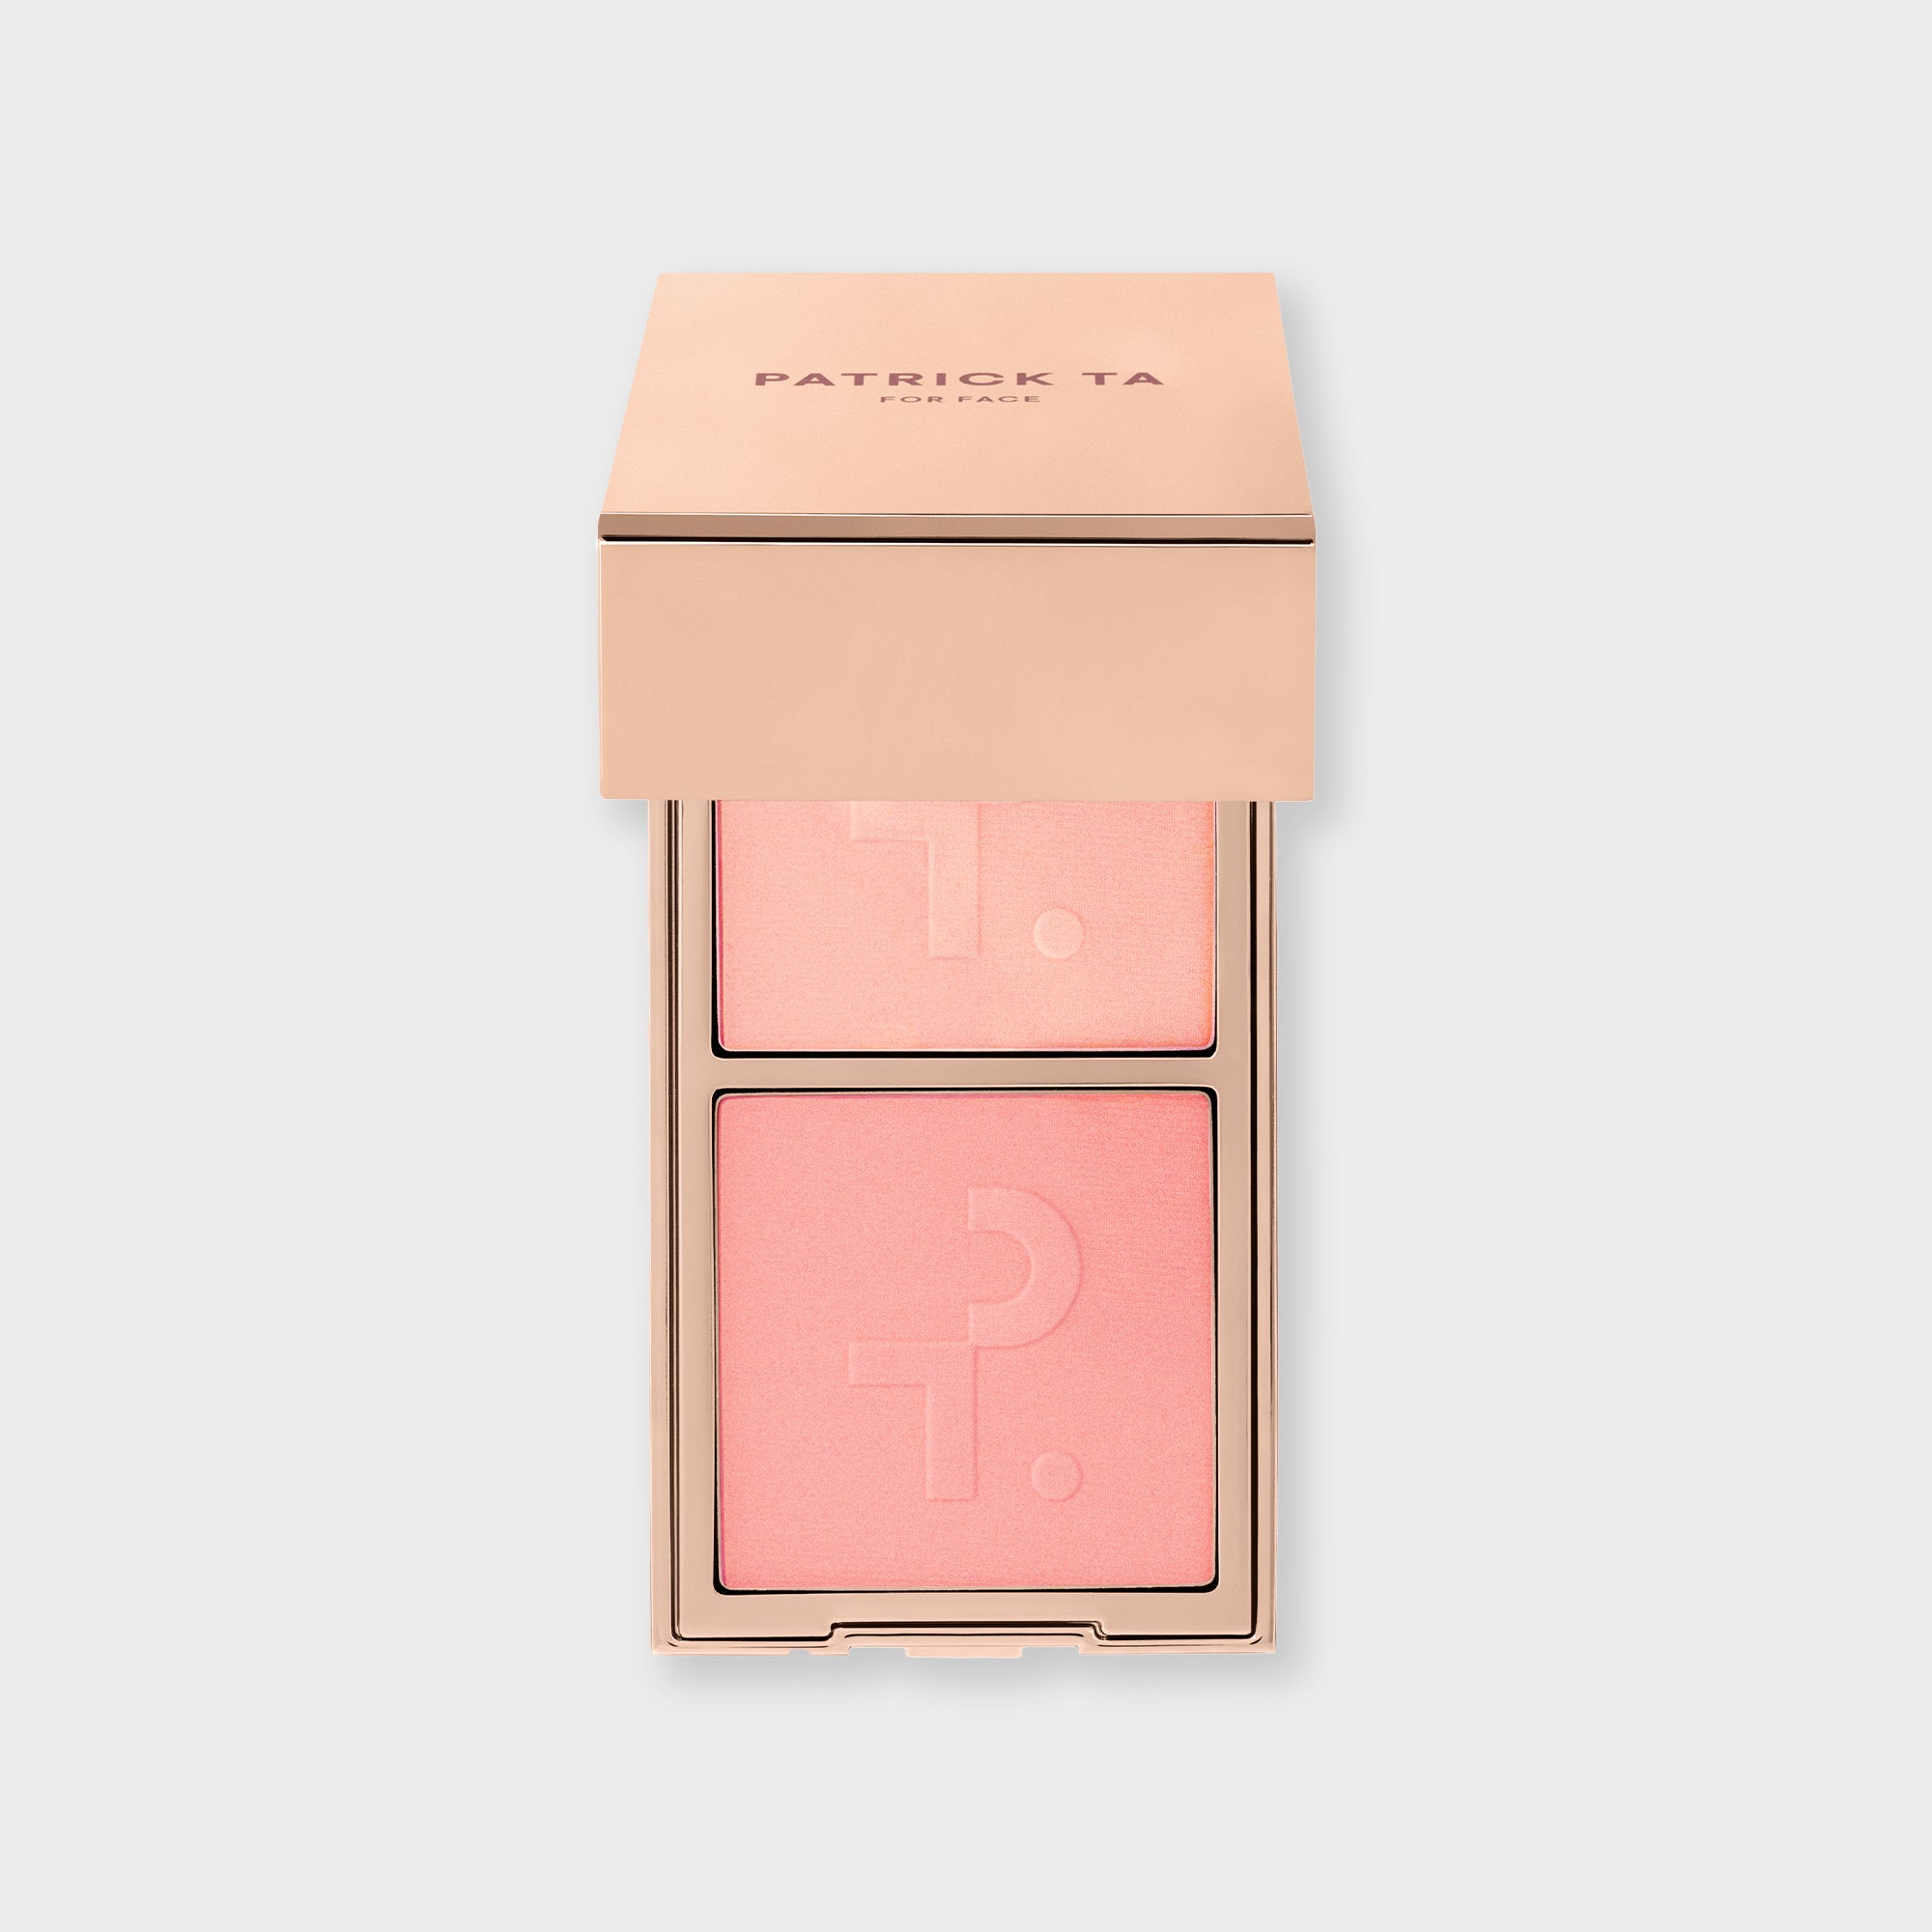
- Patrick reaches for the Major Glow Highlighter Duo and presses it onto the cheekbones with a damp sponge for a lit-from-within sheen that reads as natural radiance, not shimmer.
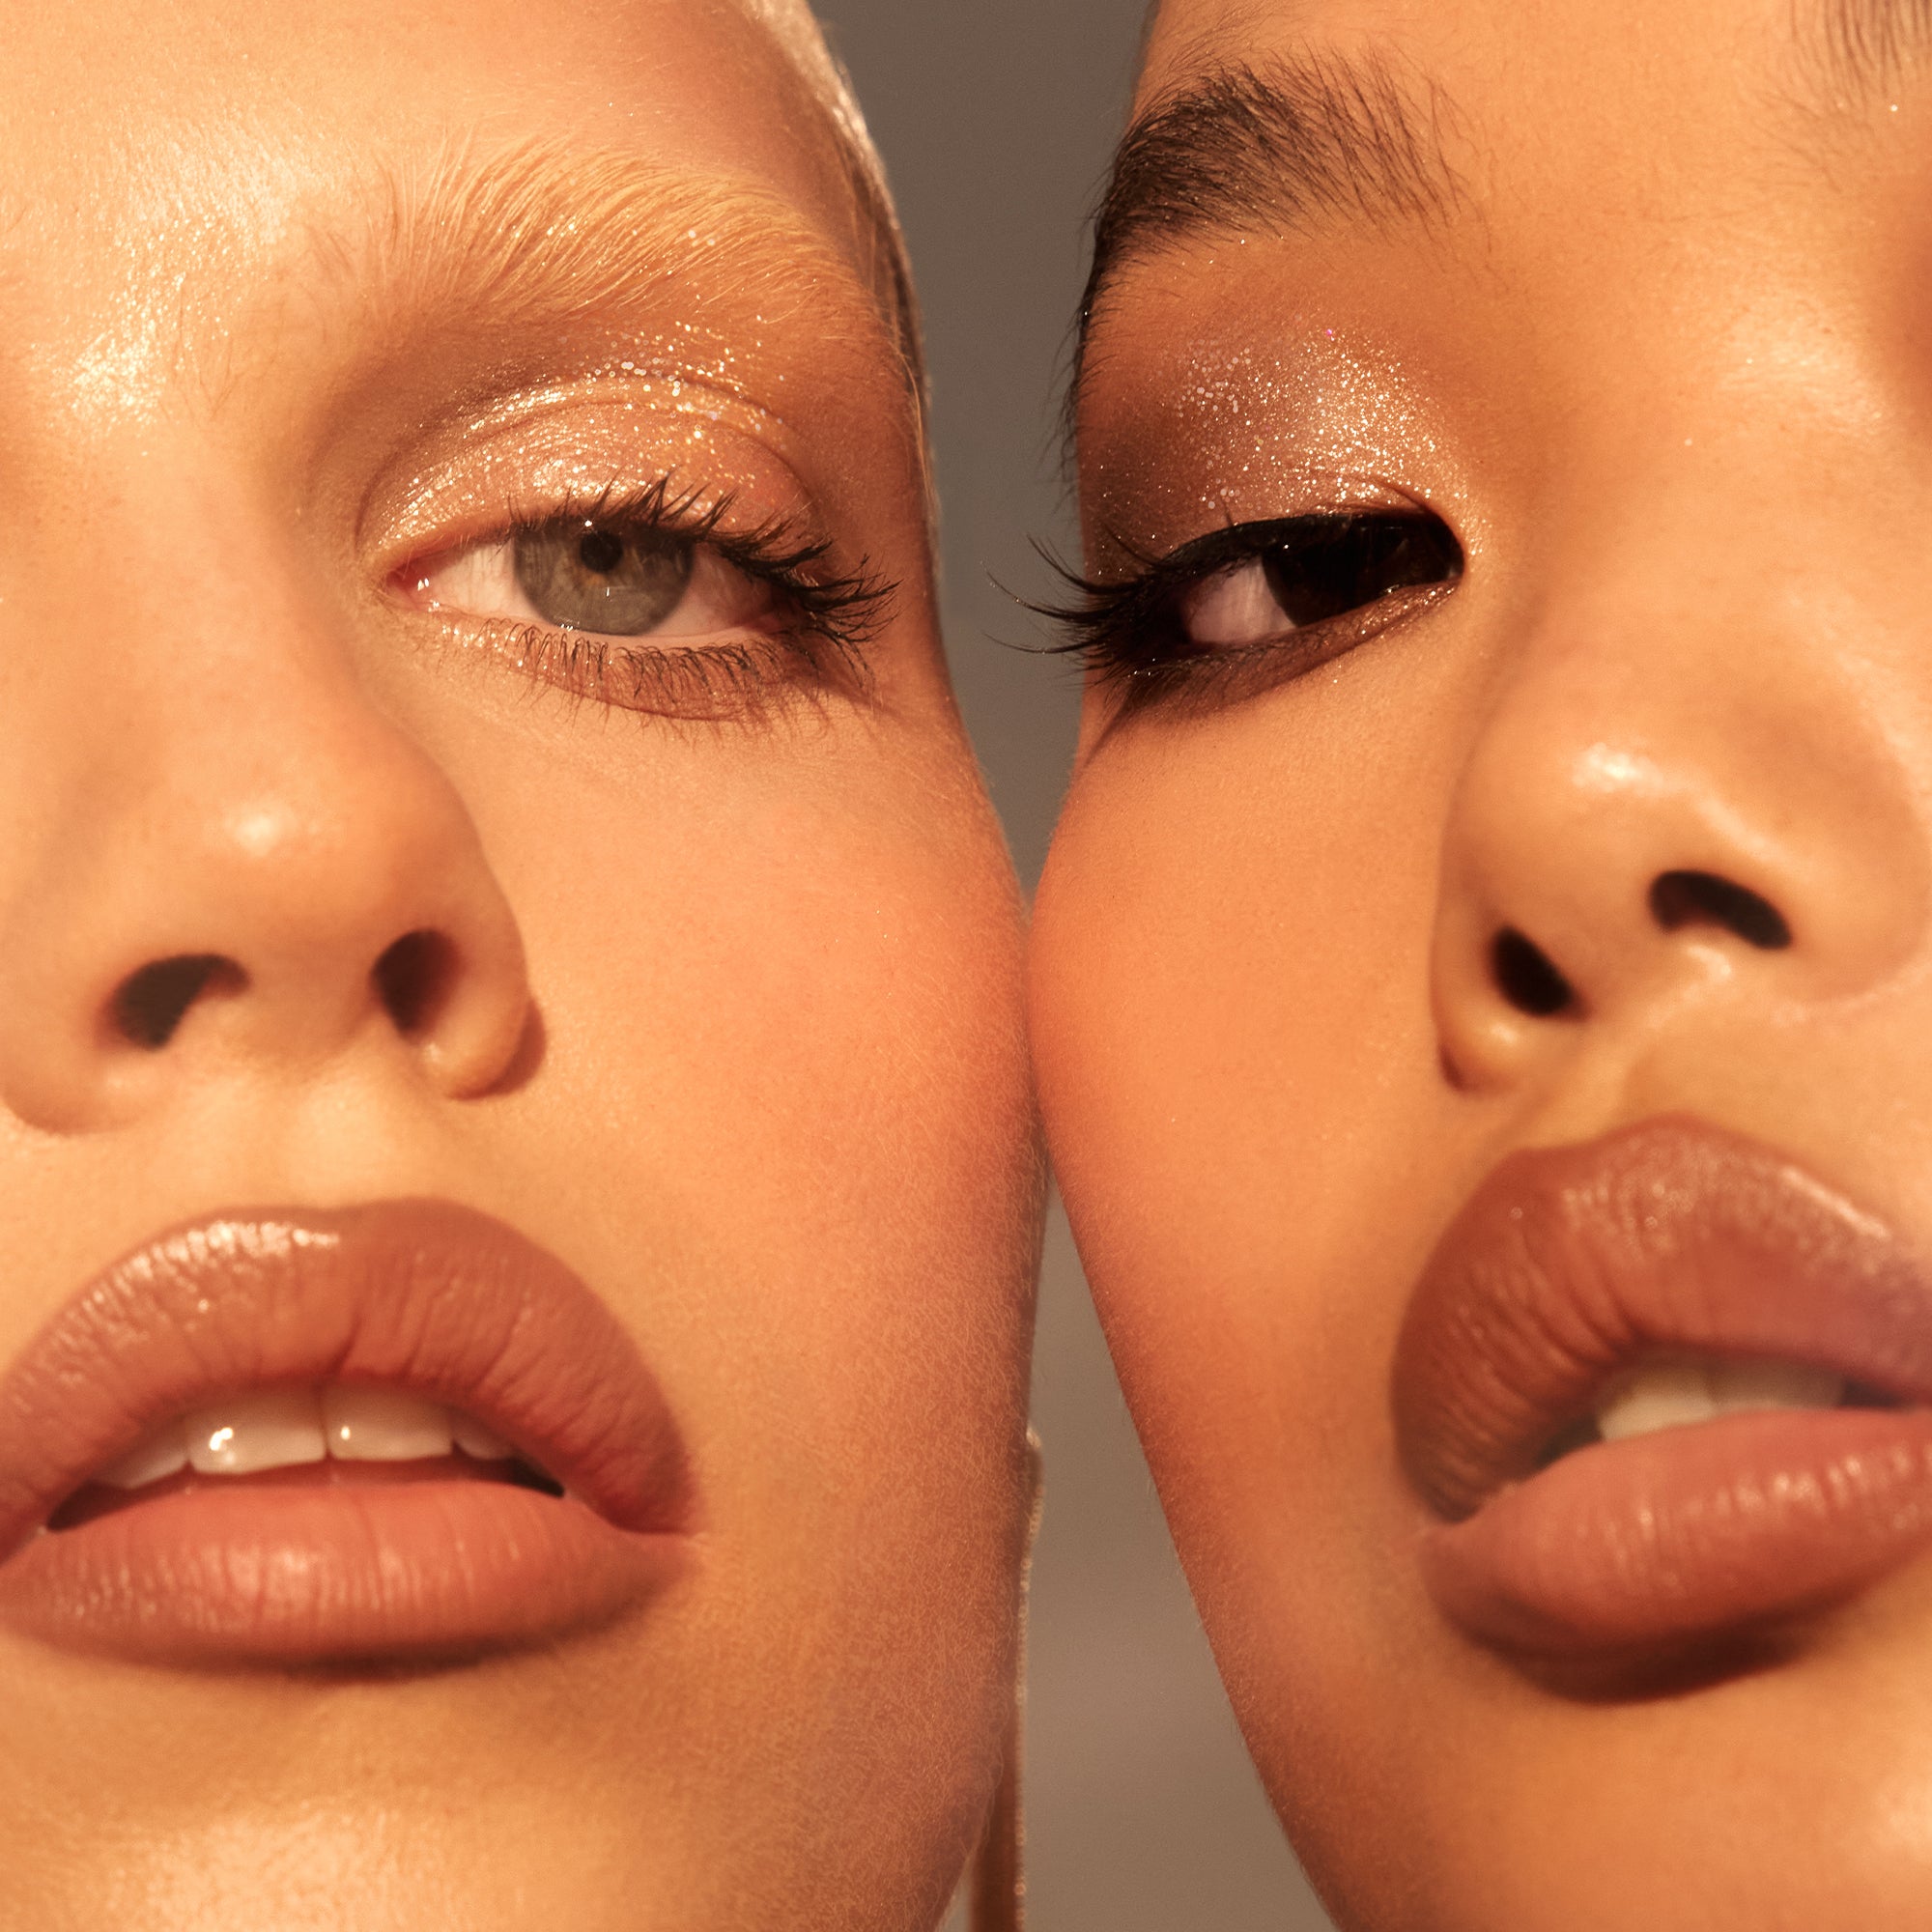
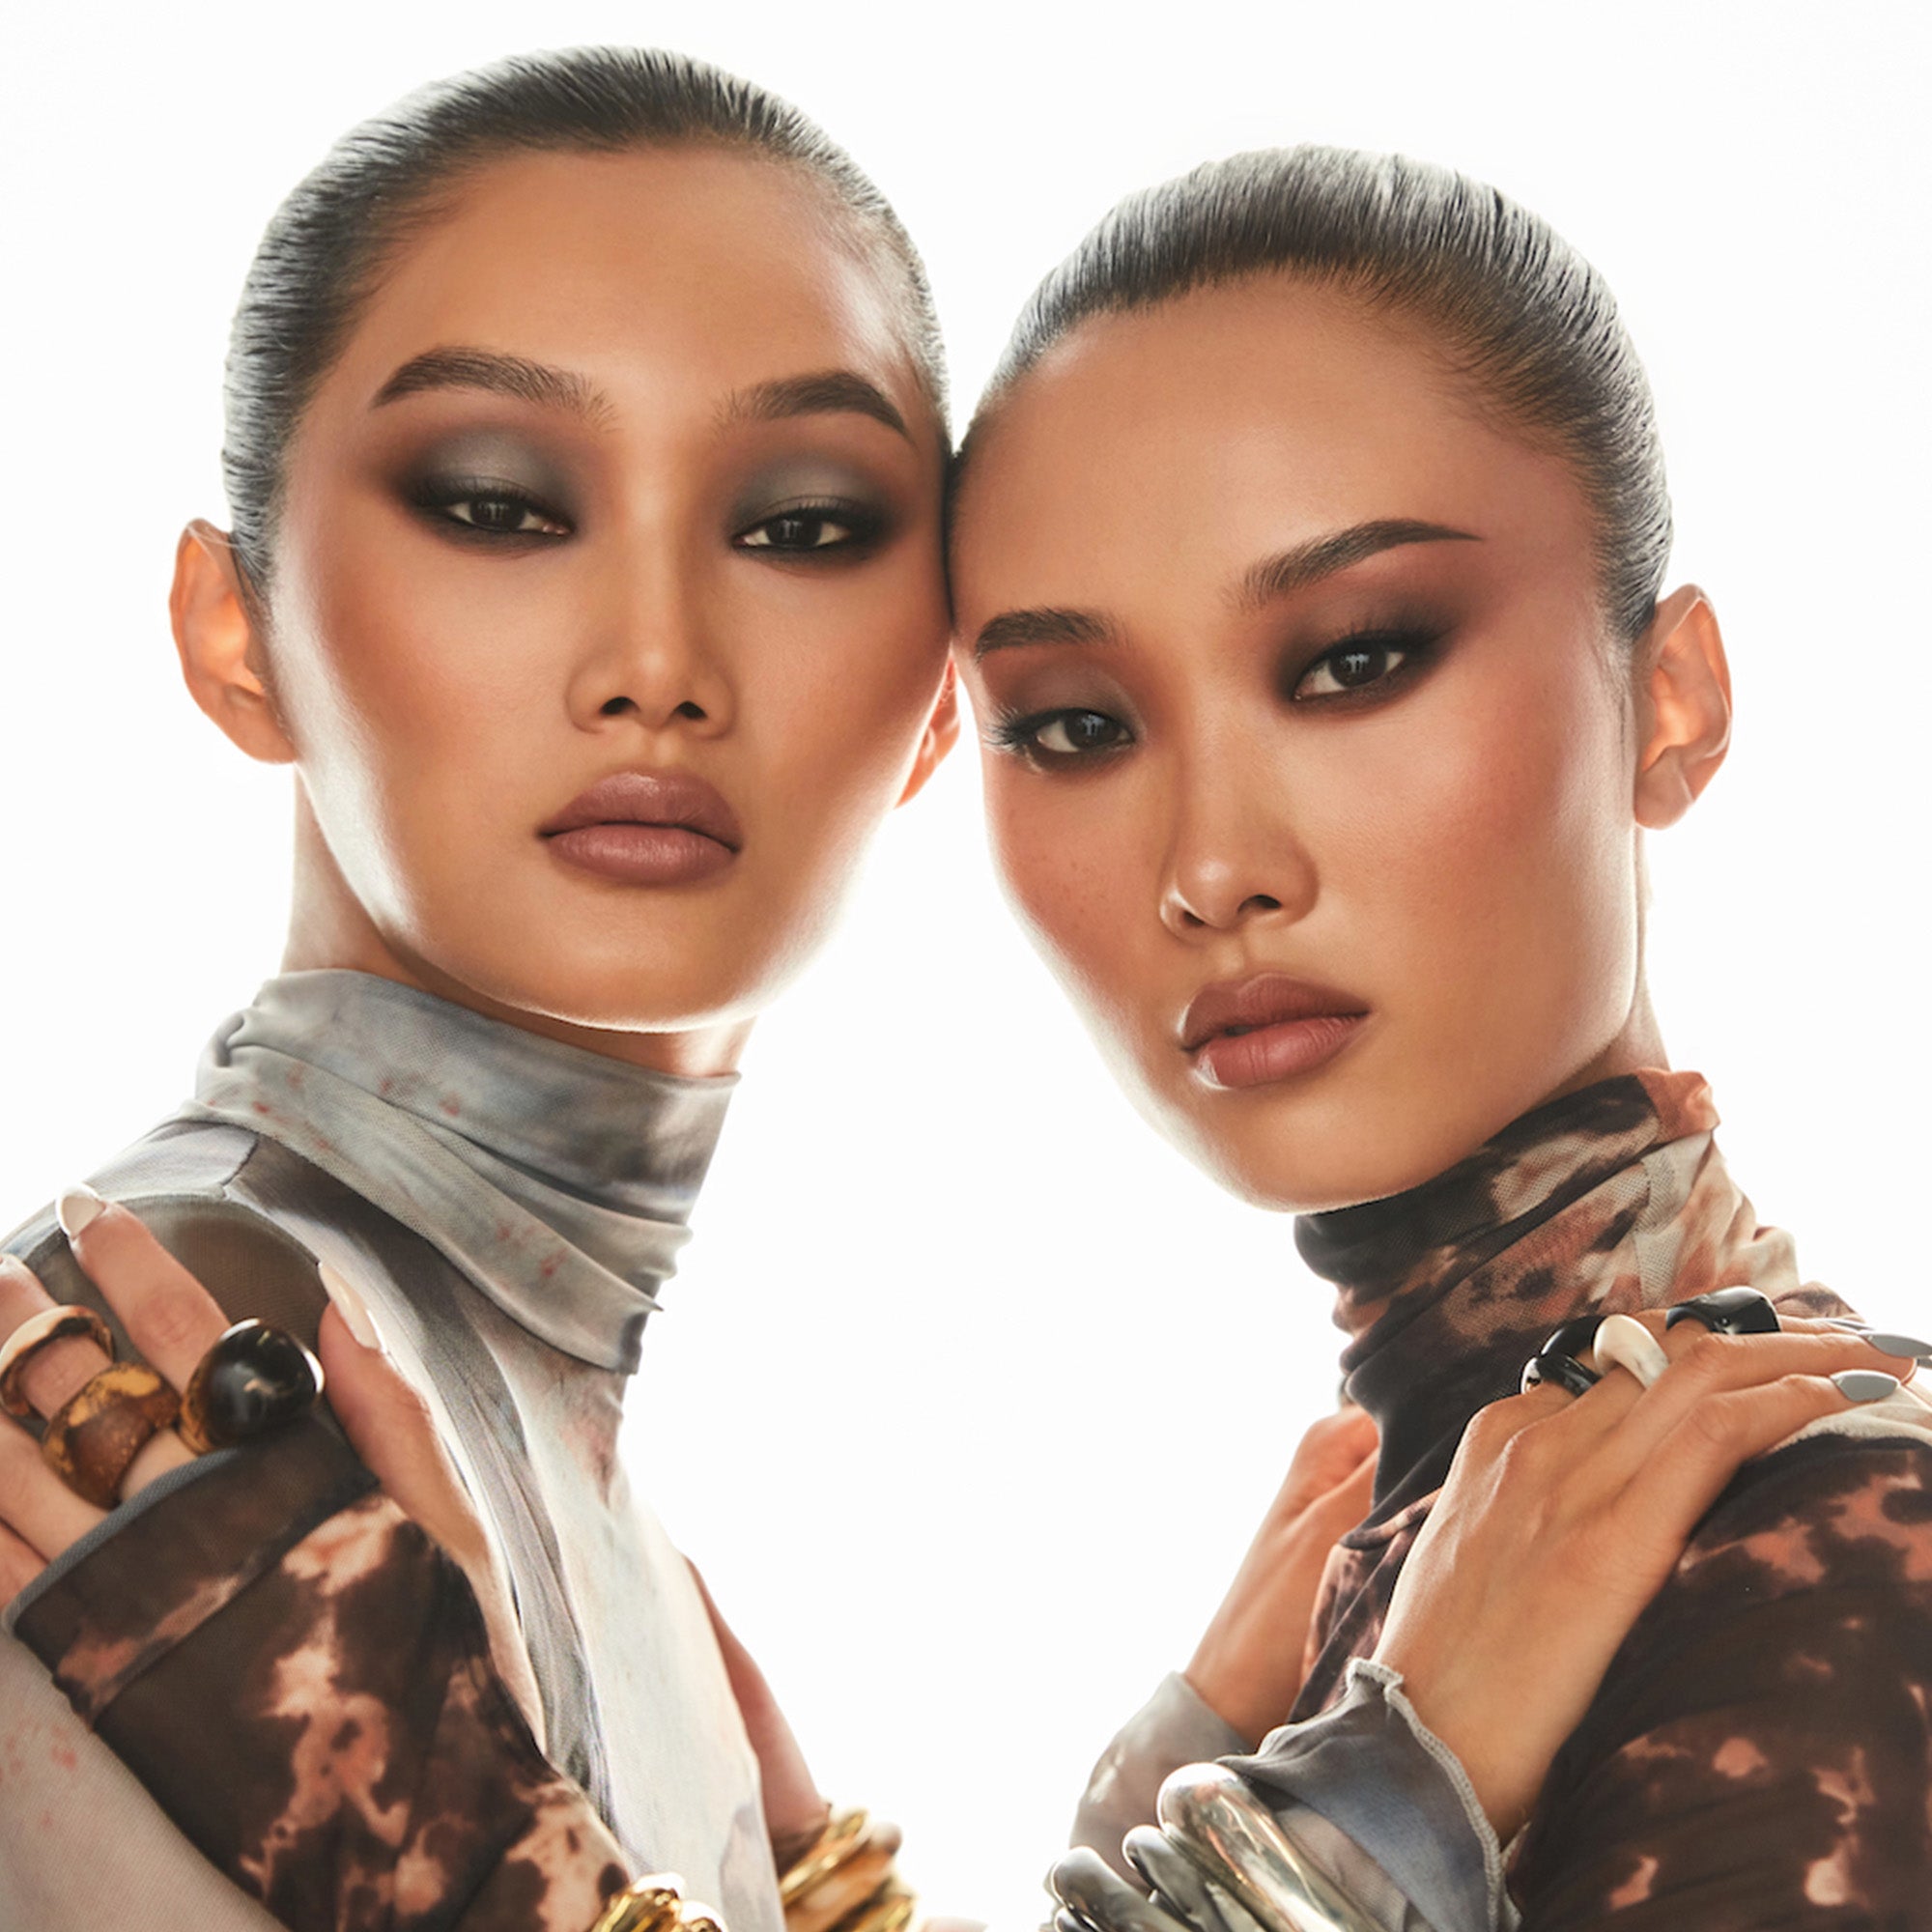
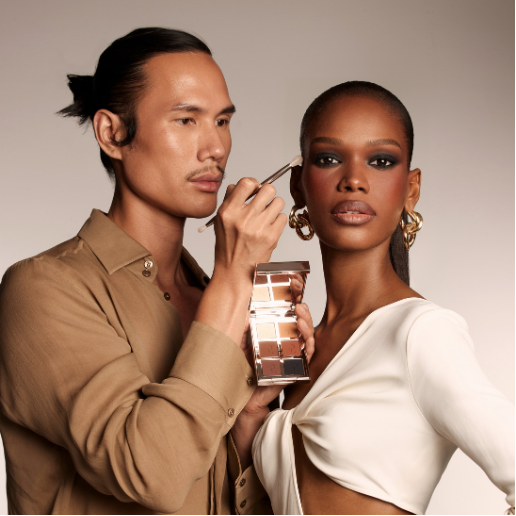
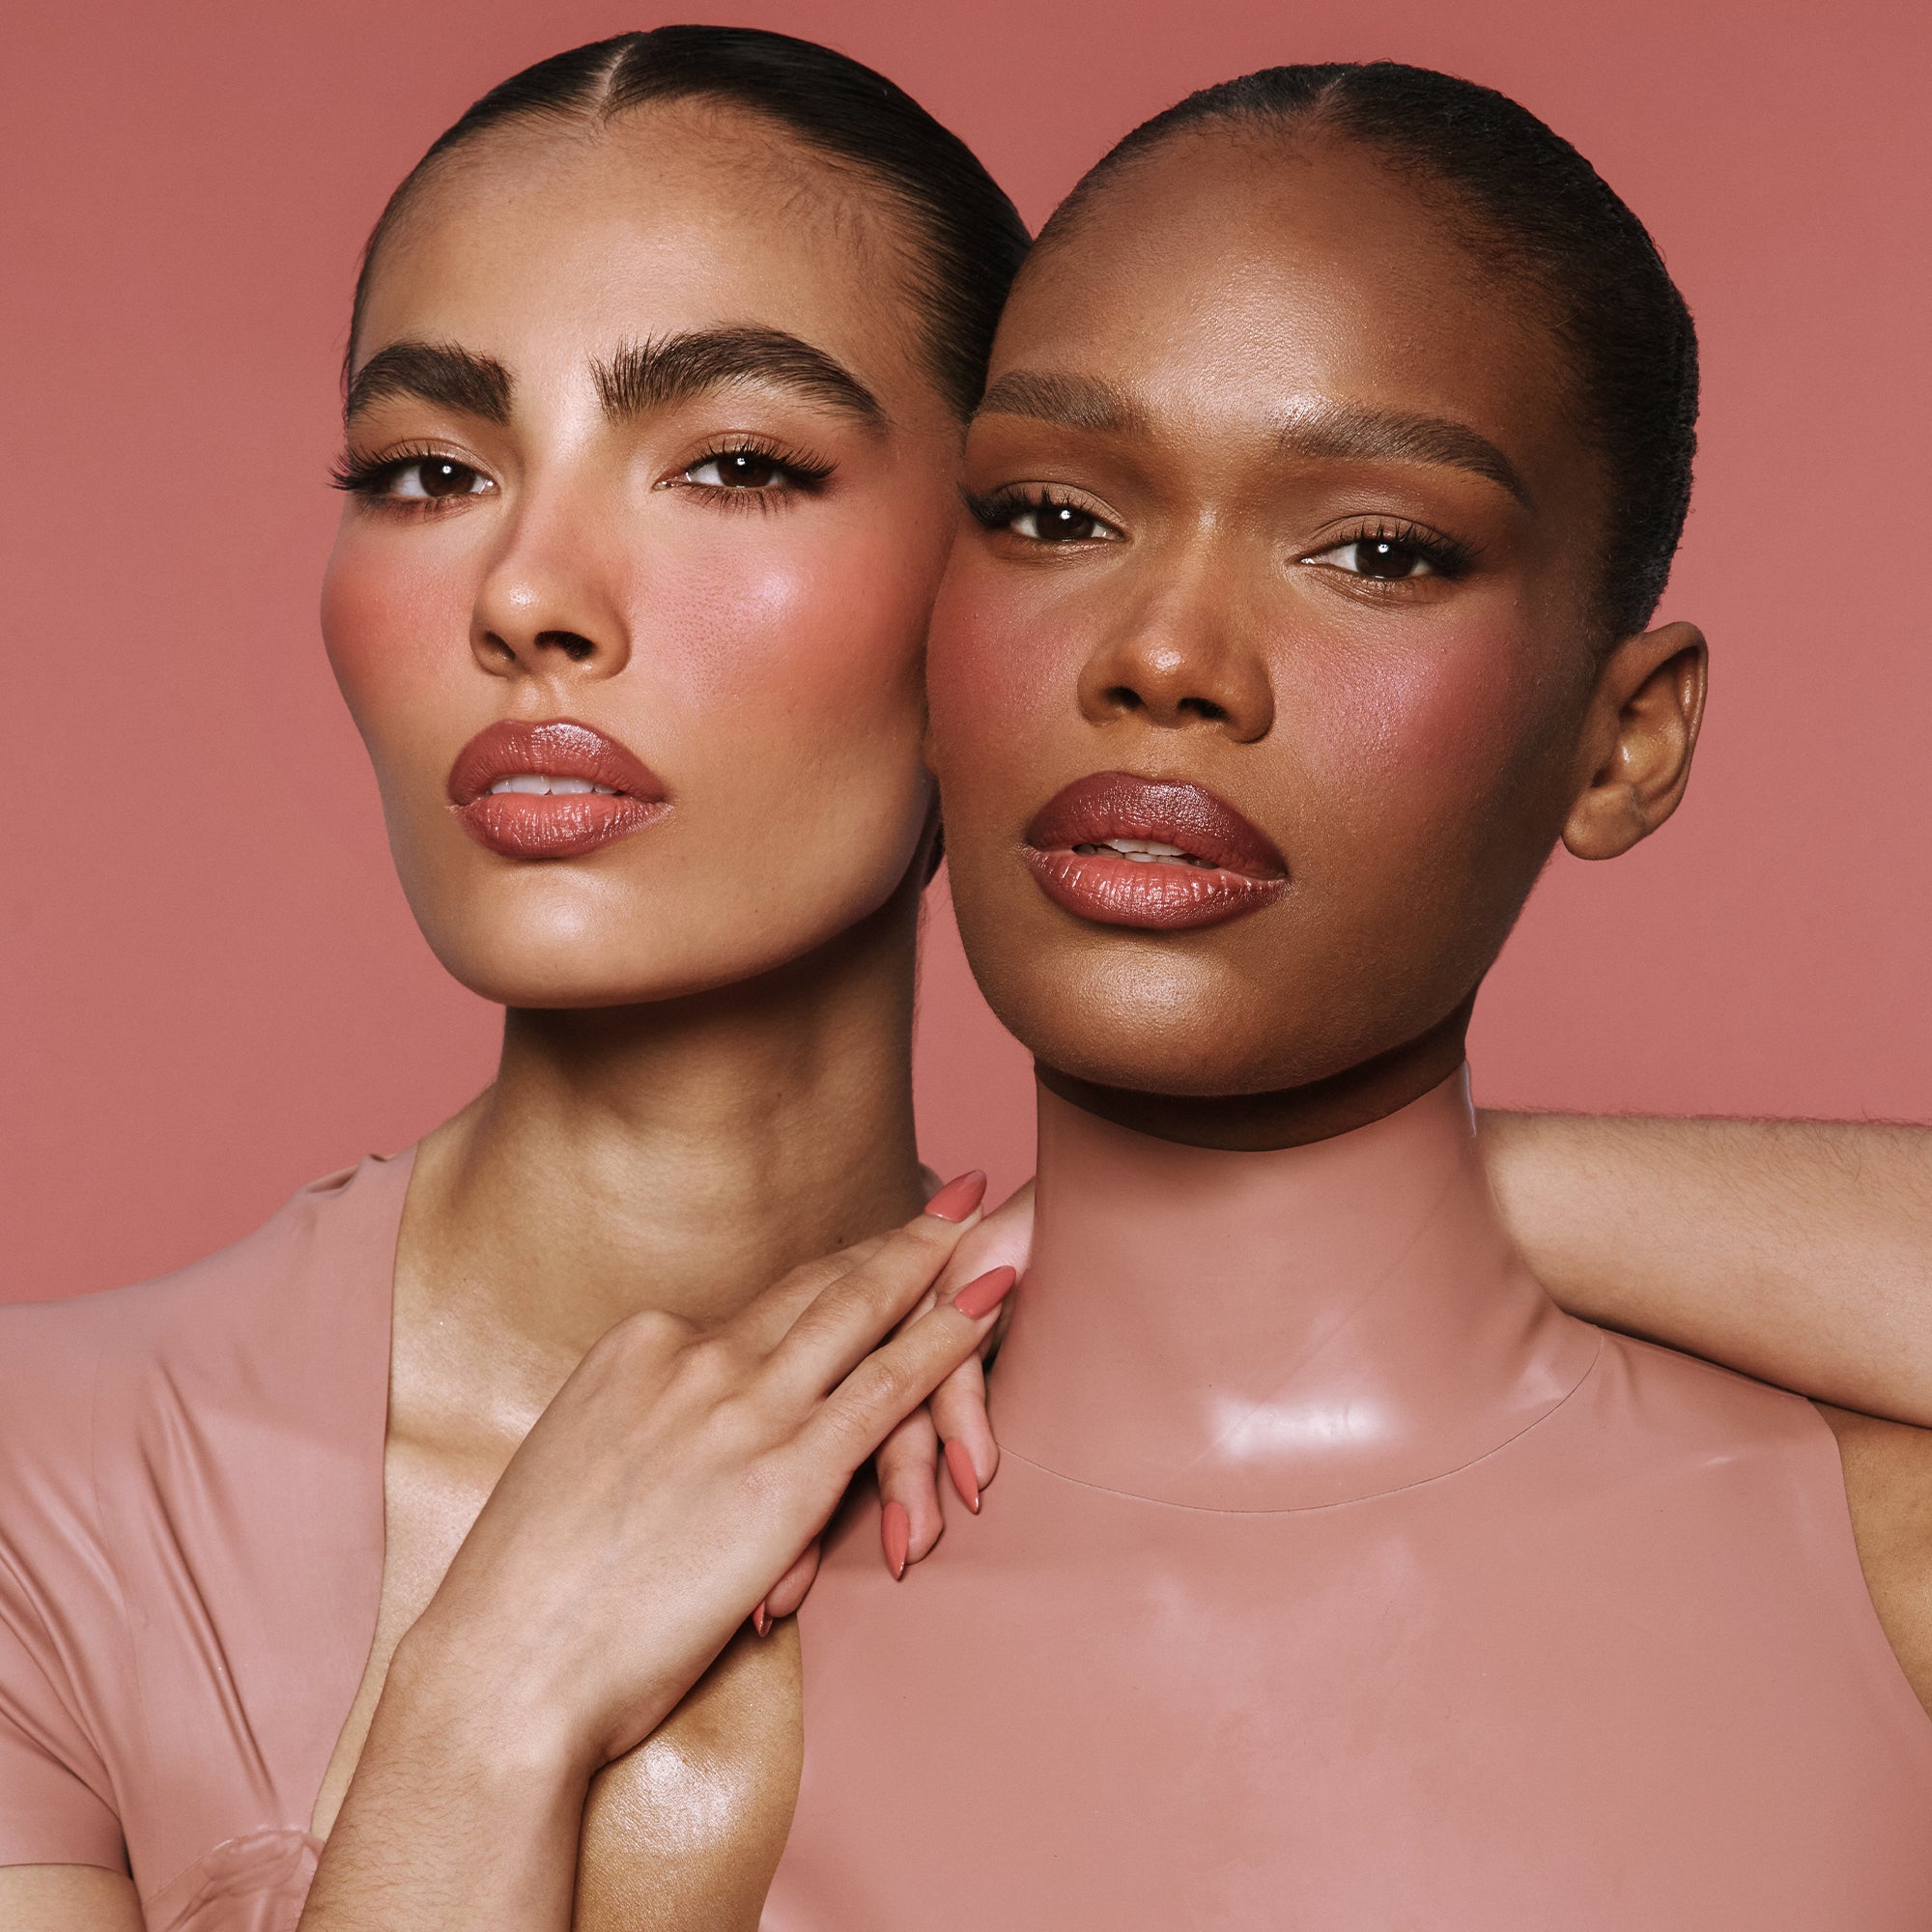
We love a bold beauty moment, but natural makeup looks are equally as gorgeous. For those moments when you're after a softer, more subdued beauty vibe, follow this natural makeup tutorial on how to do a natural makeup look that enhances your features without hiding them.
What You Need to Create a Natural Makeup Look
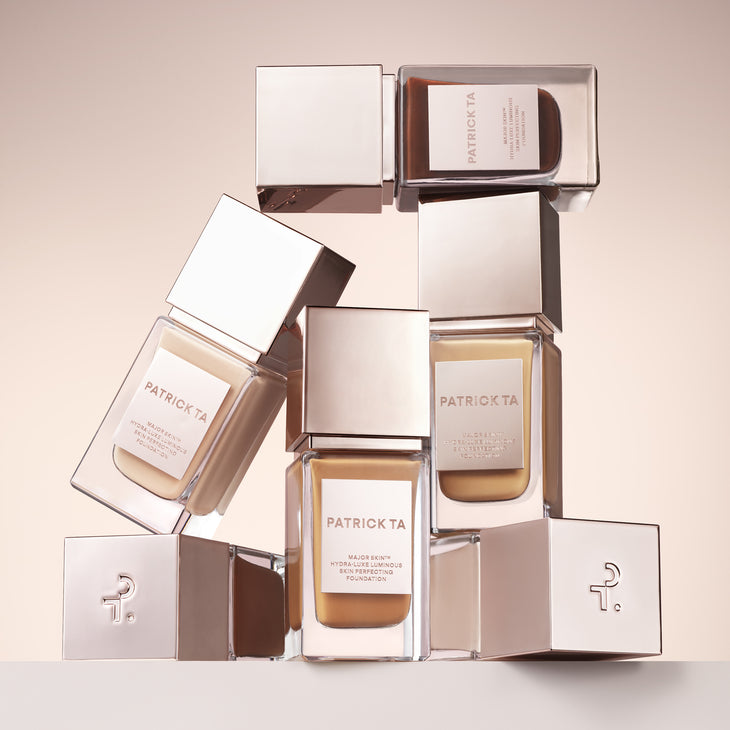
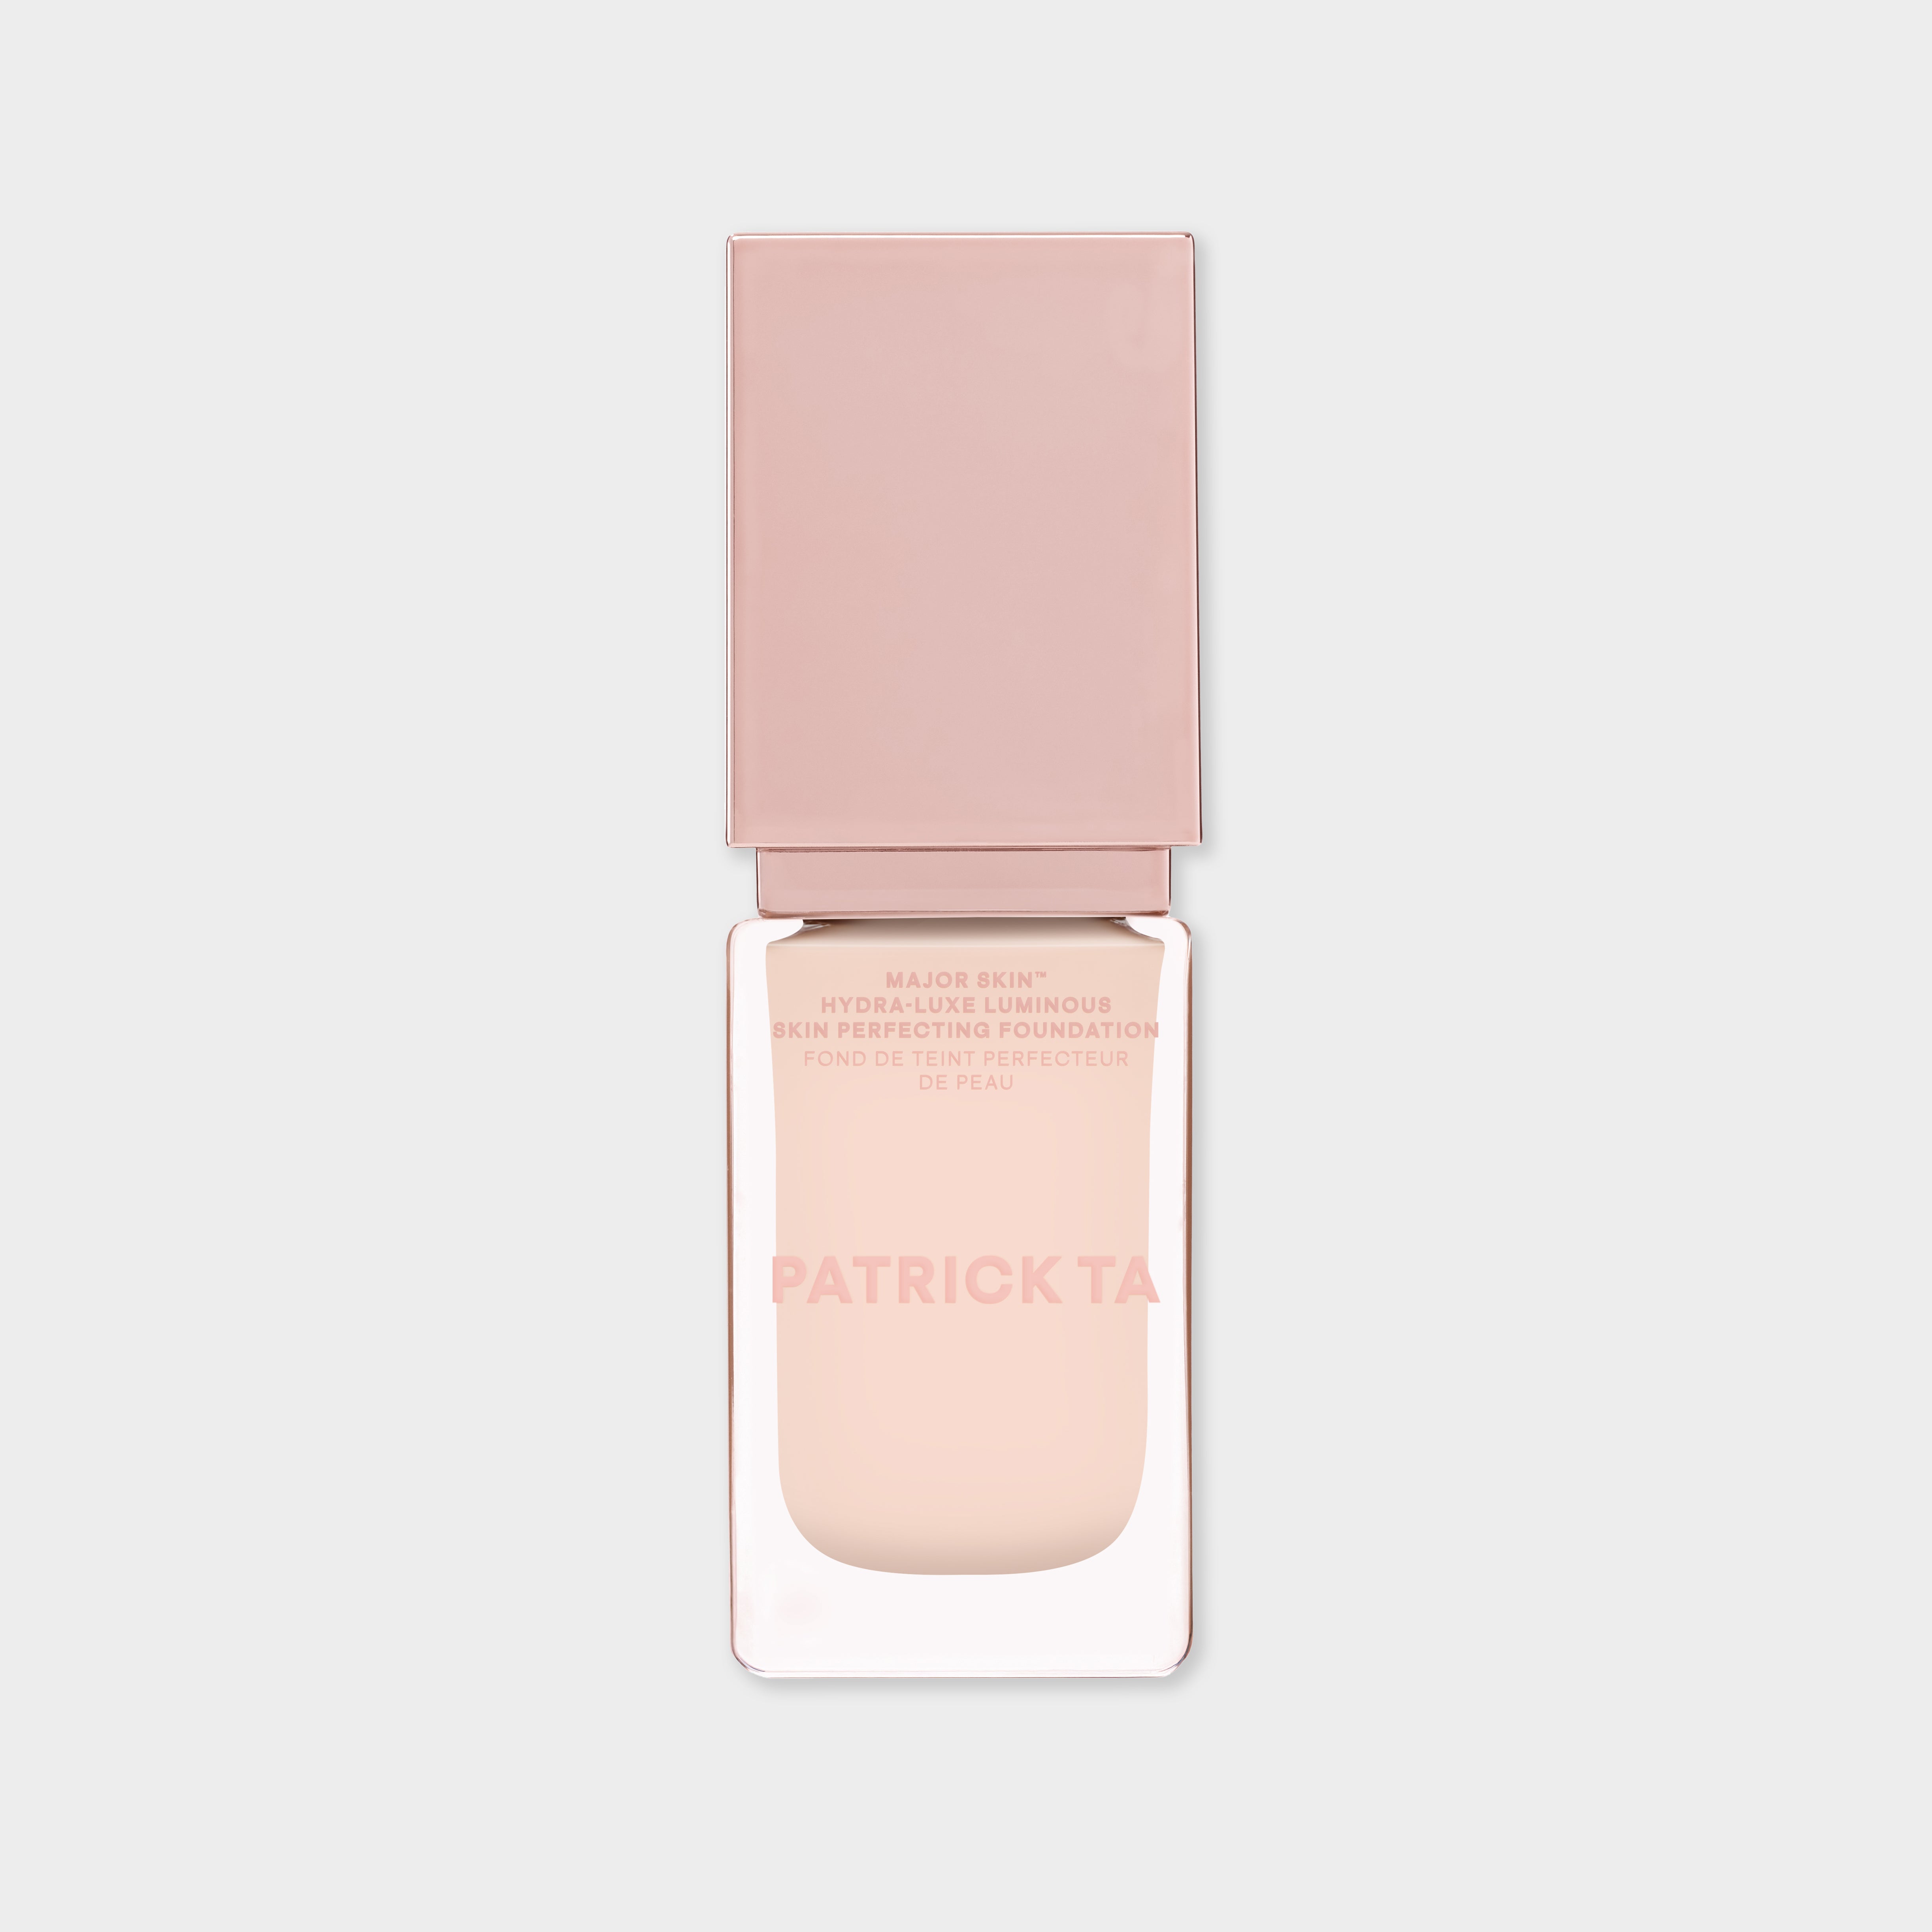
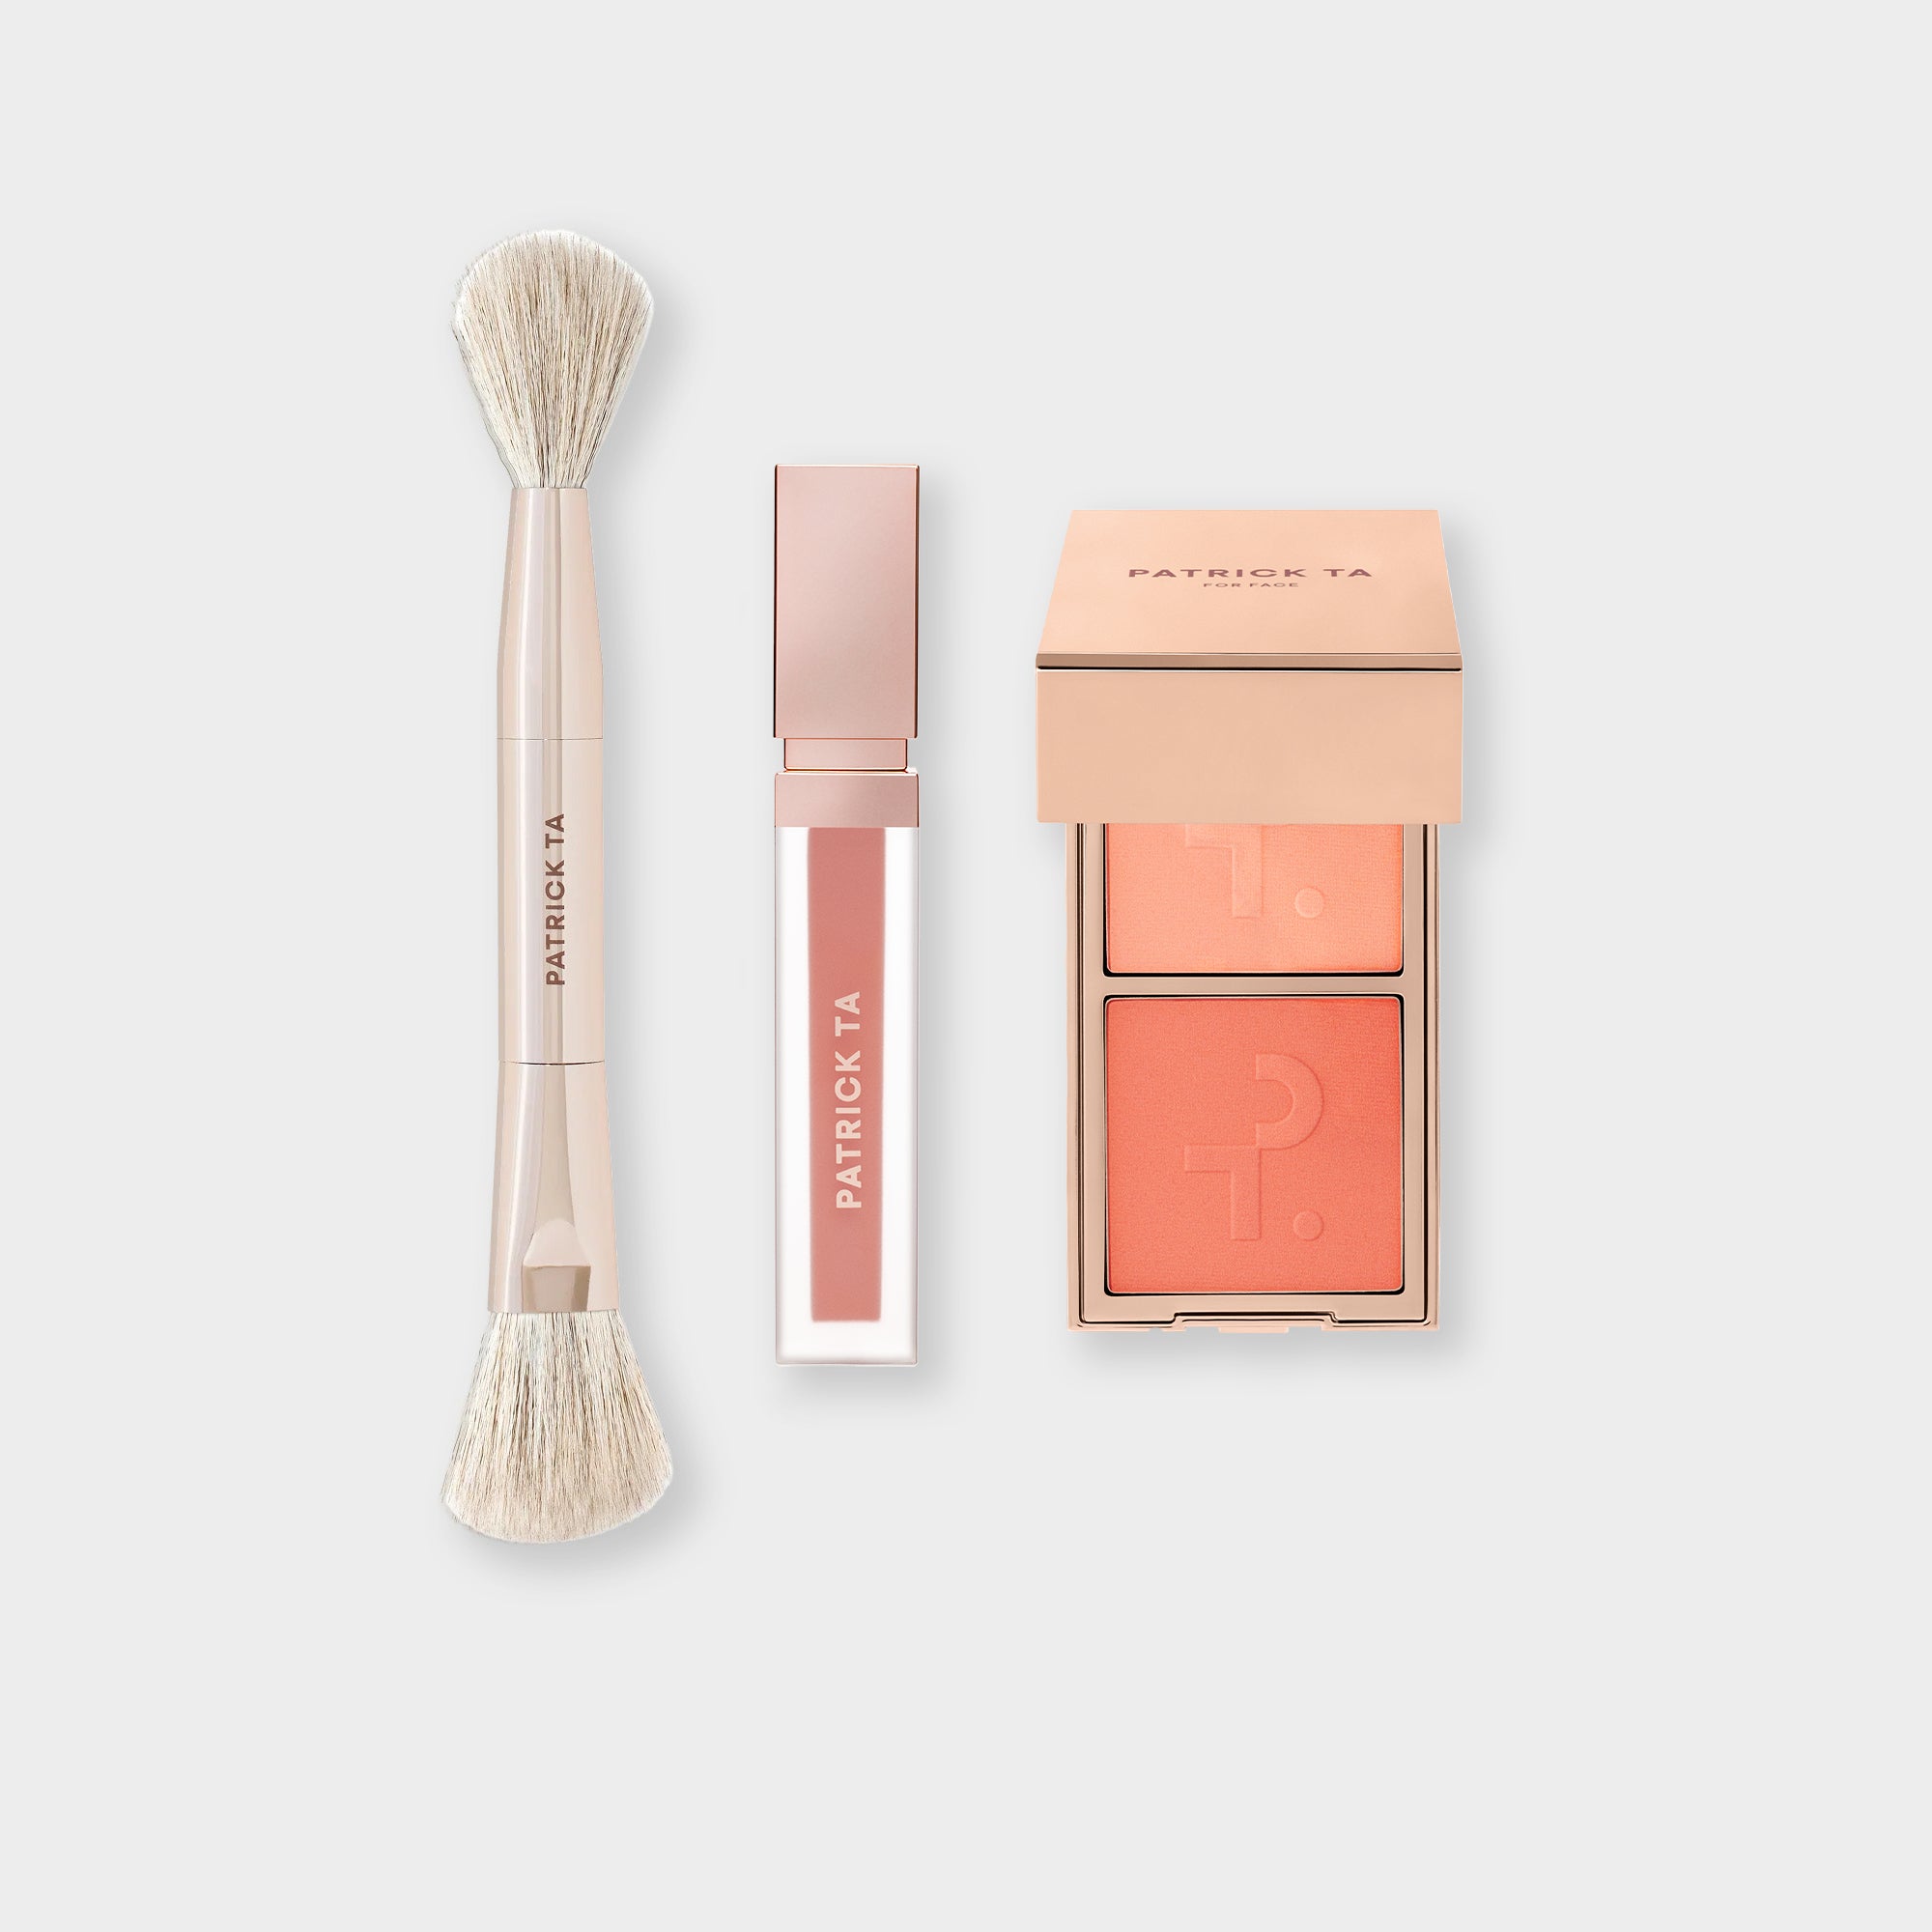
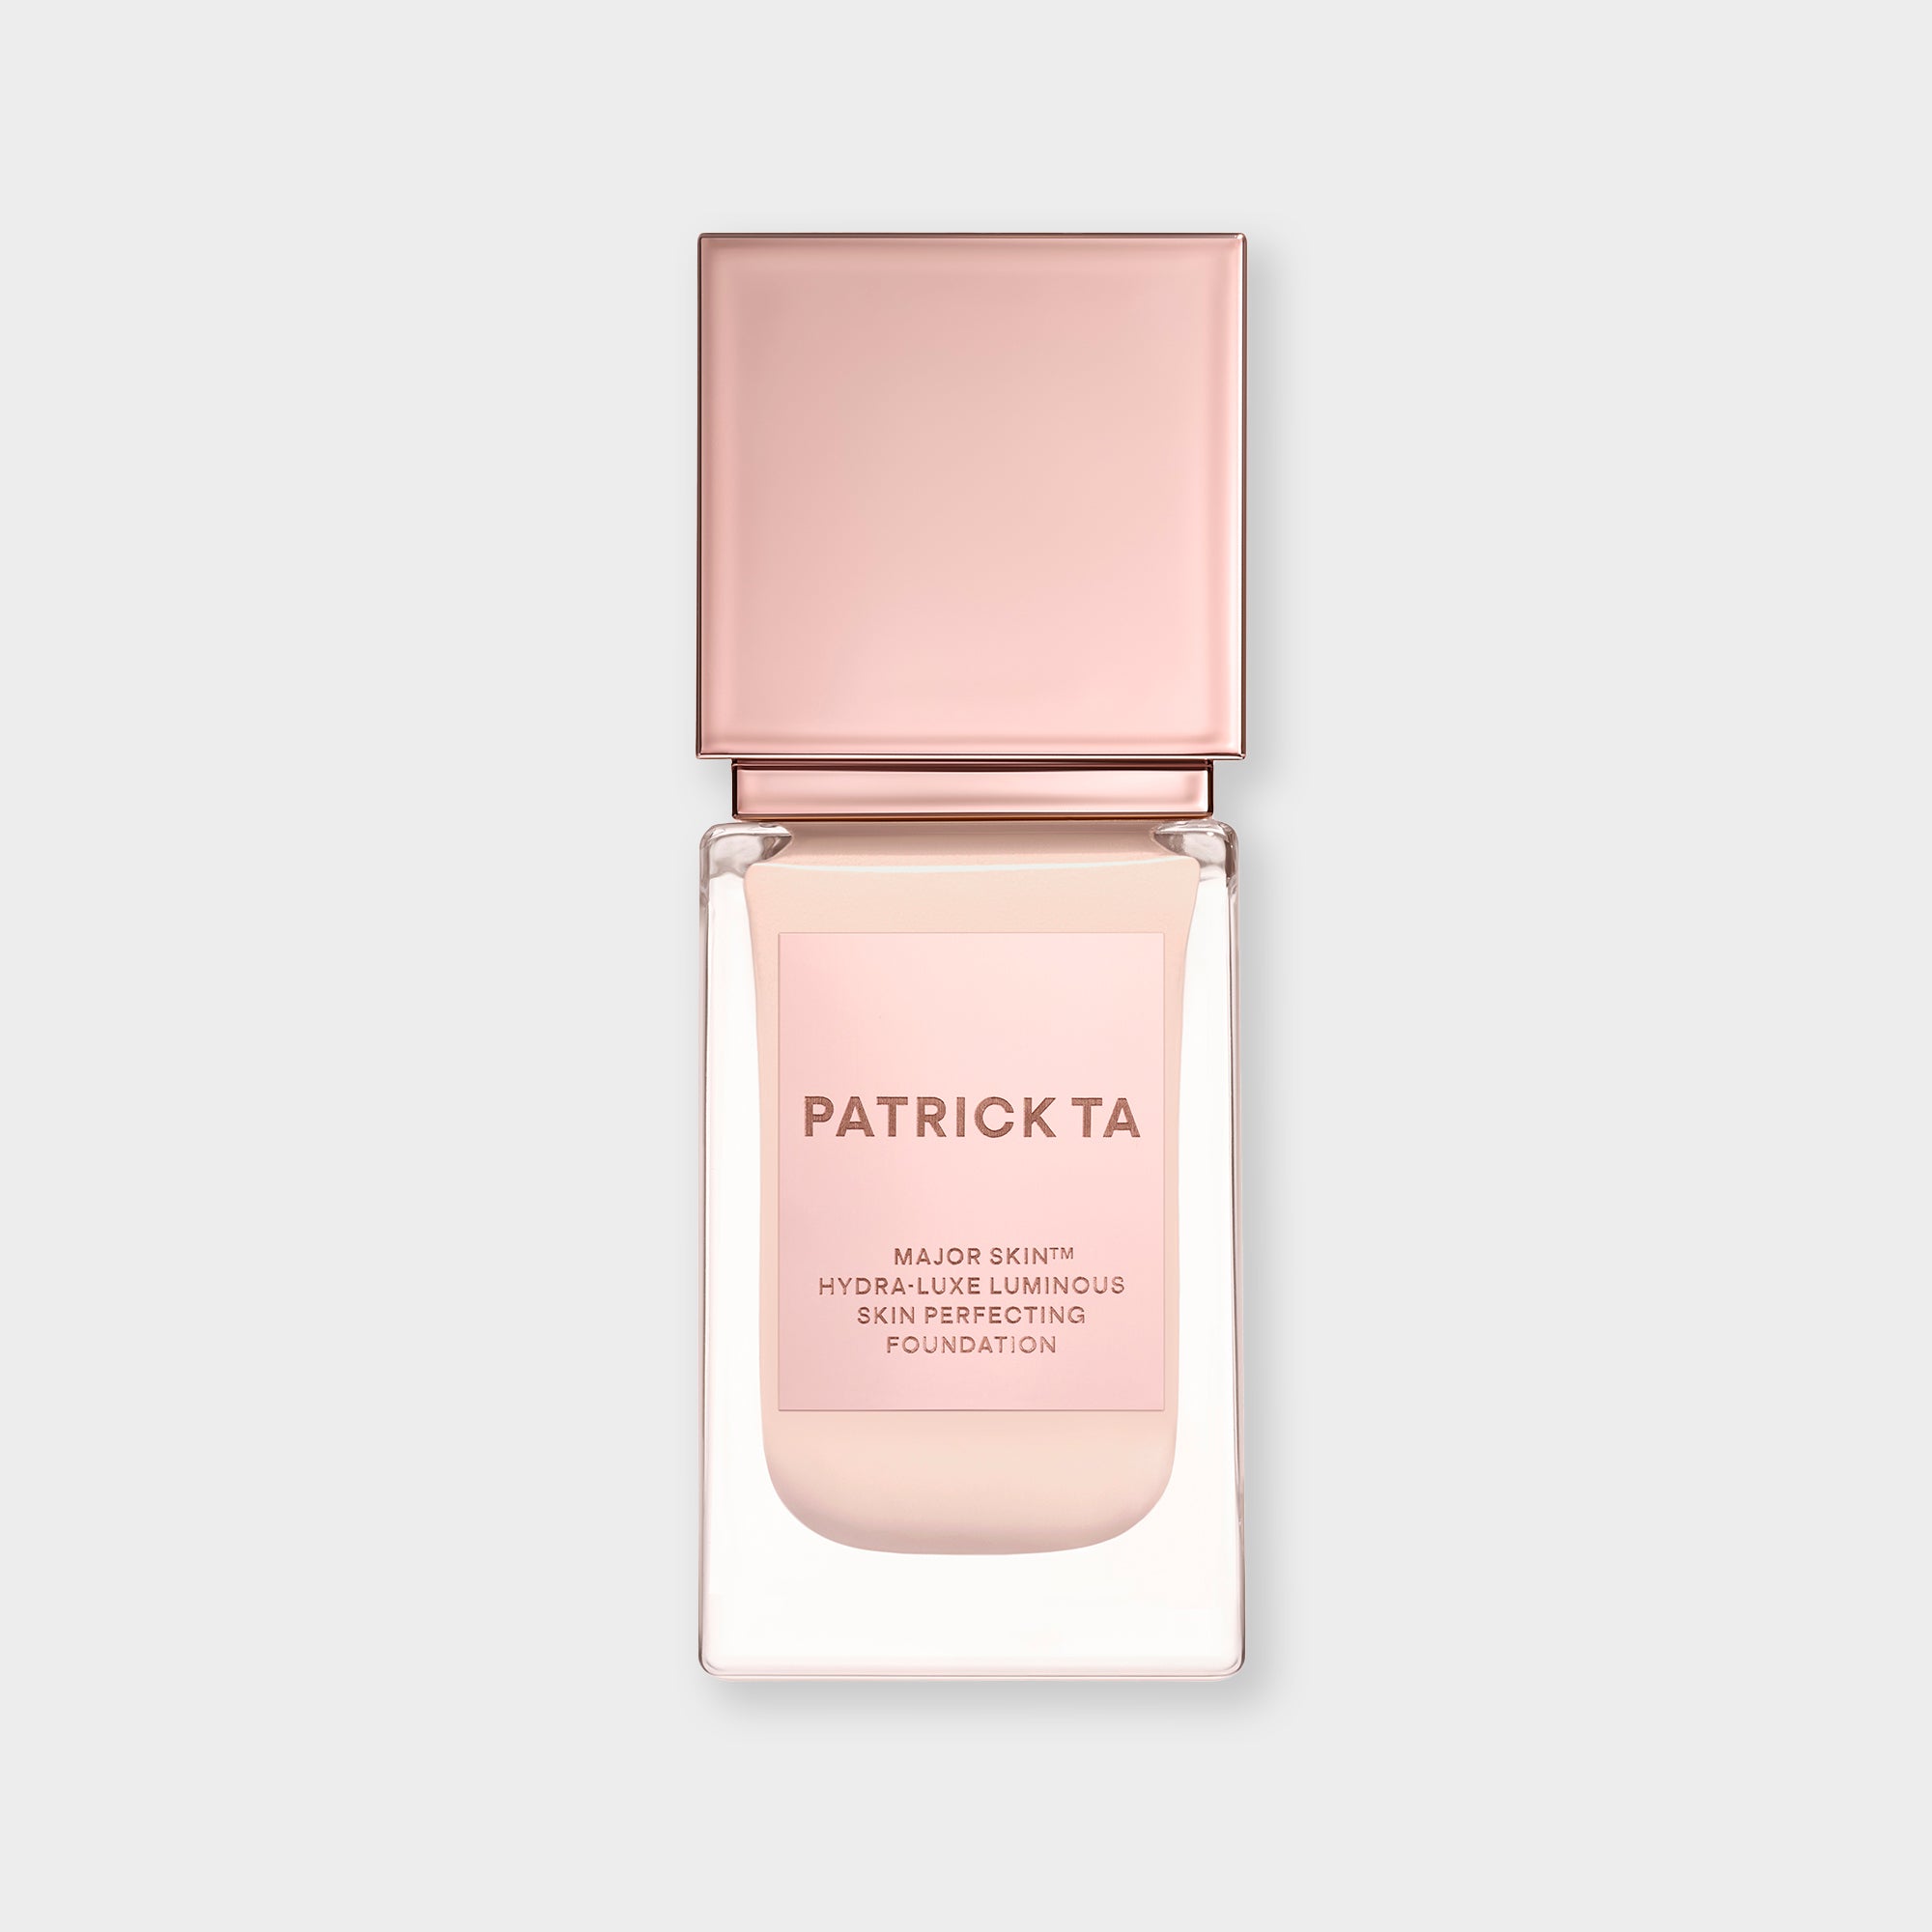
 Make sure you have the right tools in your arsenal for a glowing, natural beauty look. Have a primer ready to prep your skin. You’ll want either a tinted moisturizer or a light coverage foundation for your complexion.
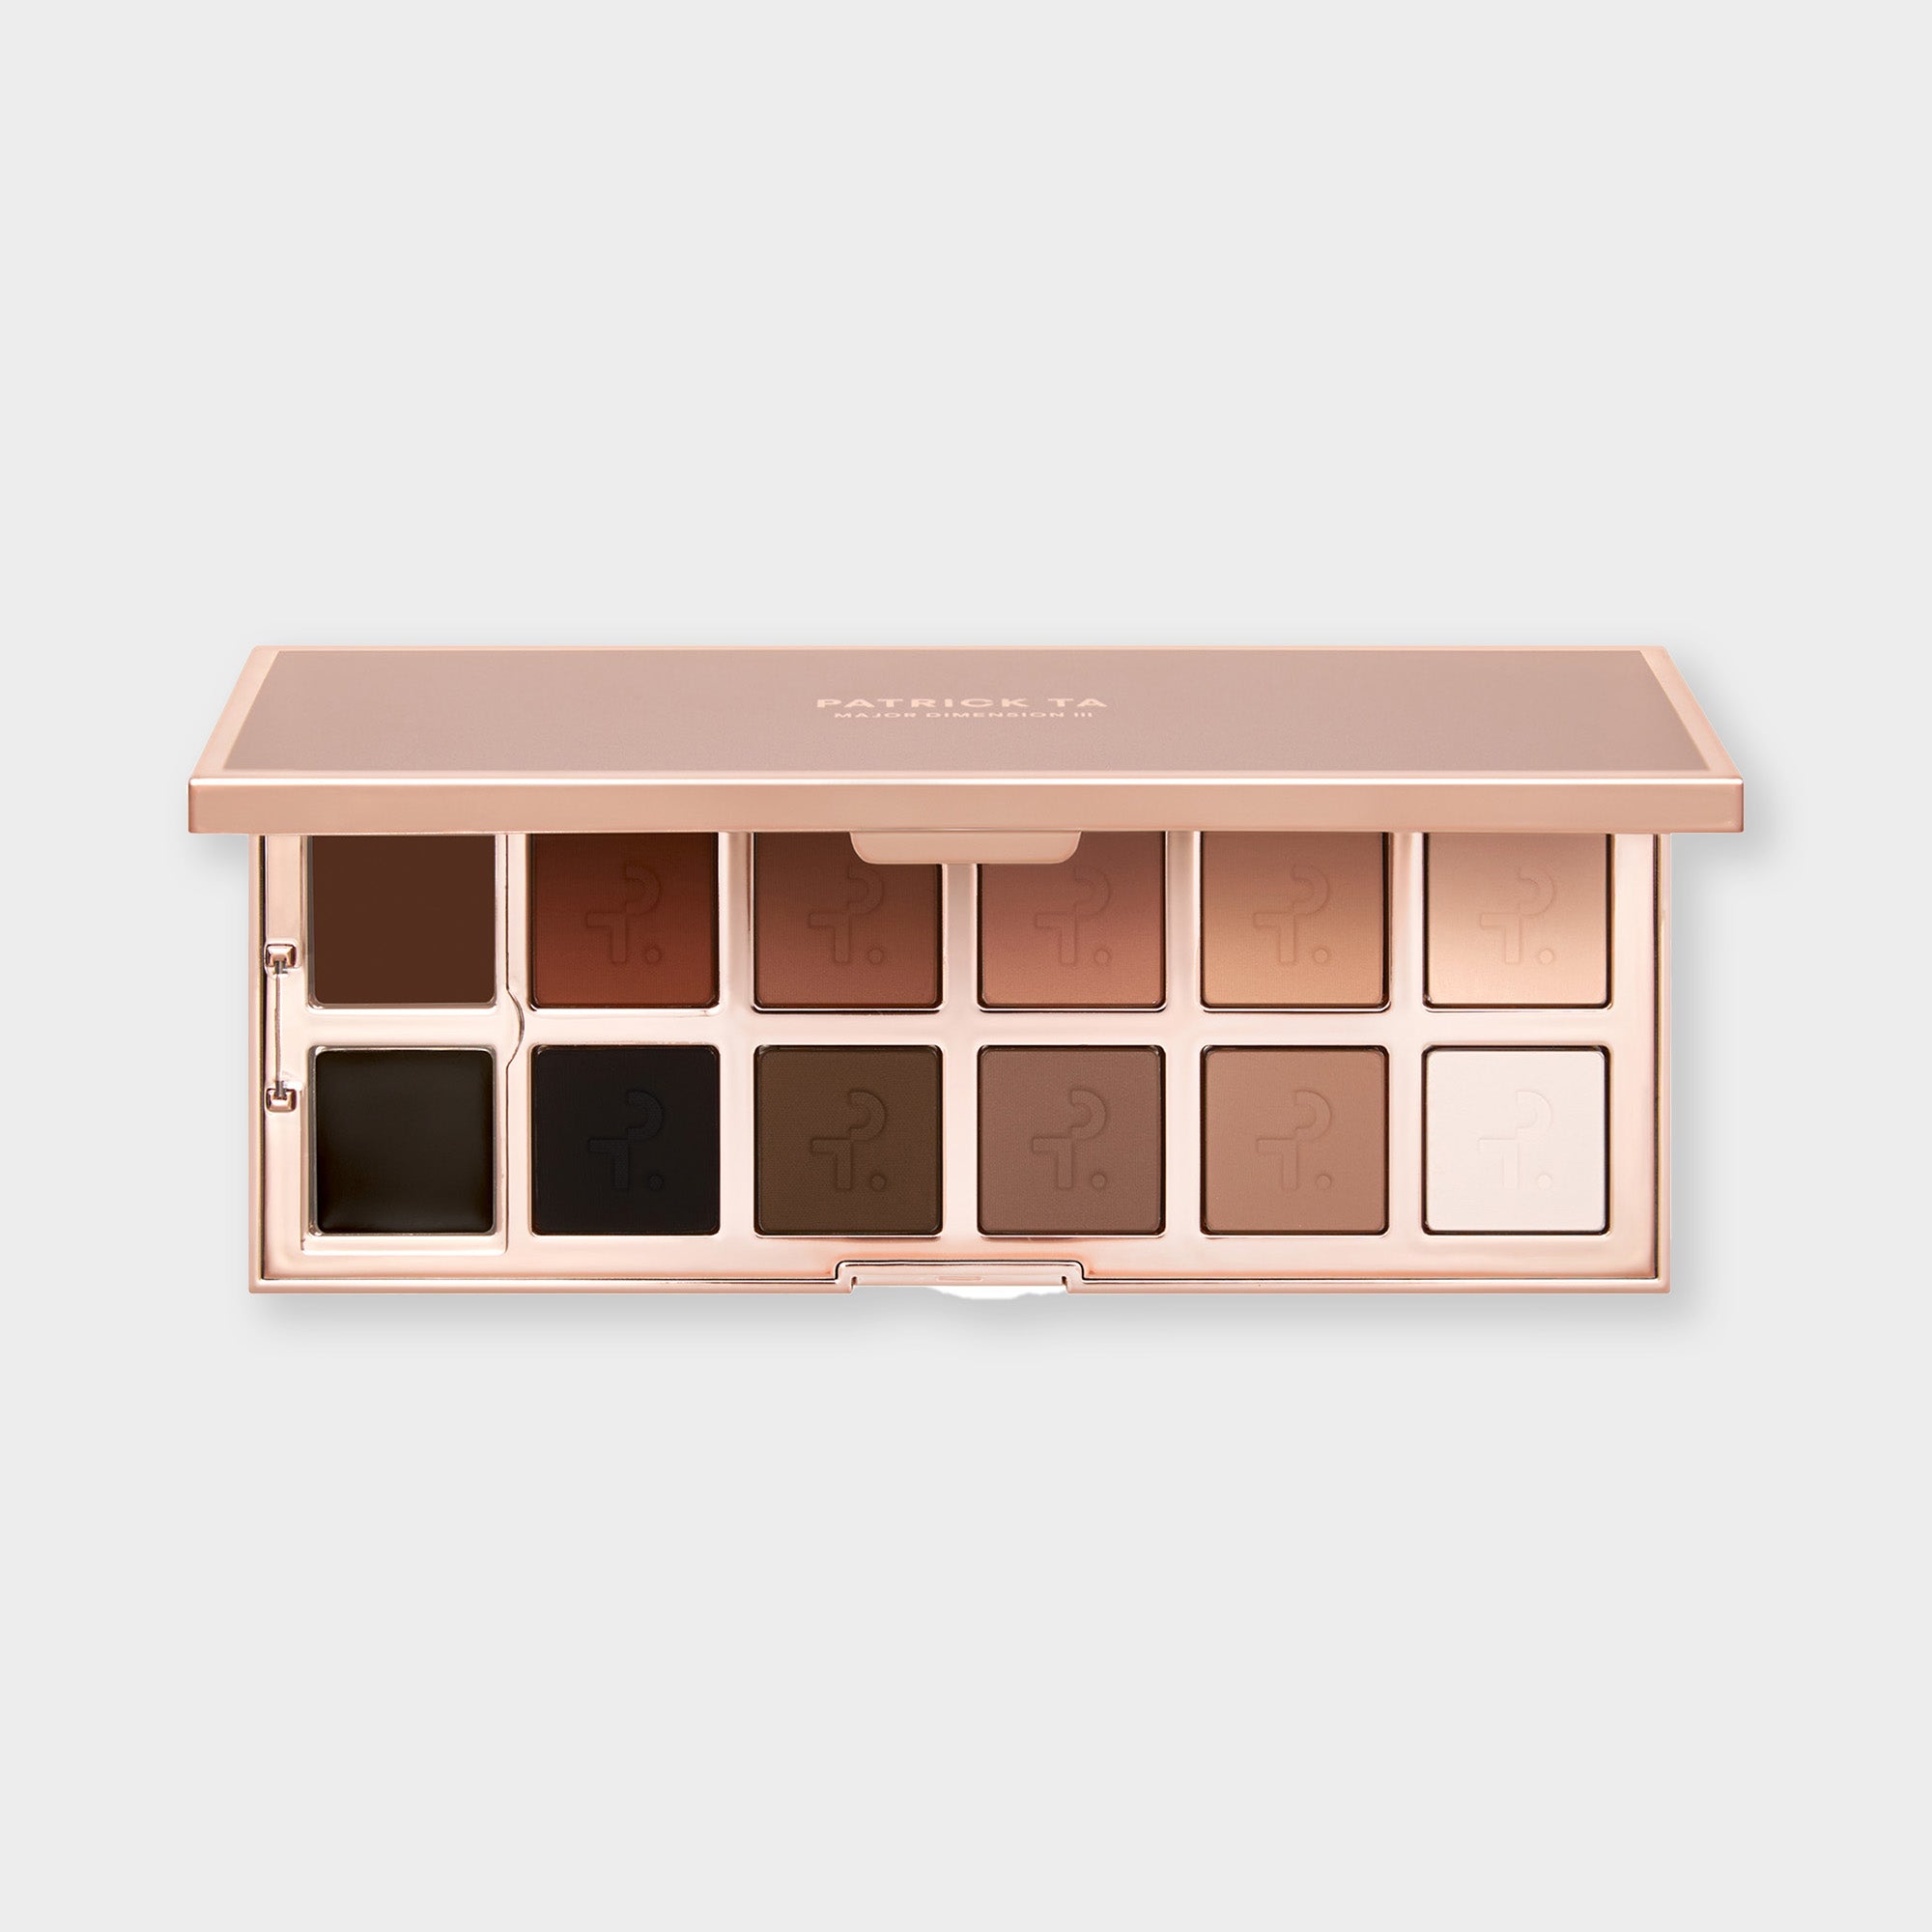
To finish off your base, make sure you have a blush to bring color to your cheeks, as well as a bronzer to add summery warmth to your skin. You’ll round out your look with a soft-colored eyeshadow, mascara, and an eyebrow gel (and pencil to fill in sparse areas, if desired).

How to Make Your Makeup Look Natural
 Here are the natural makeup look steps to keep in mind for a radiant, natural look makeup finish that enhances rather than masks your skin.
Step 1: Prep Your Skin
Every beauty look starts with skincare. Before reaching for your makeup, apply a lightweight, hydrating moisturizer all over your face and neck. Press the formula into your skin with your fingertips rather than rubbing, so it absorbs evenly without displacing product into fine lines. This step plumps and softens your complexion, creating a smooth, hydrated base that helps every layer of makeup sit flush against the skin. When your skin is properly moisturized, your foundation or tinted moisturizer blends more seamlessly and holds a dewy finish longer.
Step 2: Prime Your Skin
Priming the skin is always a must, no matter the beauty vibe you're going for. A primer has two main jobs: it creates a smooth, even canvas for you to build your makeup look on, and gives your makeup something to hold onto so it lasts all day. For a natural look, reach for a hydrating or luminous primer with a thin, serum-like texture, since heavy silicone formulas can sit on top of the skin and flatten your glow. Warm a pea-sized amount between your fingertips and press it across your forehead, cheeks, nose, and chin. Cover your eyelids as well, so your eyeshadow holds without creasing throughout the day.
Step 5: Avoid Using Contour Sticks
Don't get us wrong, we're big fans of contouring. But when it comes to natural makeup, it's best to skip the contour stick. Contour can be too strong for fresher, more simple makeup, throwing your whole look off balance. Instead, let your bronzer do the sculpting work: sweep a cream or powder bronzer along the hollows of your cheeks, temples, and jawline using light, blending strokes. Cream formulas melt into the skin for a shadow that reads as natural dimension rather than a drawn-on line. By replacing a contour stick with a diffused bronzer placement, you add structure to your face while keeping everything soft and cohesive.
Step 6: Add a Touch of Bronzer
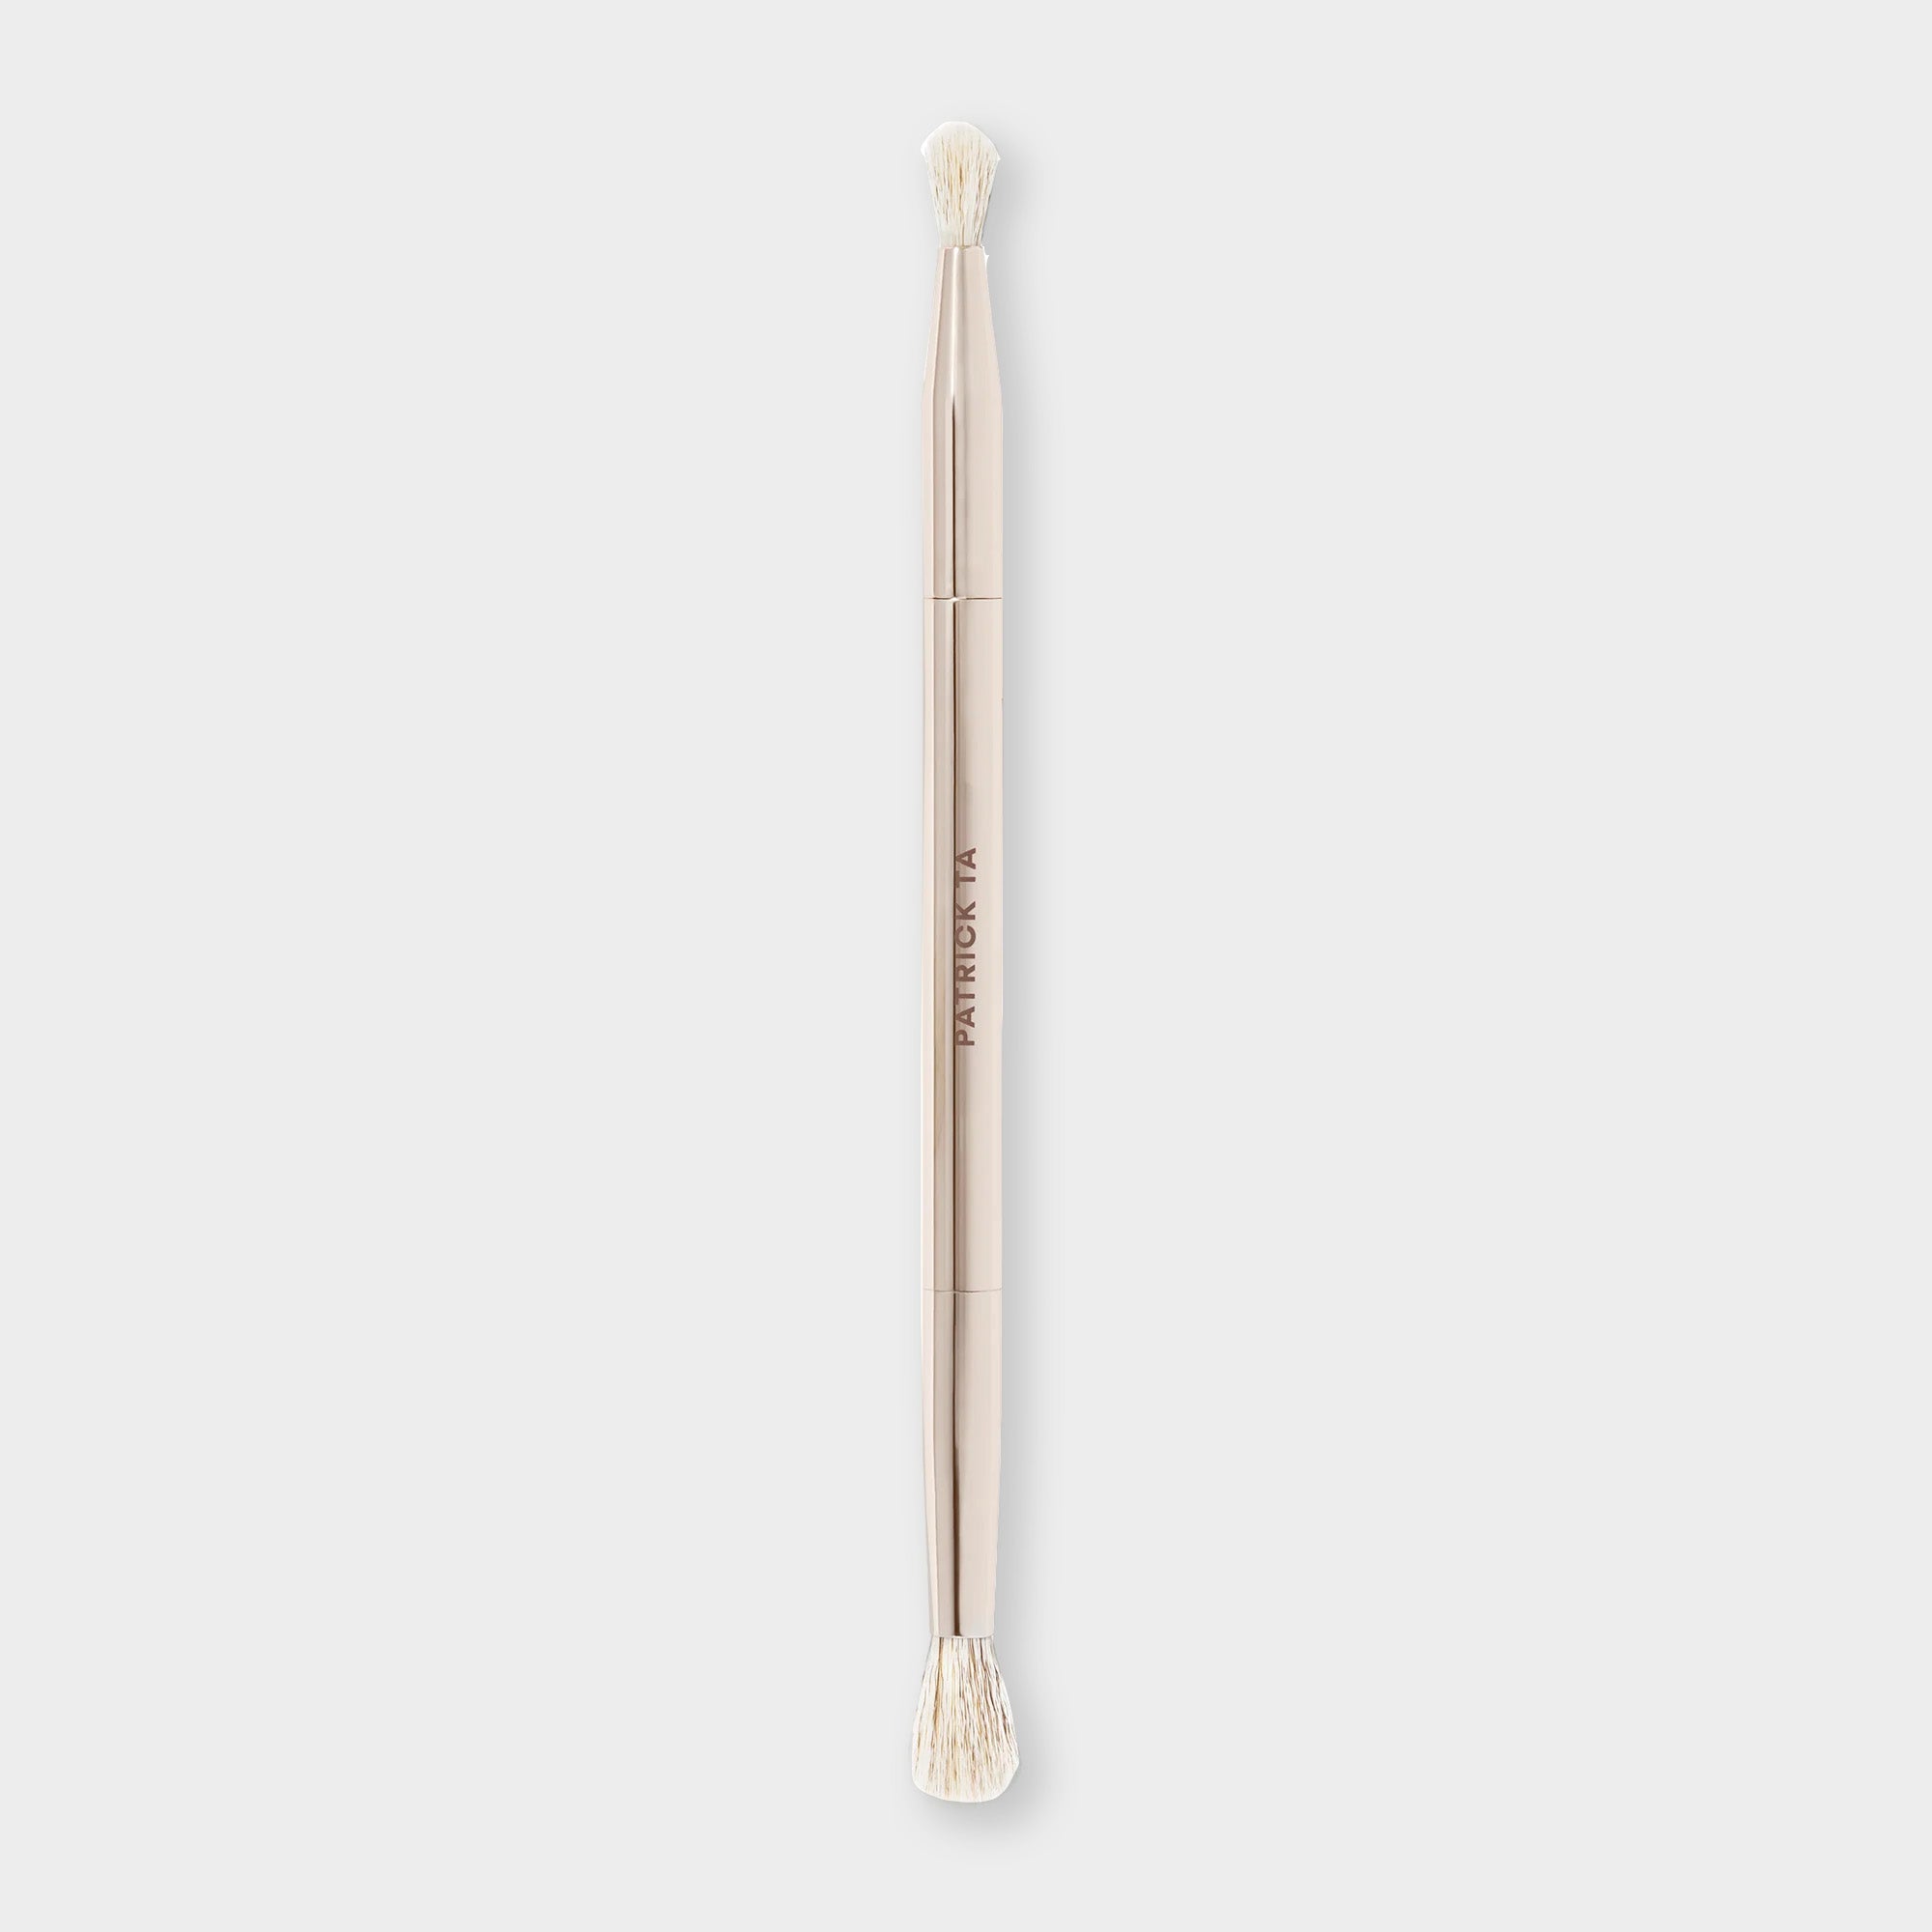
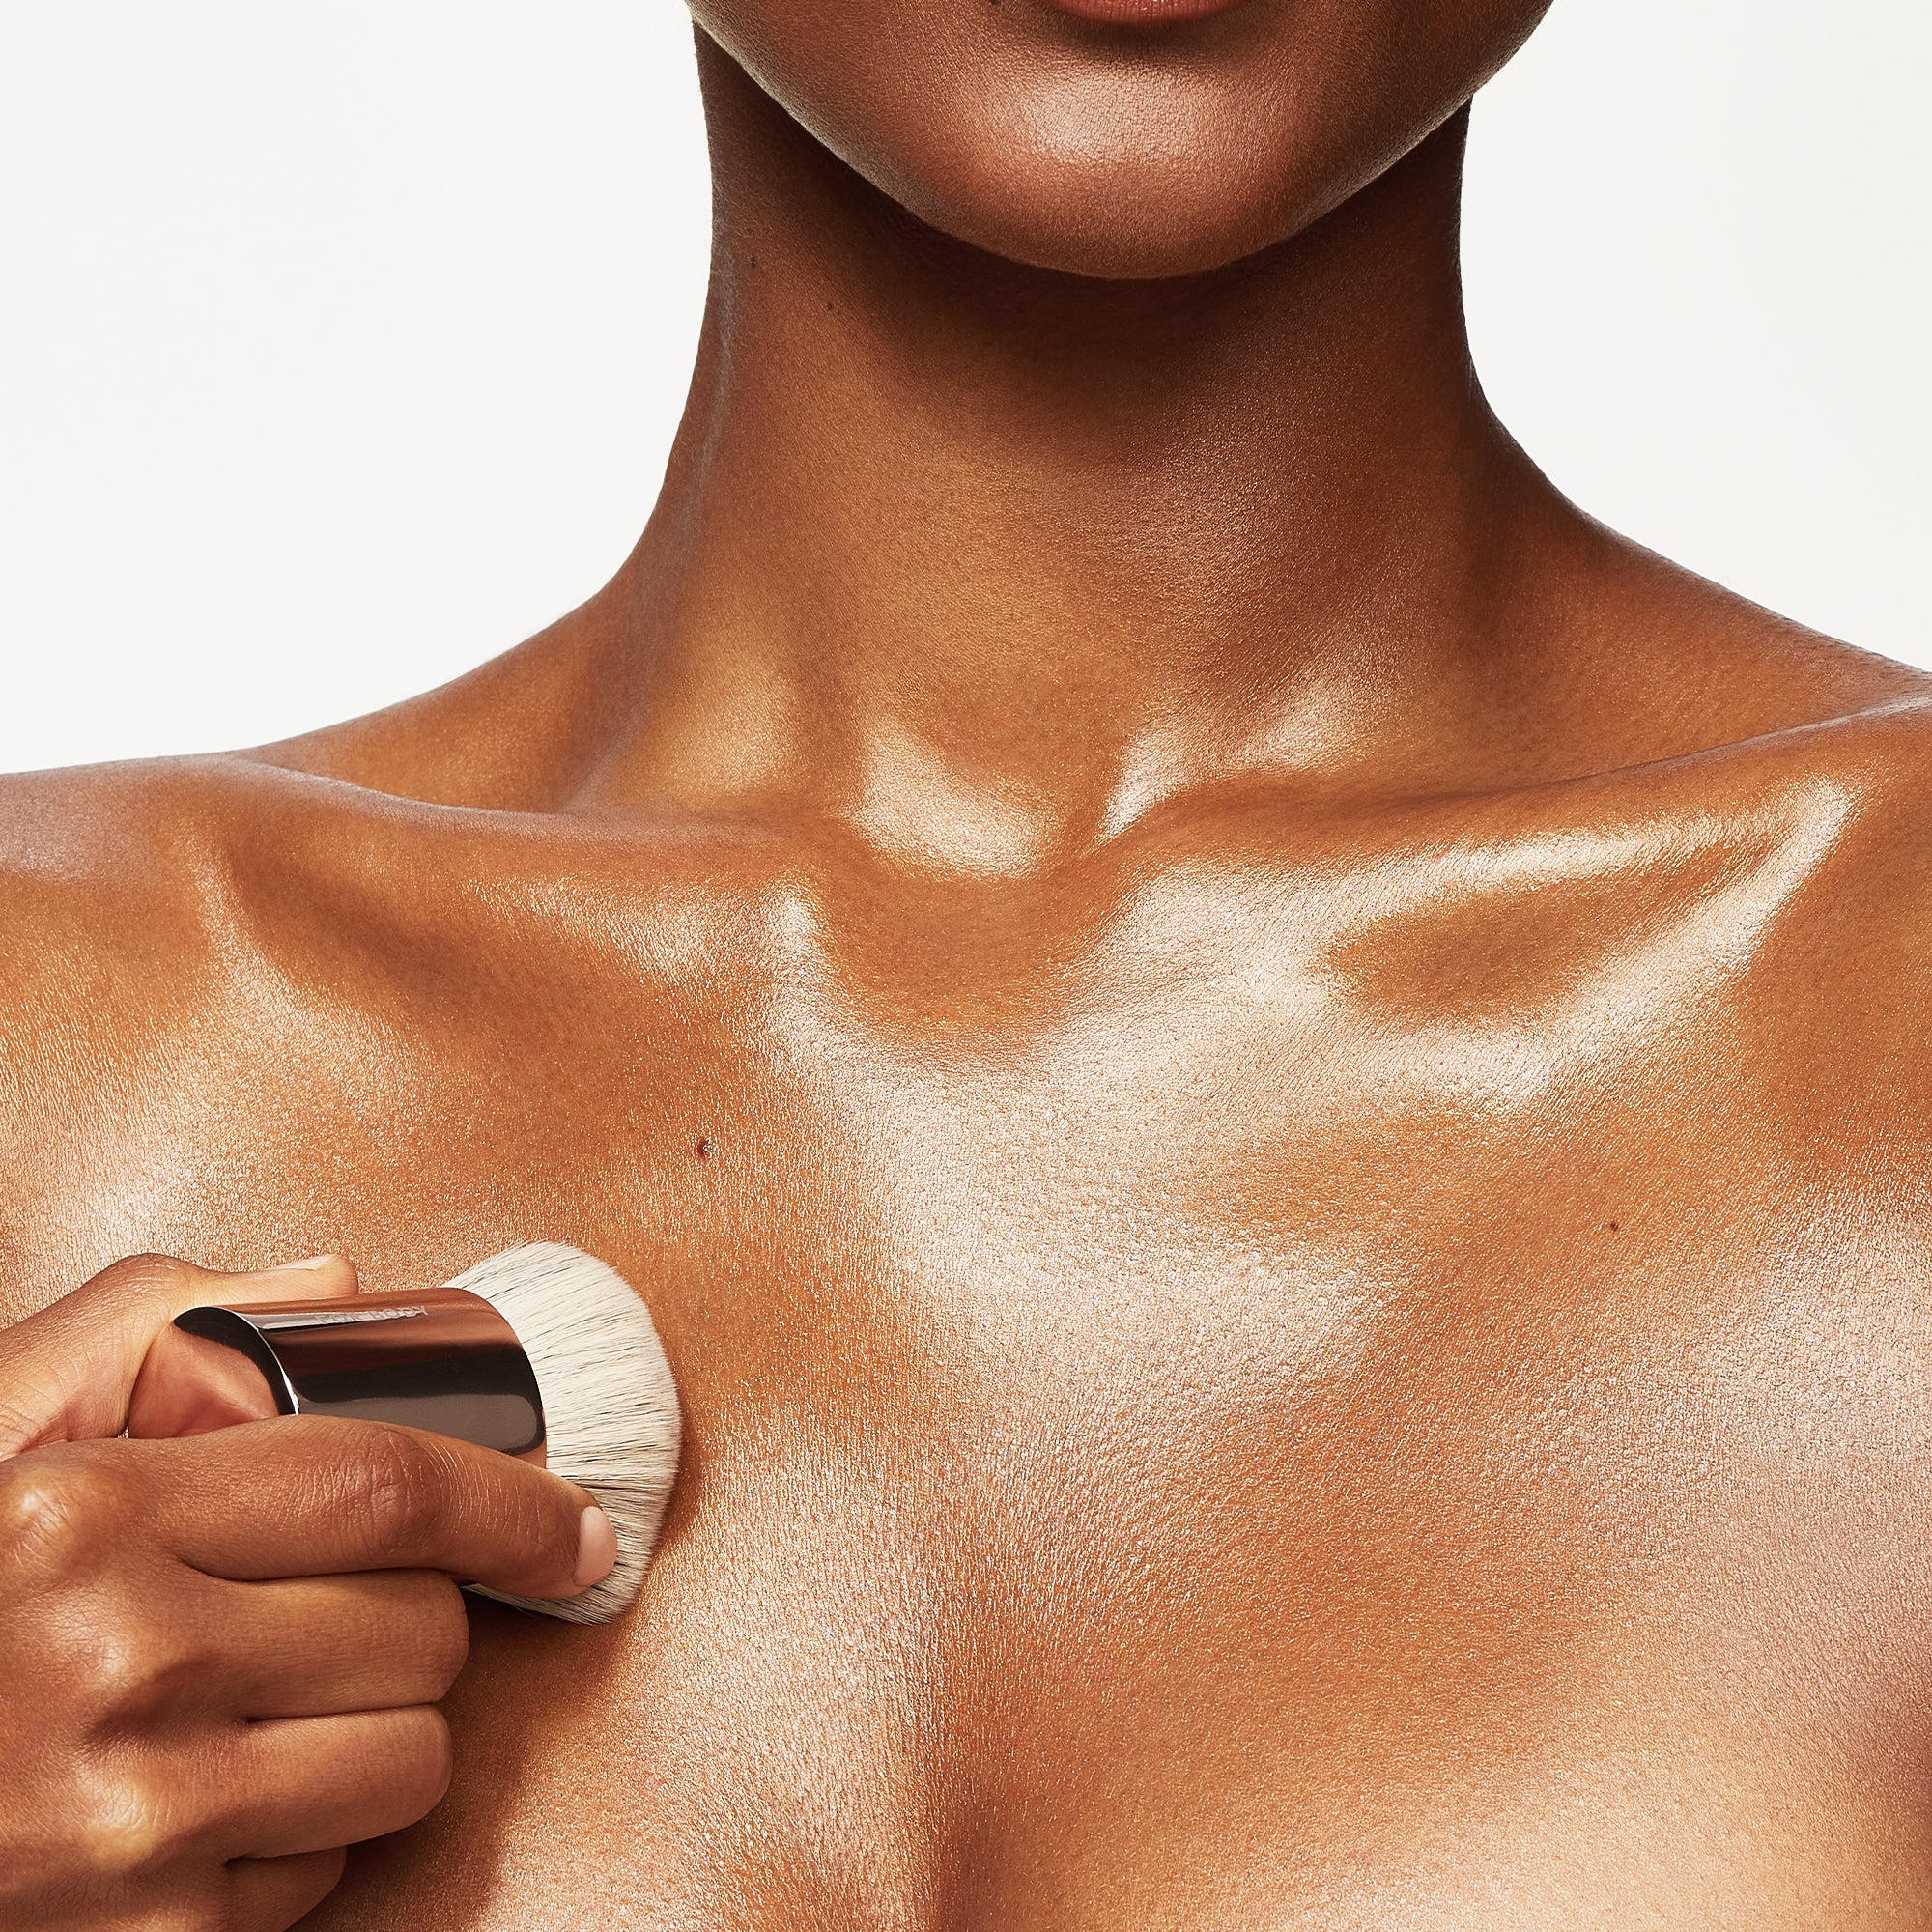
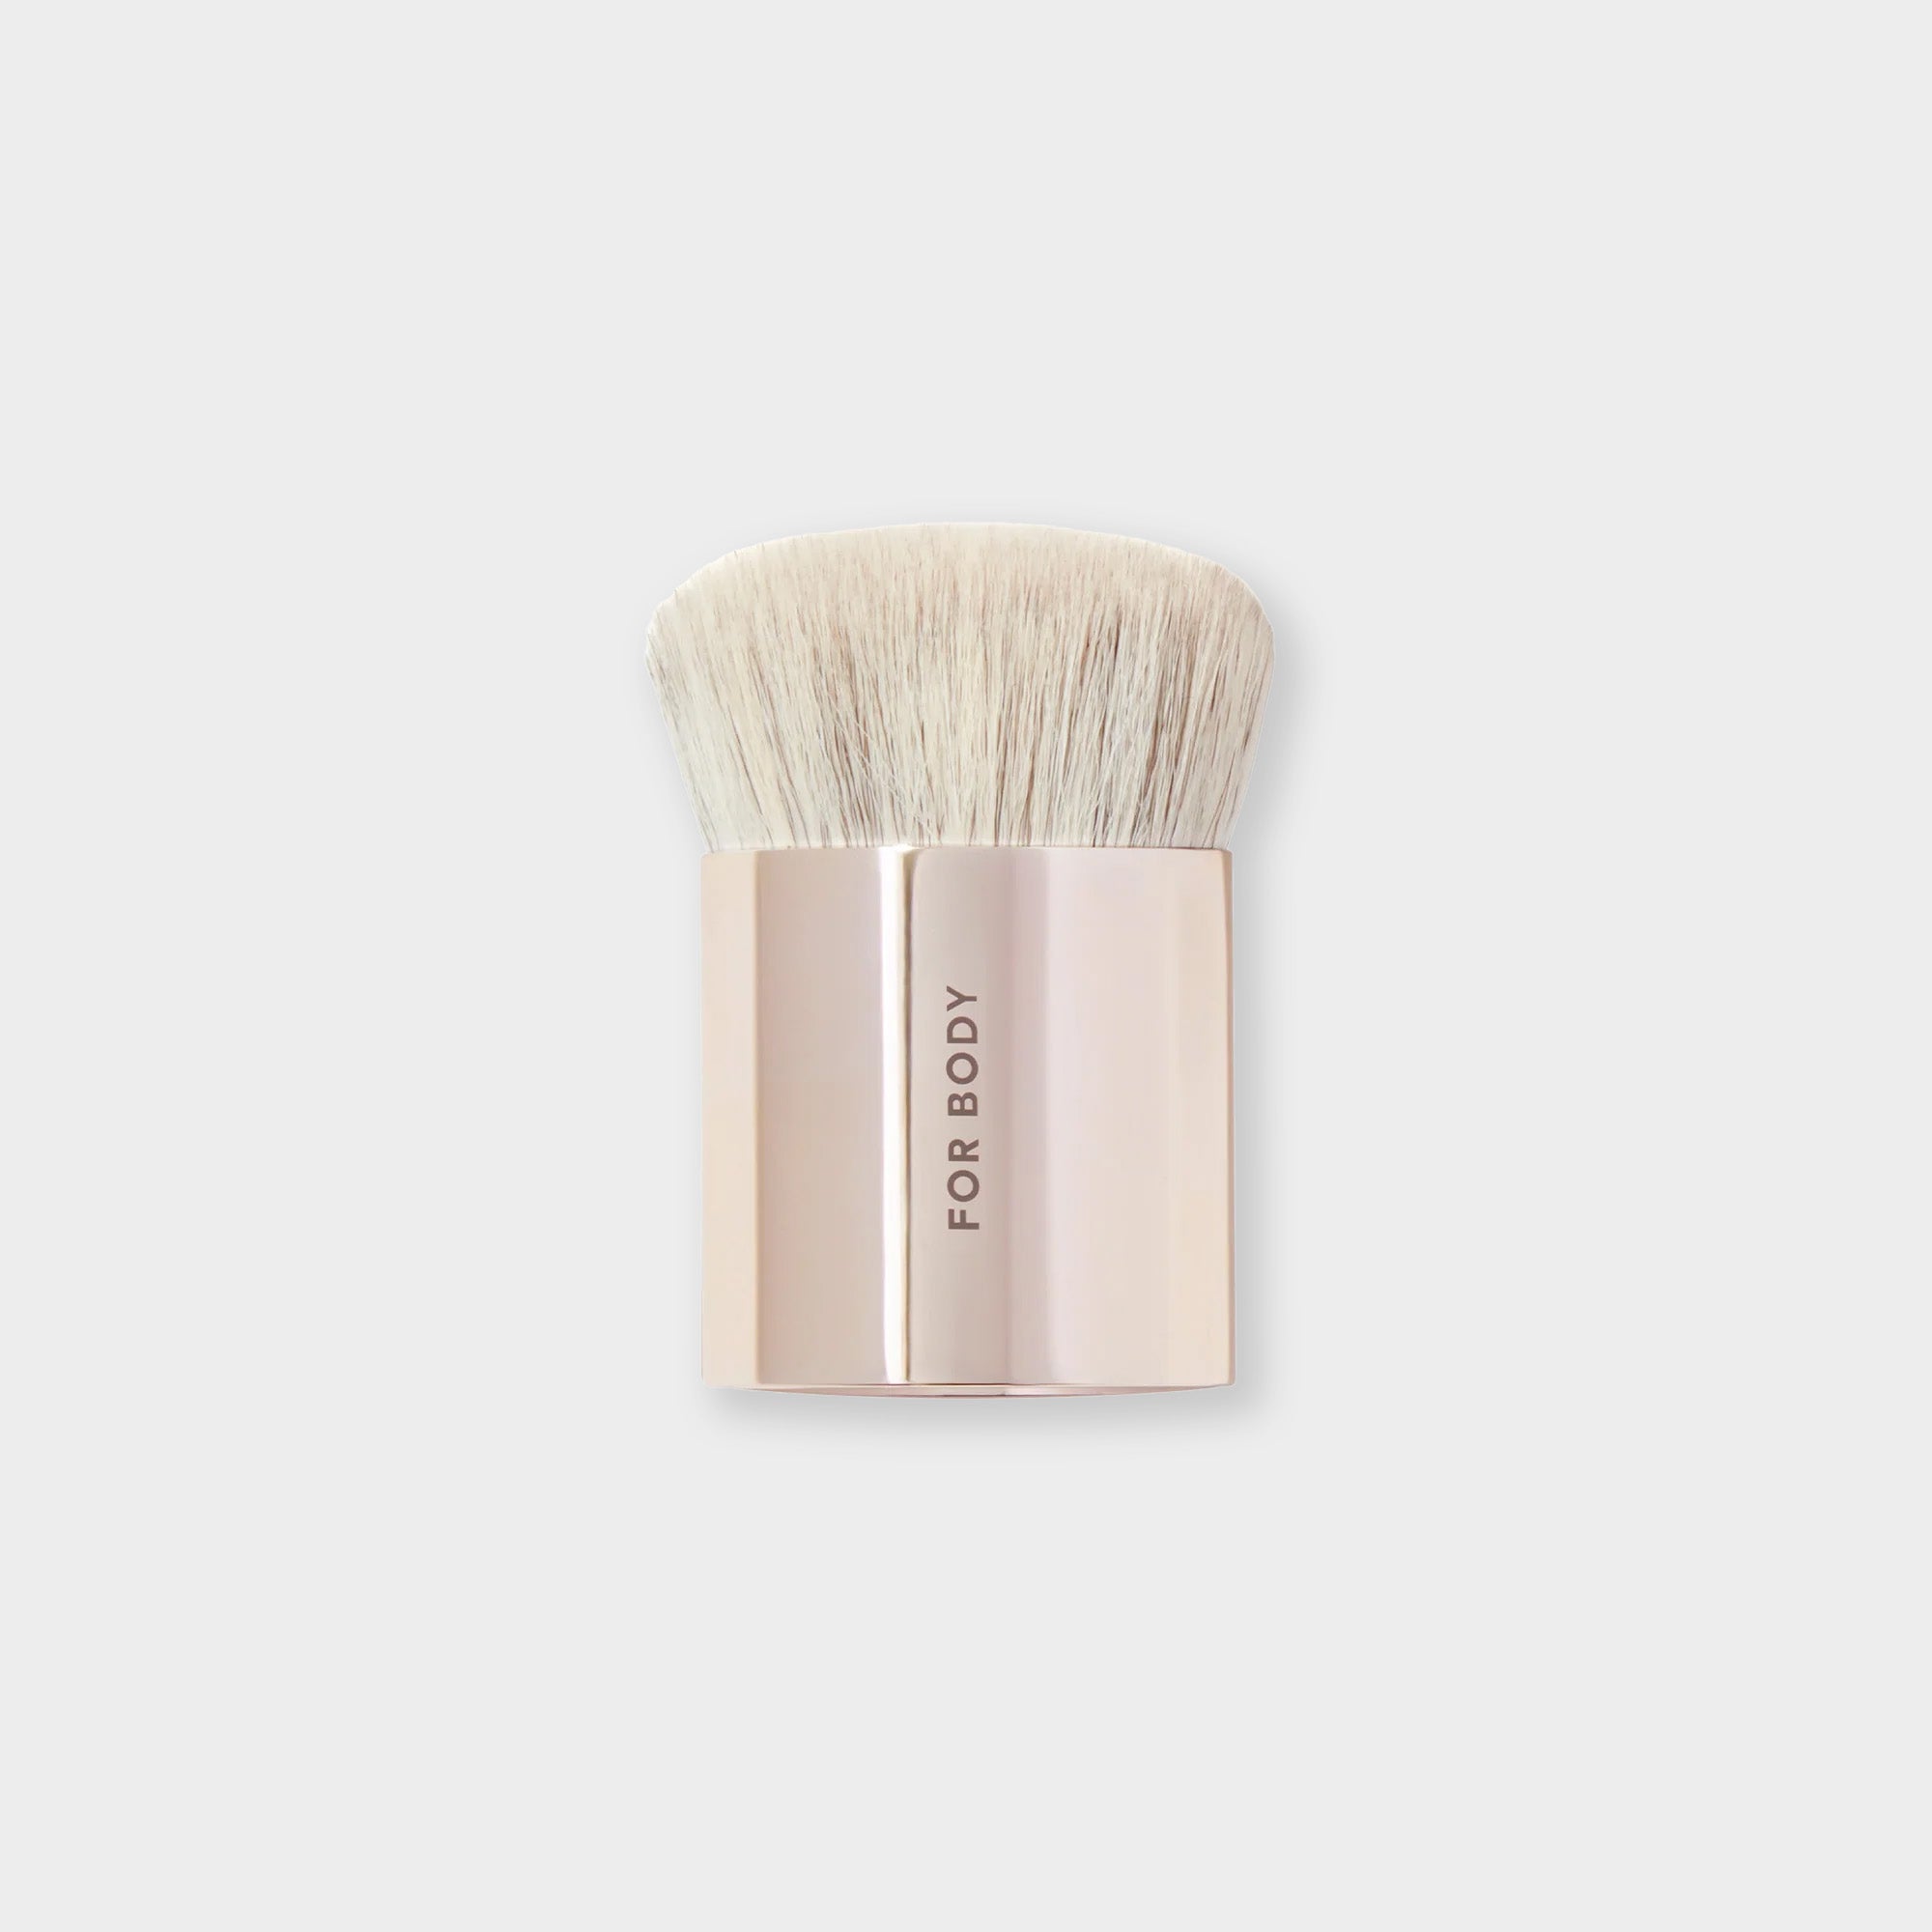
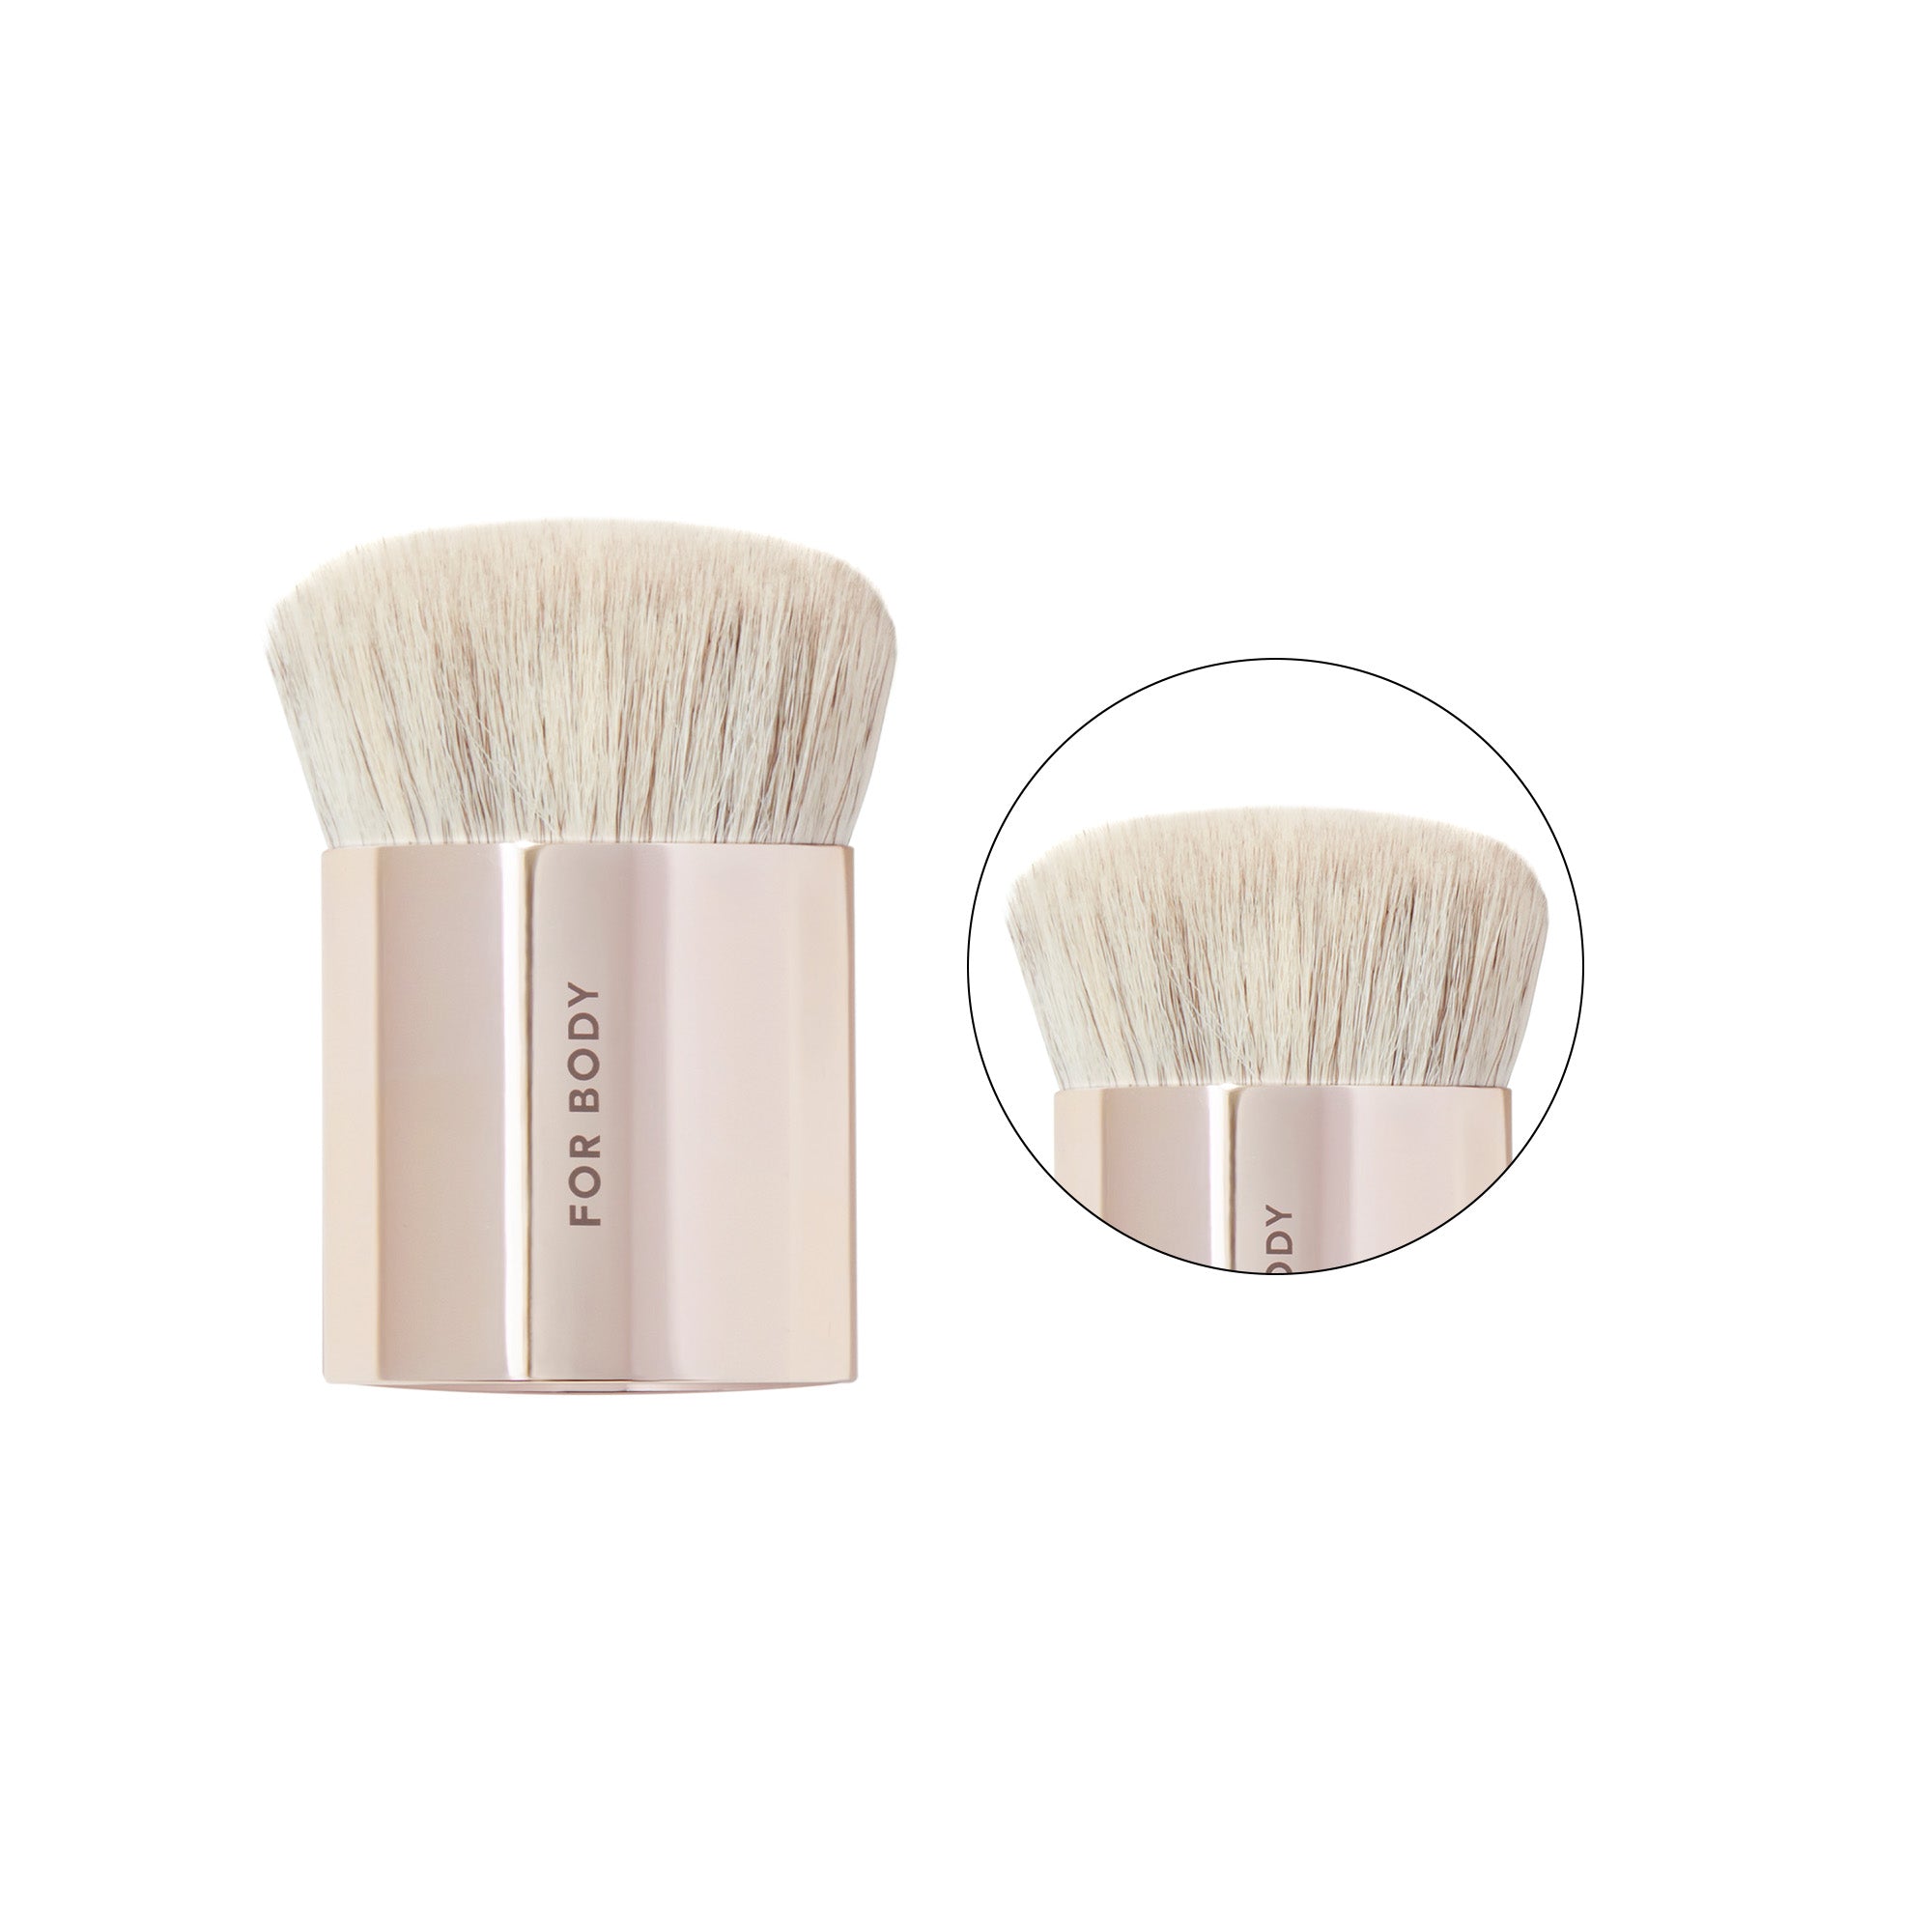
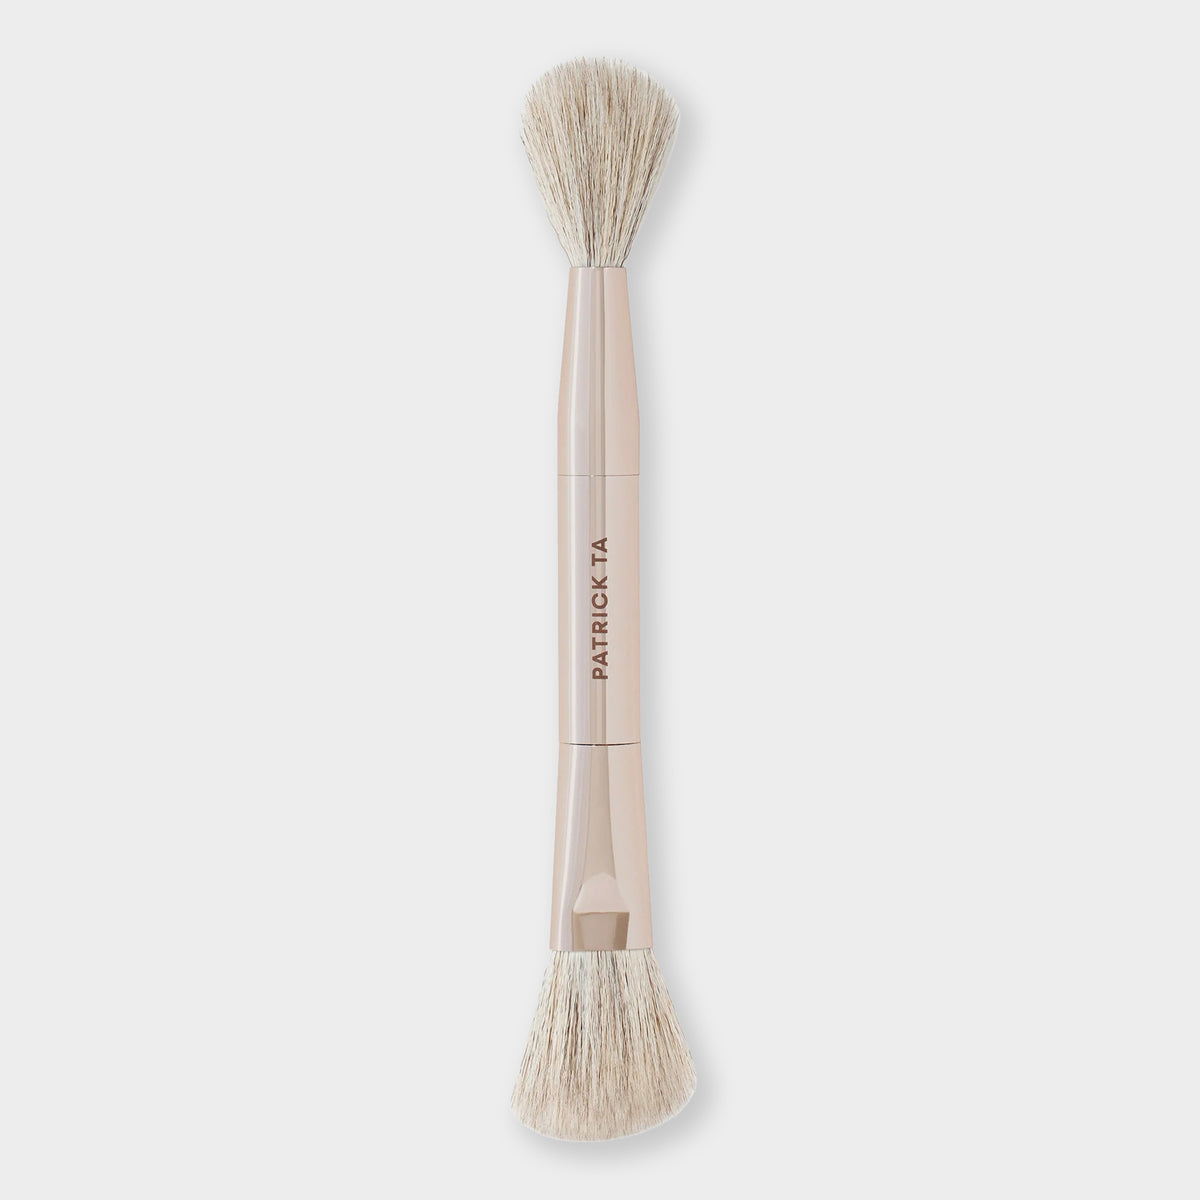
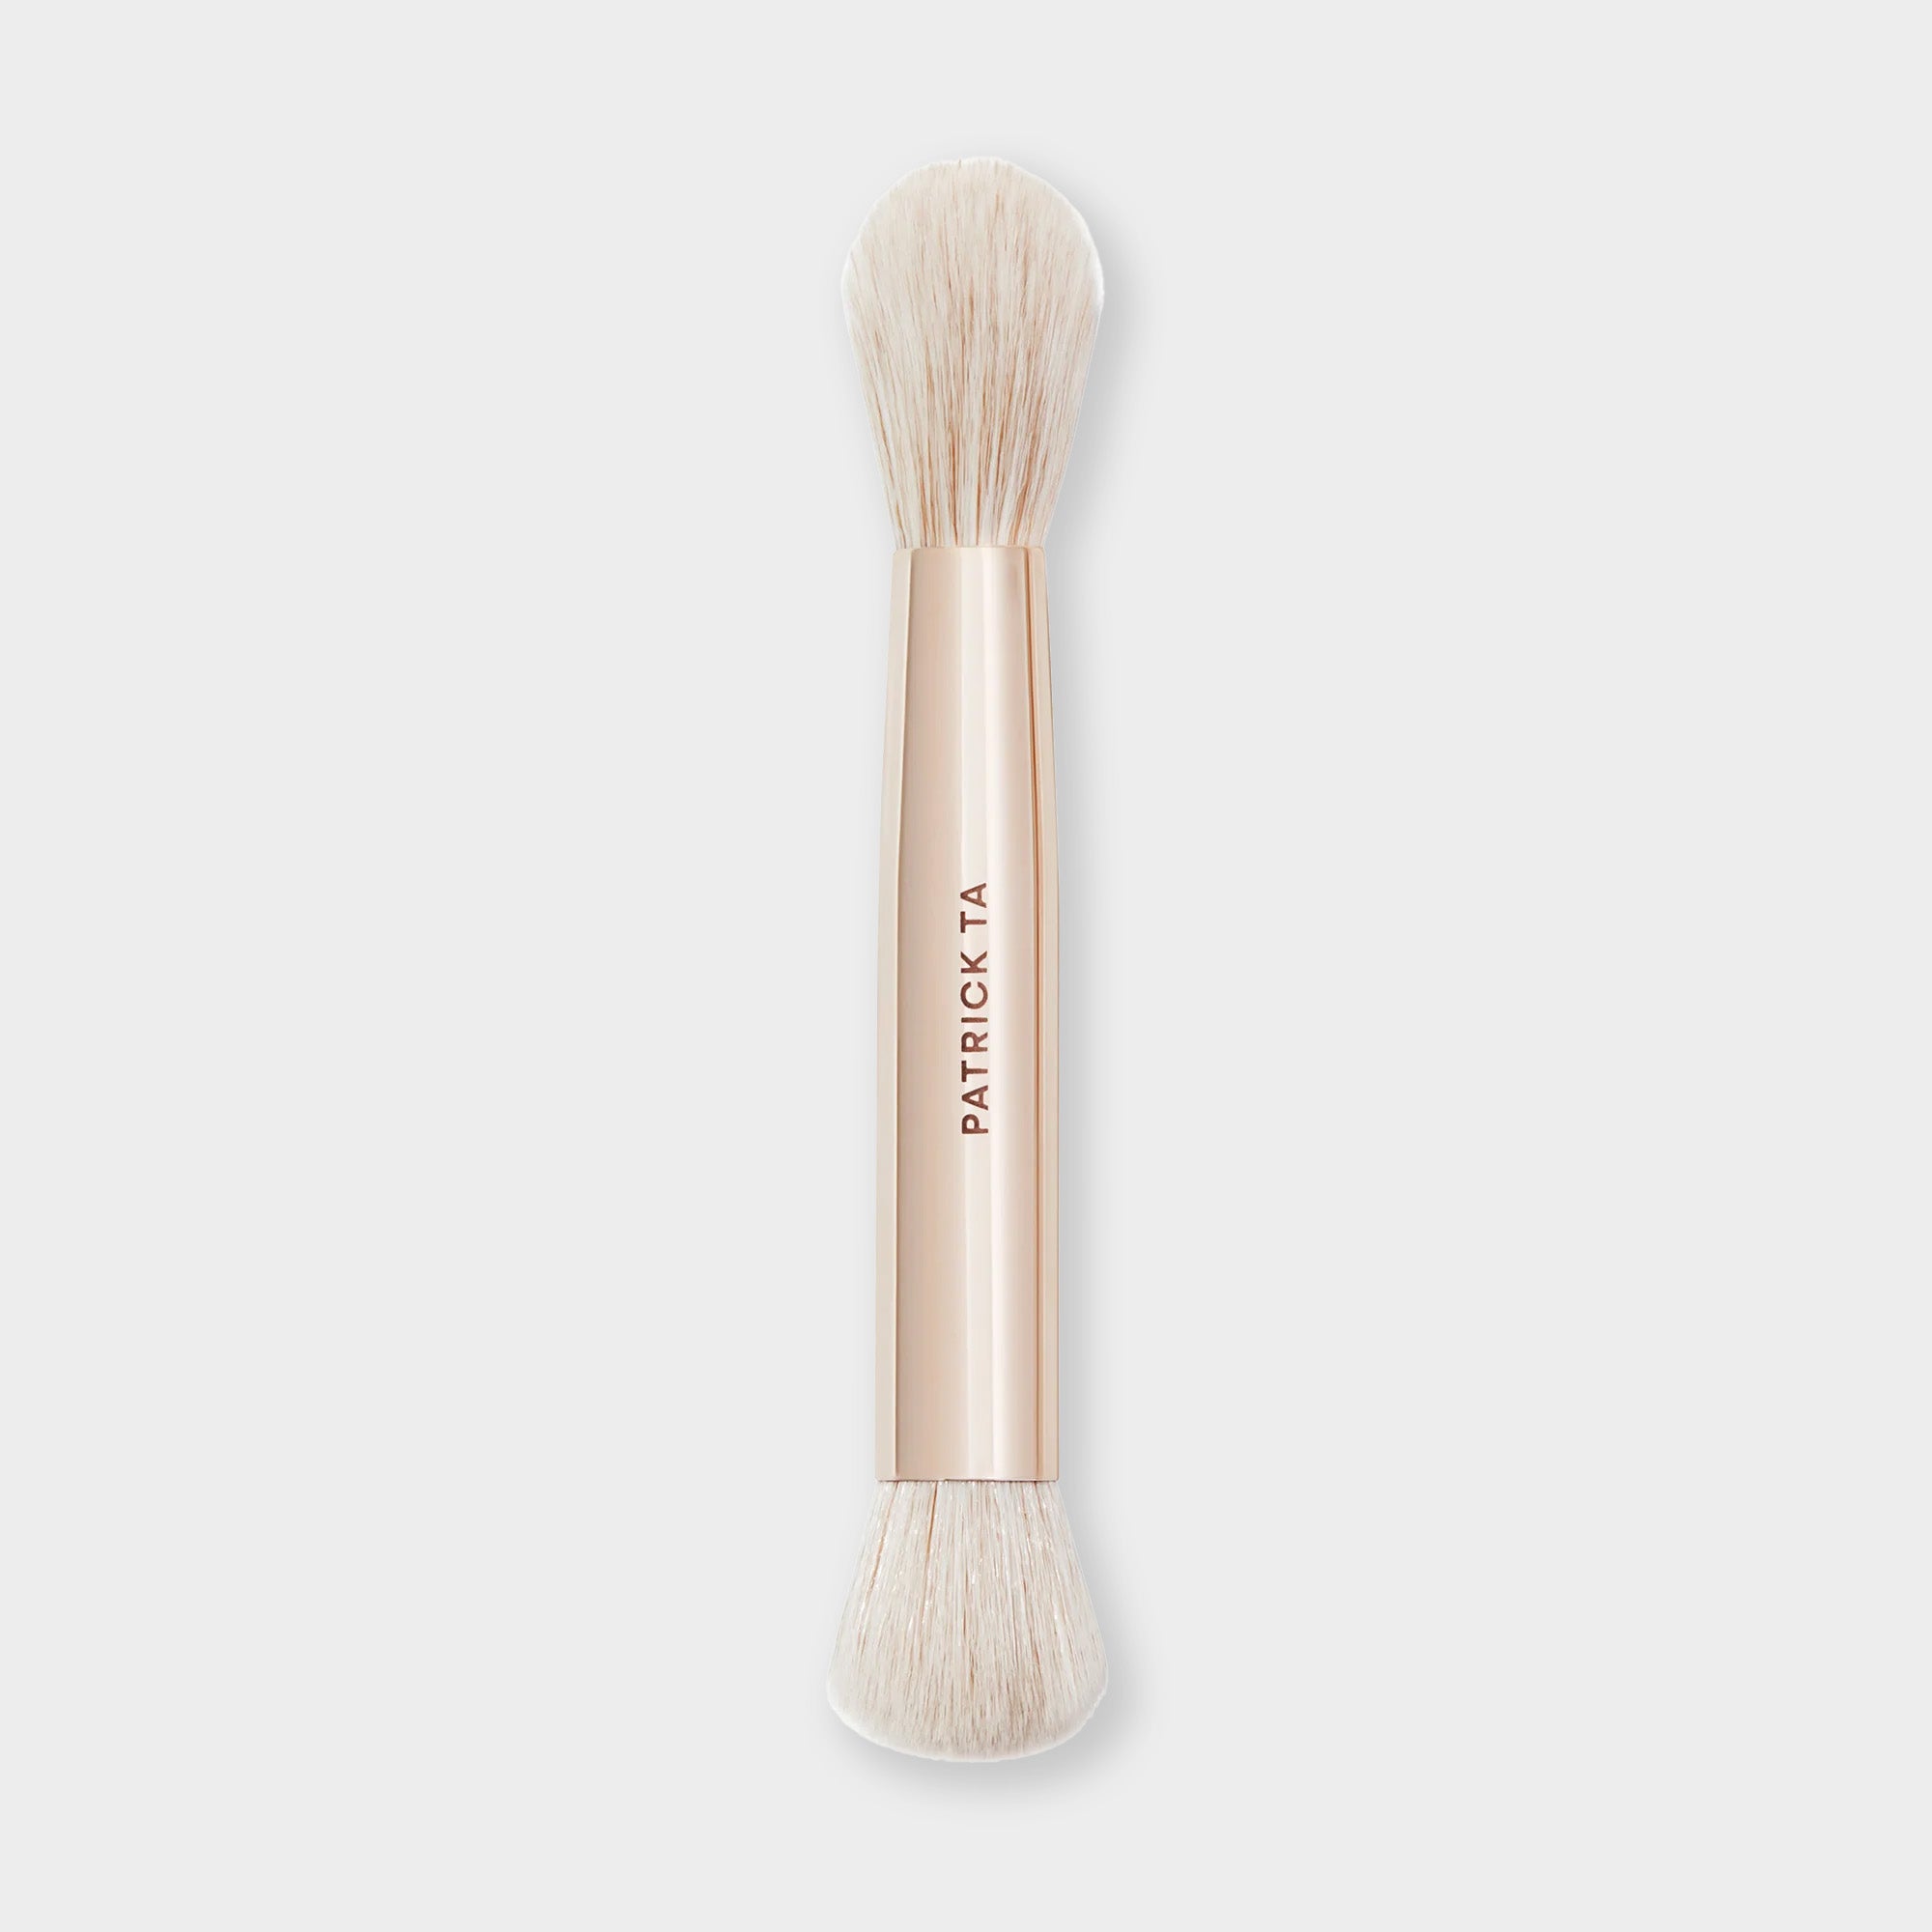
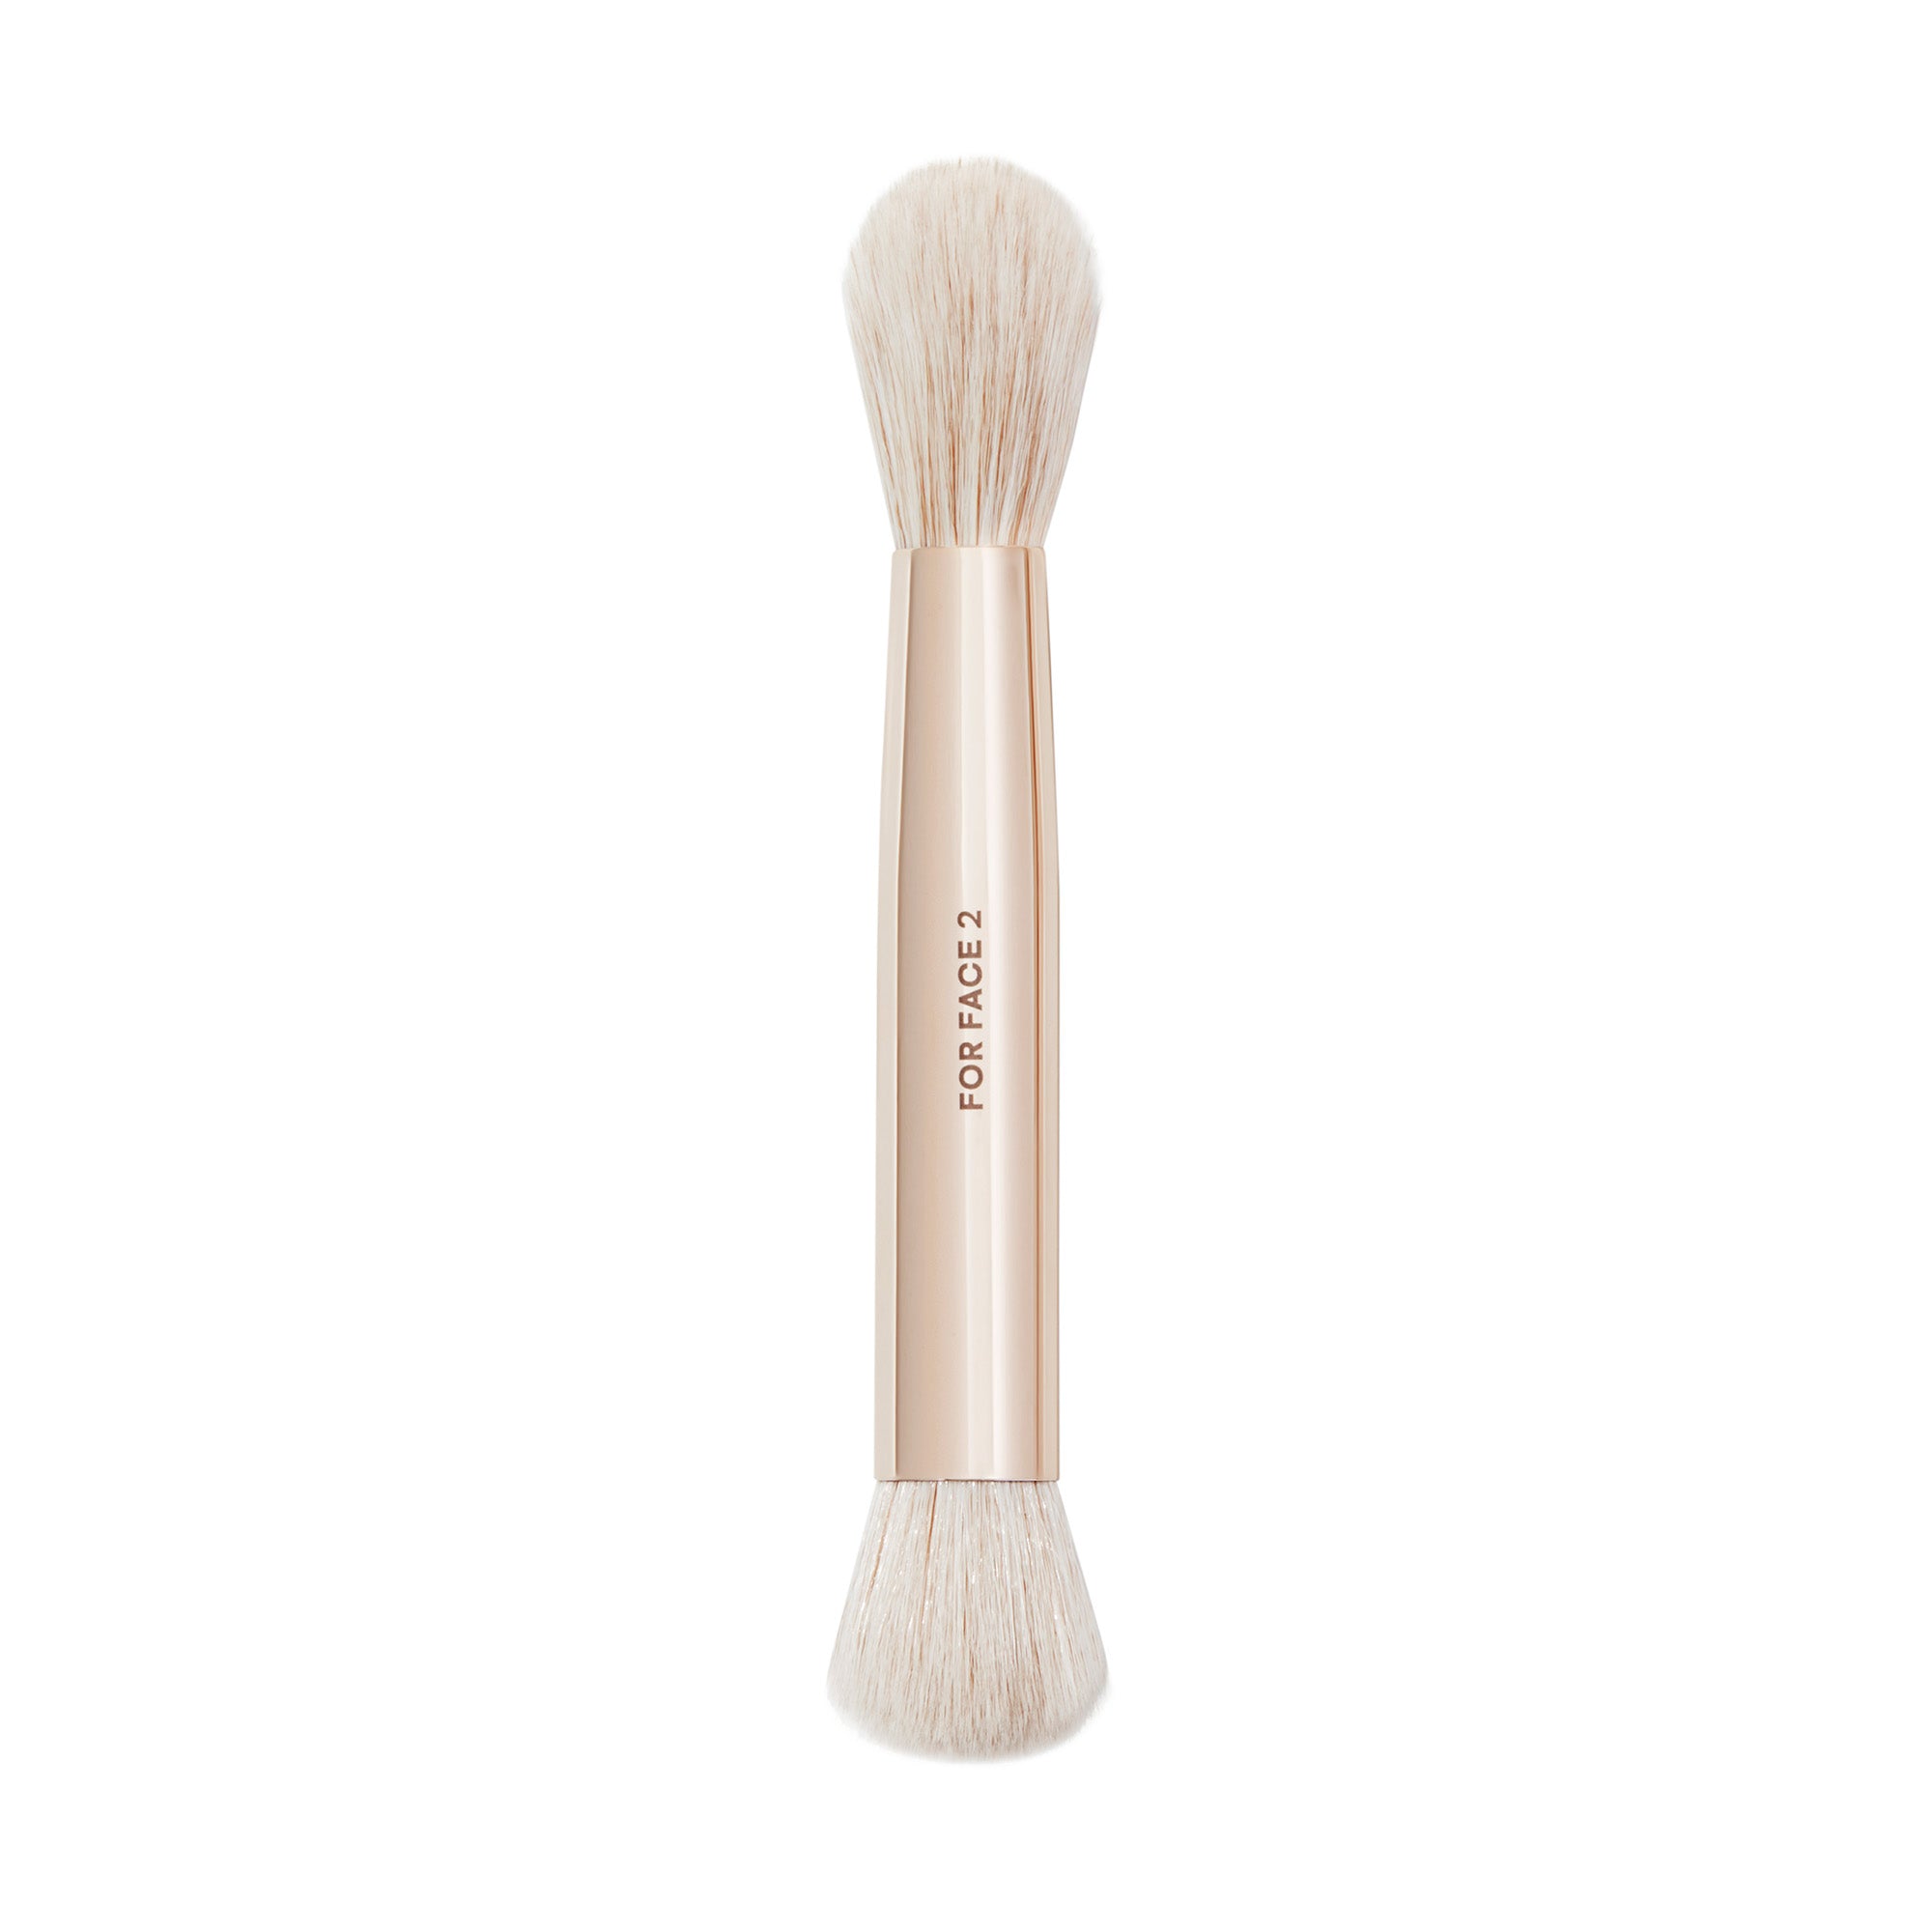
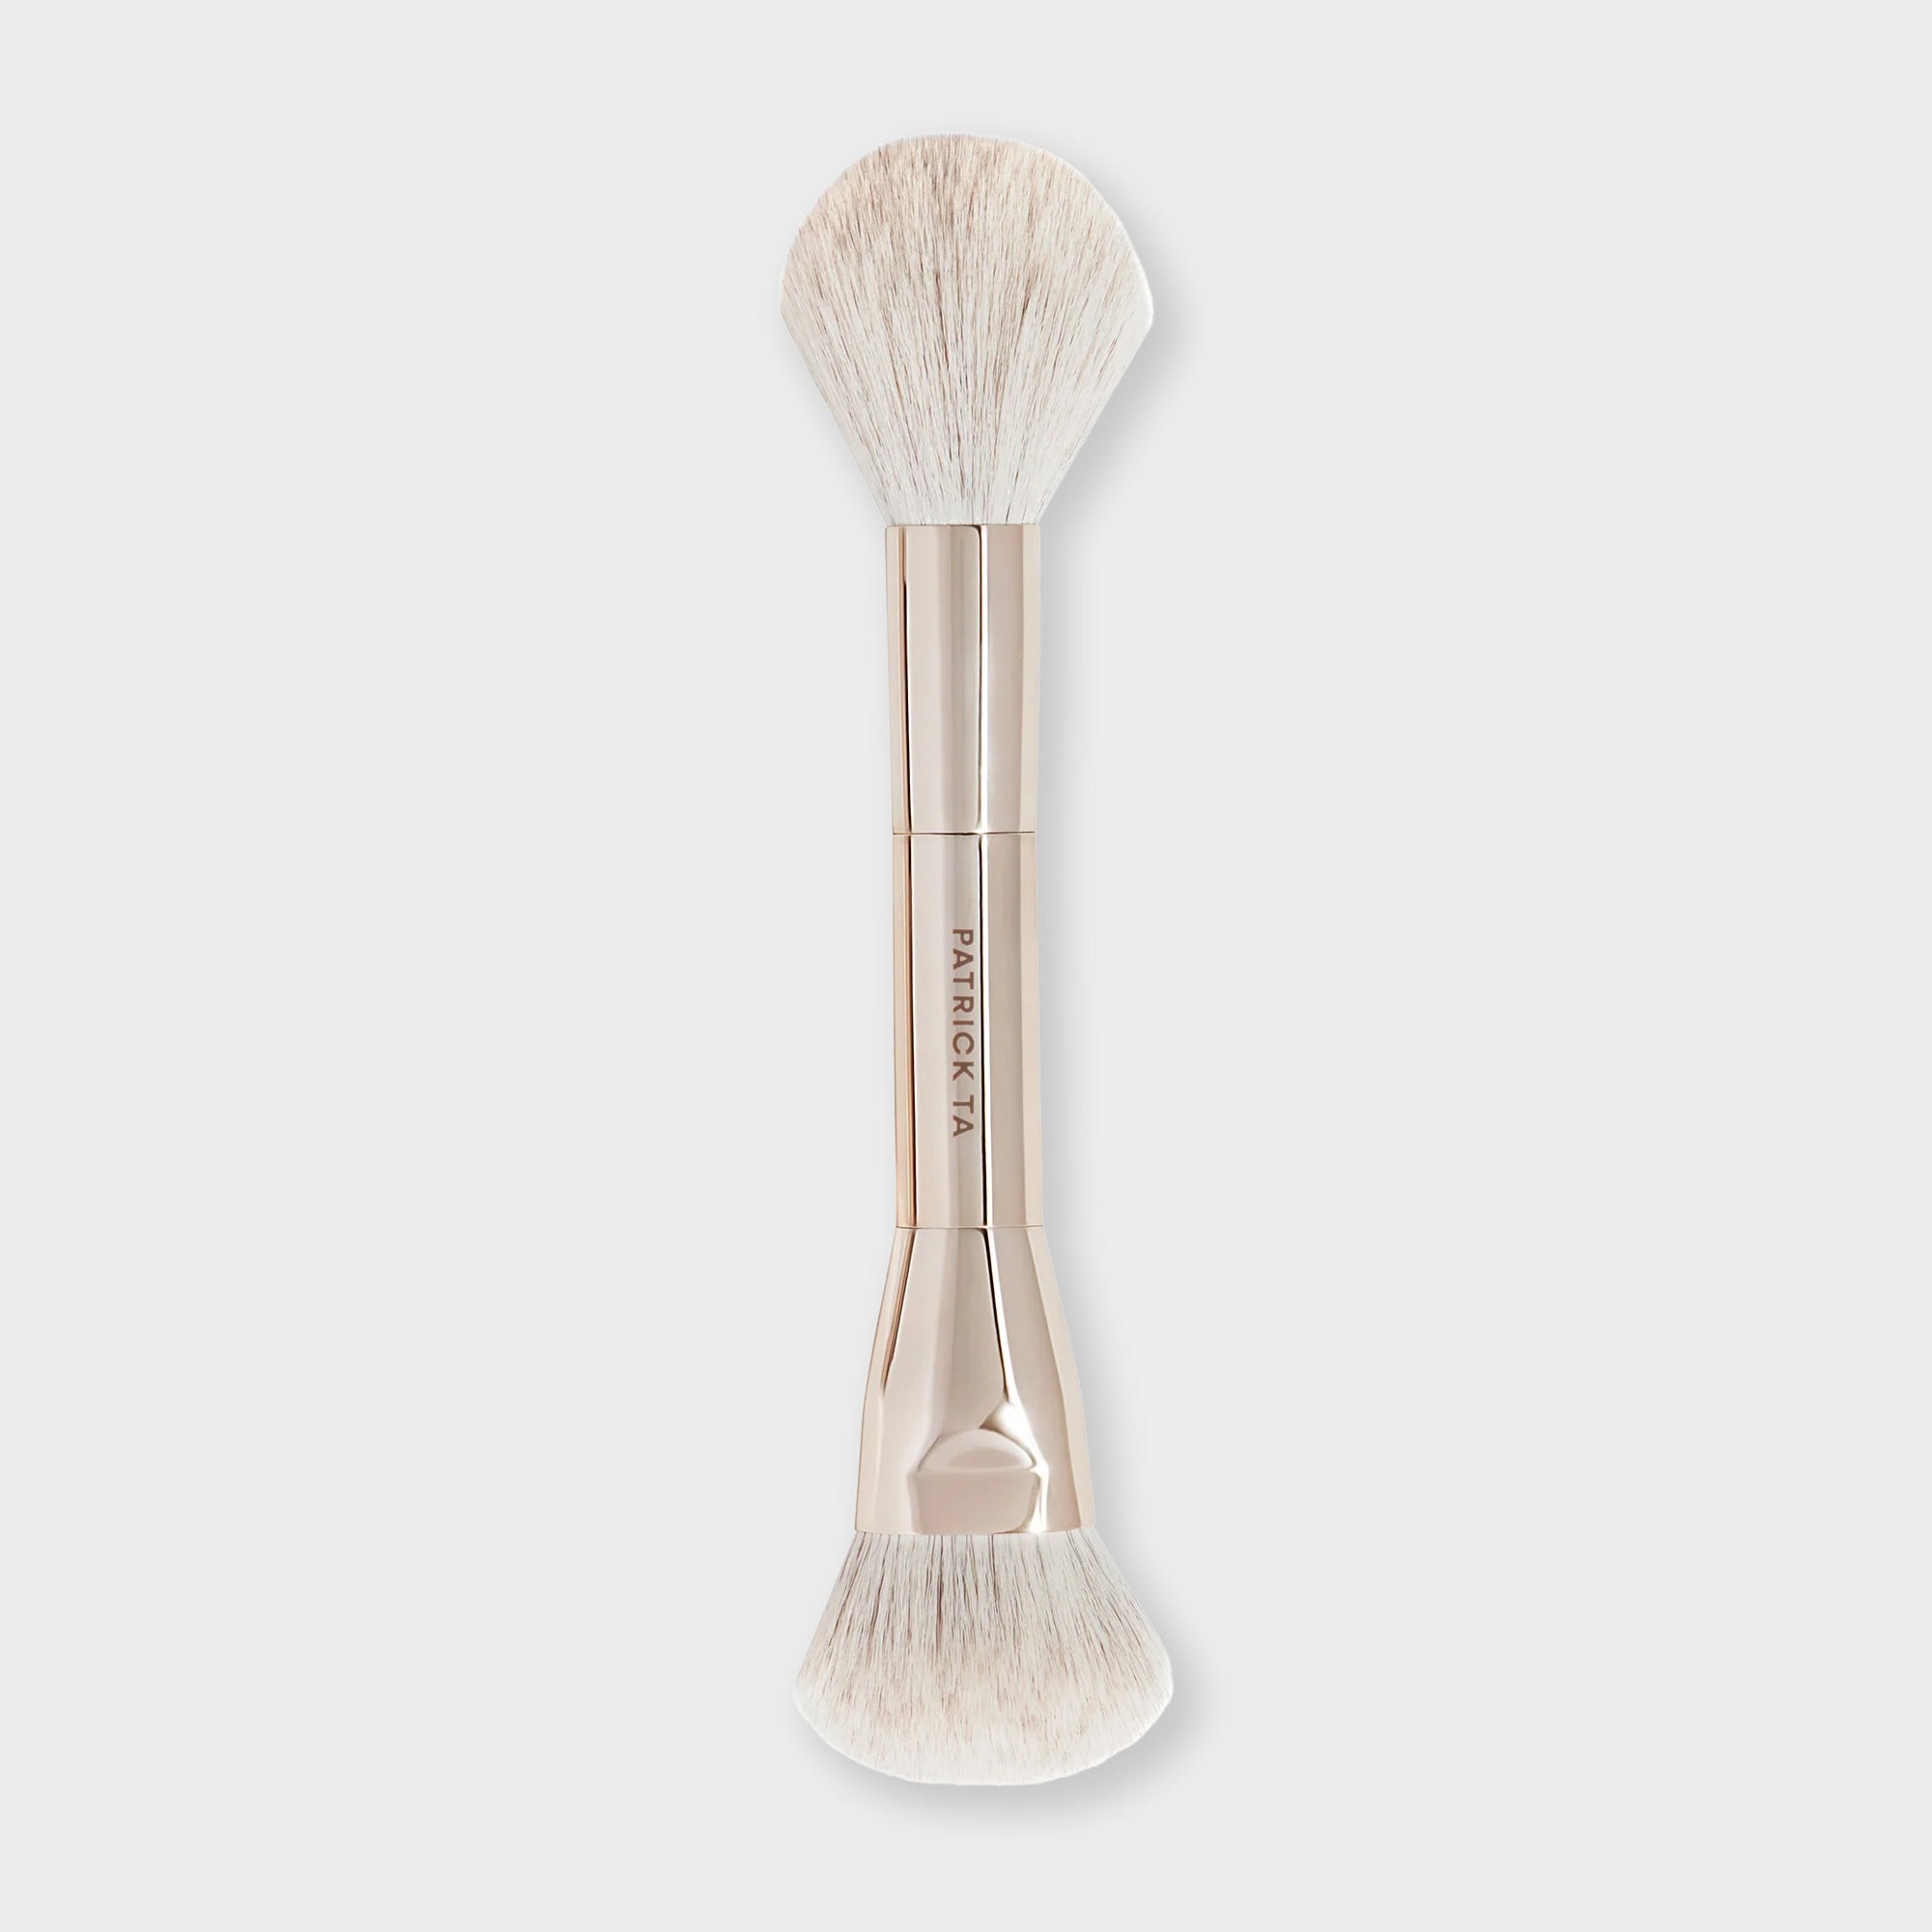
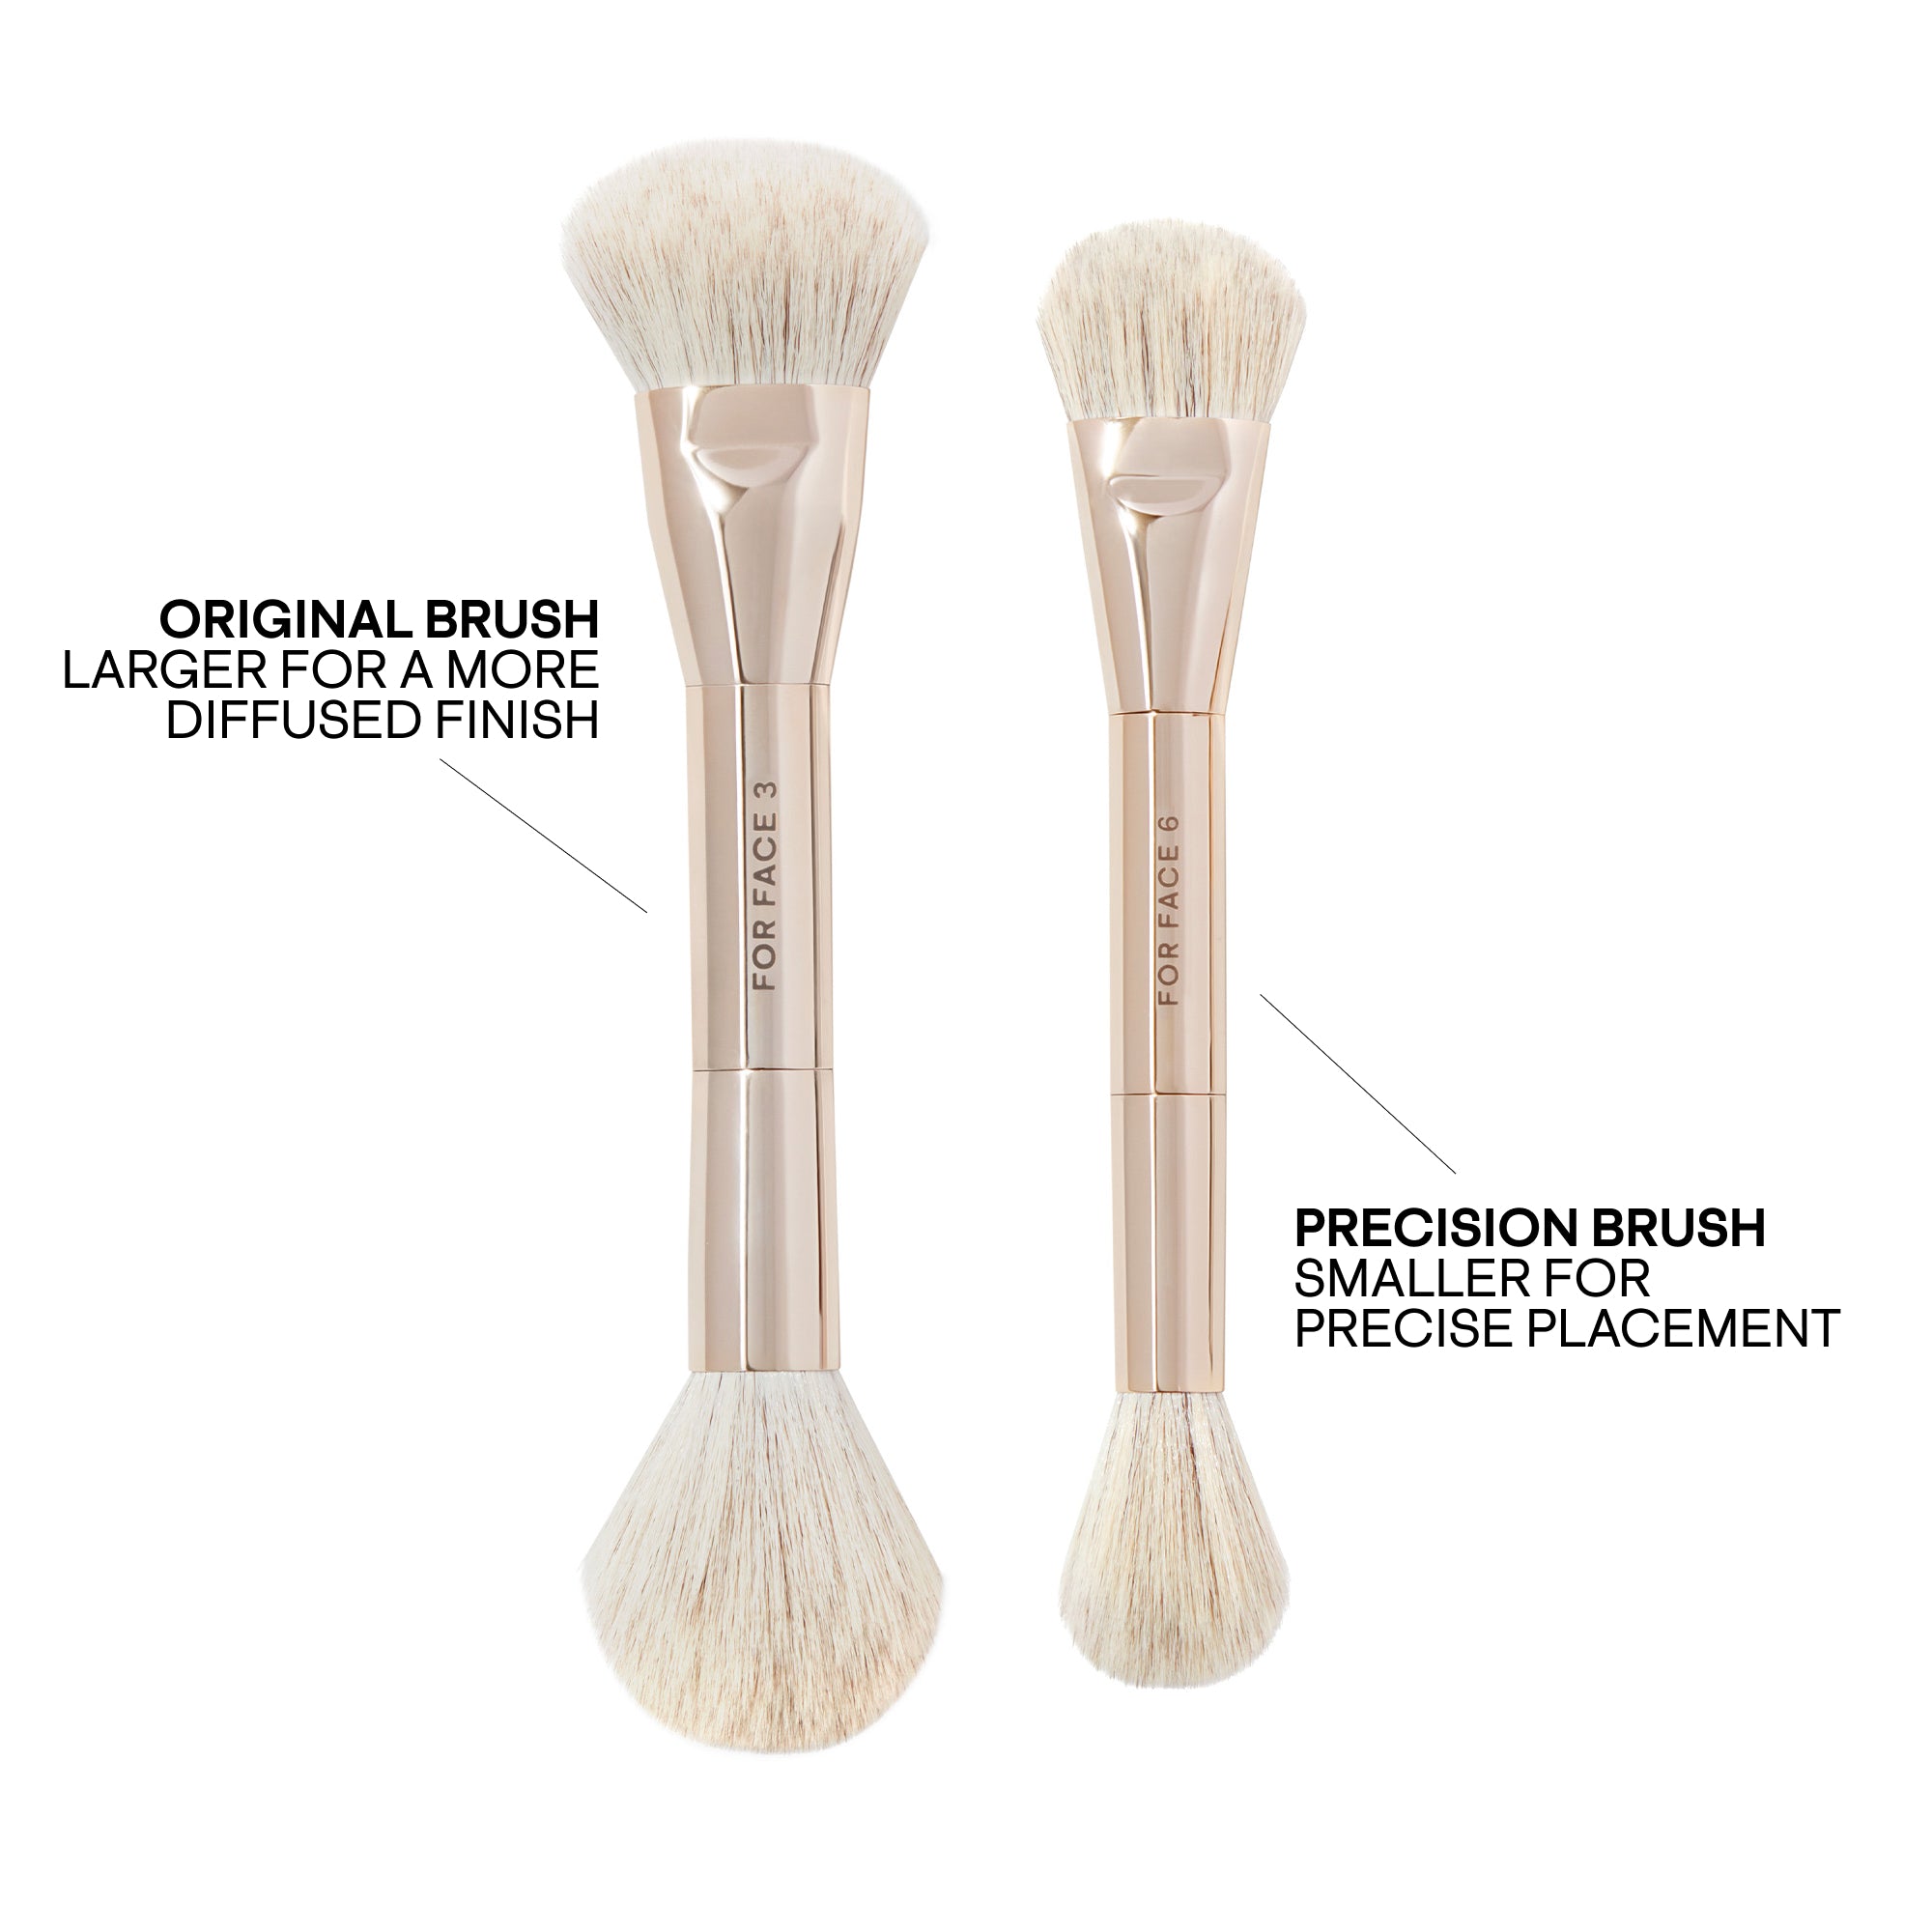
A bronzing powder is great for adding a touch of warmth to your complexion. For the most natural post-vacation glow, tap your fluffy complexion brush lightly into the powder, then blow off or tap the handle to remove excess product before it touches your face. Use light, circular motions to diffuse the color onto the high points of your face, where the sun naturally hits. "Diffuse" simply means you keep the brush moving in small circles so no hard edges or concentrated streaks form. Add a subtle wash of color along the forehead, nose, cheekbones, and jaw for a warm, sun-kissed glow that looks like you just spent the weekend outdoors.

Step 7: Apply Natural-Looking Blush and Highlighter
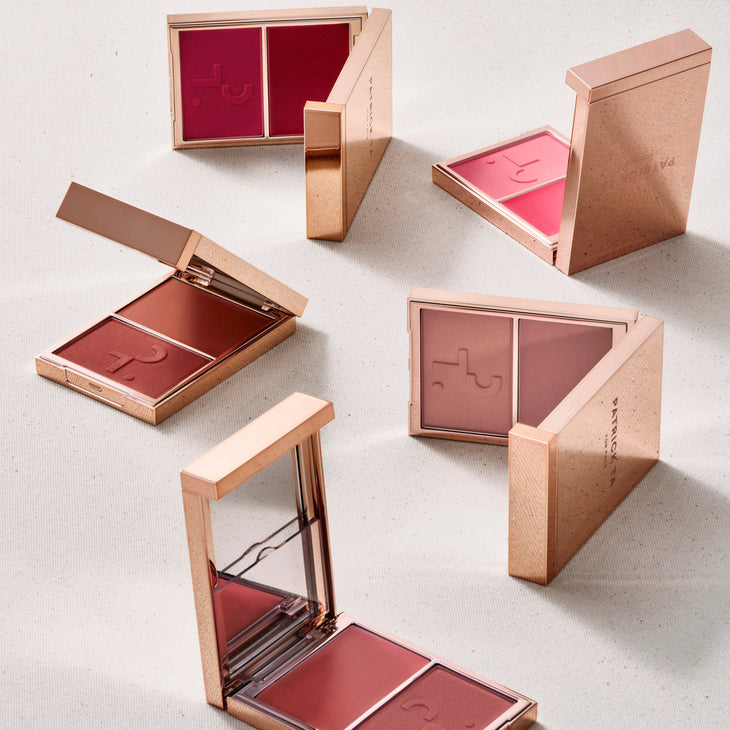
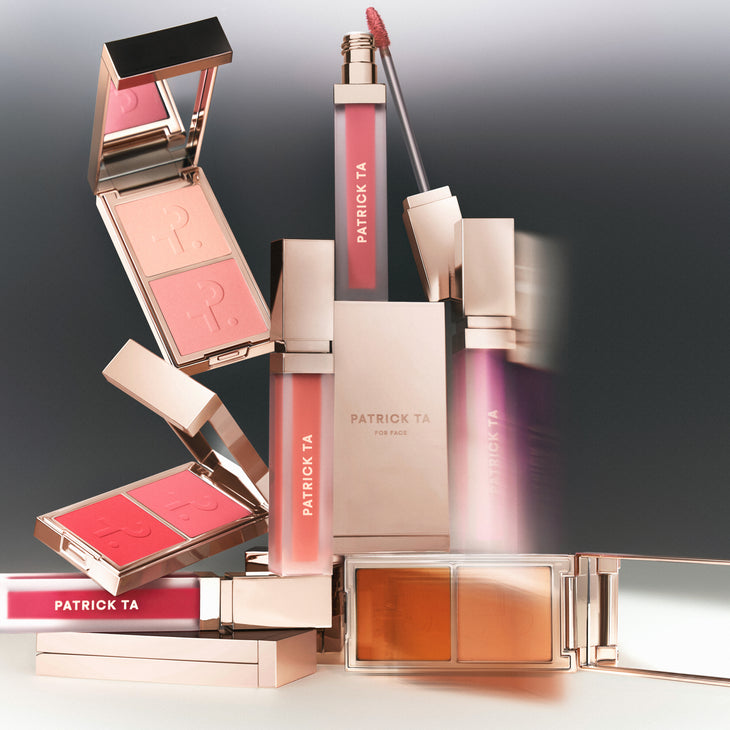
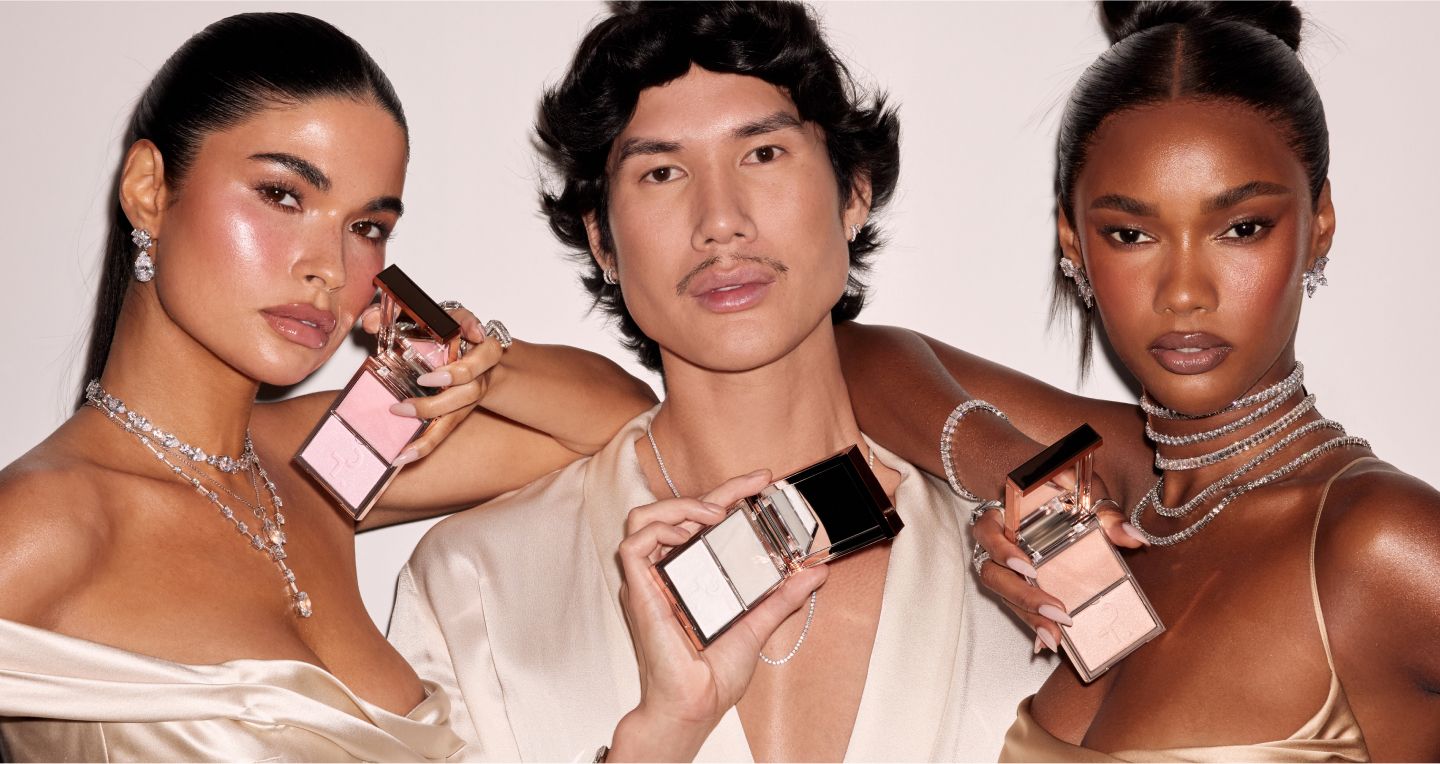
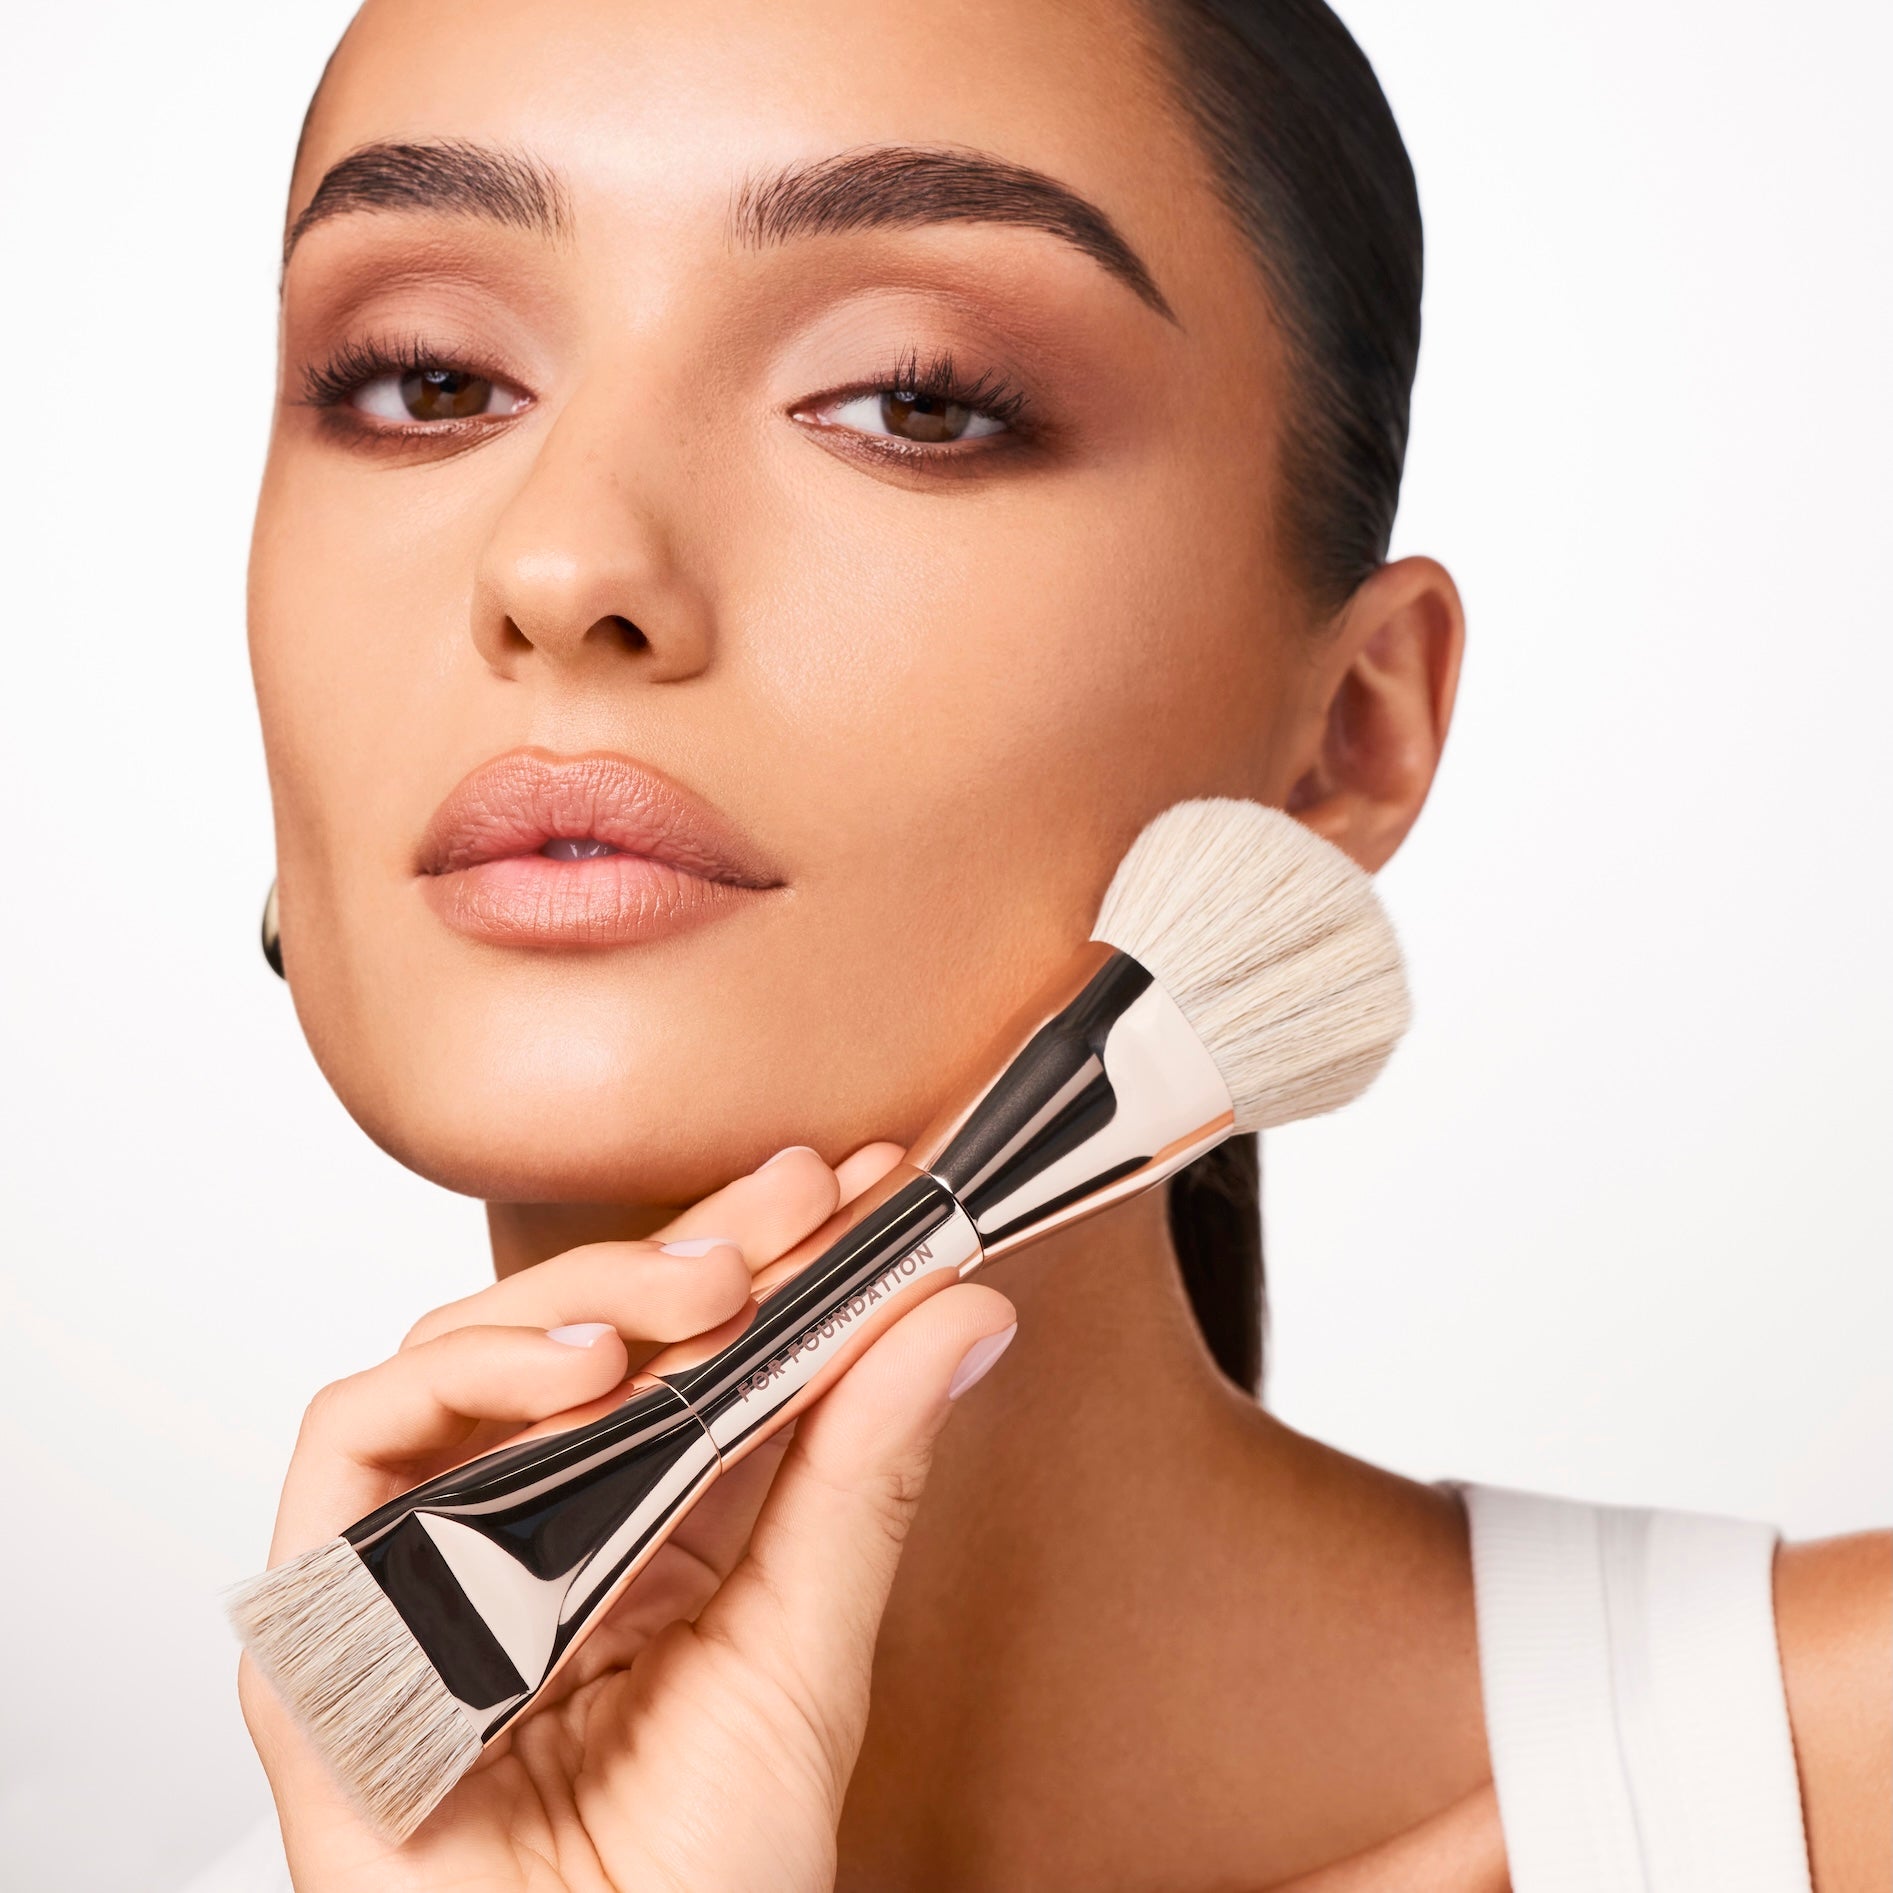
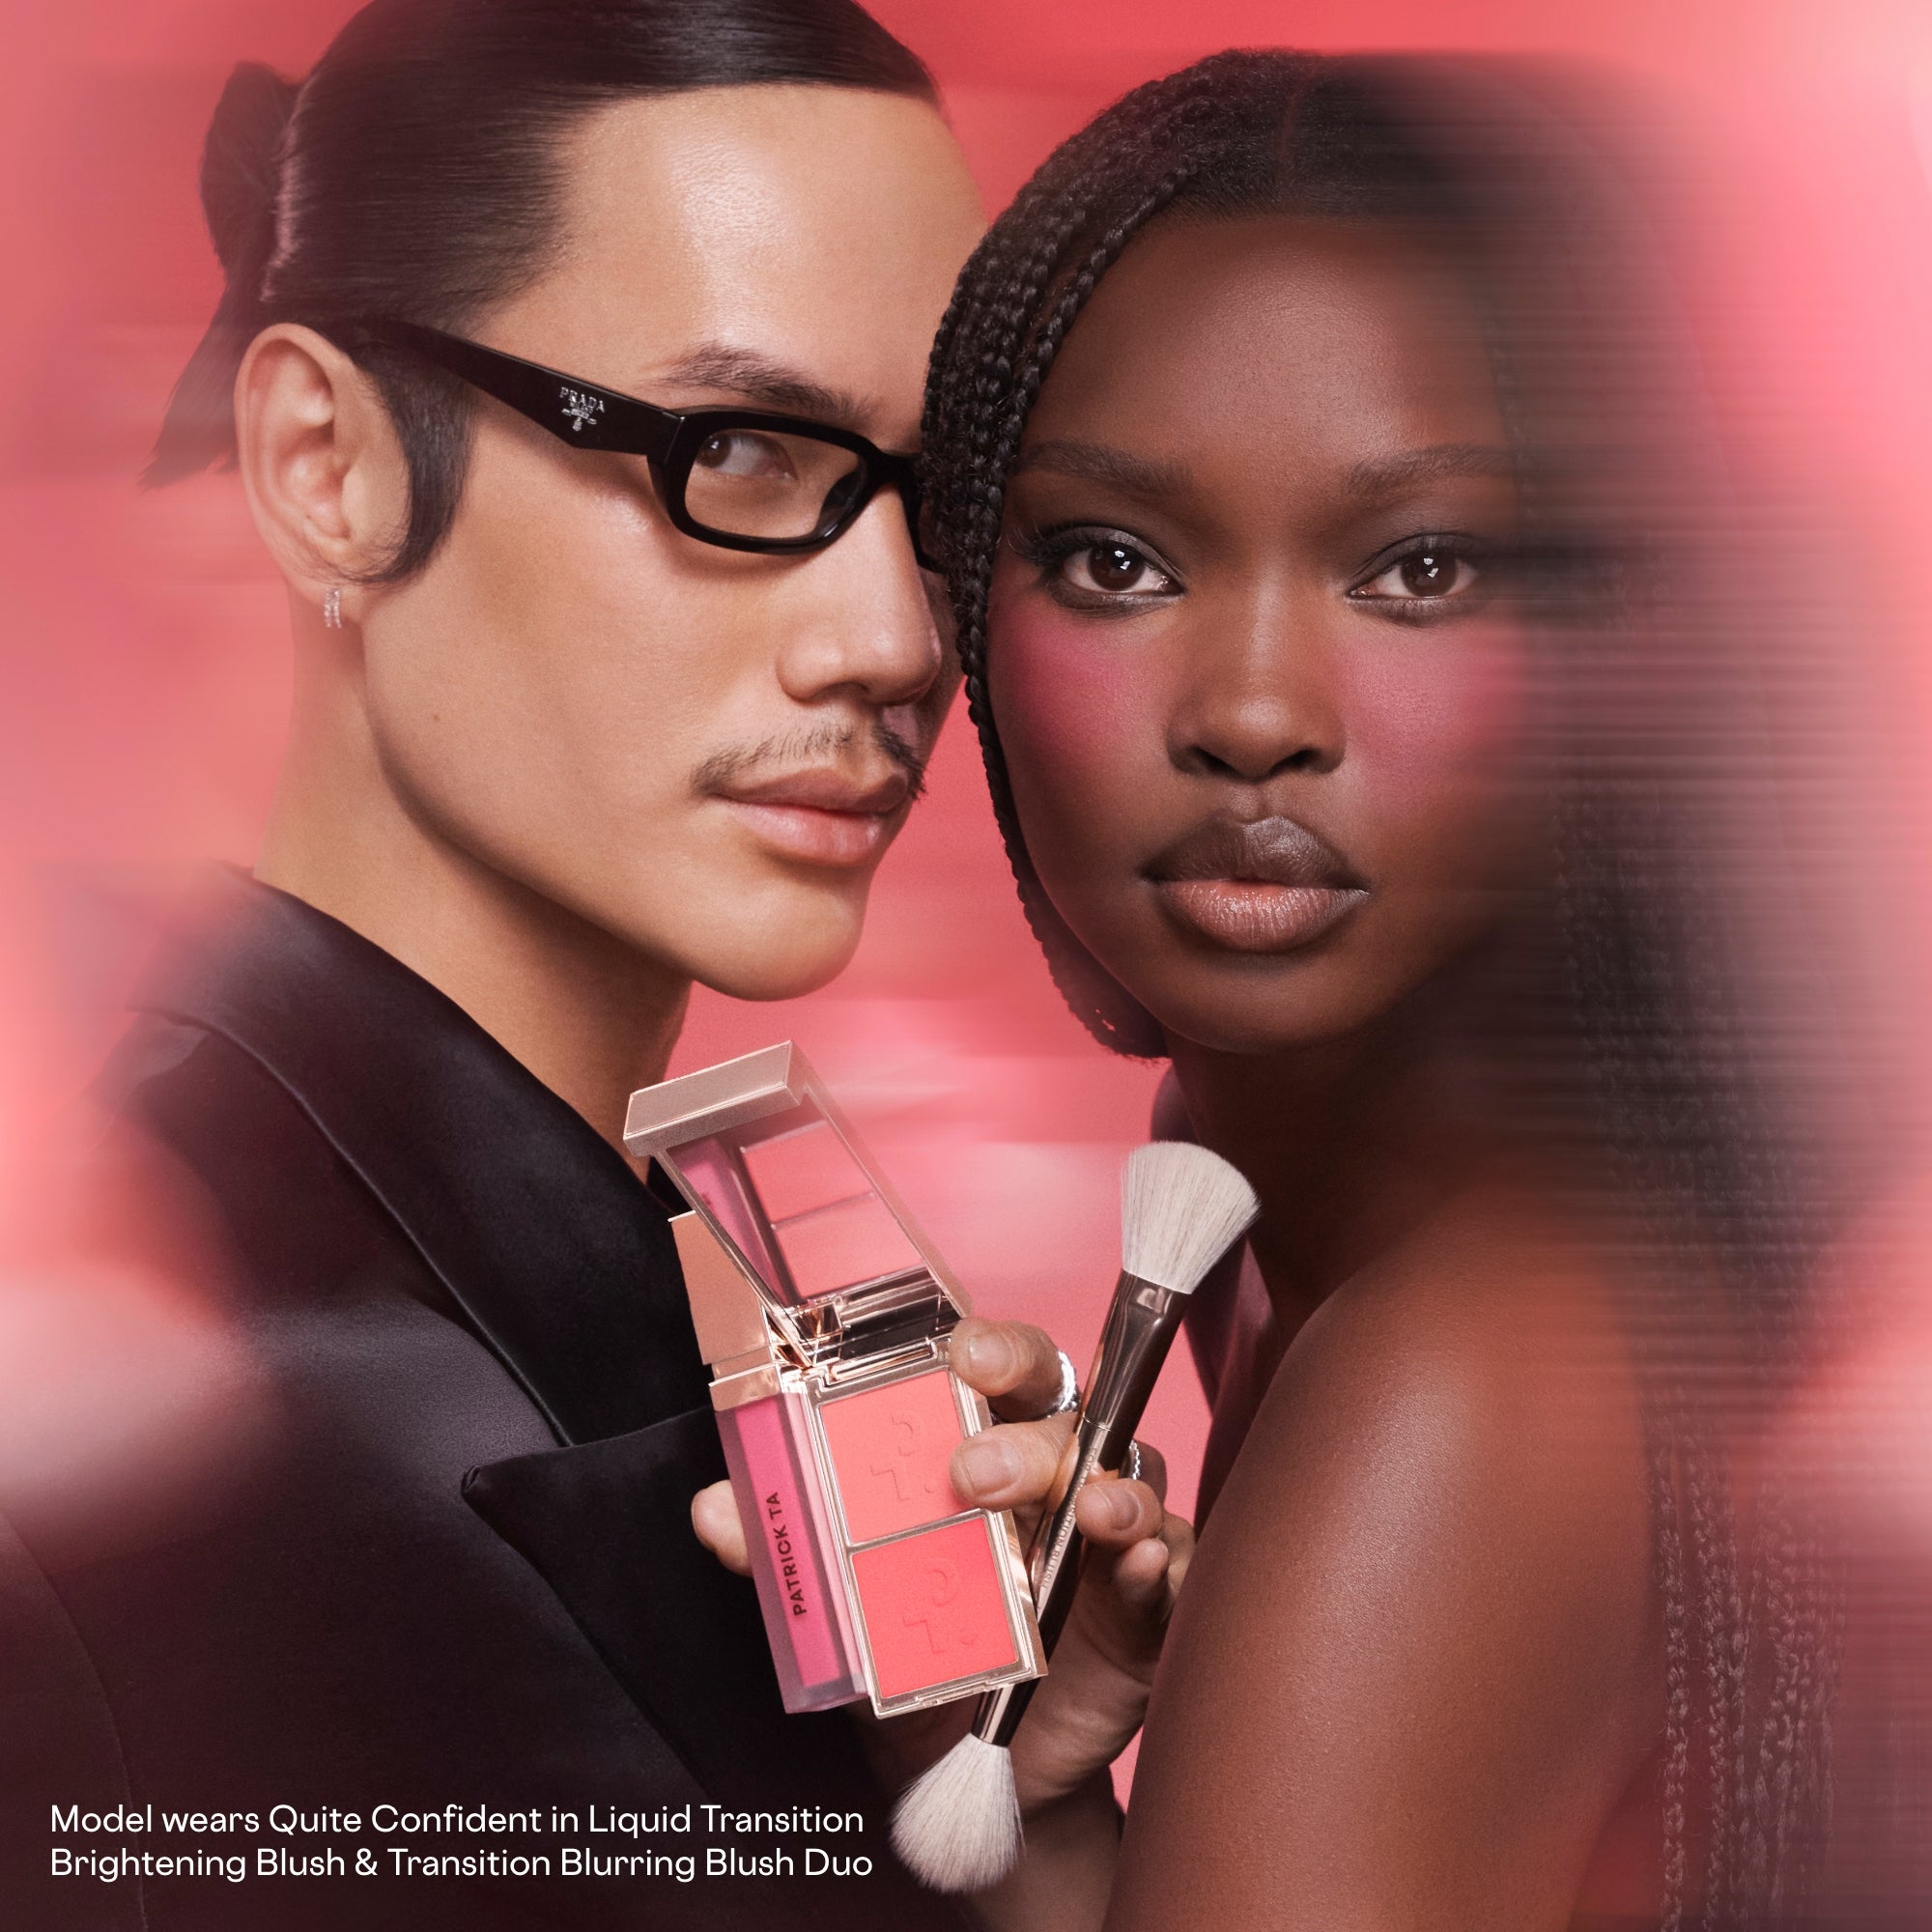
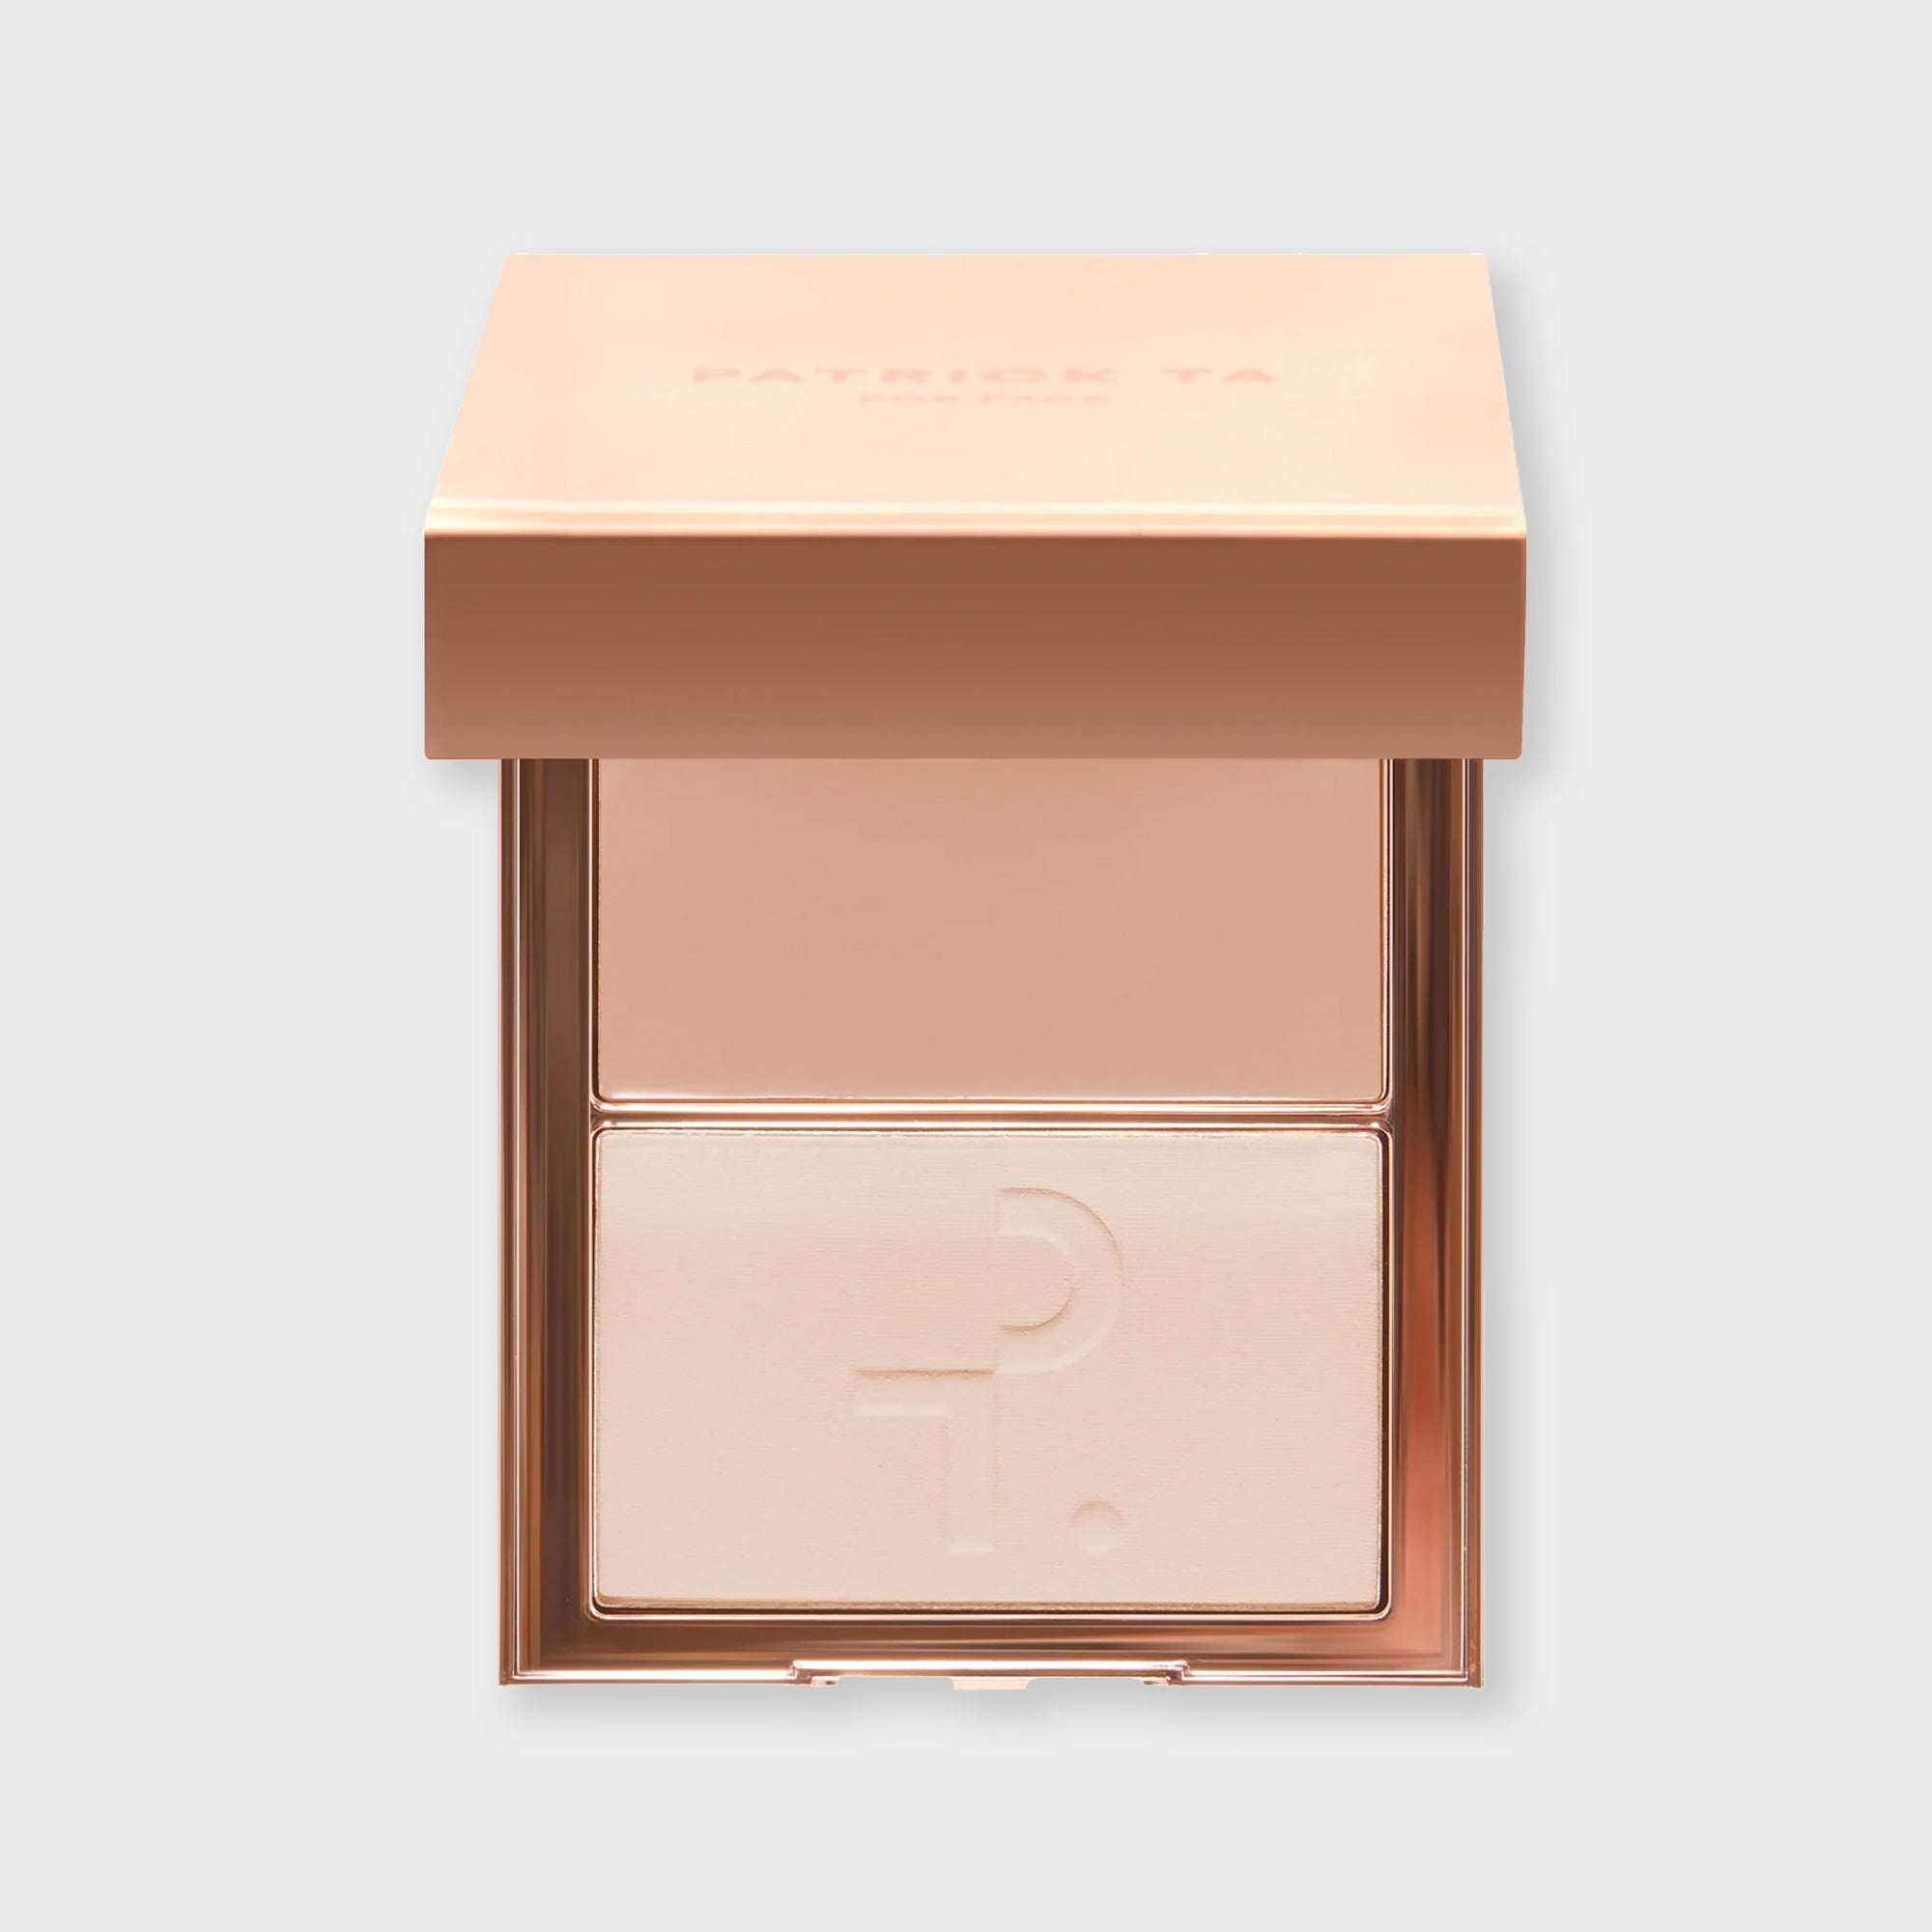
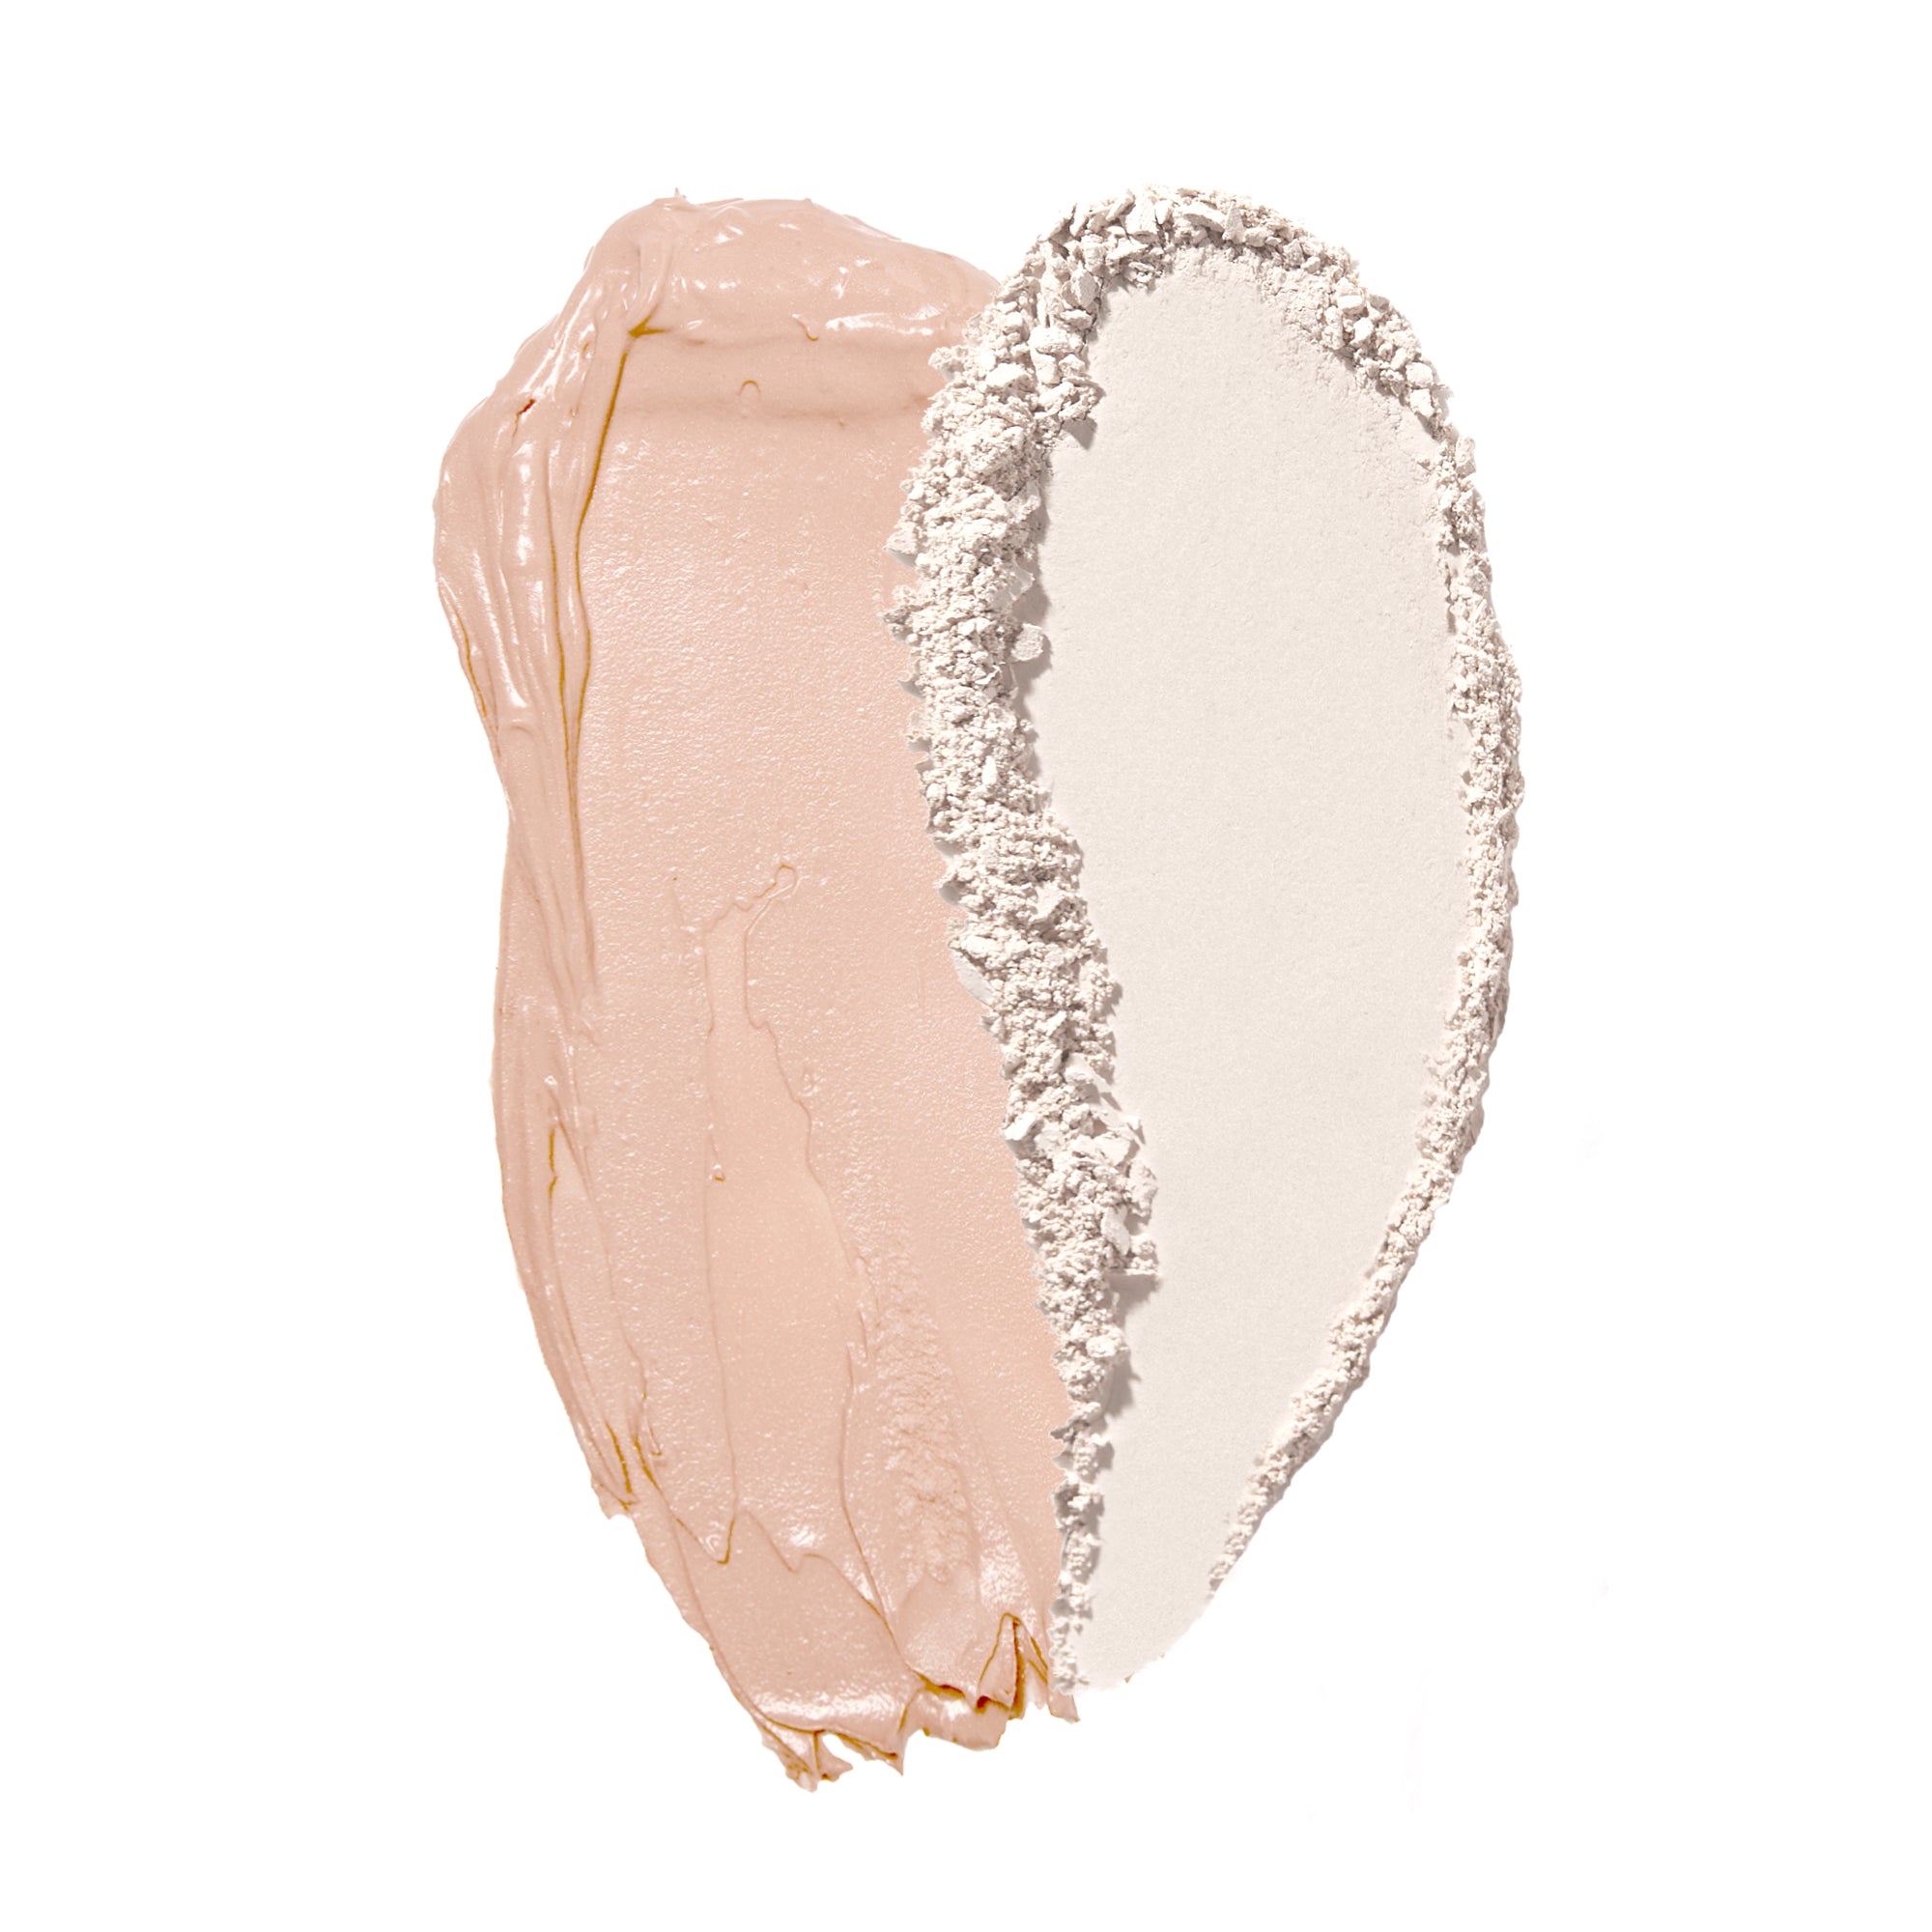
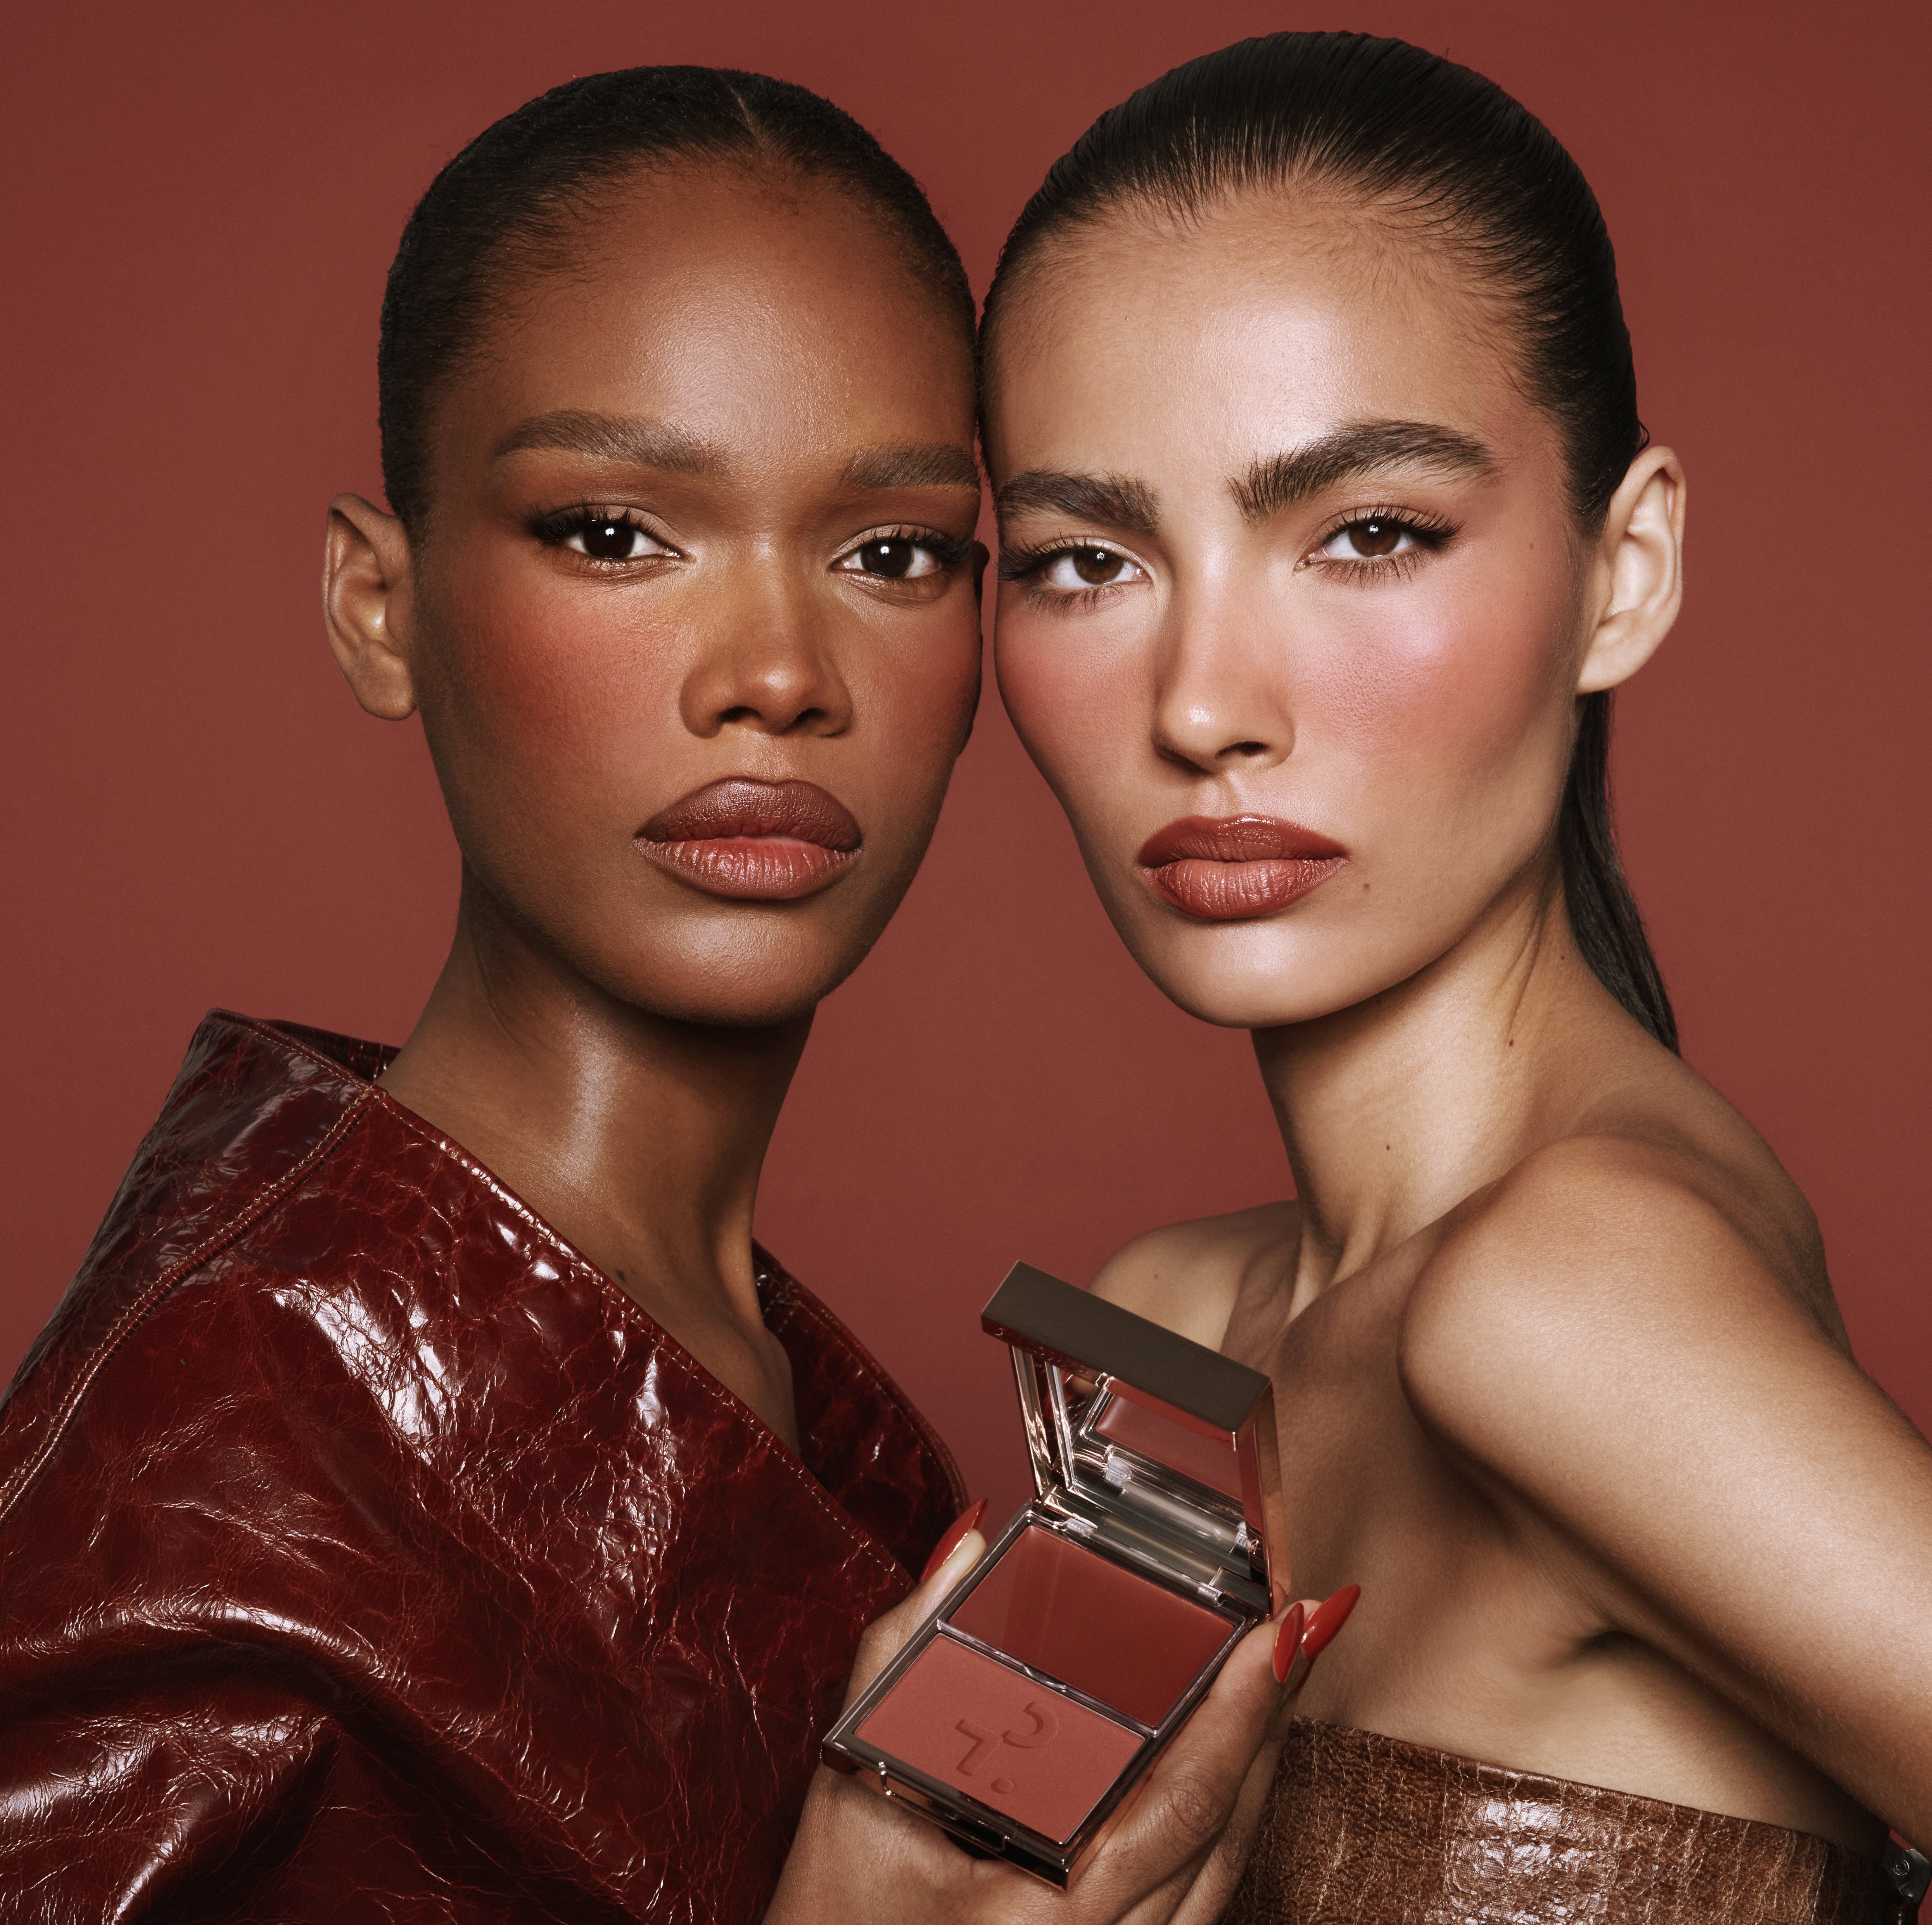
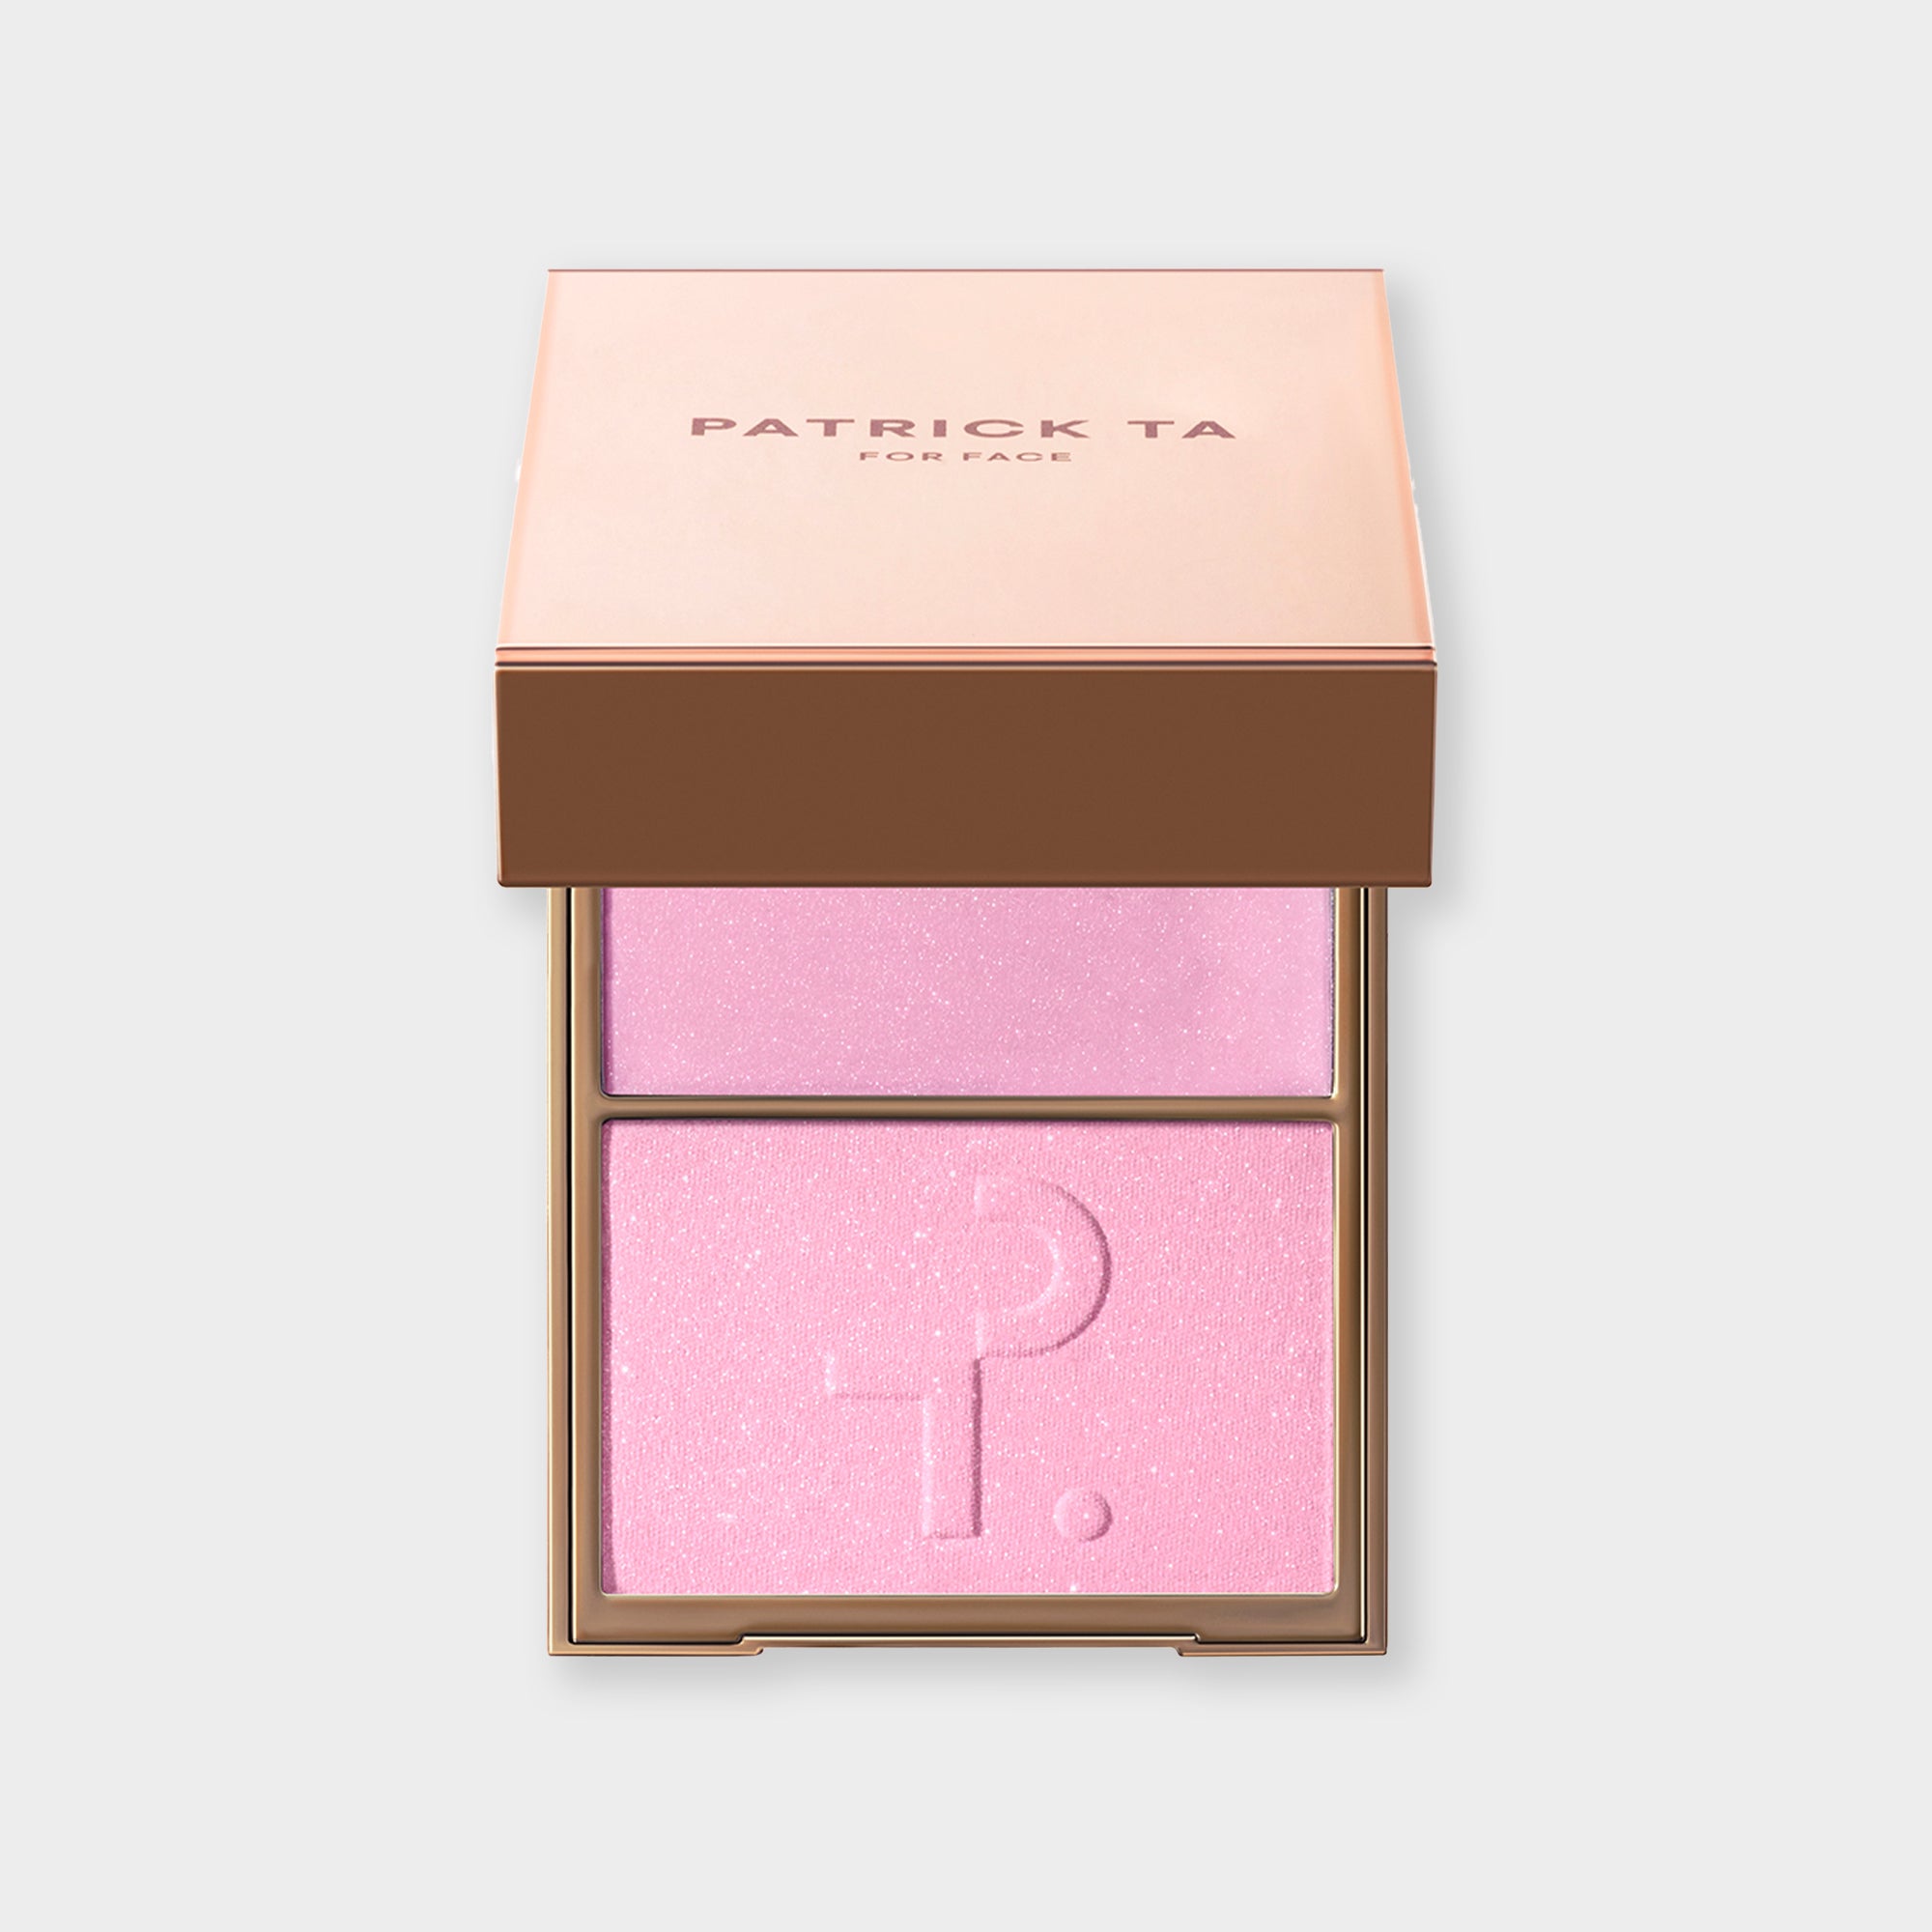
Maintain a dewy, glass skin look by including an even application of natural blush, like that found in the Major Headlines Double-Take Crème & Powder Blush Duo. This will give your cheeks a beautiful touch of color that looks naturally radiant. A cream blush will also blend seamlessly over your tinted moisturizer or cream foundation for effortless application. Simply use a dense blush brush to stamp the cream onto the apples of the cheeks. Stamping with a dense brush, rather than sweeping, deposits color evenly without streaking, giving you a flush that looks like it comes from within.
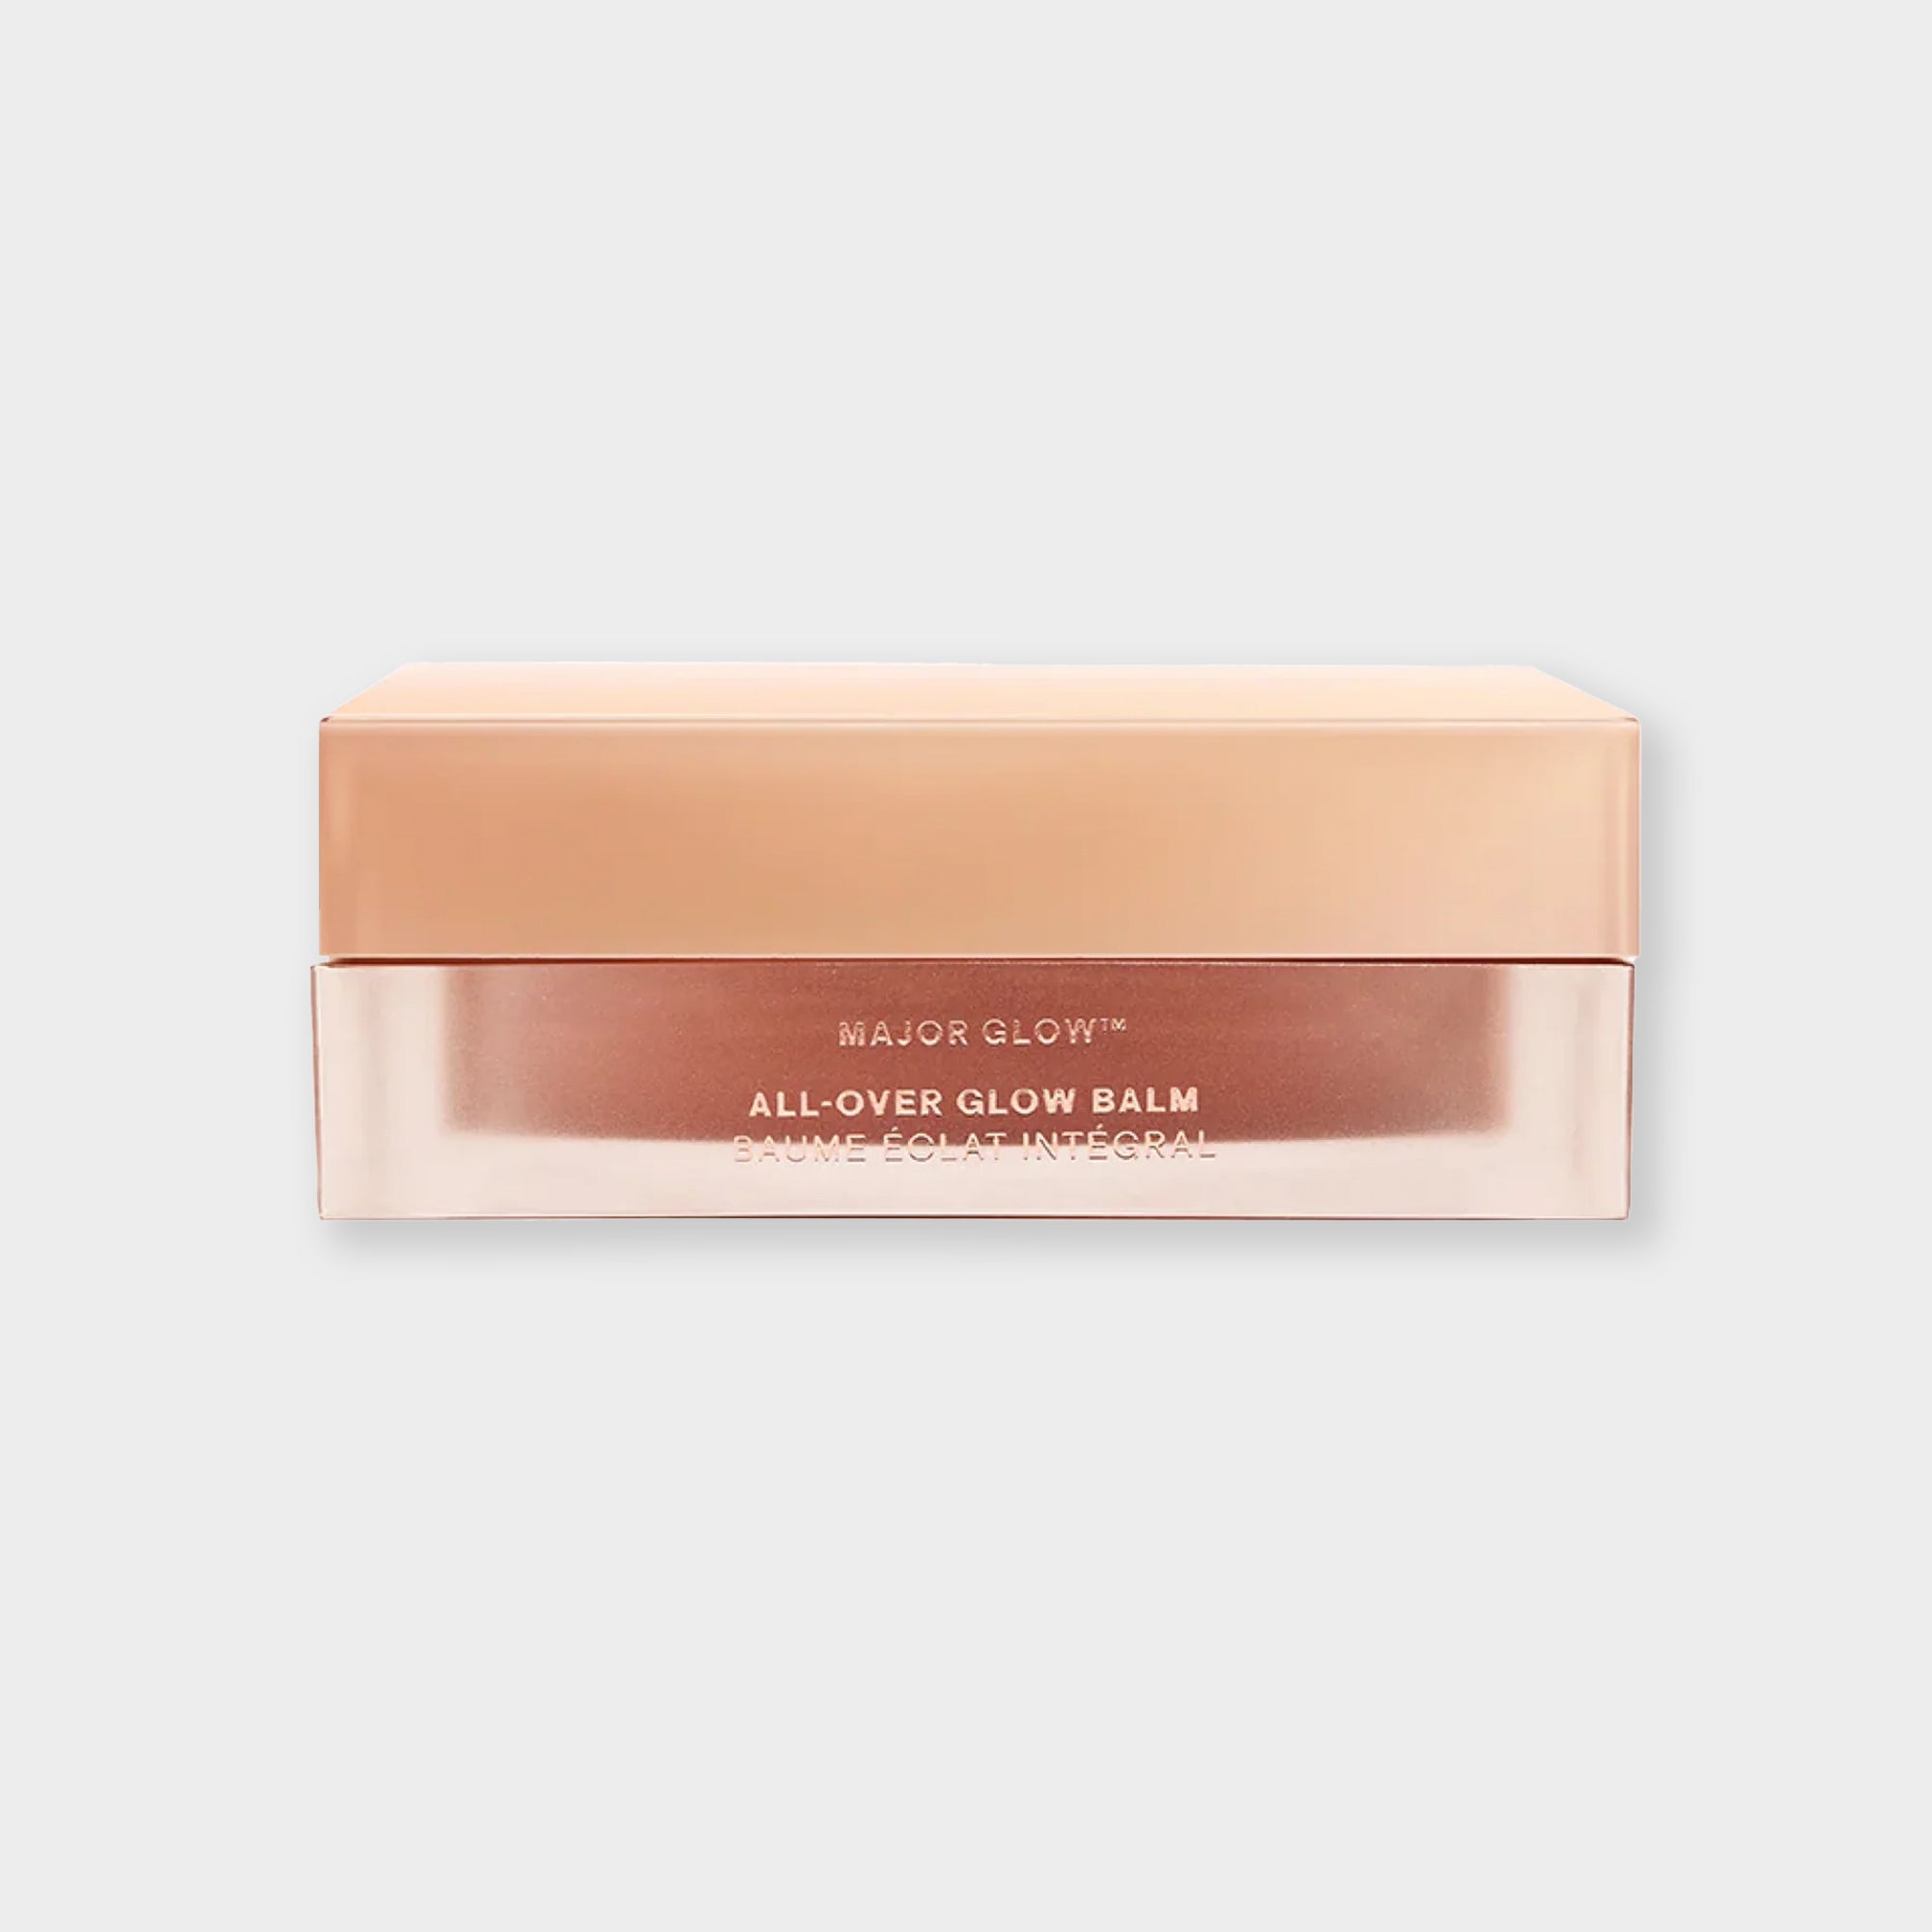
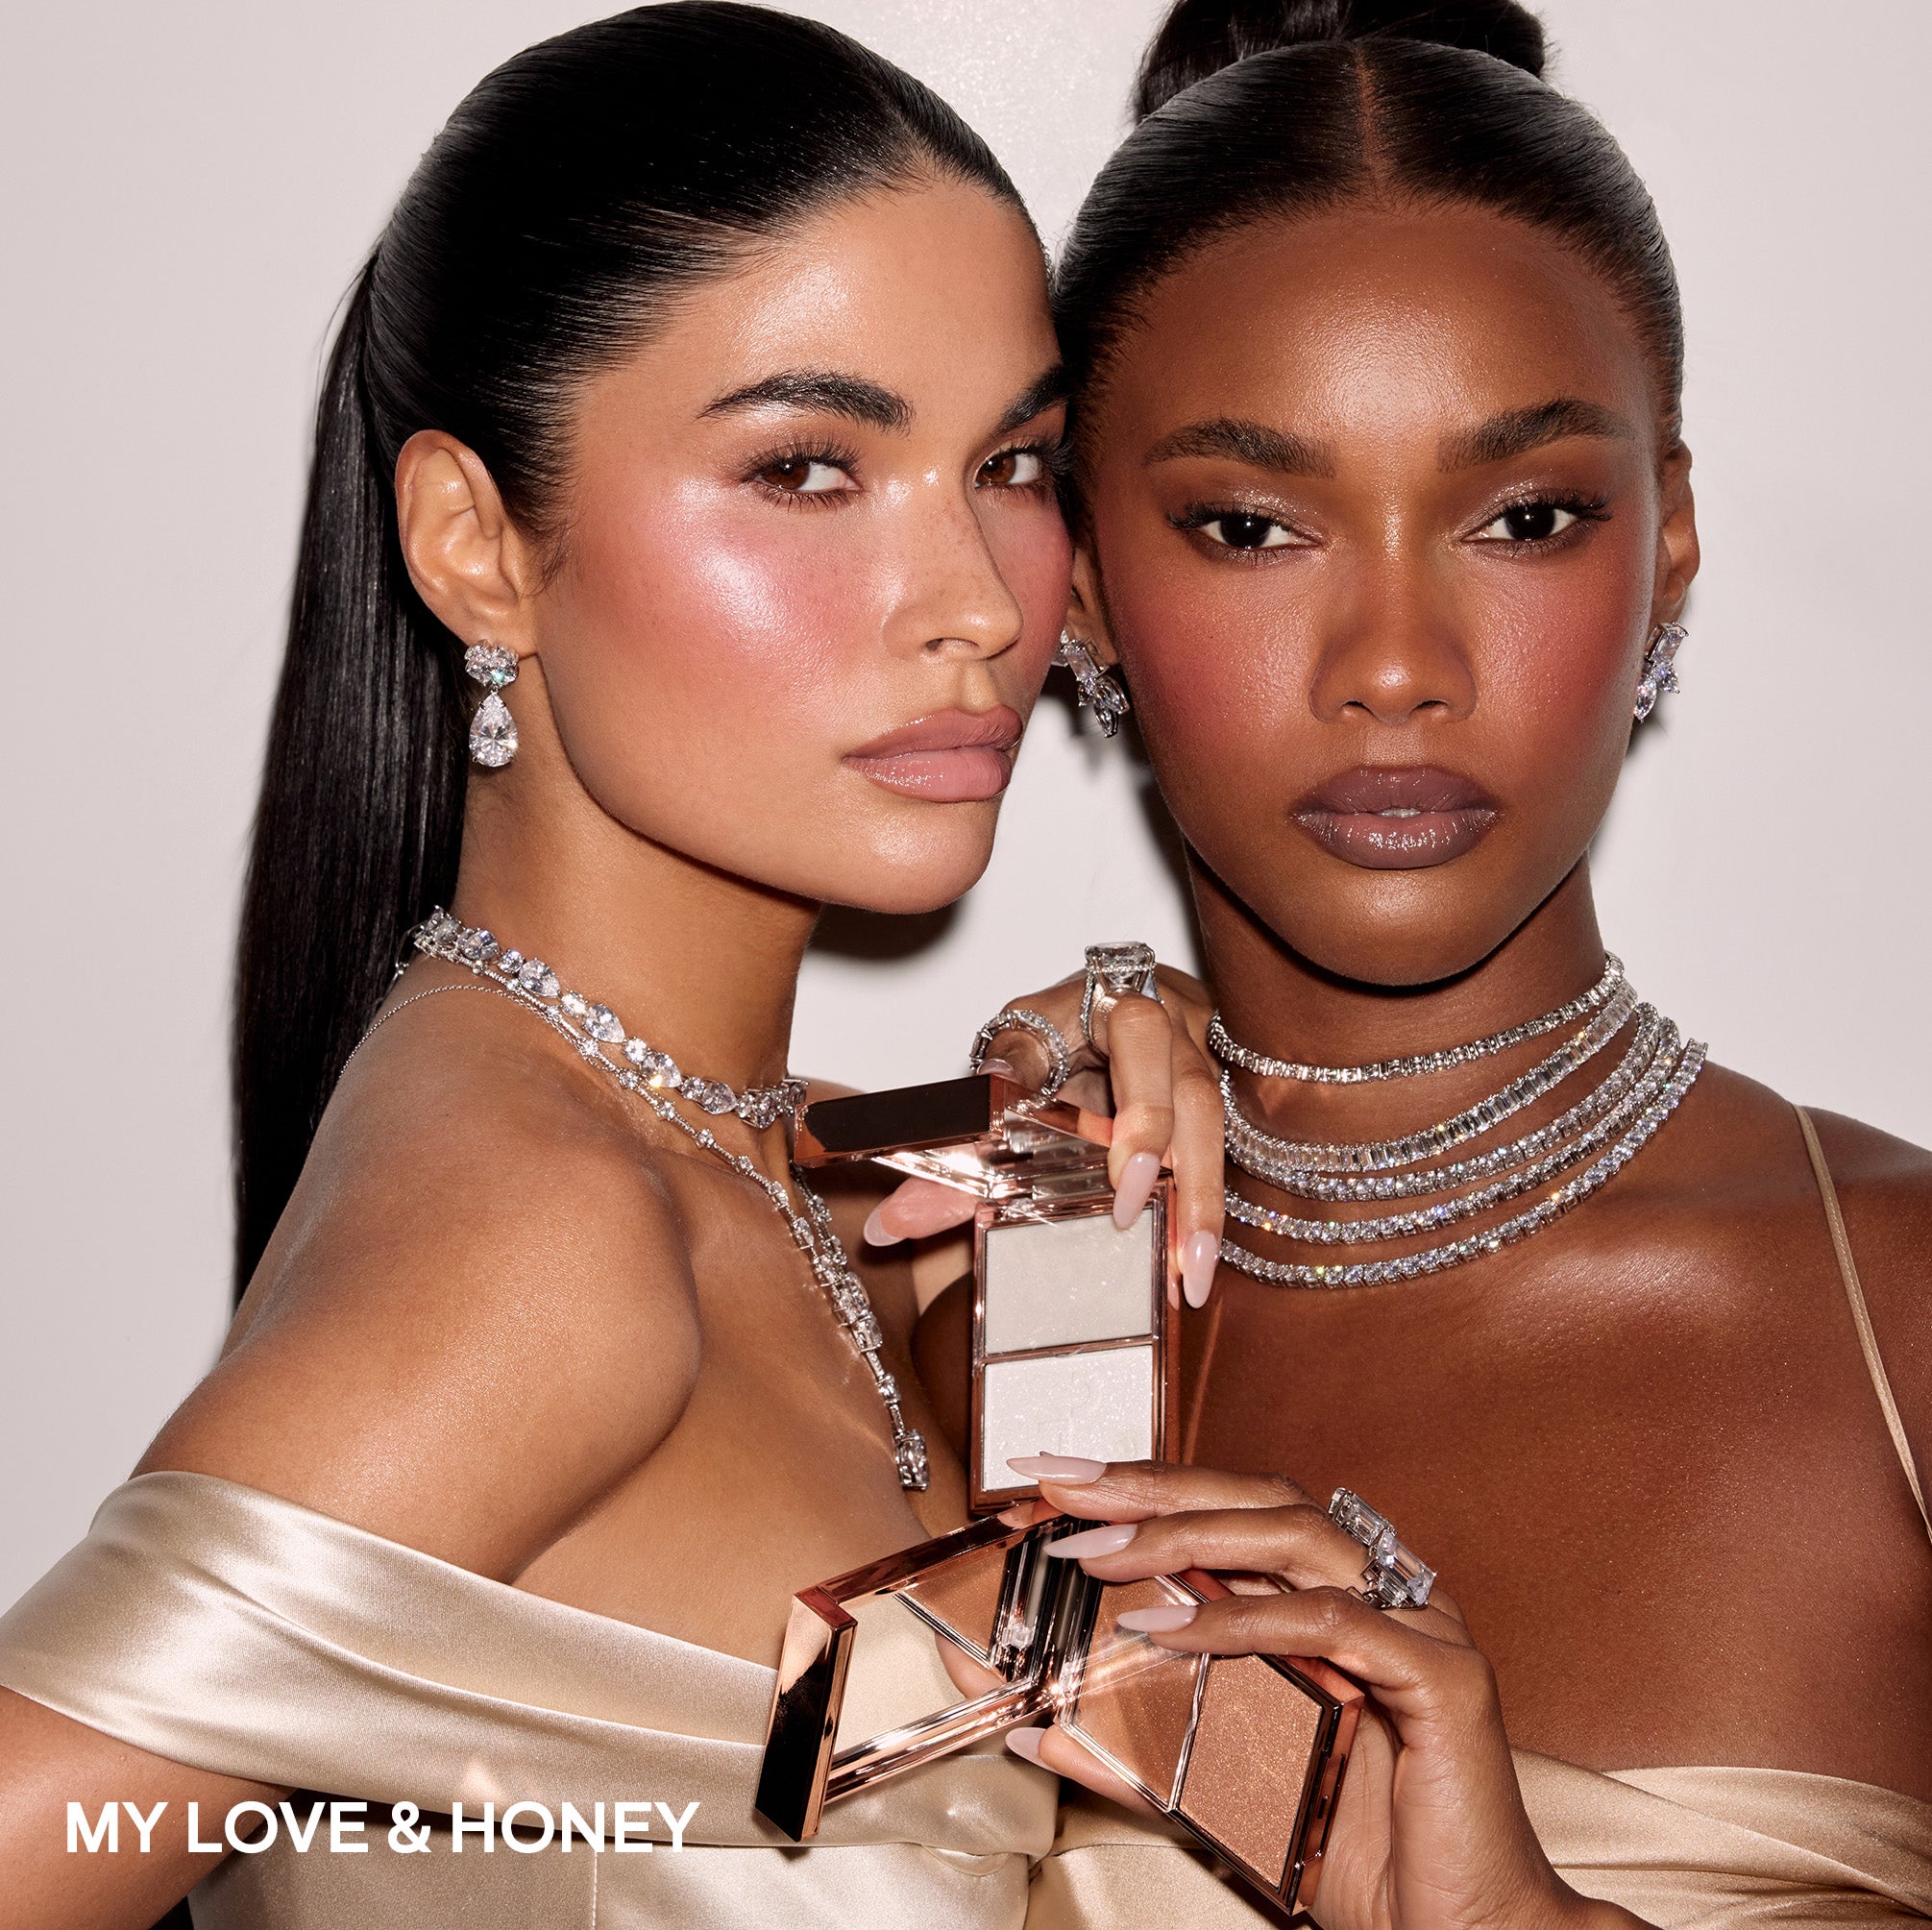
After applying blush, light up your complexion with a highlighter. You can again reach for a cream-based formula, like the one you'll find in the Major Glow Crème & Powder Light Reflecting Translucent Highlighter Duo. Use a damp makeup sponge to work it on top of your cheekbones for a subtle dewy glow. The damp sponge sheers the product out as you press it into the skin, so you get a lit-from-within sheen rather than a glitter stripe.
Step 10: Use a Glossy Lip
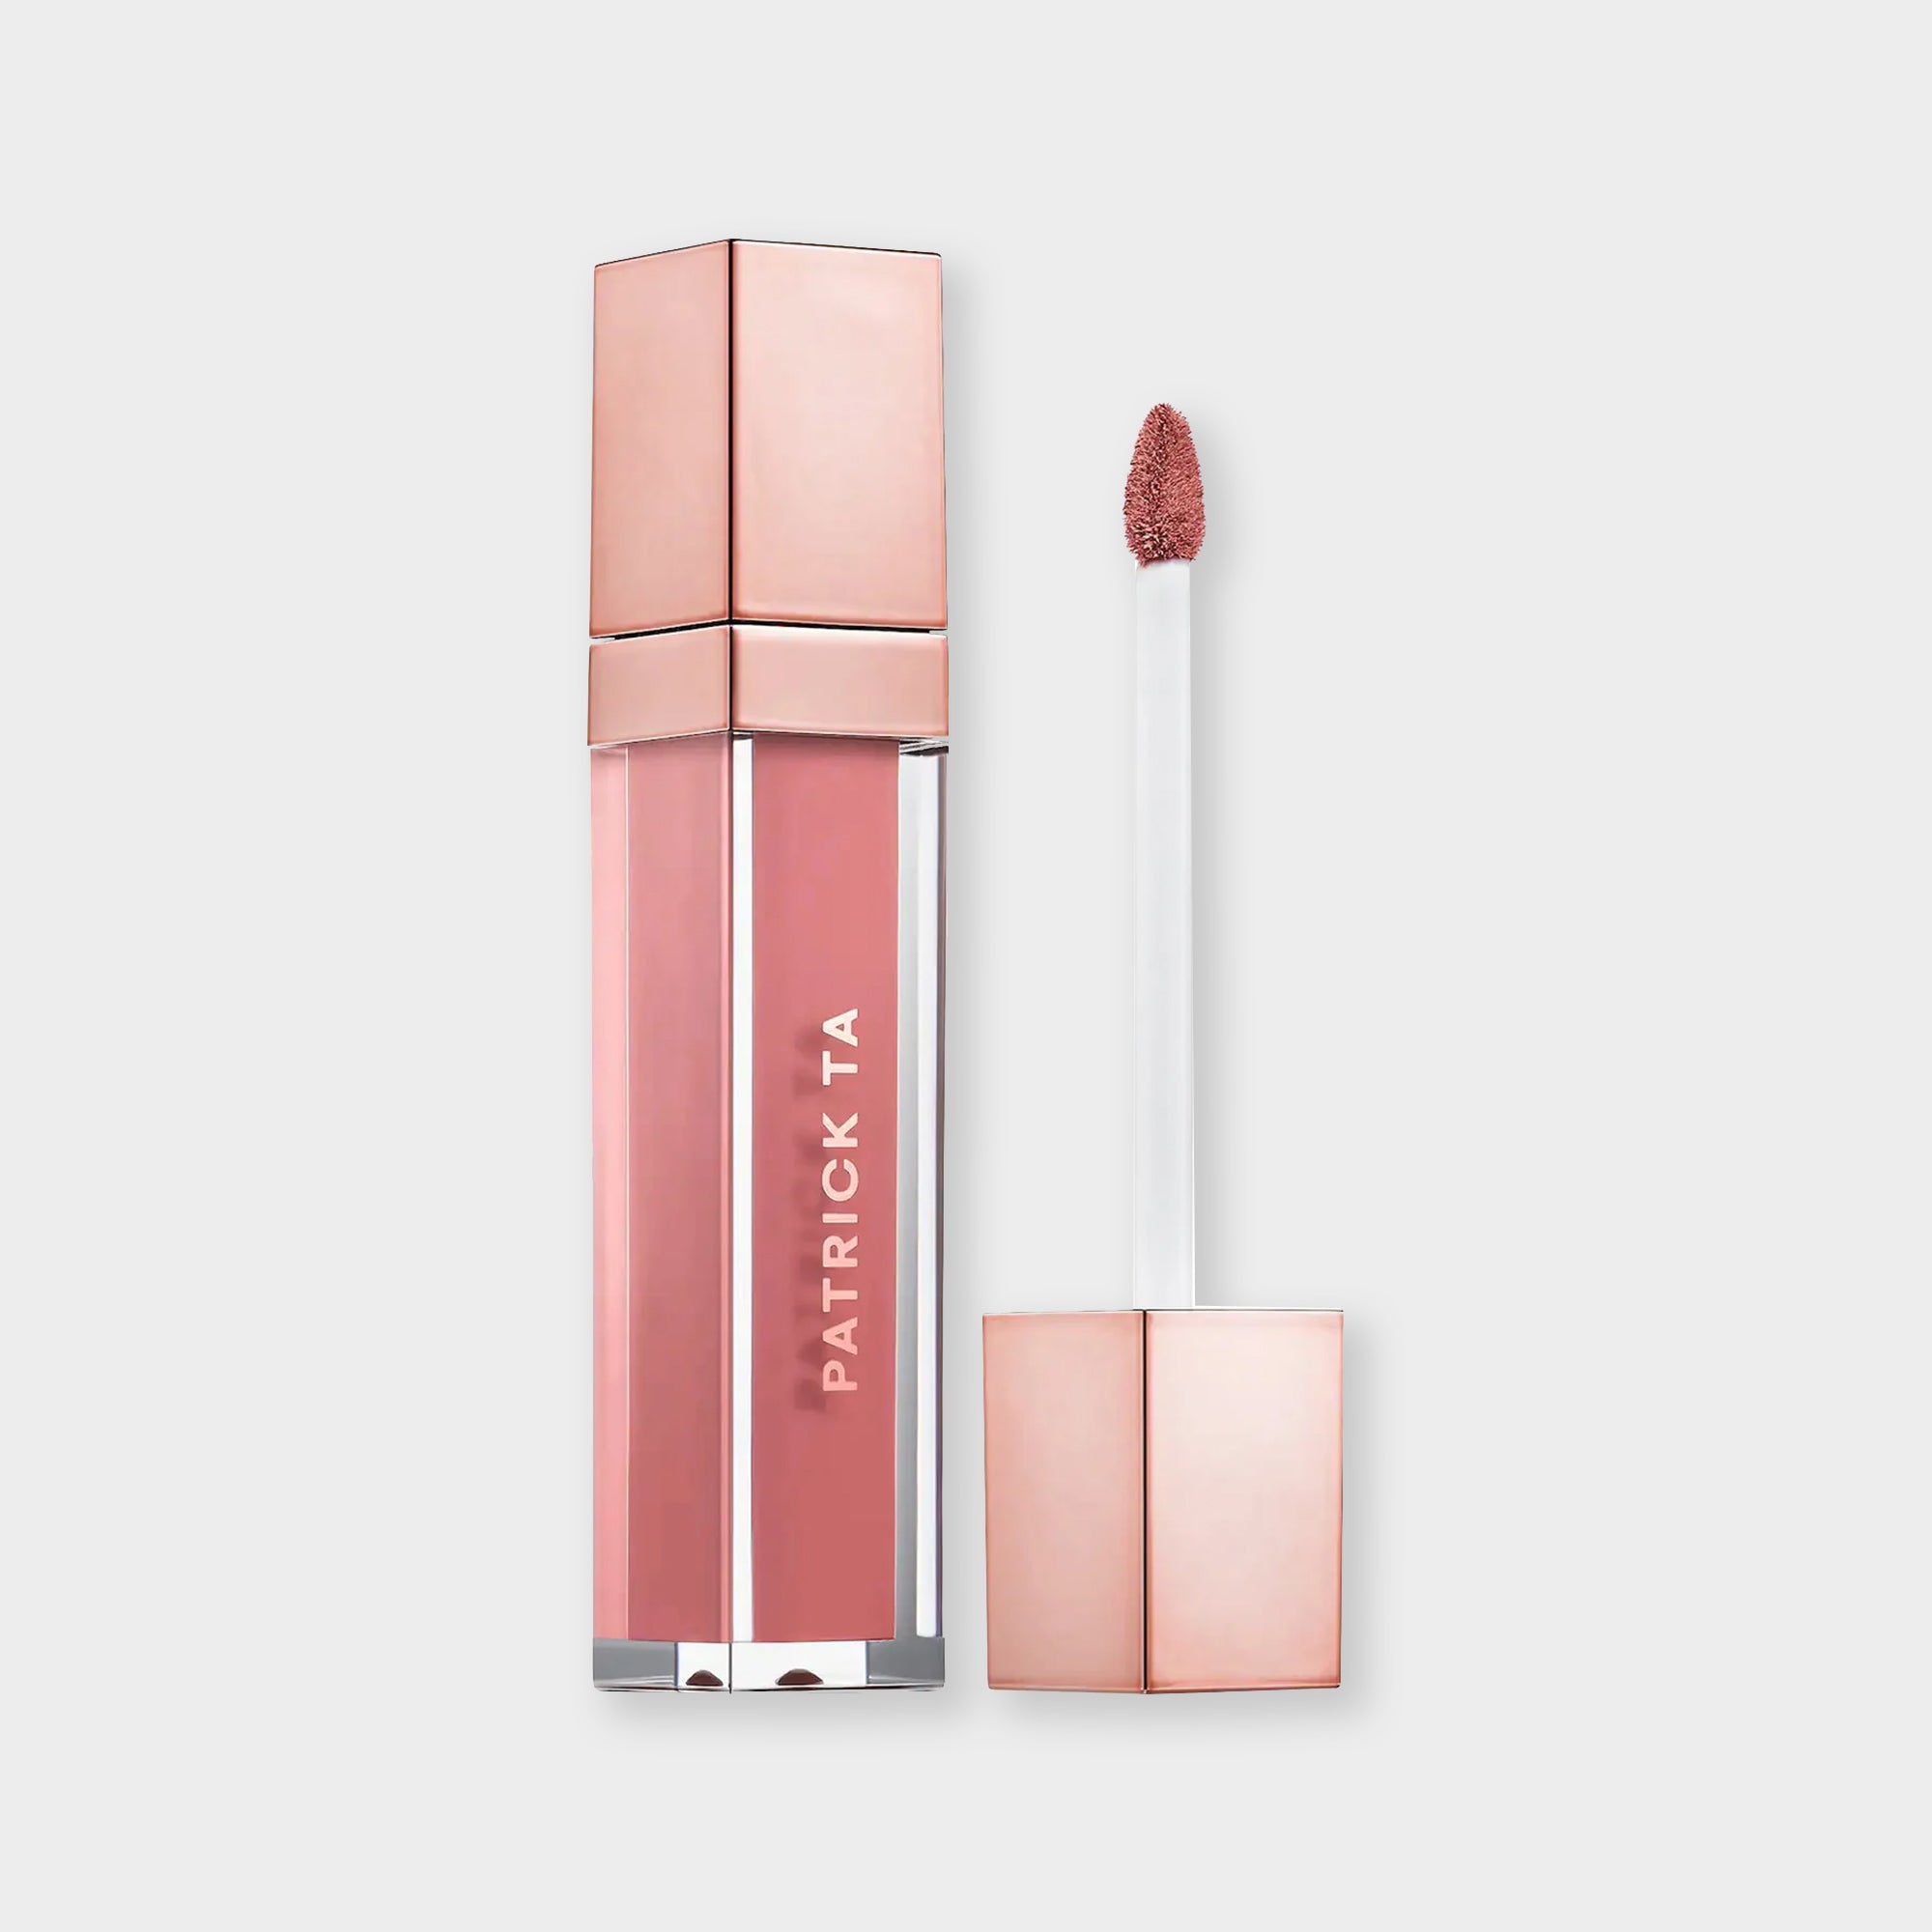
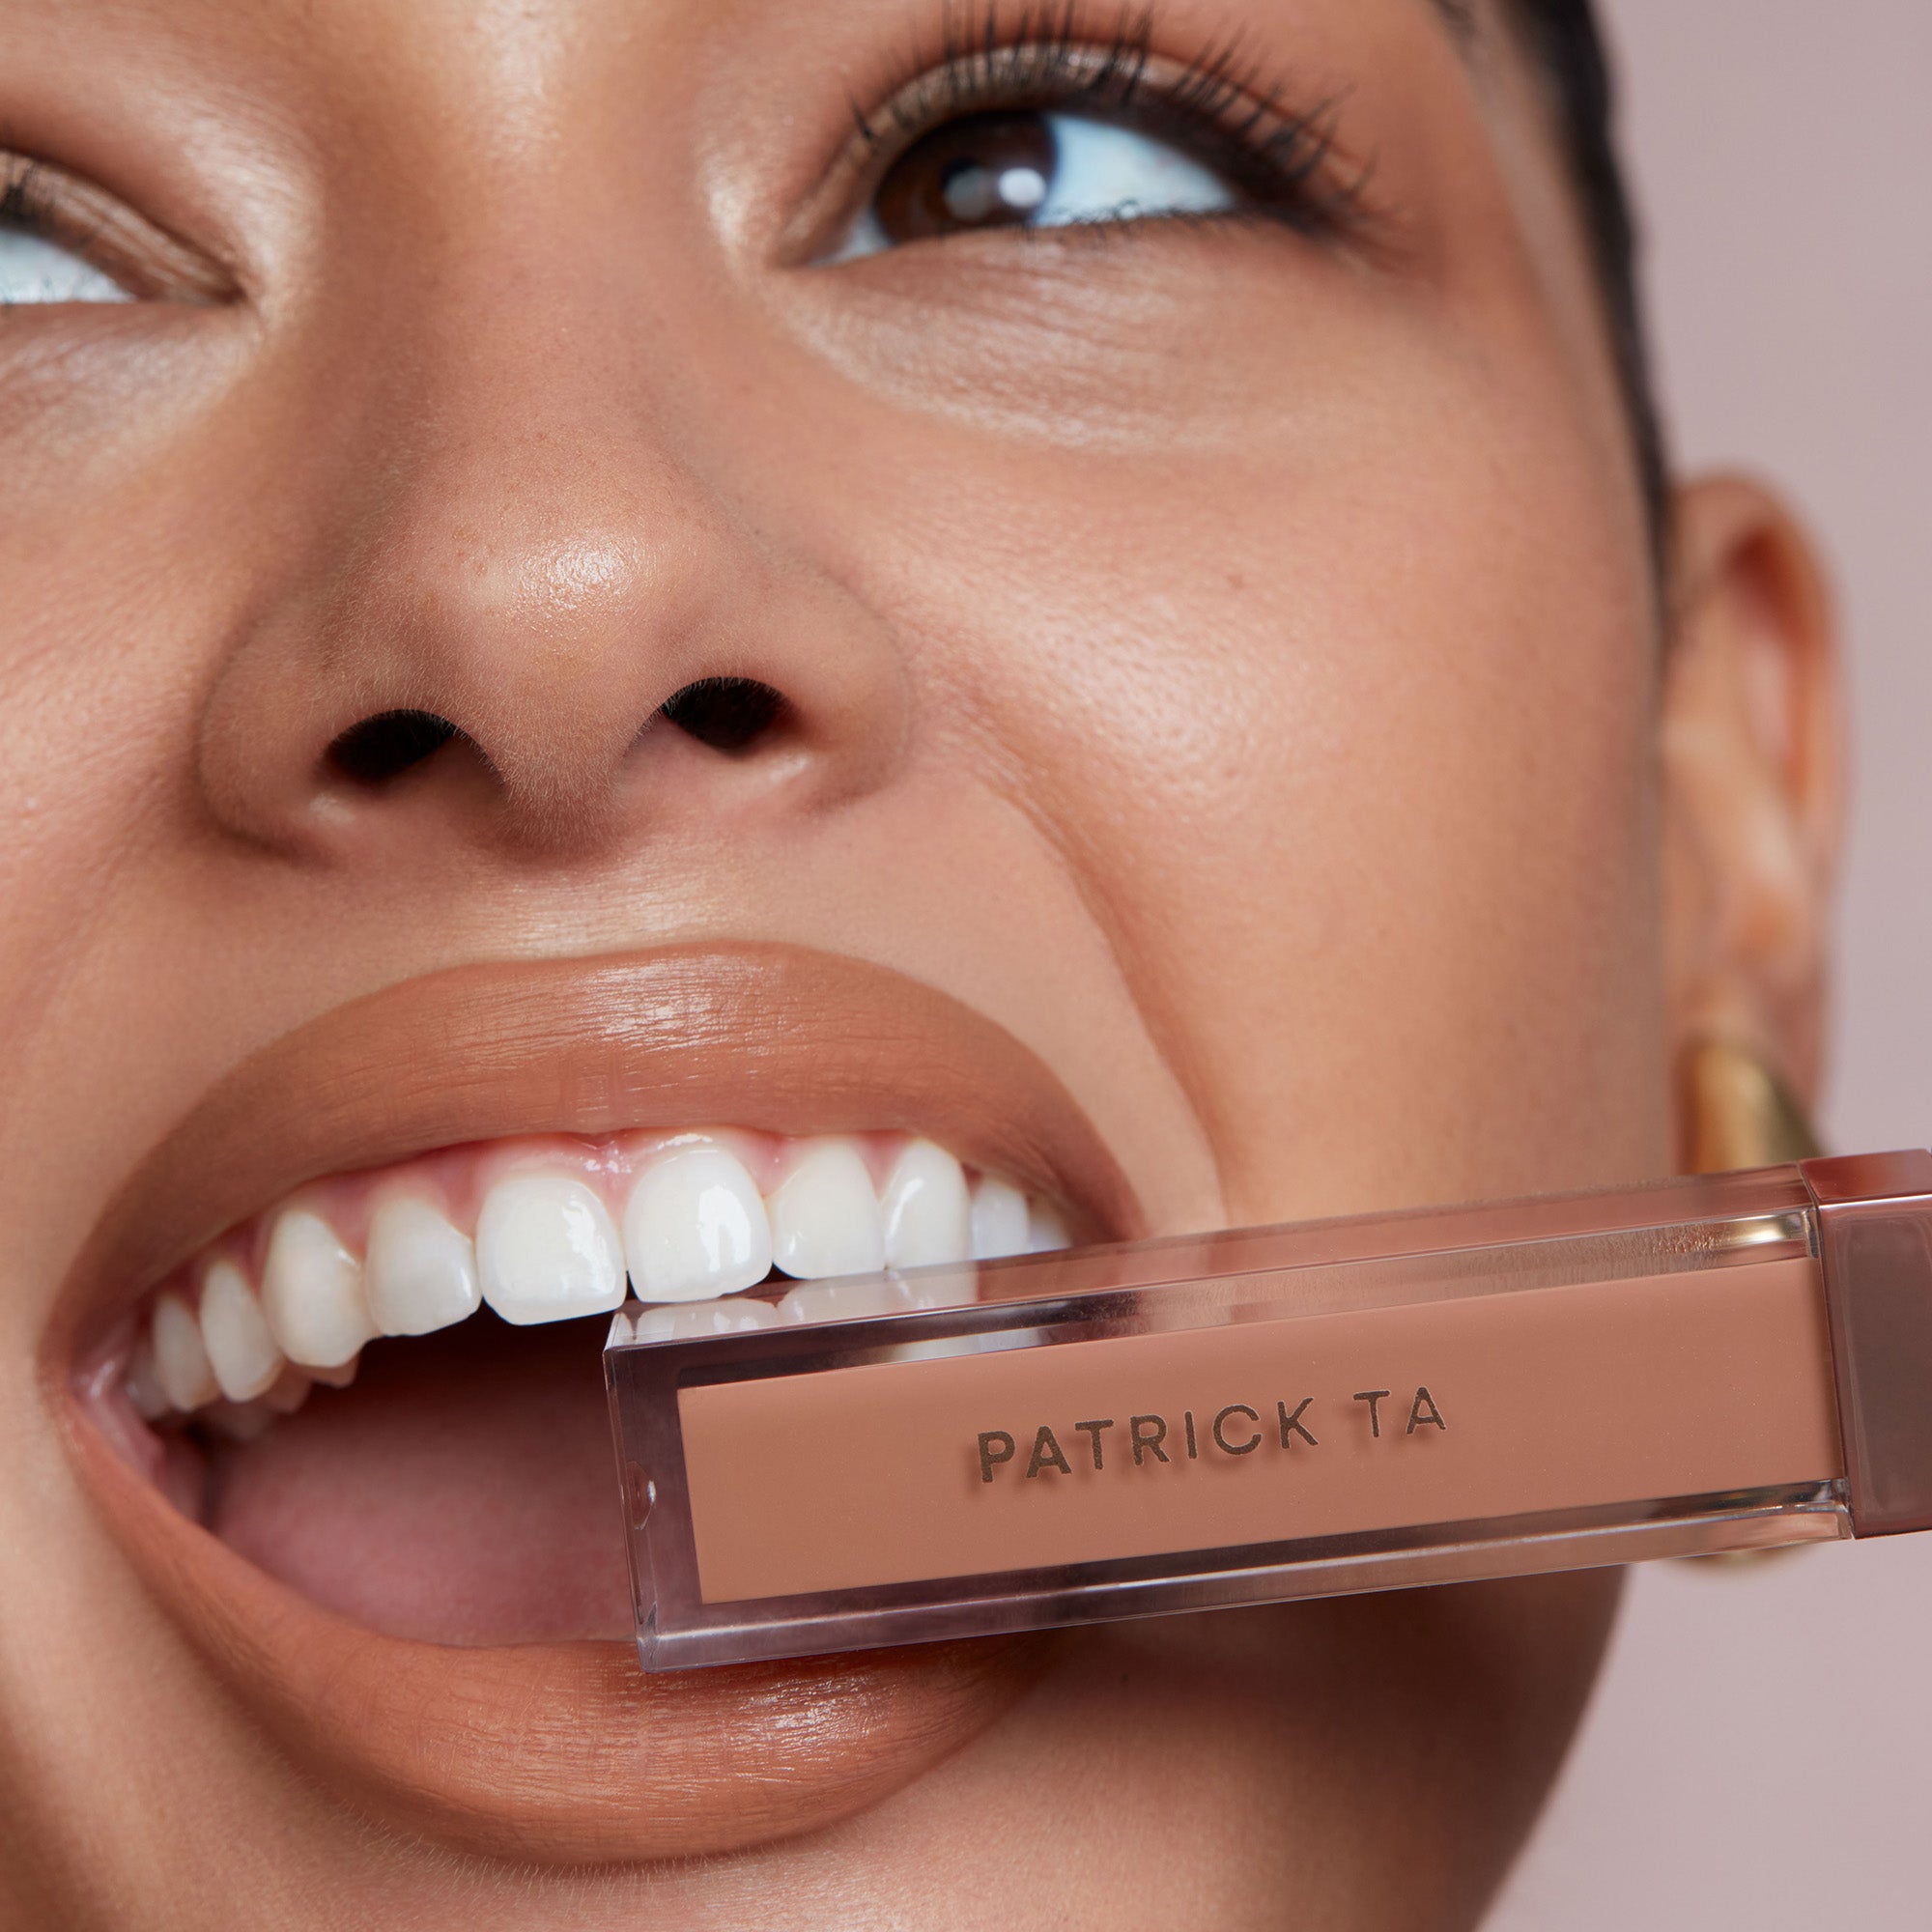
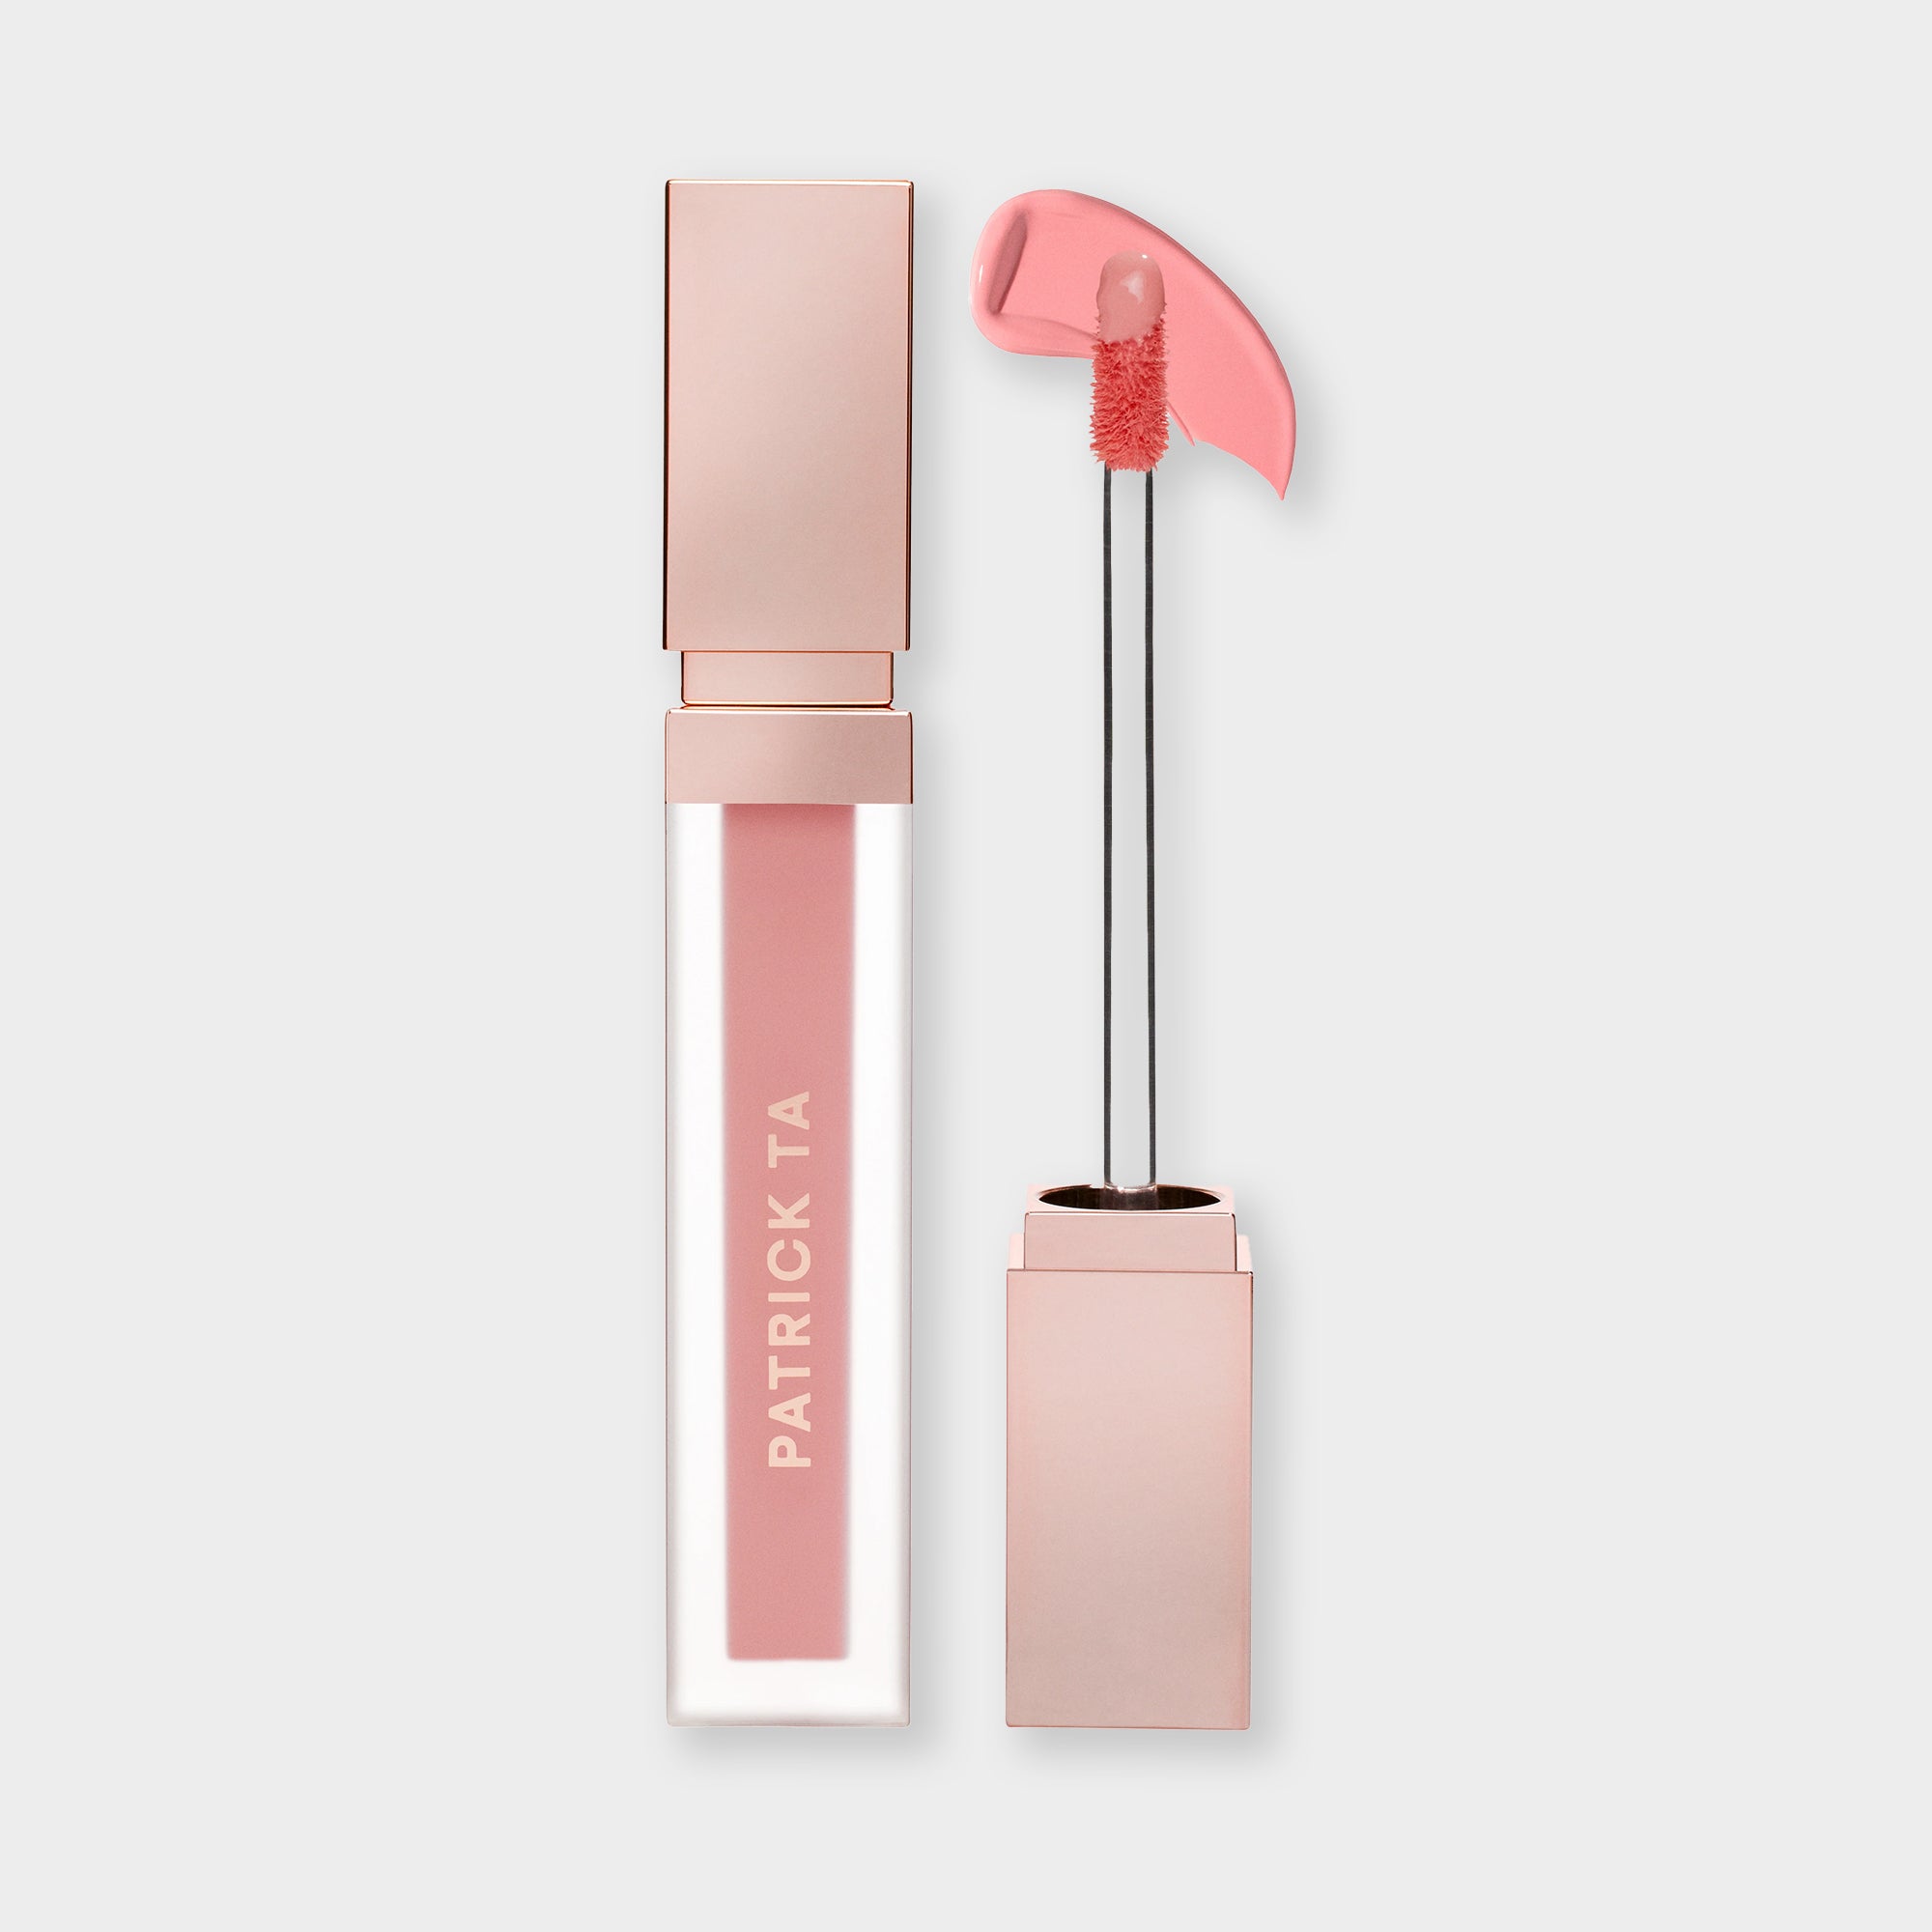
Skip the lipstick, and instead reach for a gloss (like the Major Volume Plumping Gloss) for a gorgeous pout. Before applying, run a lip balm over your lips and let it sink in for a minute so the gloss glides on smoothly without clinging to dry patches. Apply your gloss in a subtle hue, such as a nude pink or soft peach tone, starting at the center of your lower lip and pressing your lips together to spread the color outward. Concentrating the product at the center creates a fuller, more dimensional look. This finishing touch adds a bit of color to your pout and draws attention to the lips without overpowering your soft, natural makeup look.
Frequently Asked Questions
How Can You Make Natural Makeup Last All Day?
- Start with a hydrating primer that grips your base products to your skin.
- Use thin, buildable layers of each formula rather than one heavy application.
- Press a setting powder only on areas that tend to get oily, like the T-zone and chin.
- Finish with a fine setting mist, holding the bottle about eight inches from your face and letting it air-dry.
What Is the Difference Between "Natural Makeup" and "No-Makeup Makeup"?
Natural makeup uses soft color on the cheeks, eyes, and lips to enhance your features while still looking polished. No-makeup makeup aims to look like bare skin entirely, relying on sheer coverage and skipping visible color. Both approaches favor a light hand, but natural makeup gives you more room to play with warmth and dimension.
How Do You Transition a Natural Daytime Look Into an Evening Look?
- Layer a deeper blush shade over the color already on your cheeks.
- Add a slightly darker eyeshadow to your outer crease and blend it into the existing wash of color.
- Apply a second coat of mascara, focusing on the outer lashes for subtle drama.
- Swap your gloss for a tinted lip color one or two shades richer than your daytime choice.
Can Natural Makeup Work on Oily Skin?
Yes. The key is choosing oil-free, lightweight formulas and setting your base in the areas where you shine most. A mattifying primer across the T-zone keeps your look fresh without flattening the dewy finish everywhere else.
Should You Use Powder or Cream Products for a Natural Finish?
Cream and liquid formulas tend to melt into the skin for a second-skin effect, making them a strong starting point. You can layer a light dusting of powder on top of cream products to extend wear without adding visible texture.
How Do You Choose the Right Undertone for a Natural Makeup Look?
Look at the veins on the inside of your wrist in natural light. Blue or purple veins usually indicate a cool undertone, green veins suggest warm, and a mix of both points to neutral. Matching your base, bronzer, and blush to your undertone keeps every layer looking like a seamless extension of your skin rather than sitting on top of it.

RELATED POSTS
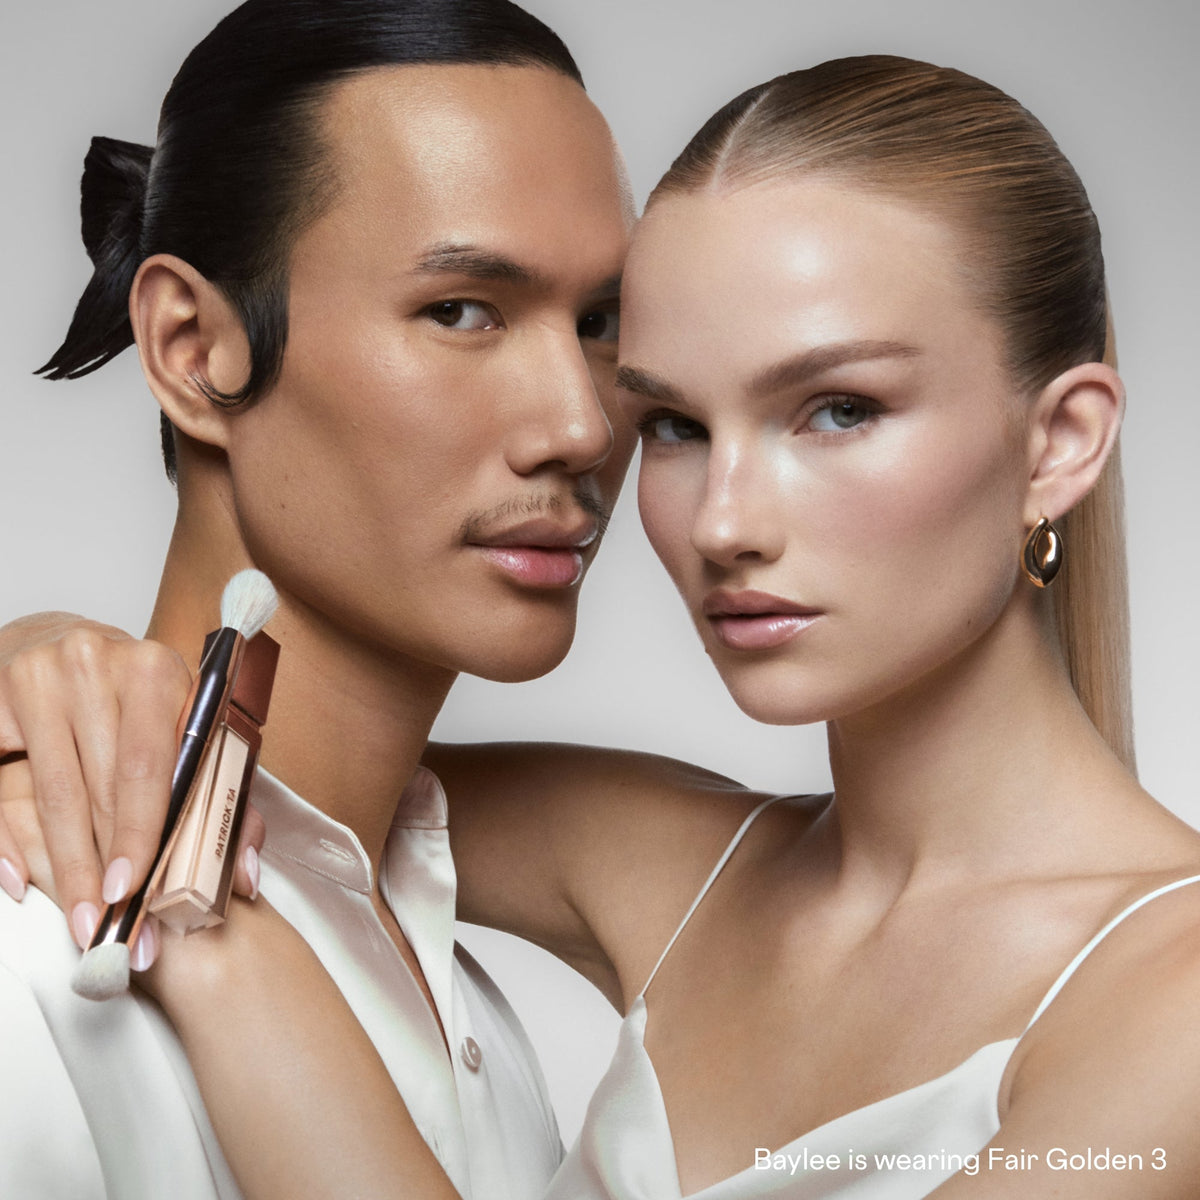
Celebrity makeup artist and founder of Patrick Ta Beauty, Patrick Ta, has once again captivated the beauty world with his innovative products, earning multiple accolades at the 2025 Allure Best of ...
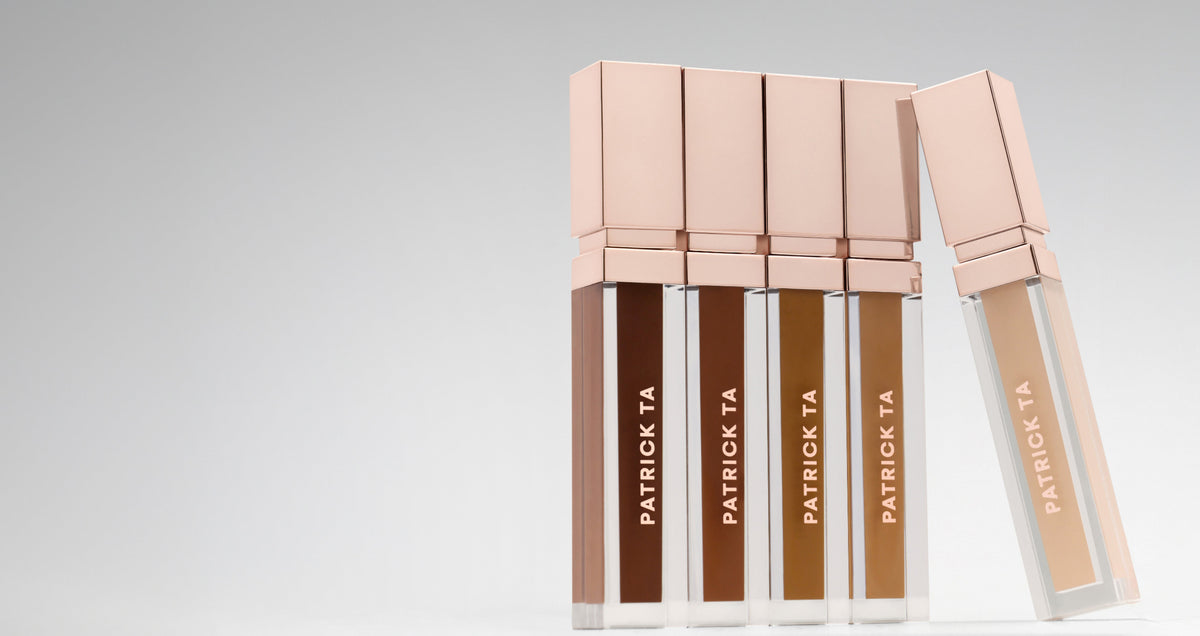
Here is Patrick's guide to concealer placement, plus how to apply it for a seamless, skin-like finish.
Here is how to find your concealer shade, how to test it, and how to use more than one shade for a flawless base
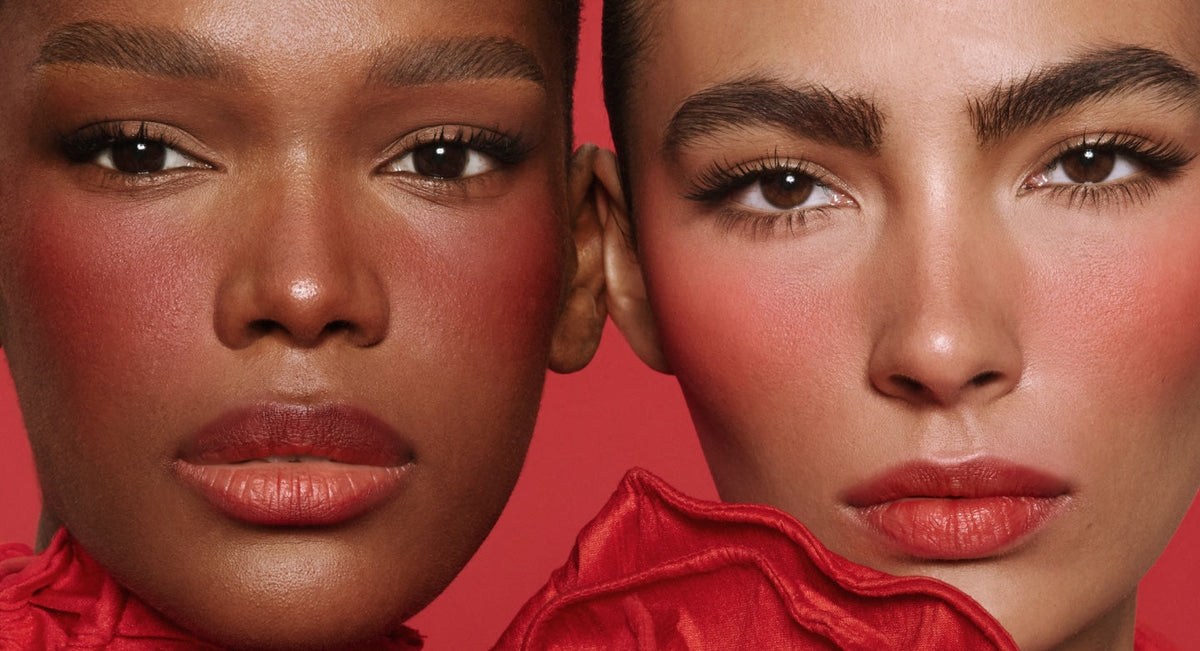
Here is why red blush has become a modern staple, how to choose the right shade for your skin tone, and how Patrick applies it for a flush that looks effortless.
Here are the shades that make brown eyes stand out and the Patrick Ta palettes that deliver them.
If you have been reaching for the same pink or peach for years, mauve blush is the easiest way to refresh your routine without going bold.
With professional tips from Patrick himself, consider this your step-by-step guide to creating the perfect smokey eye.
Follow these steps to learn how to apply eyeshadow for everything from an everyday wash of color to a defined evening look.