





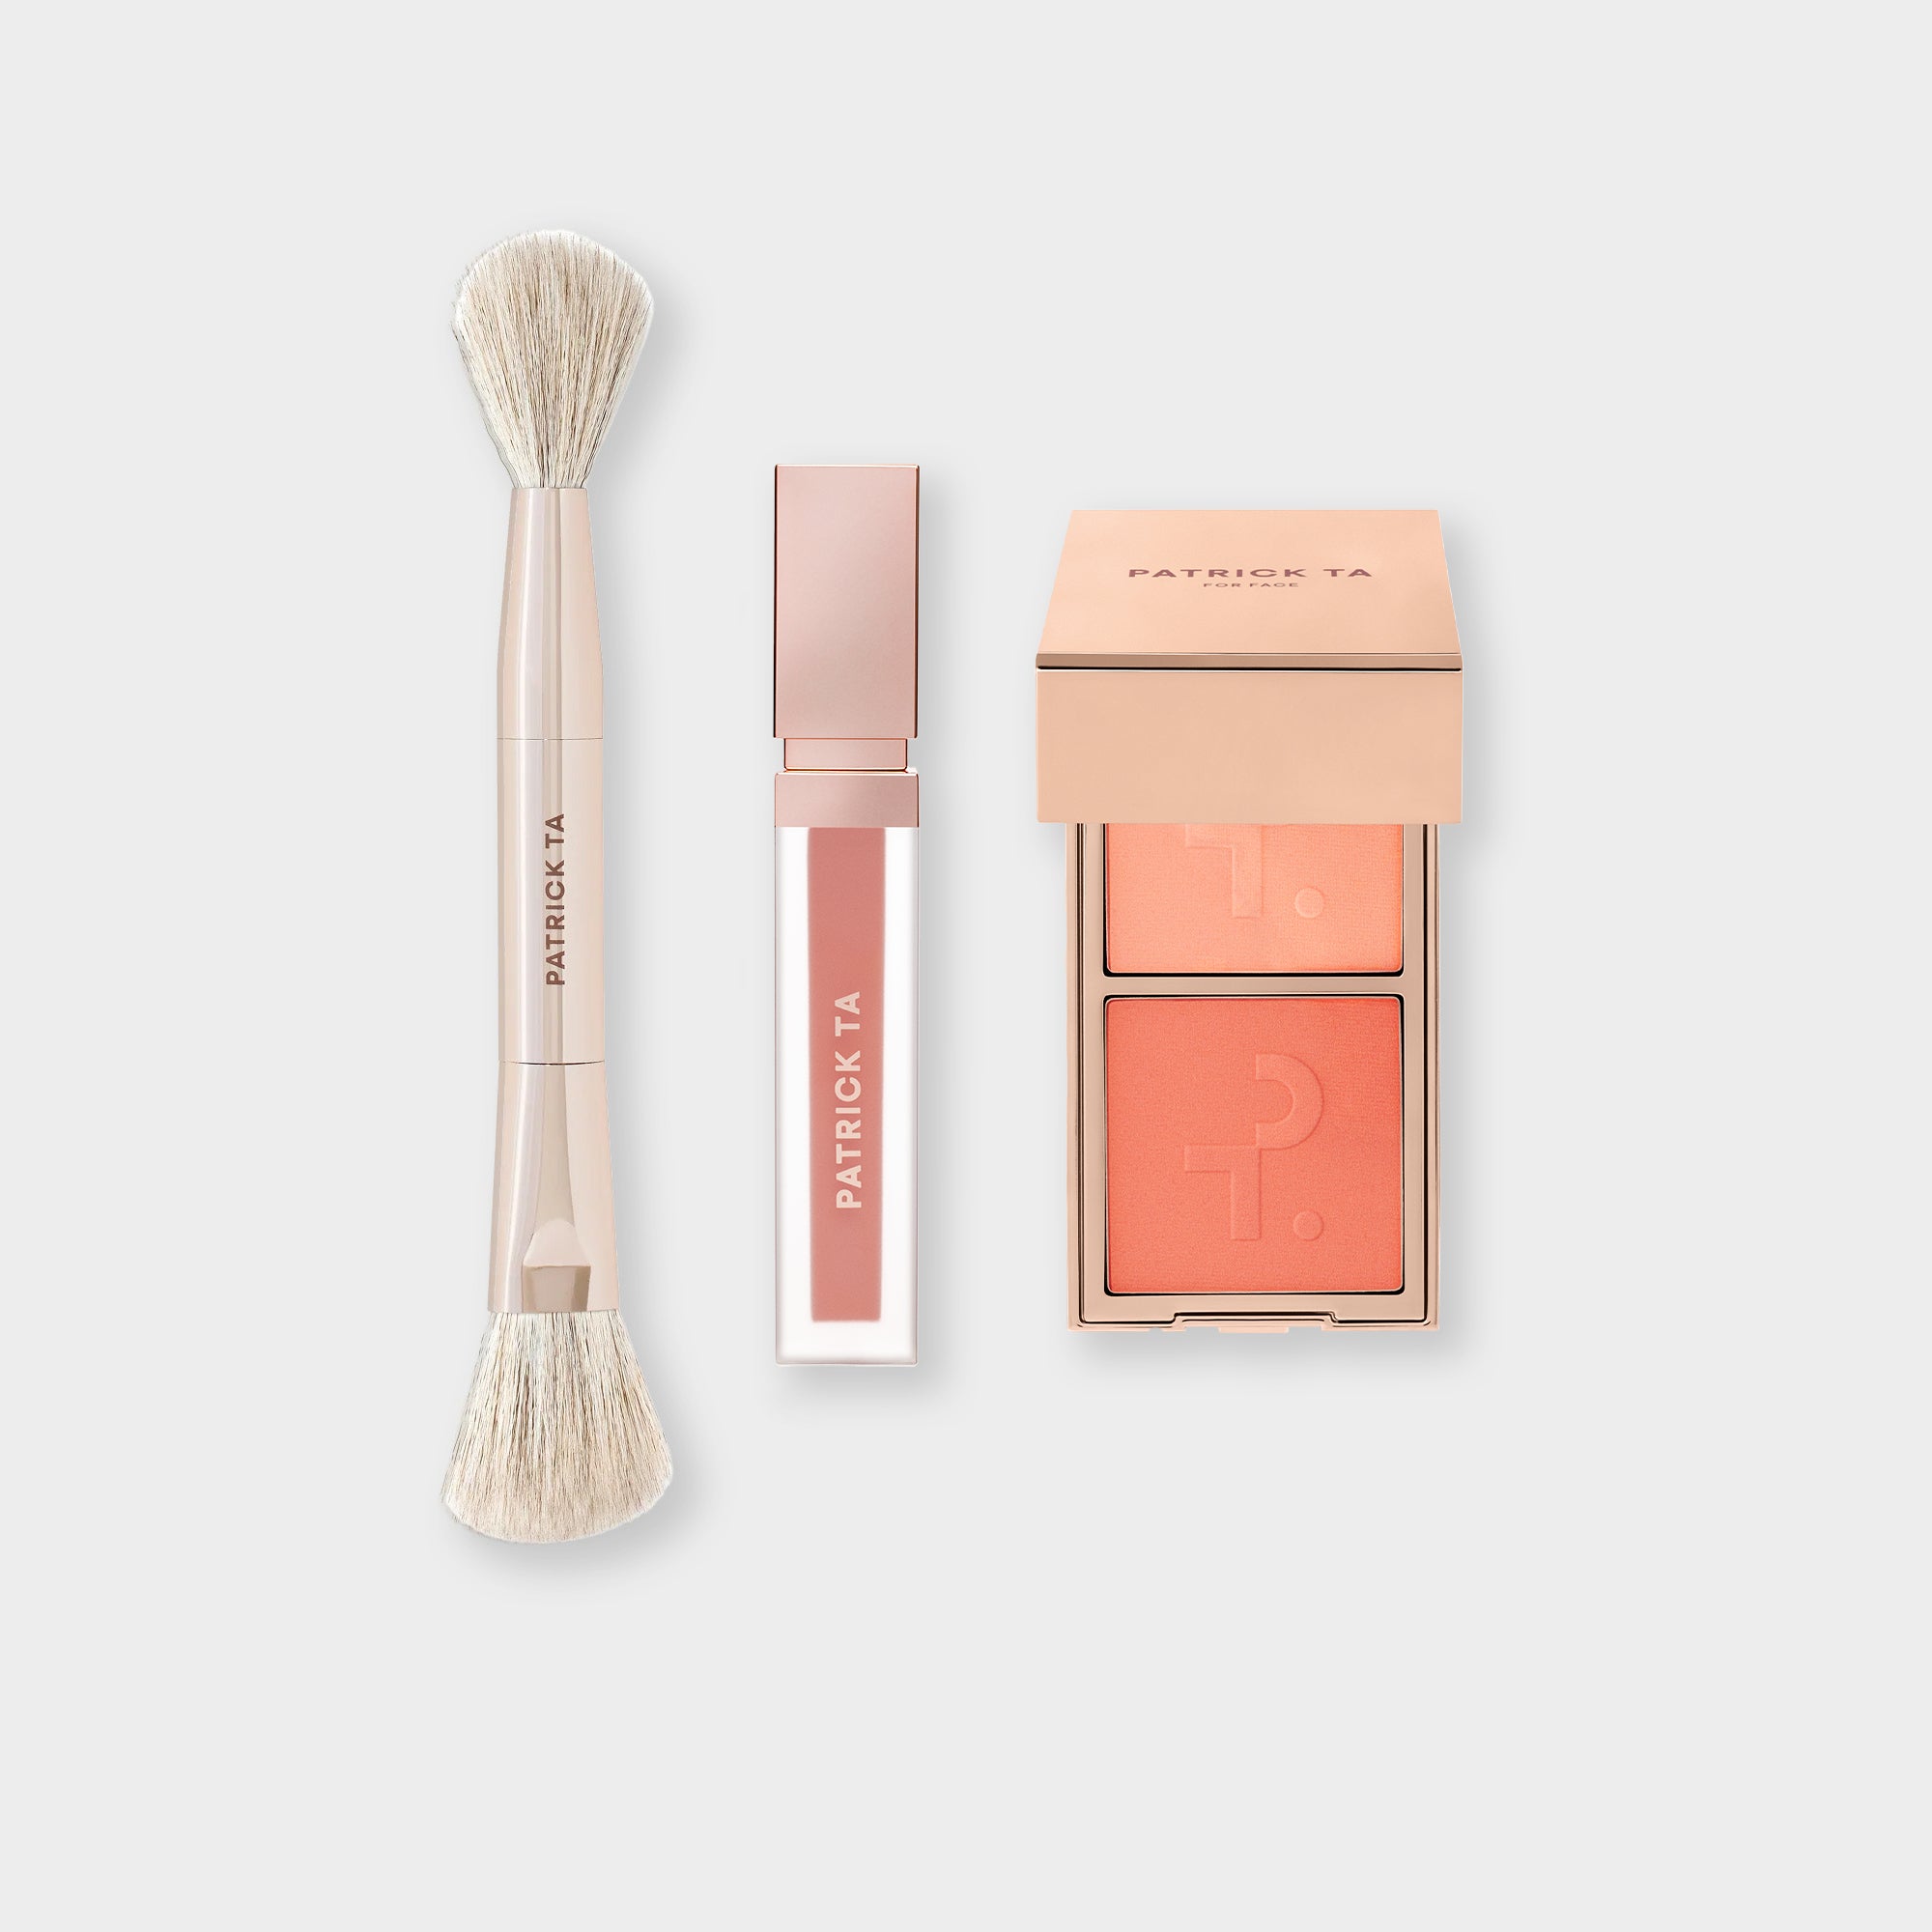
Quick Summary
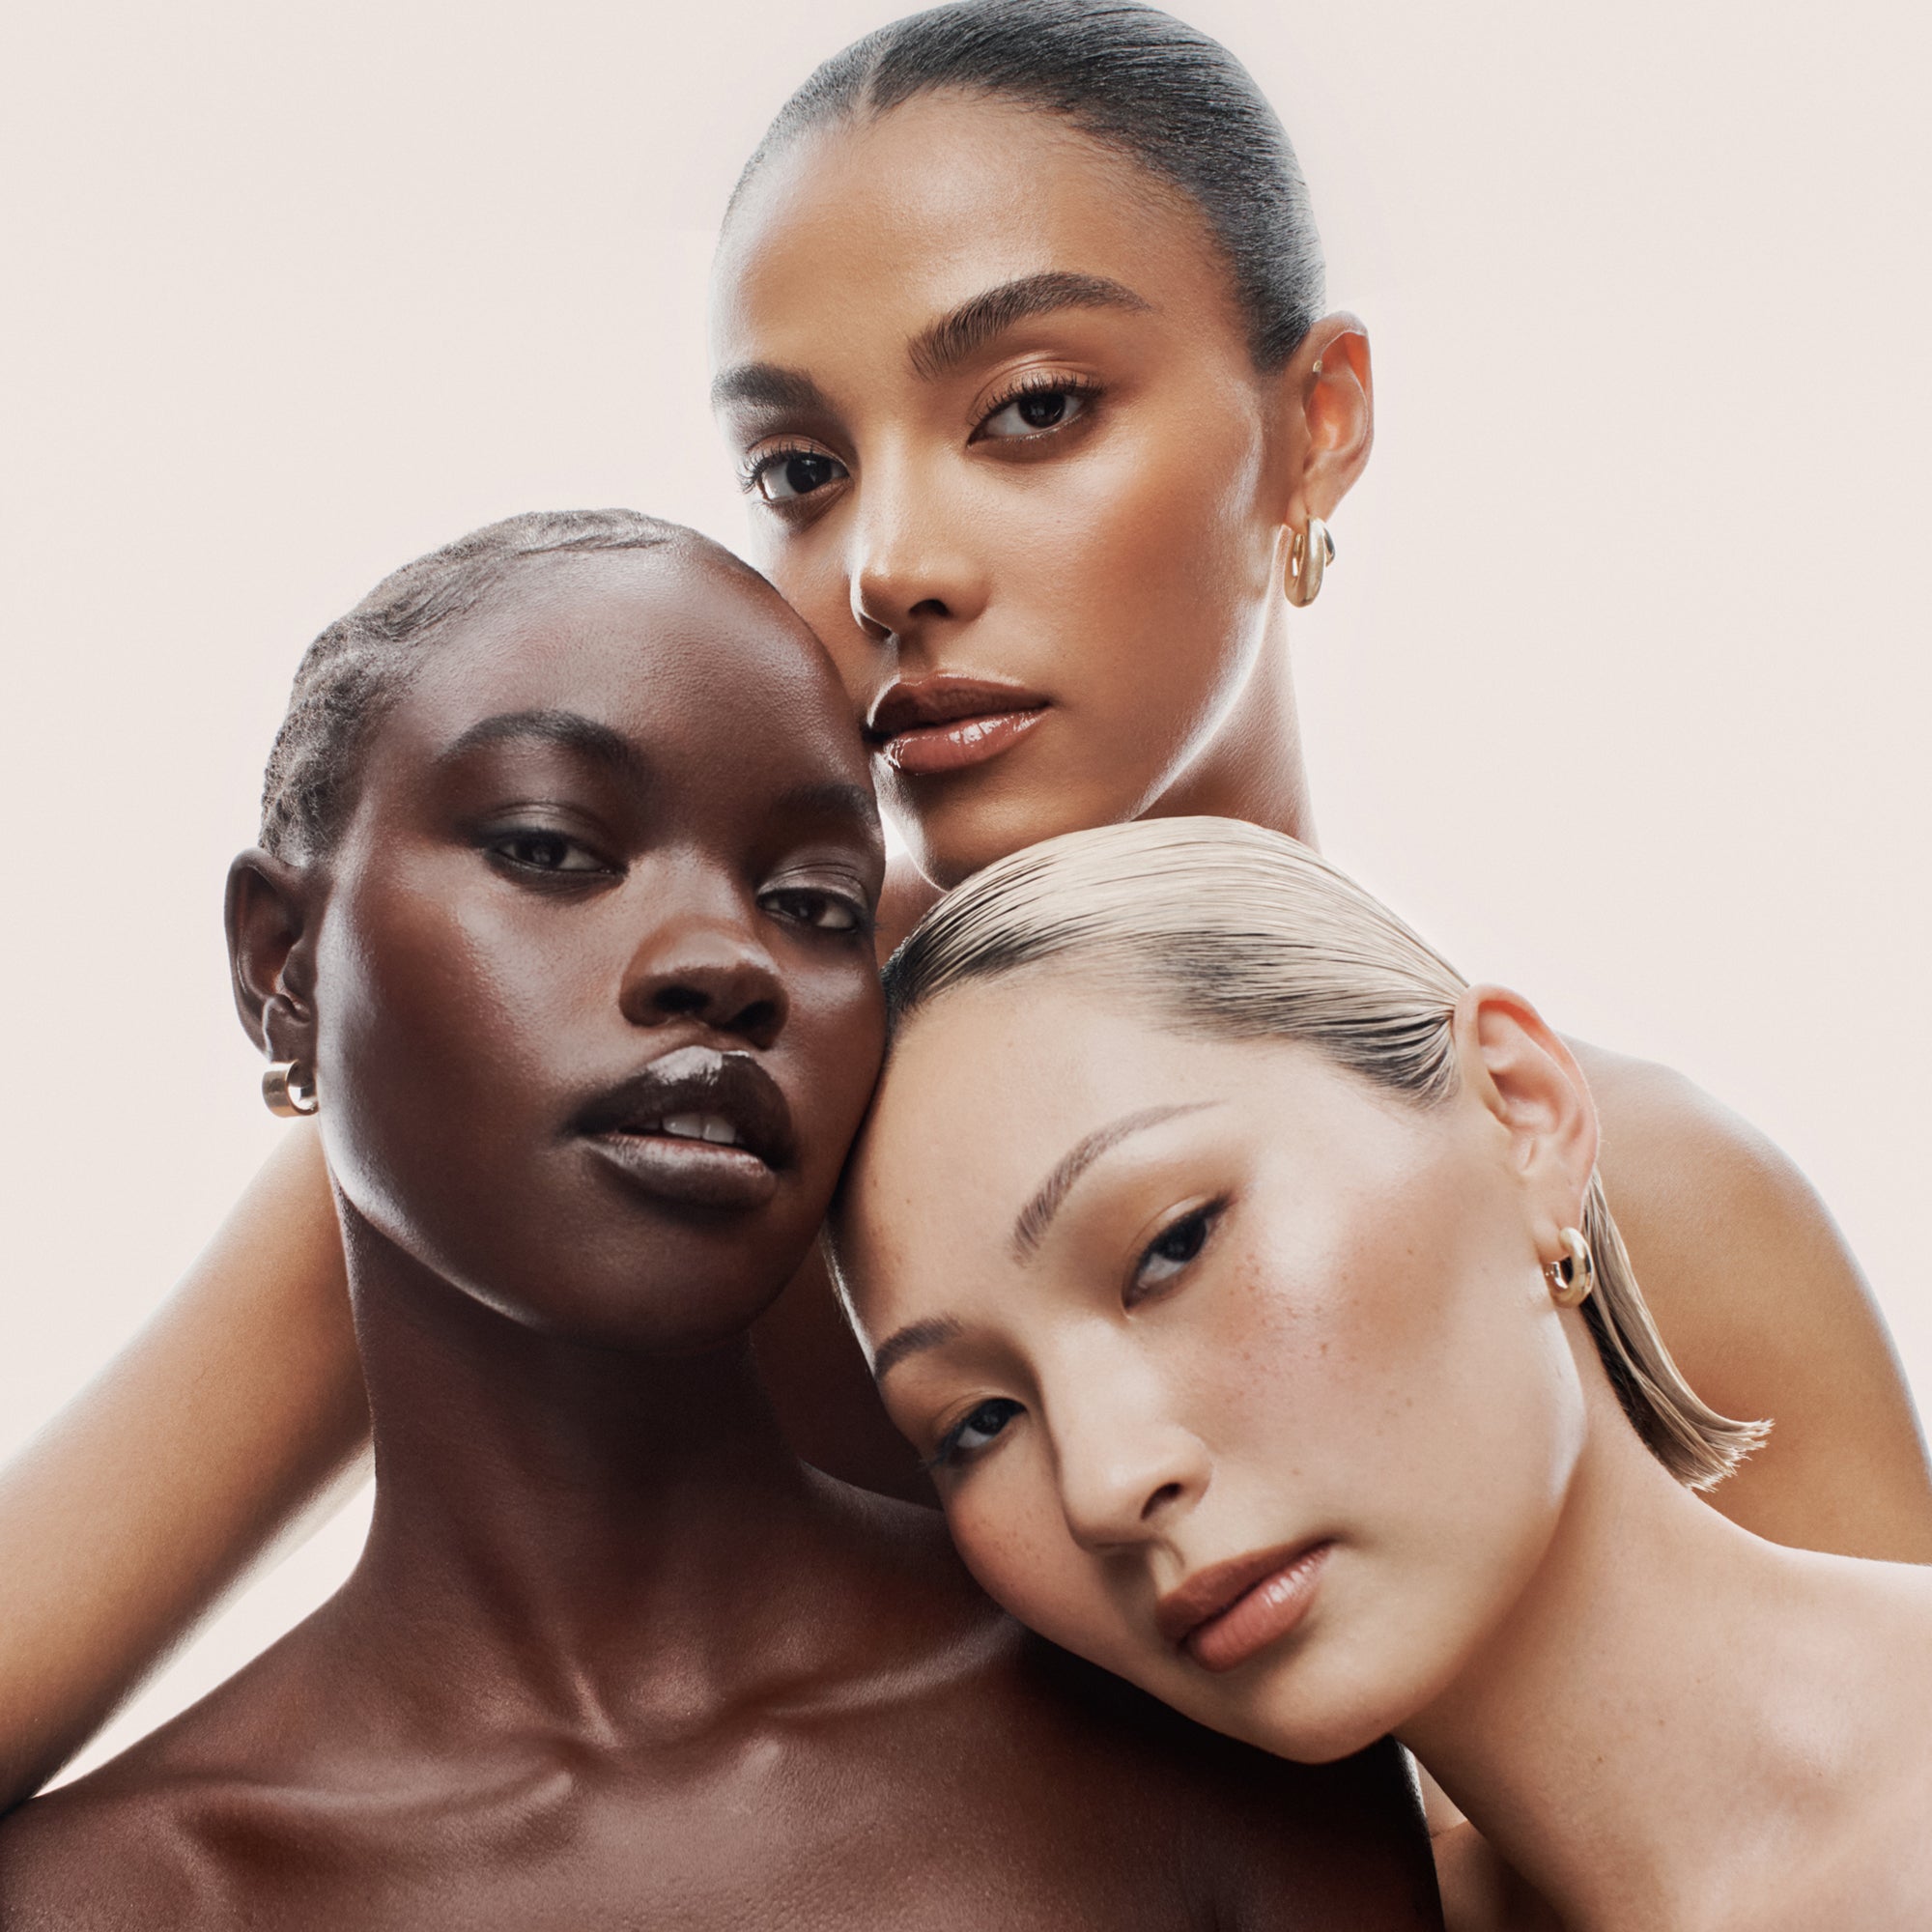
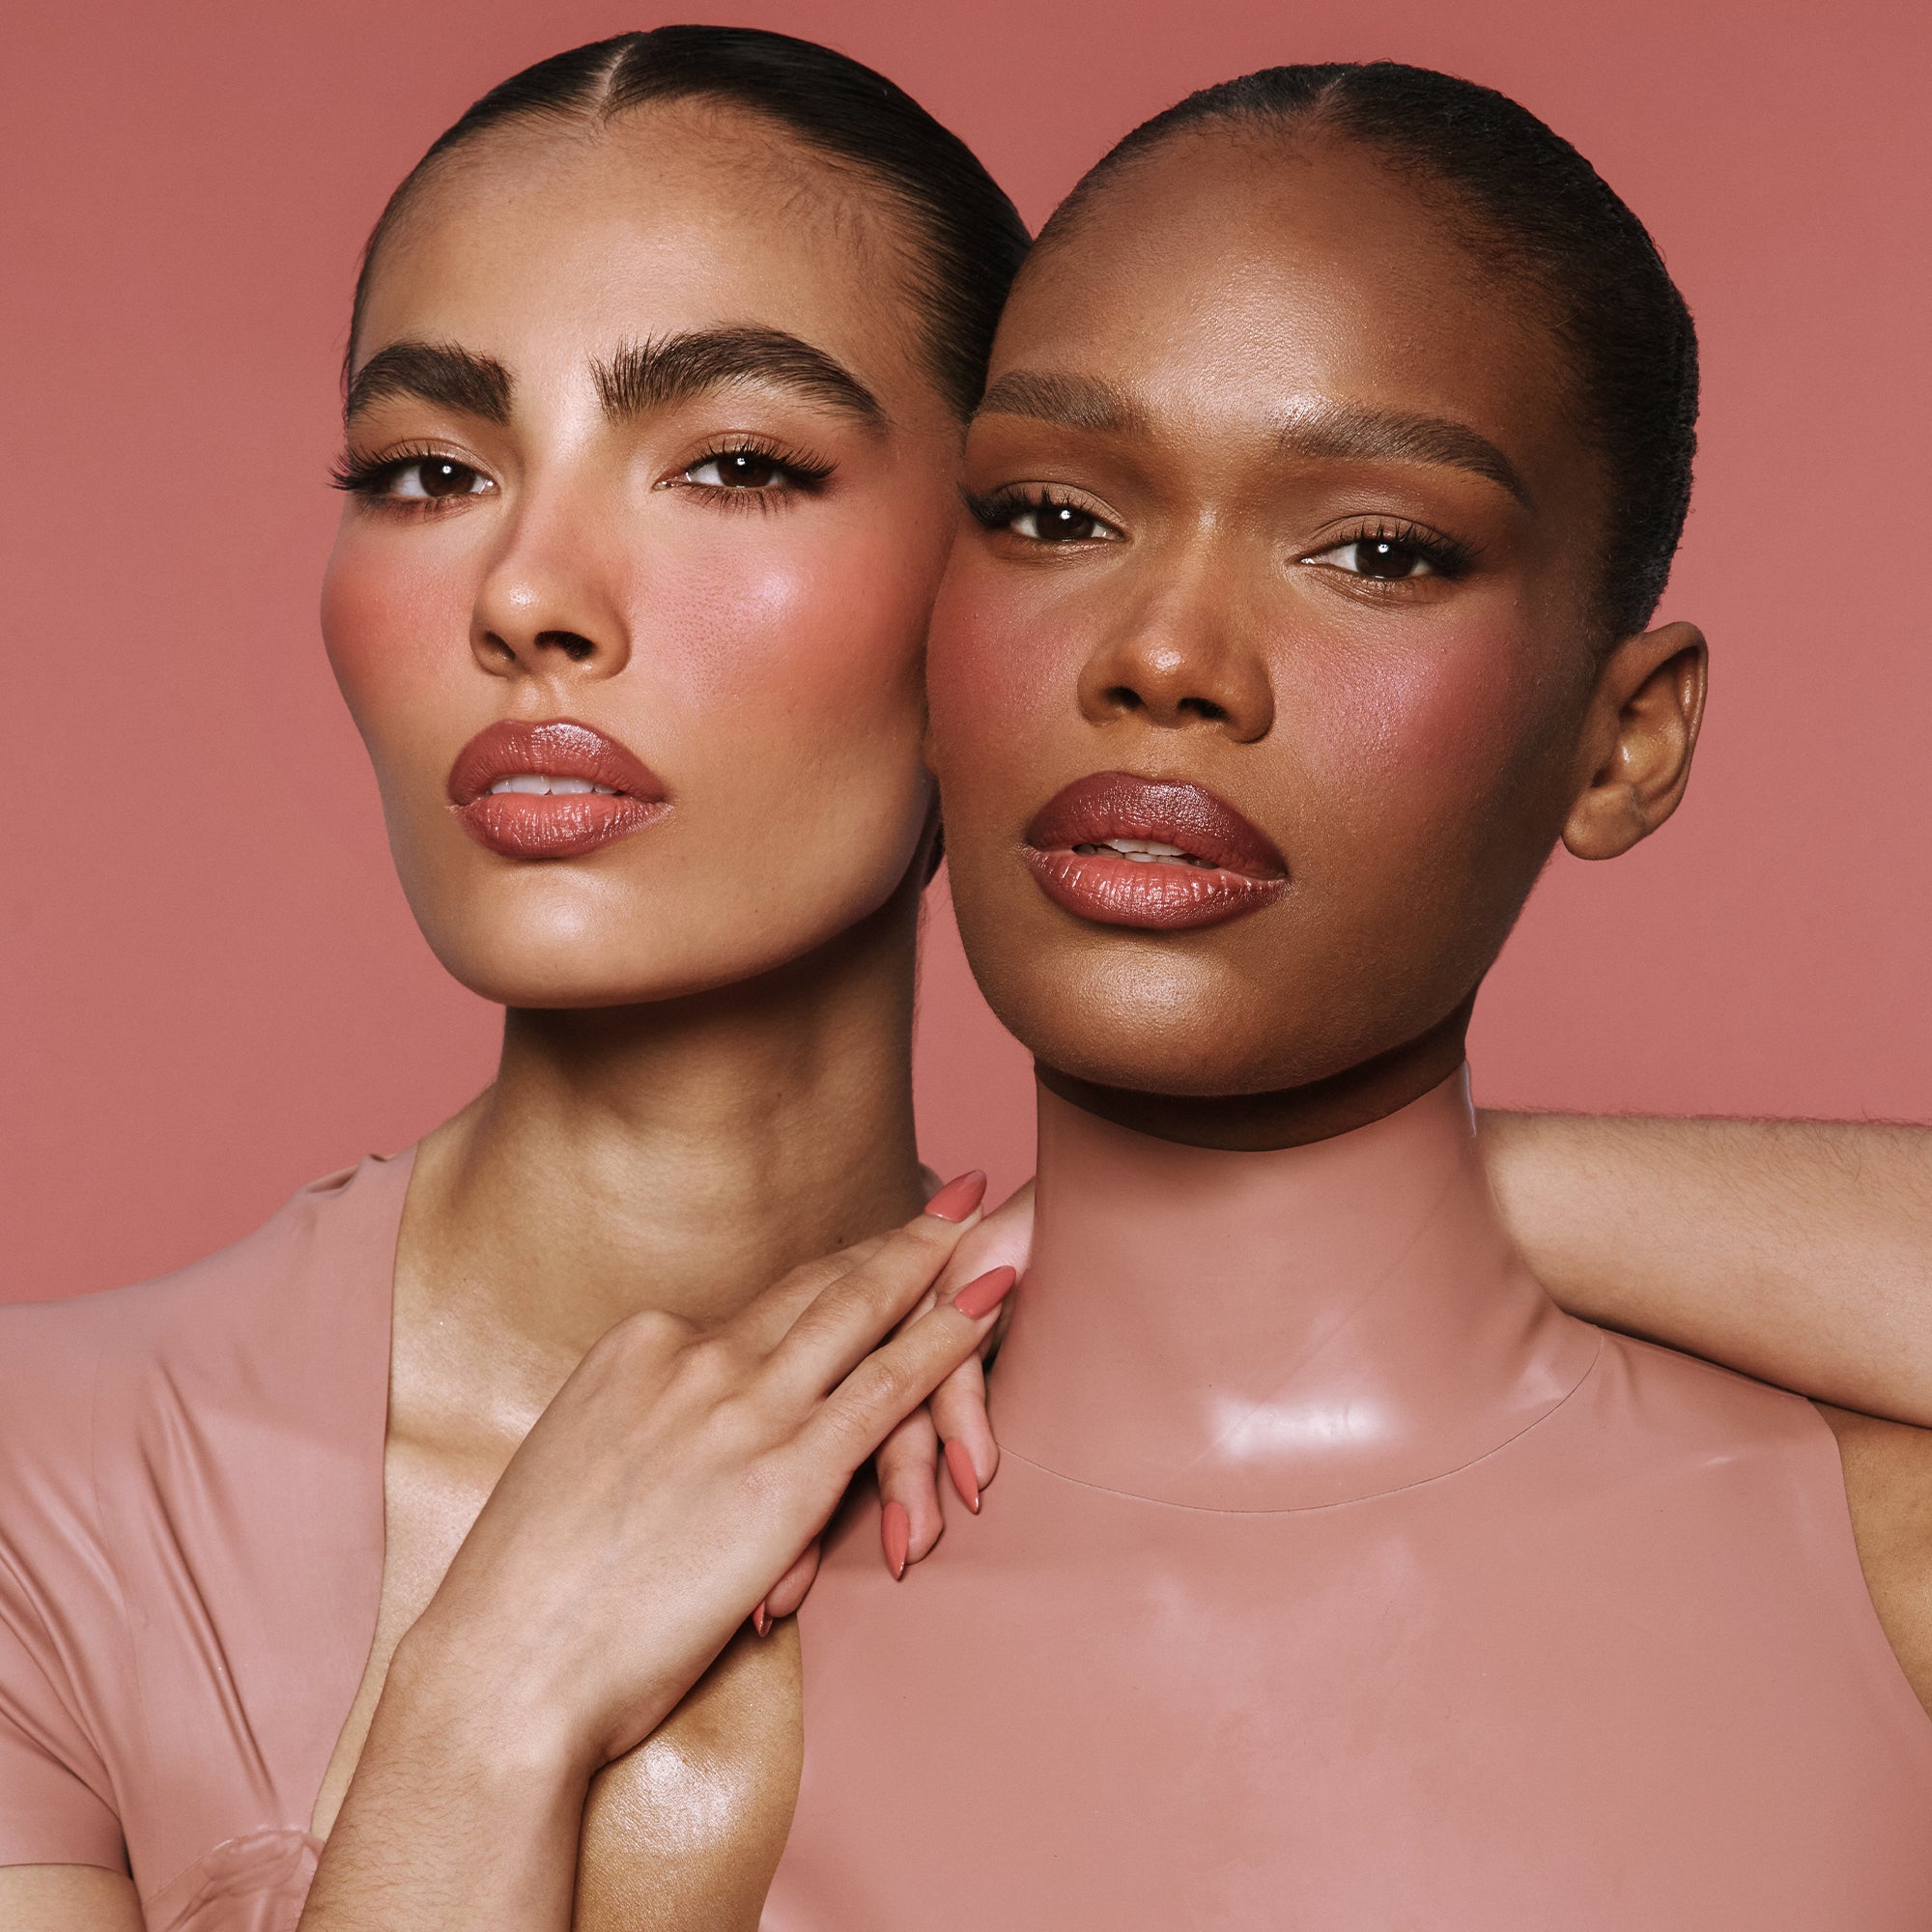
- Match blush depth to your skin tone so the color reads balanced on the cheeks. Choose light to medium shades for fair and light skin, and use medium to deep shades on medium, tan, dark, and deep skin tones to avoid a blush that looks too stark or too muted.
- Use your undertone to narrow your shade family before you pick a blush. If your undertone is cool, reach for rose, berry, mauve, or cool pink. If your undertone is warm, choose coral, peach, apricot, or warm pink. If your undertone is neutral, soft mauves, pinks, and roses are especially flattering.
- Choose powder or cream based on your desired finish and base products for the most seamless result. Use powder blush when you want a soft-focus, velvety wash of color that layers easily over any complexion product. Use cream blush when you want a dewy finish that melts best into cream or liquid foundation.
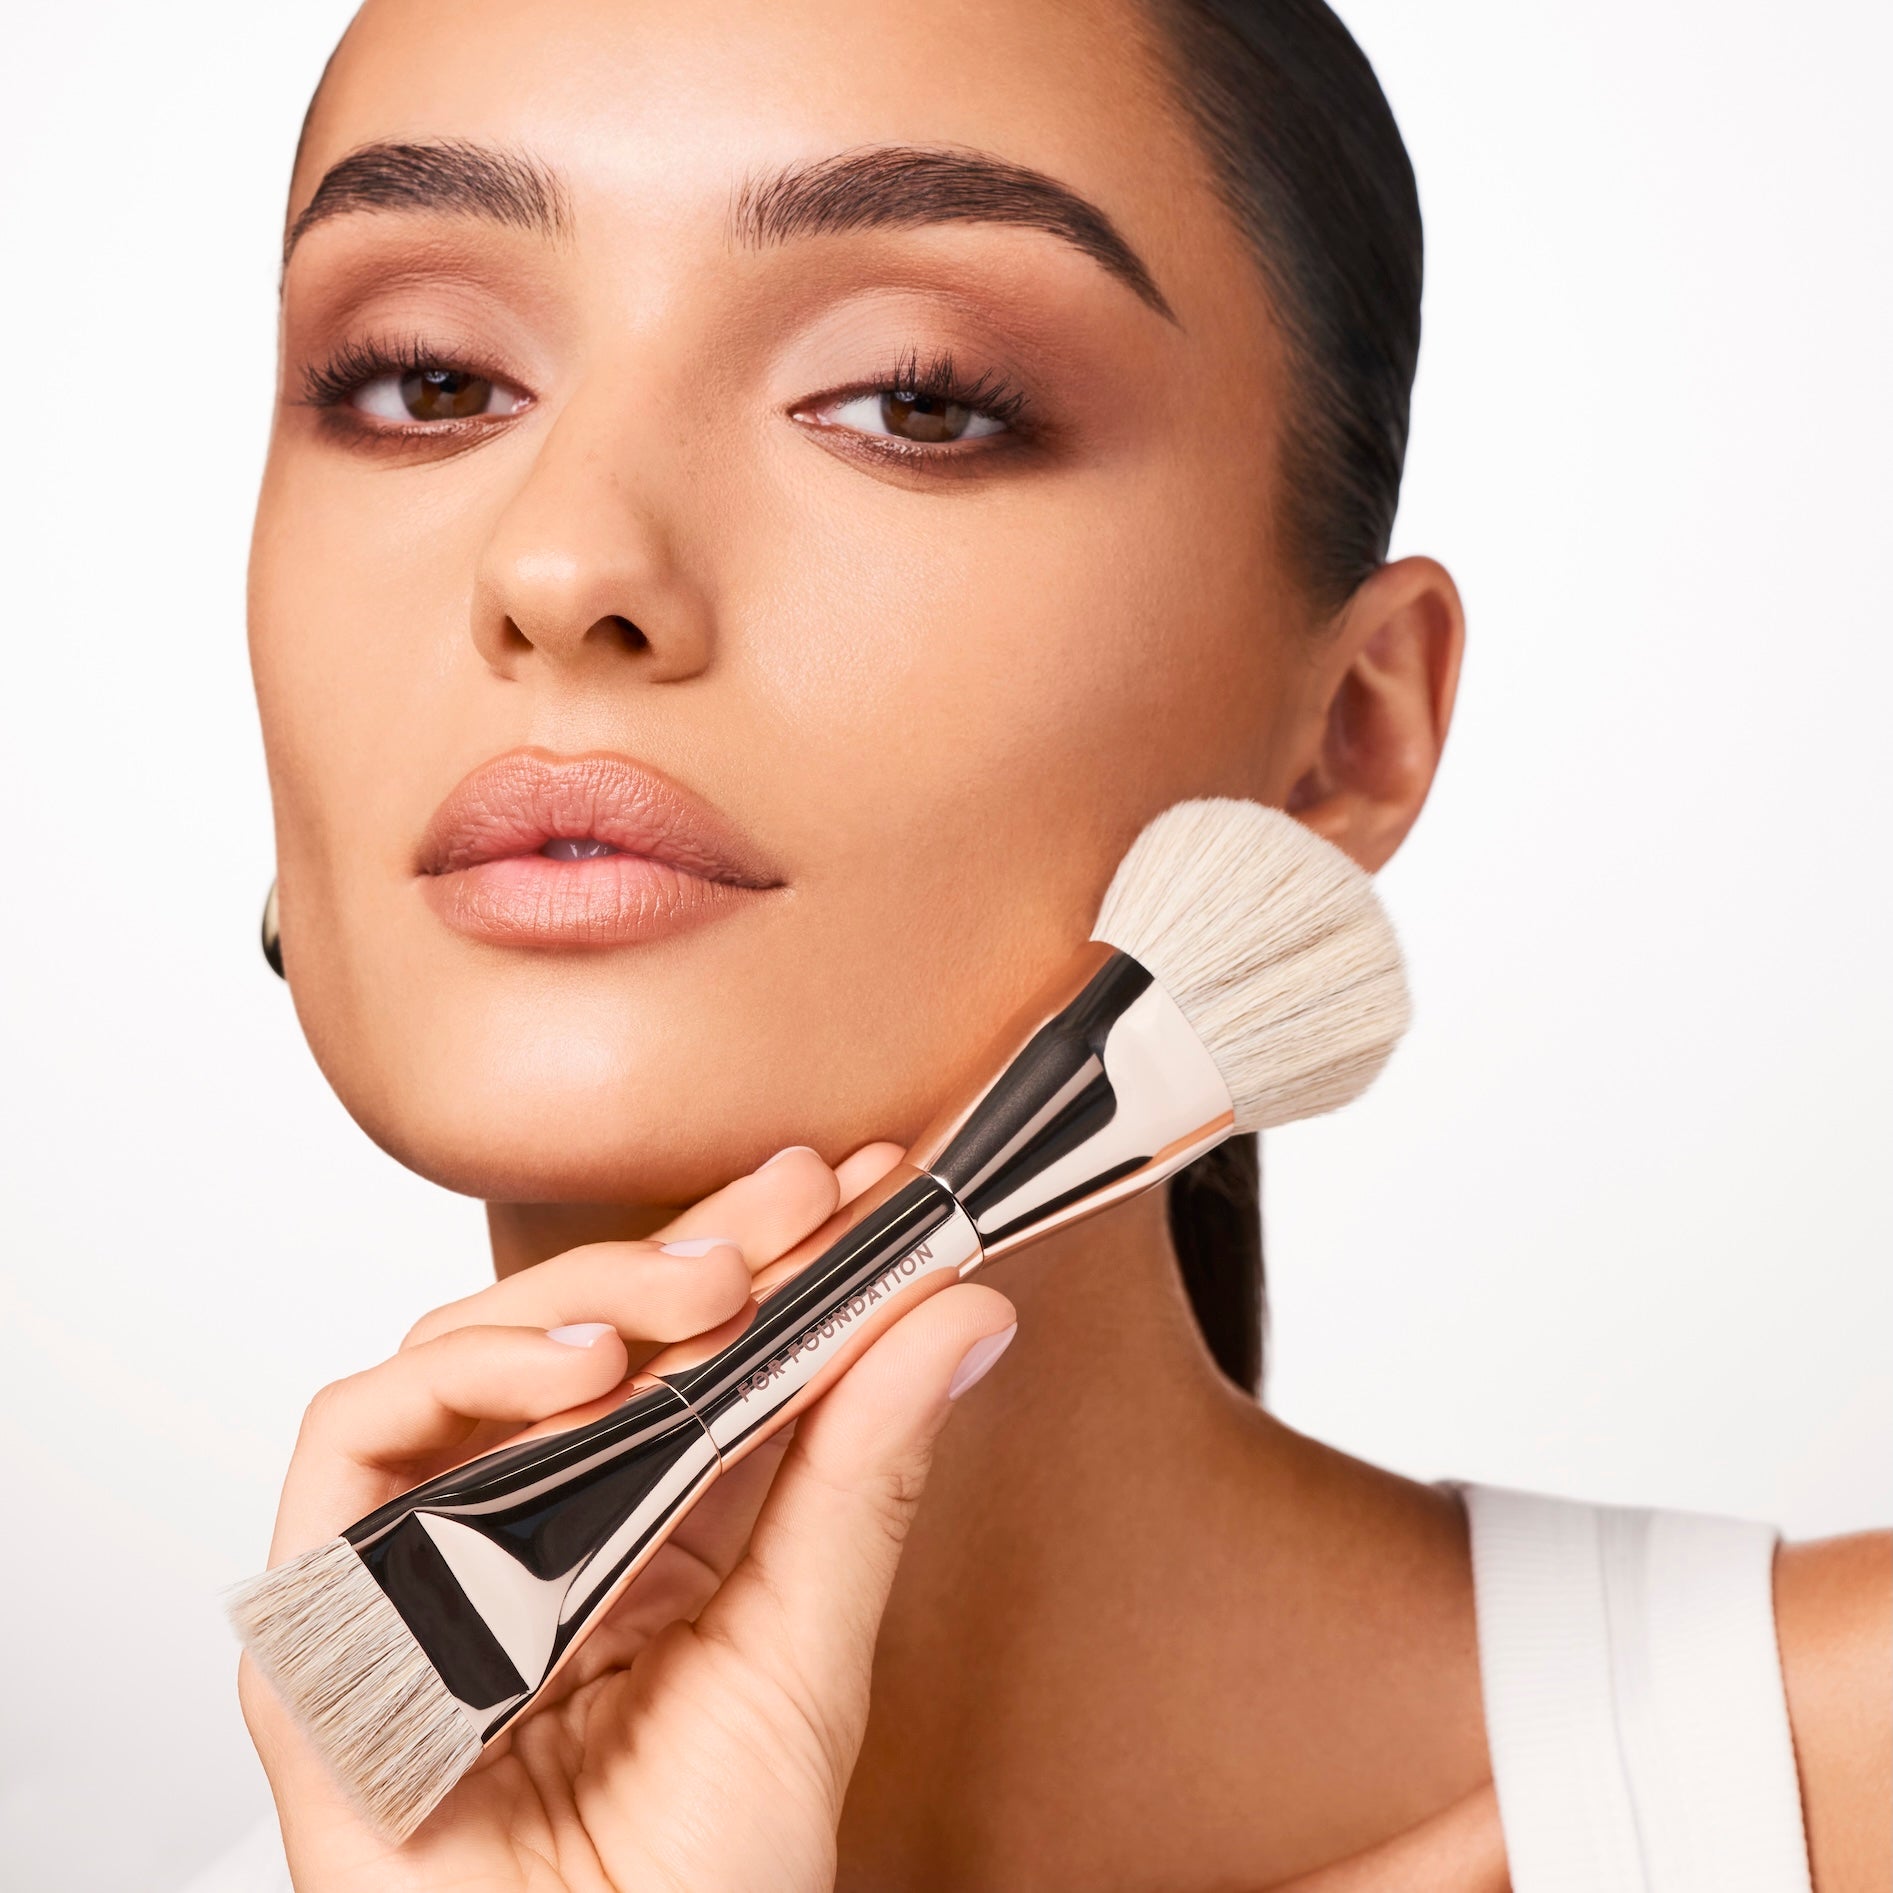
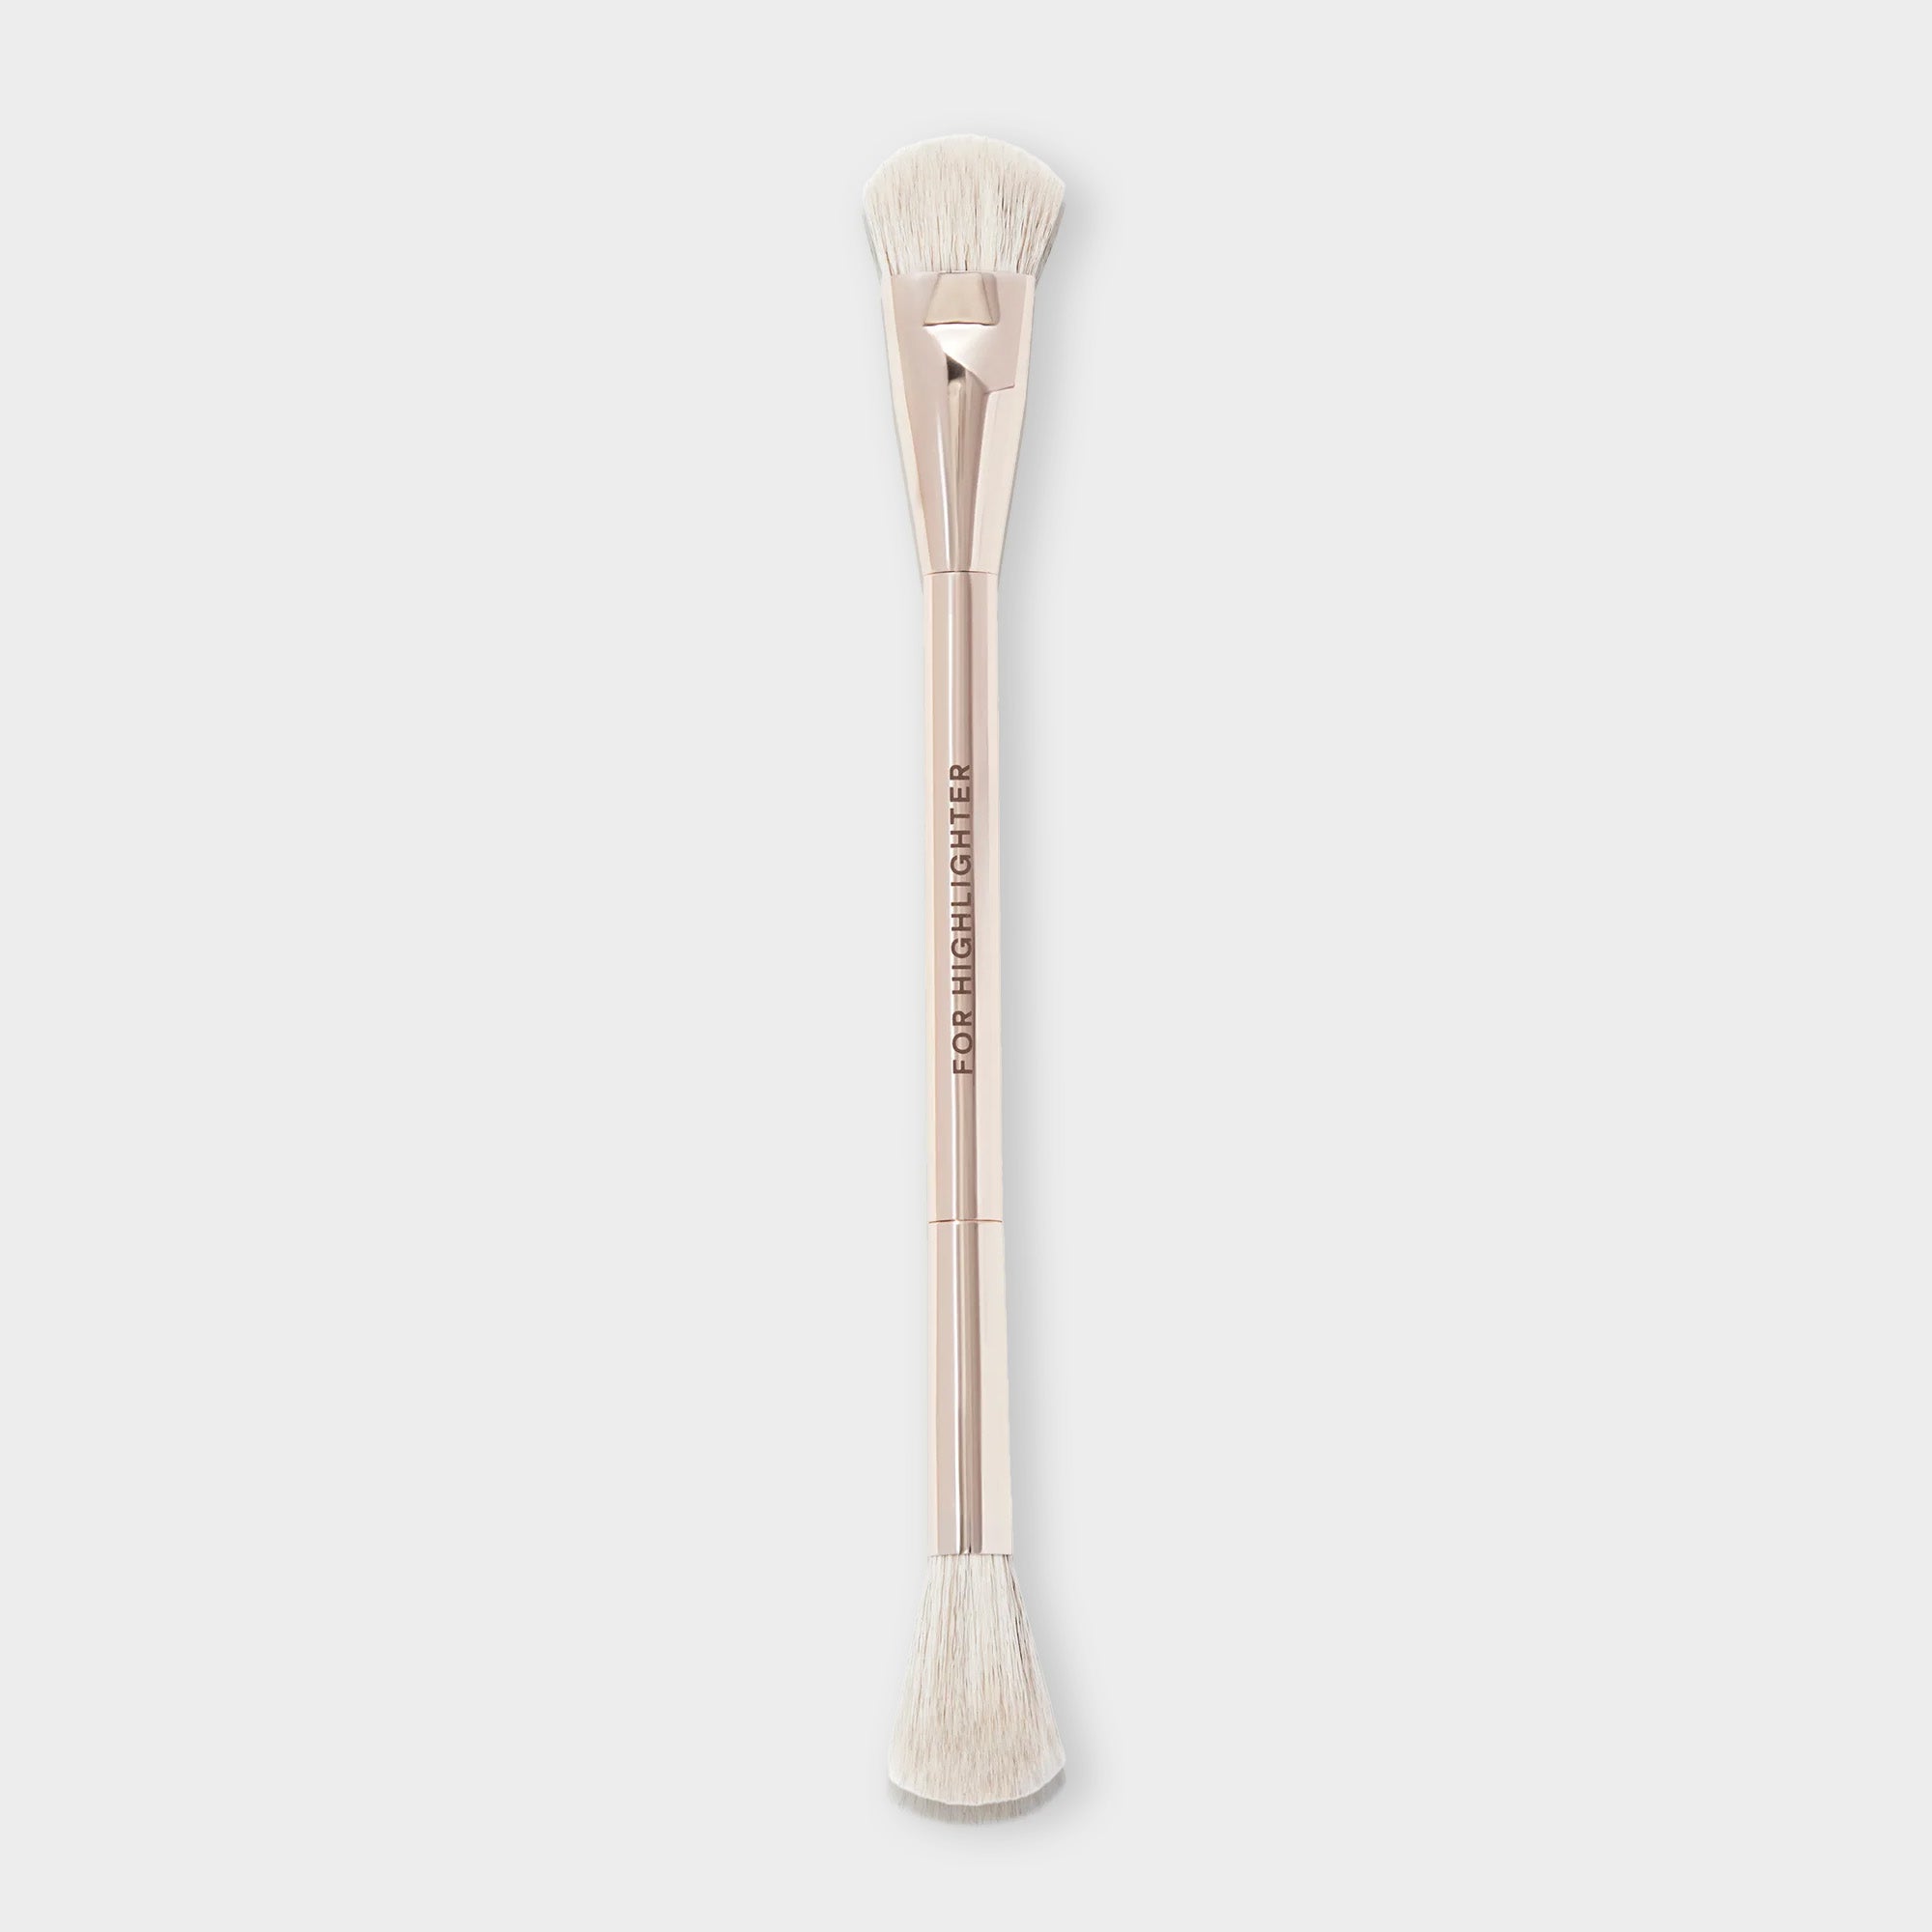
- Pair each formula with the right brush to improve placement and blending. Use a compact, denser blush brush for cream or liquid blush so you can press color exactly where you want it. Use a fluffy brush for powder blush to diffuse pigment softly across the cheek.
- Press blush into the apples of the cheeks, then blend upward toward the temples to add lift without disturbing your base. Stamp the product into the skin instead of swiping, then build in light layers until the color reaches your preferred intensity.
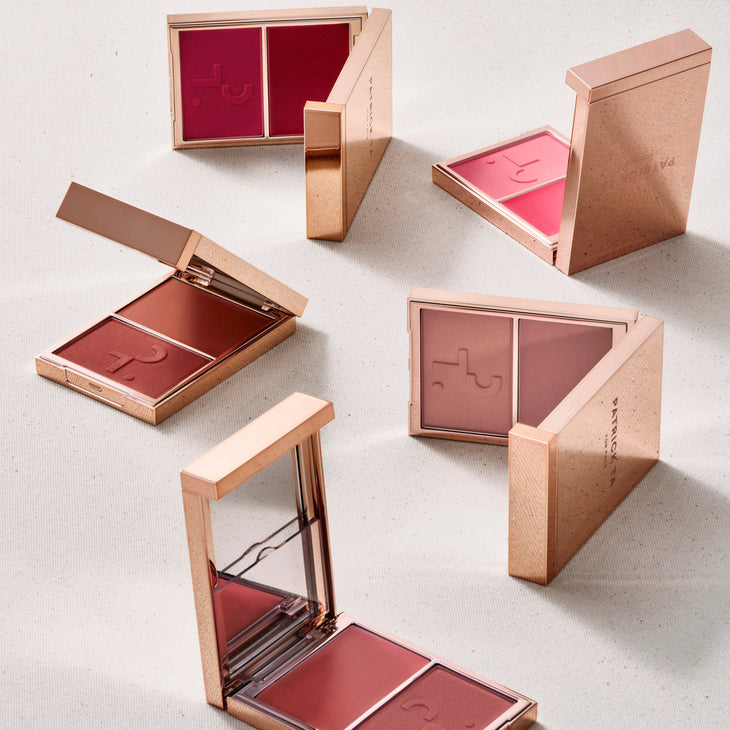
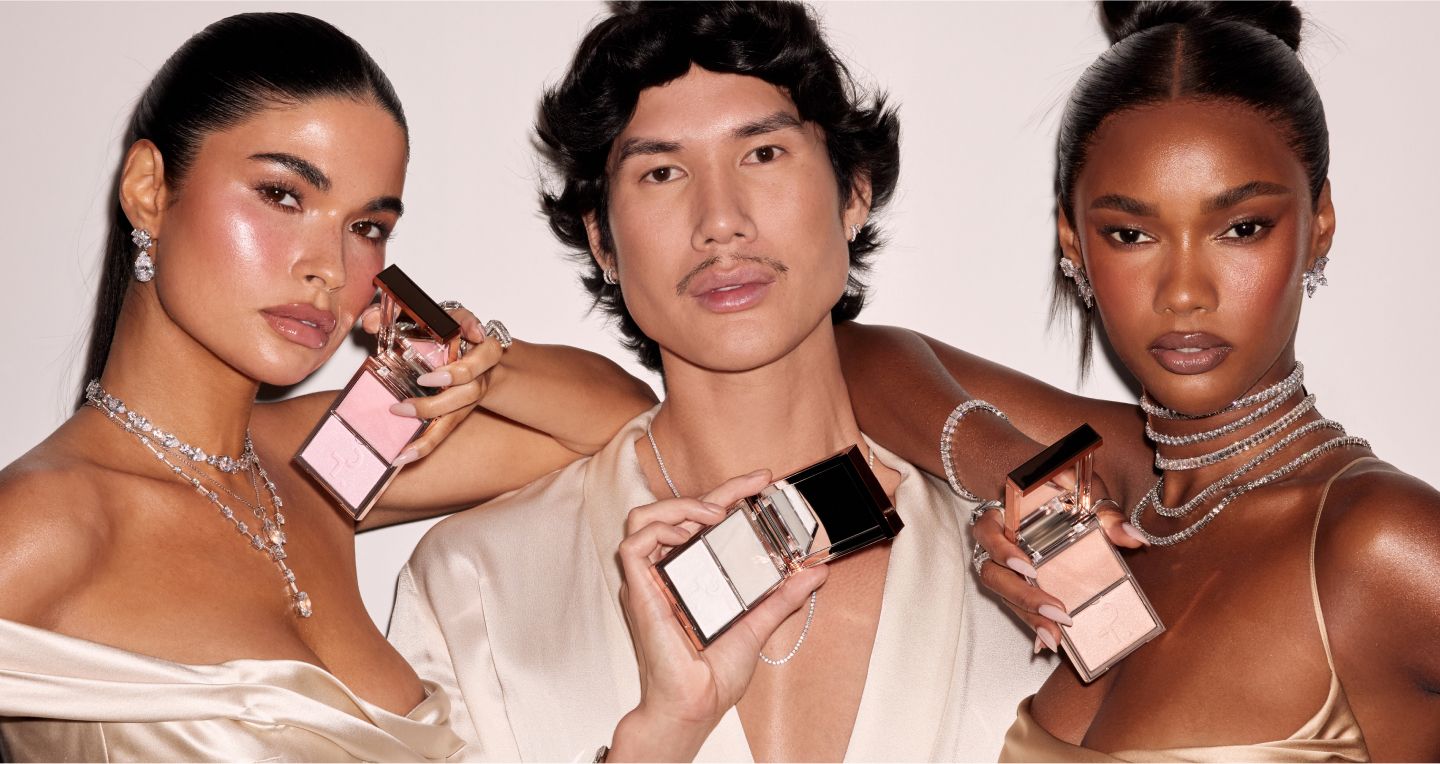
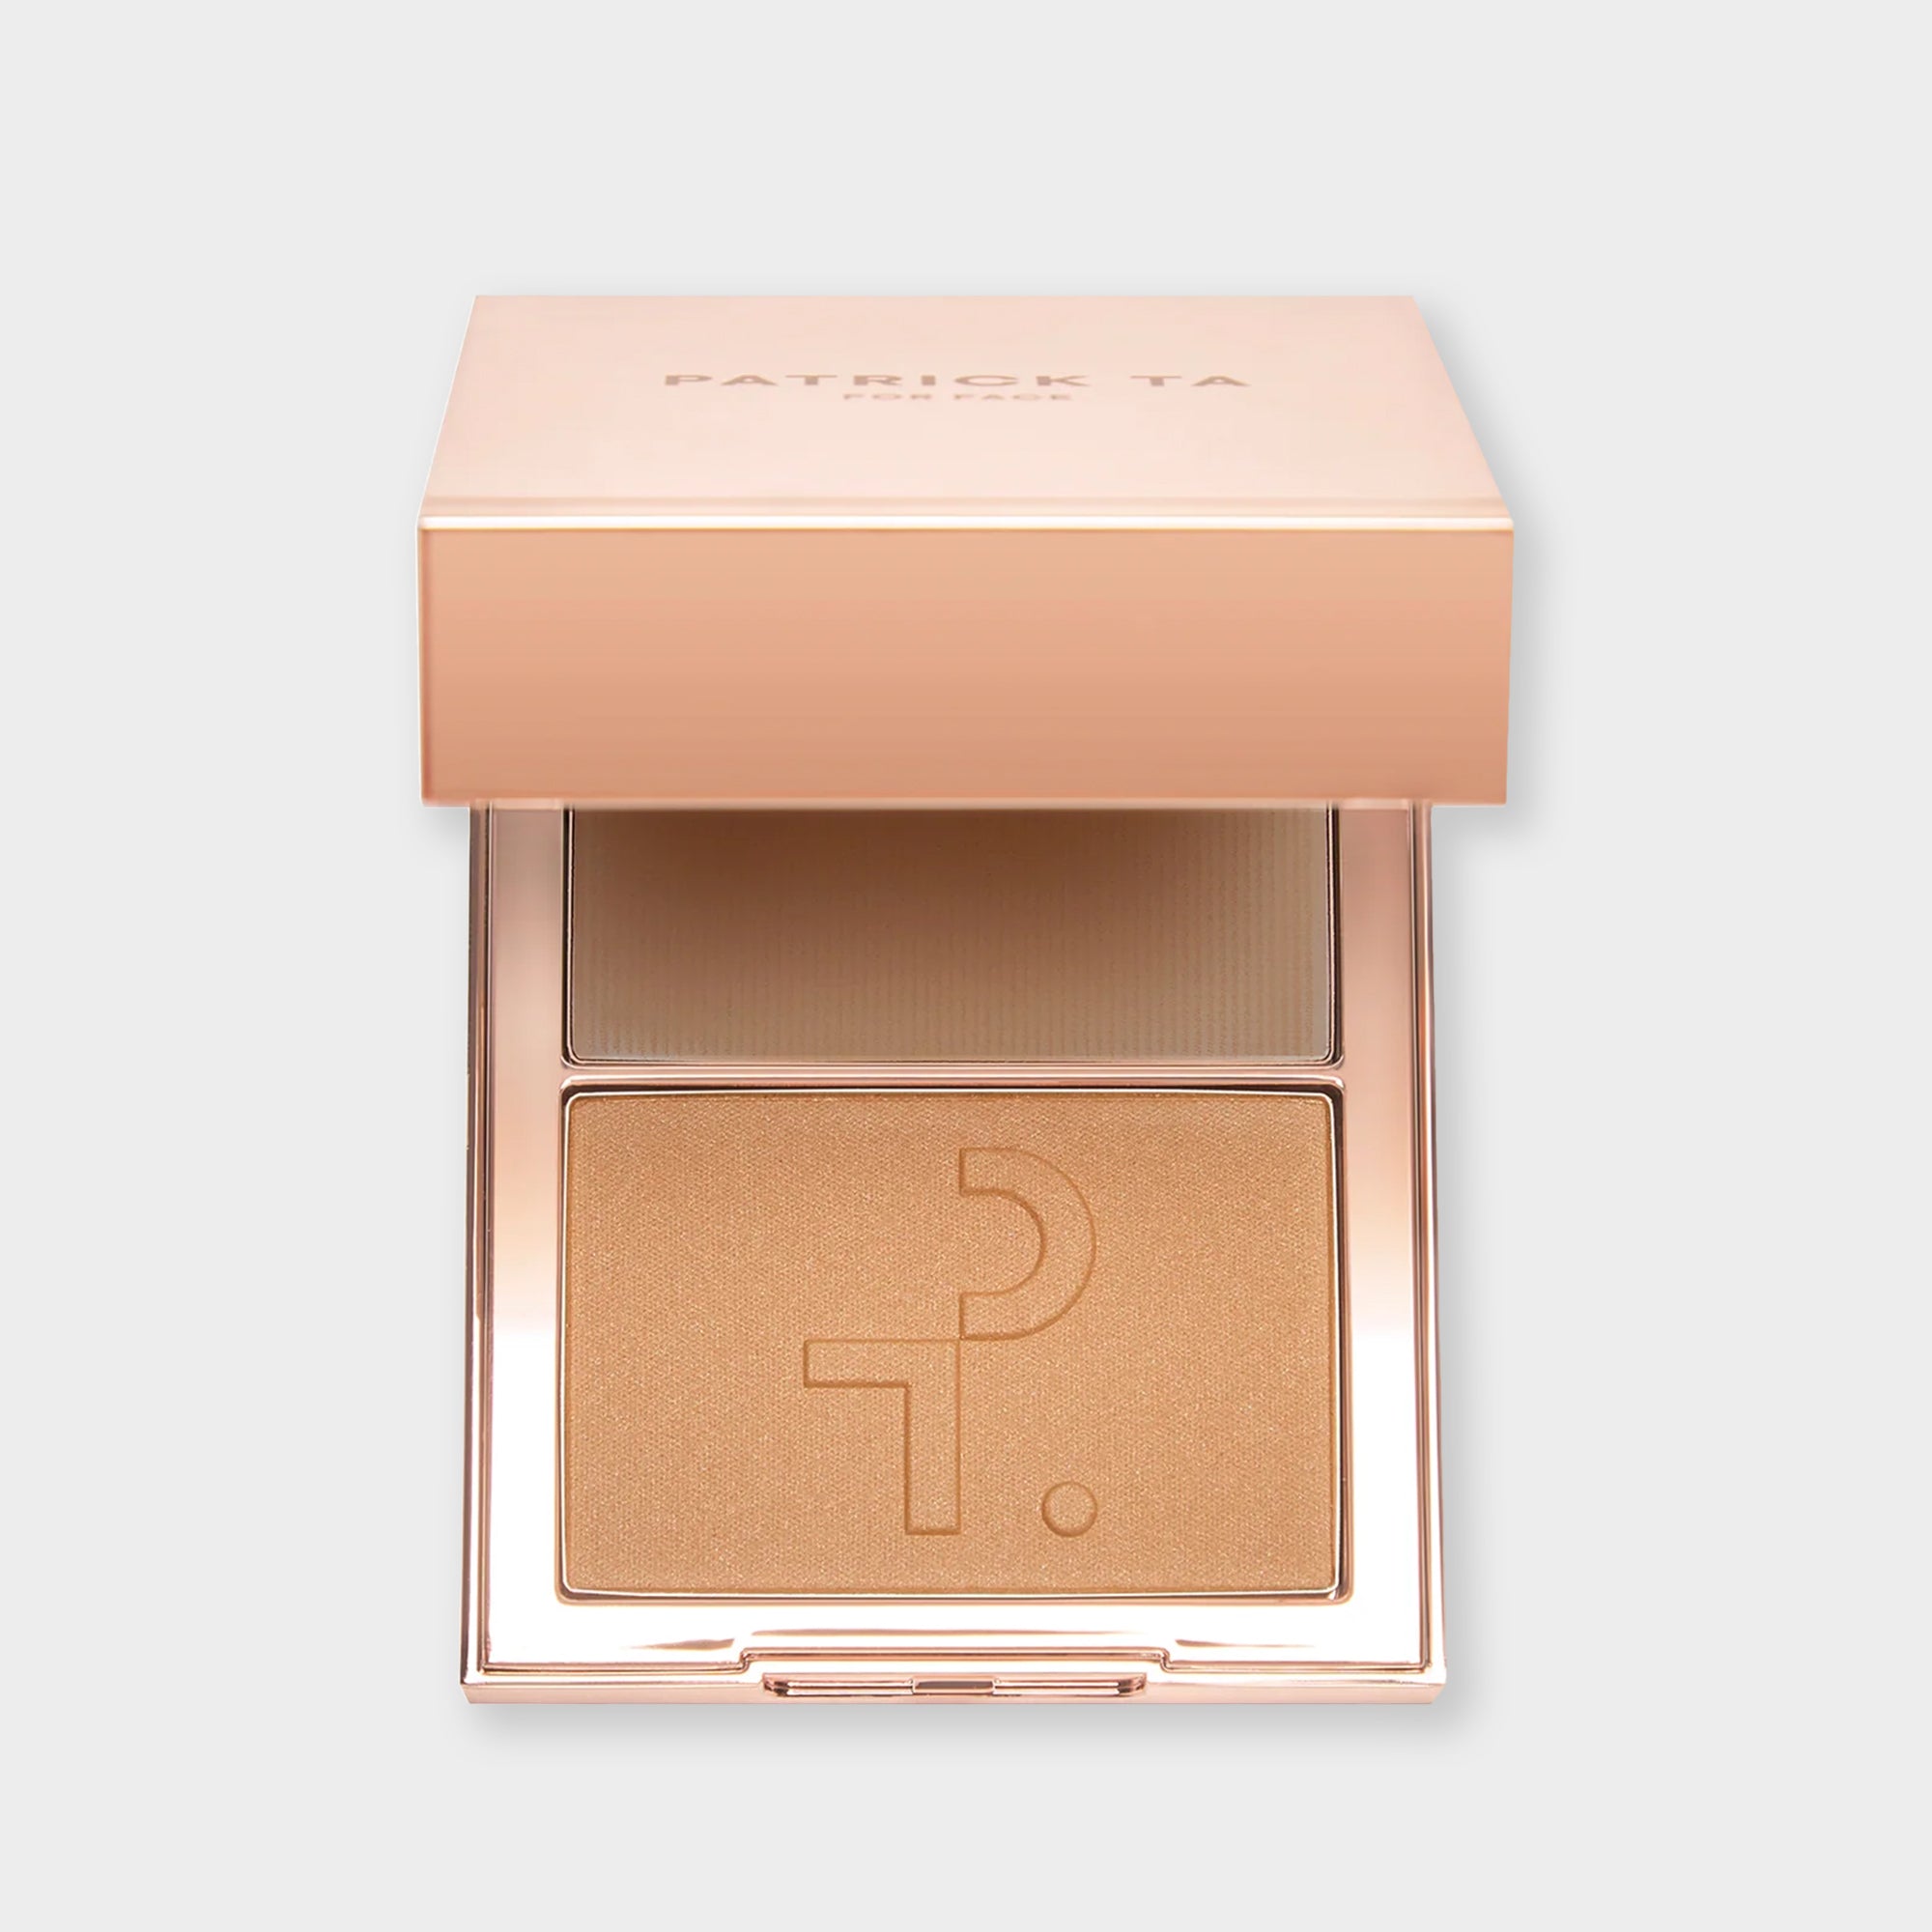
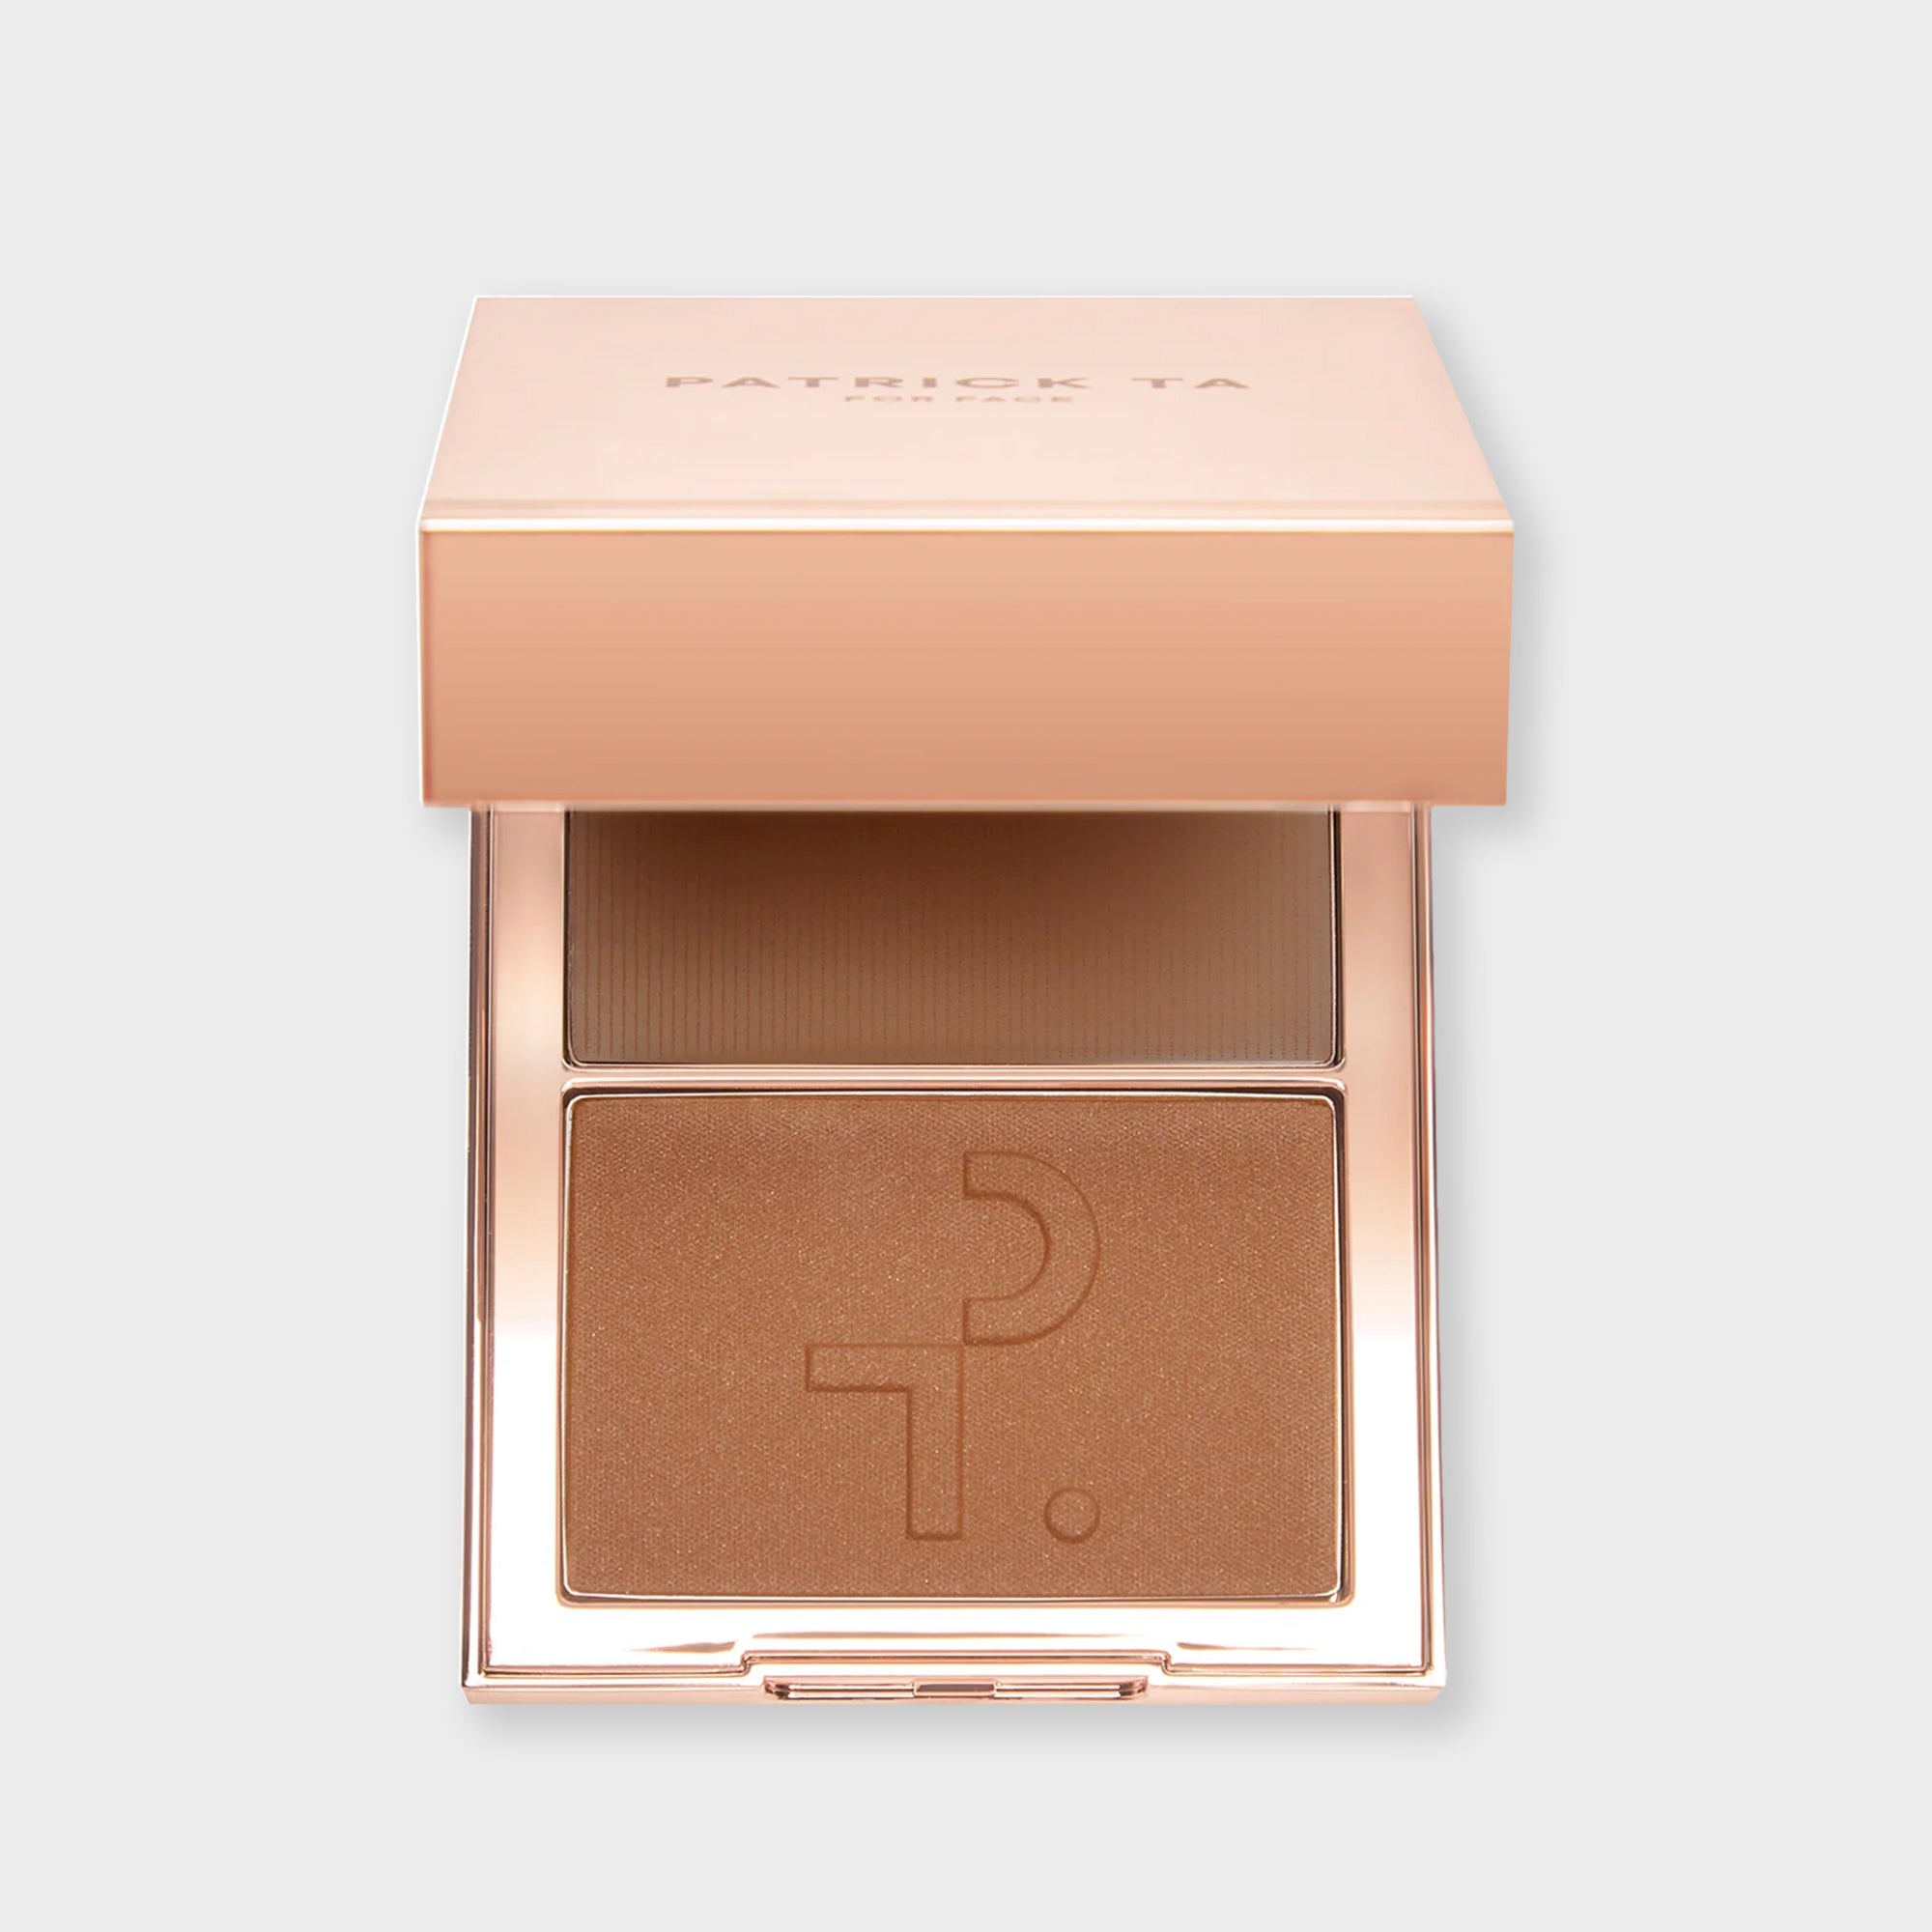
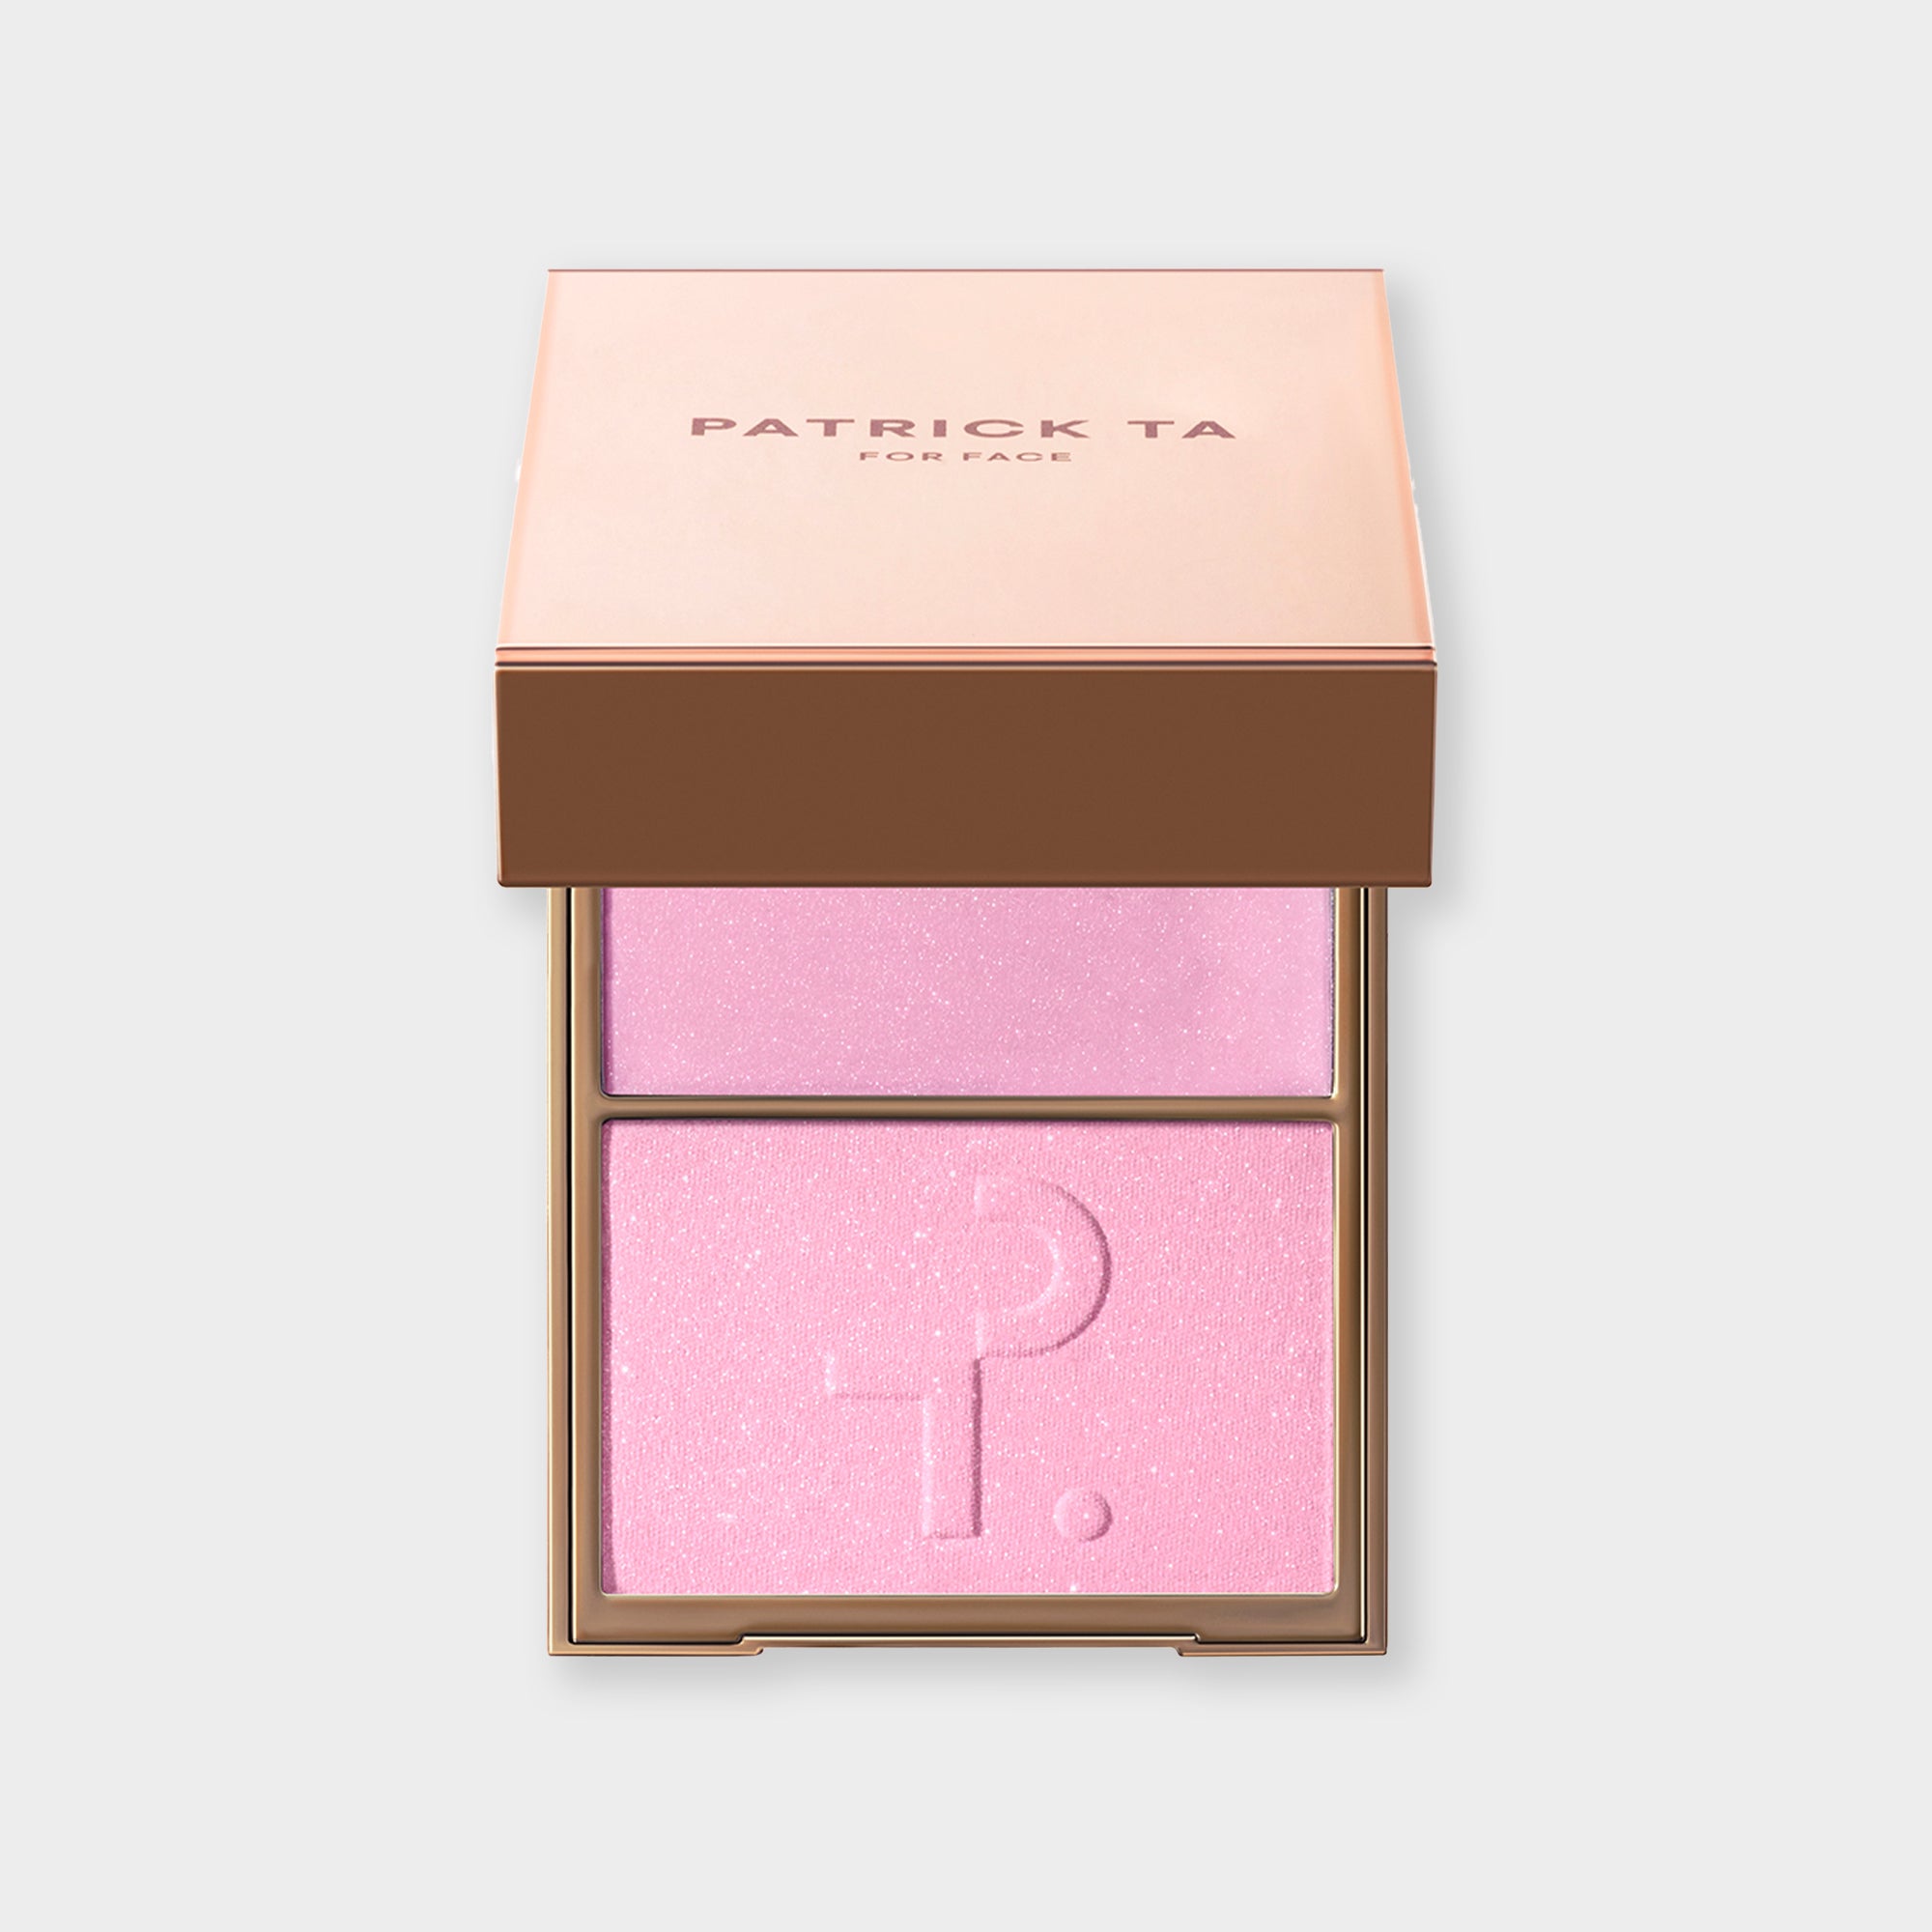
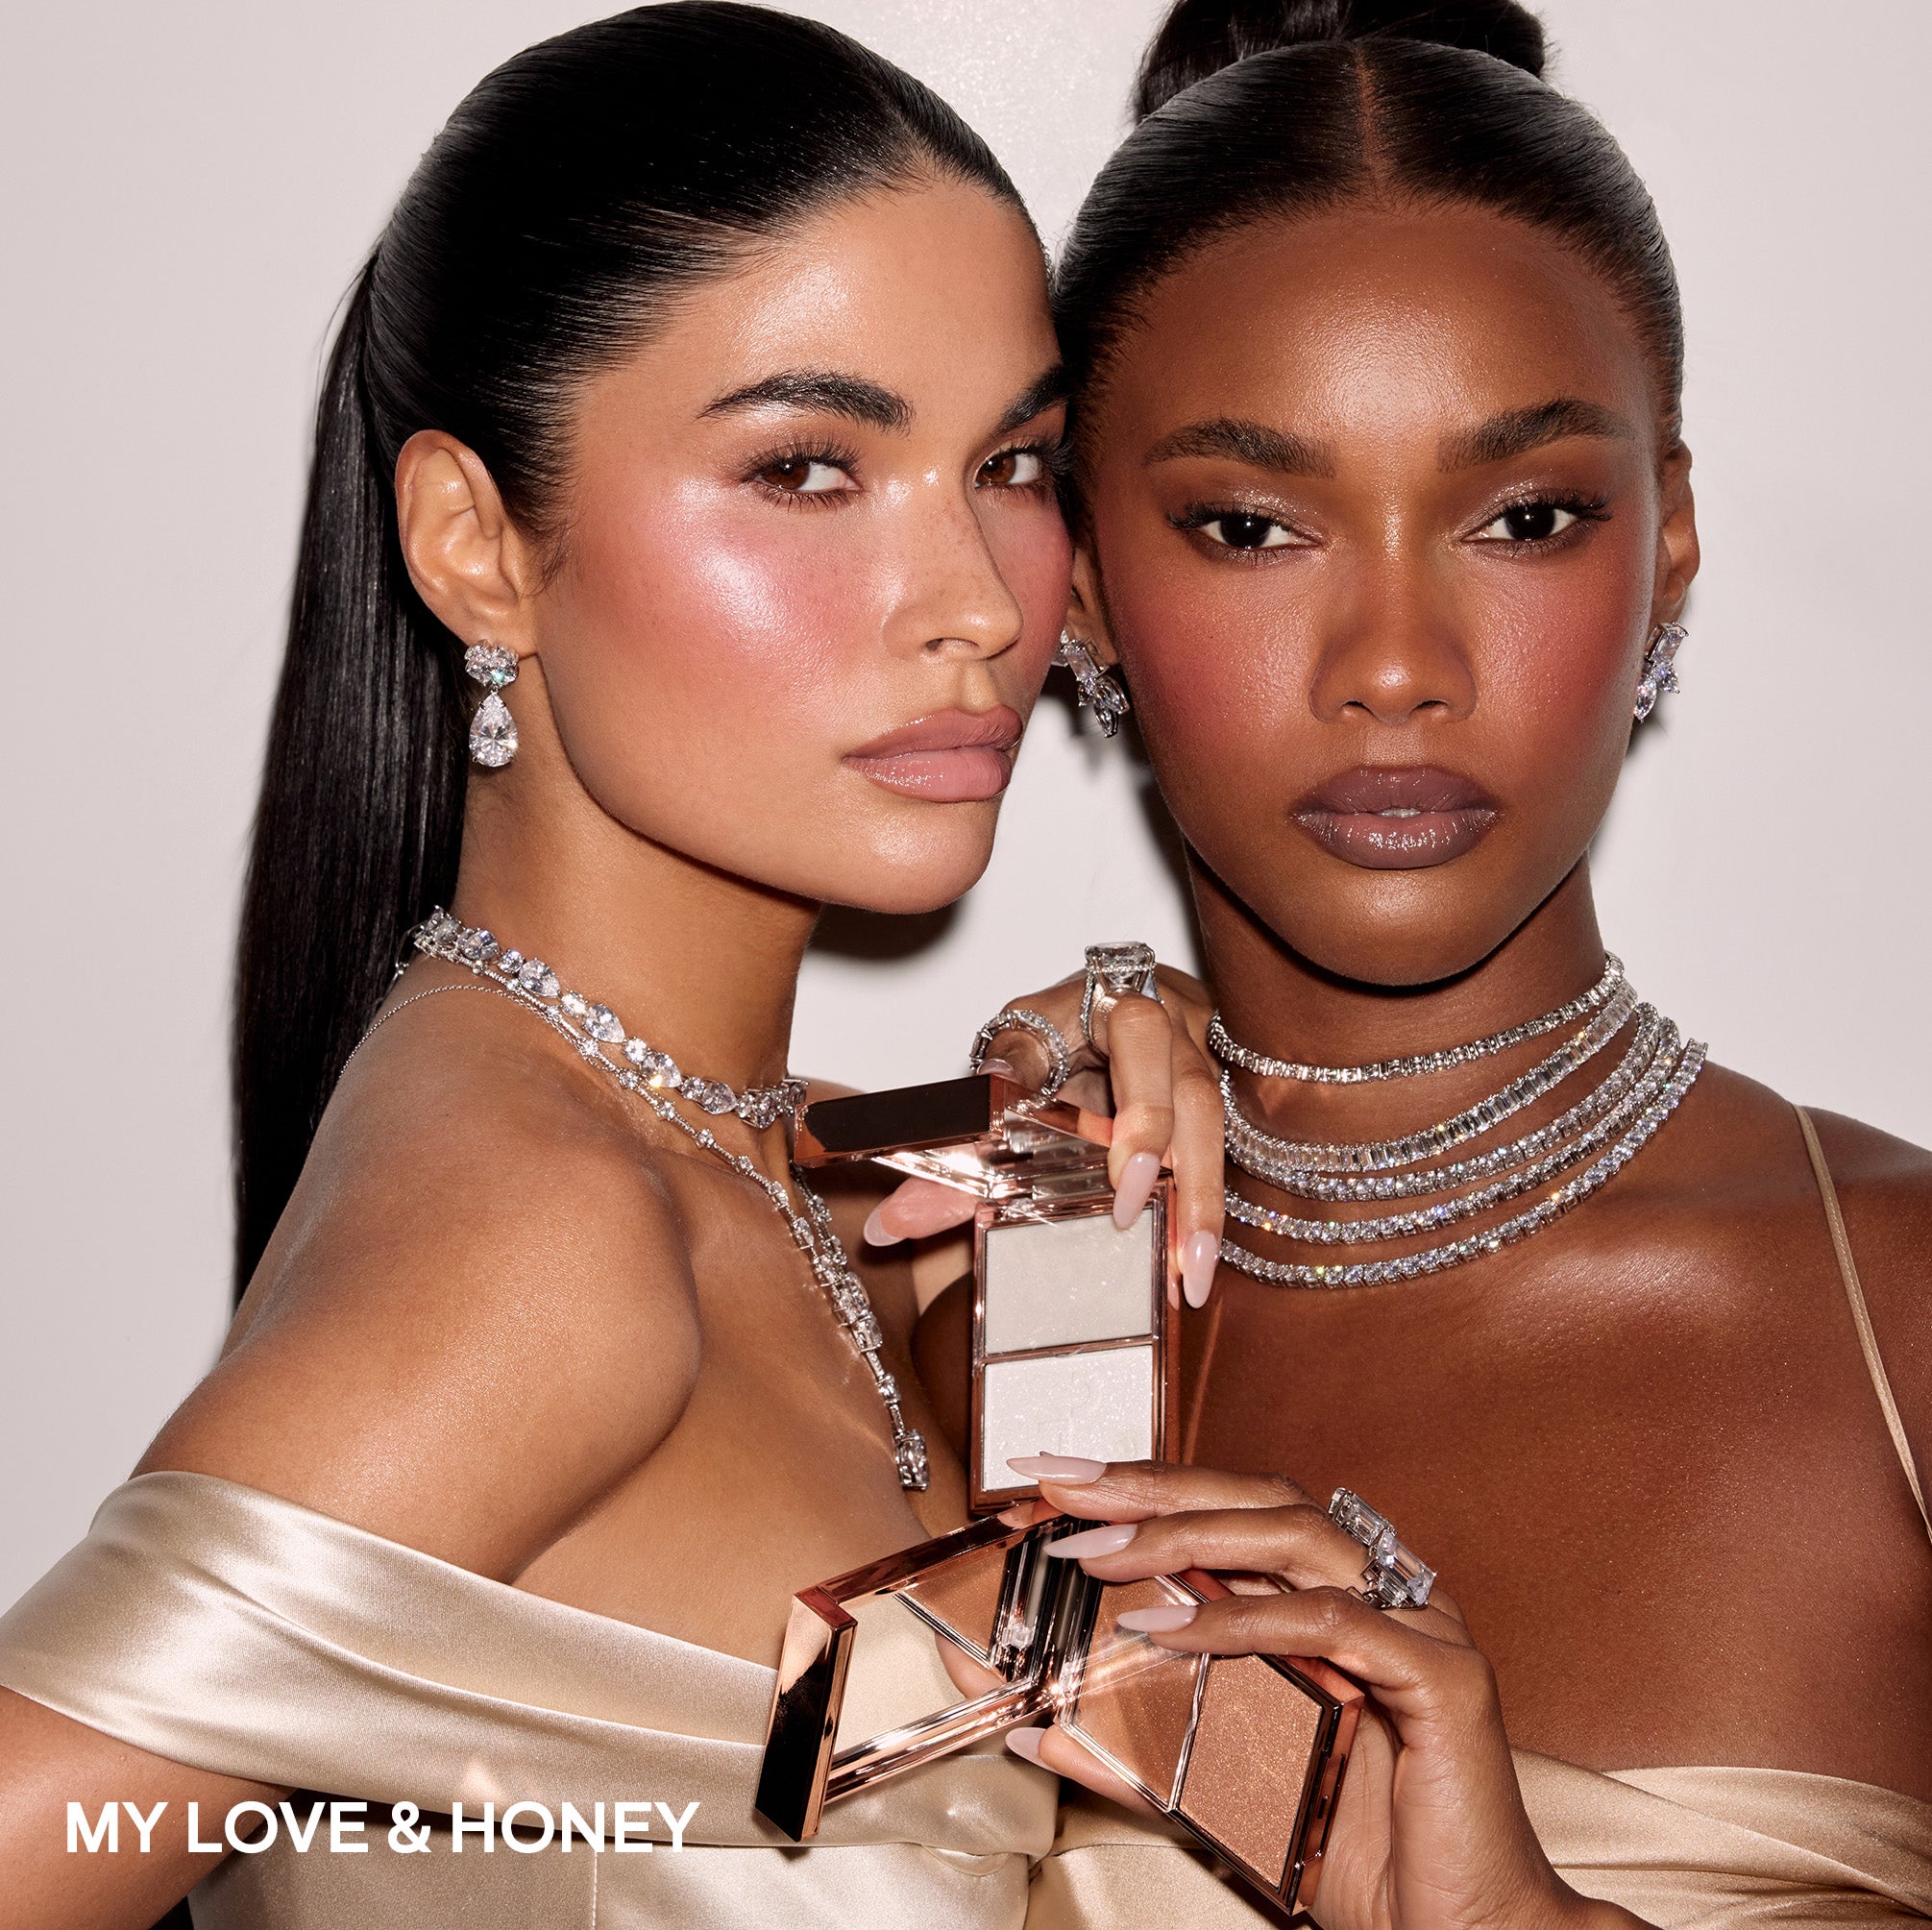
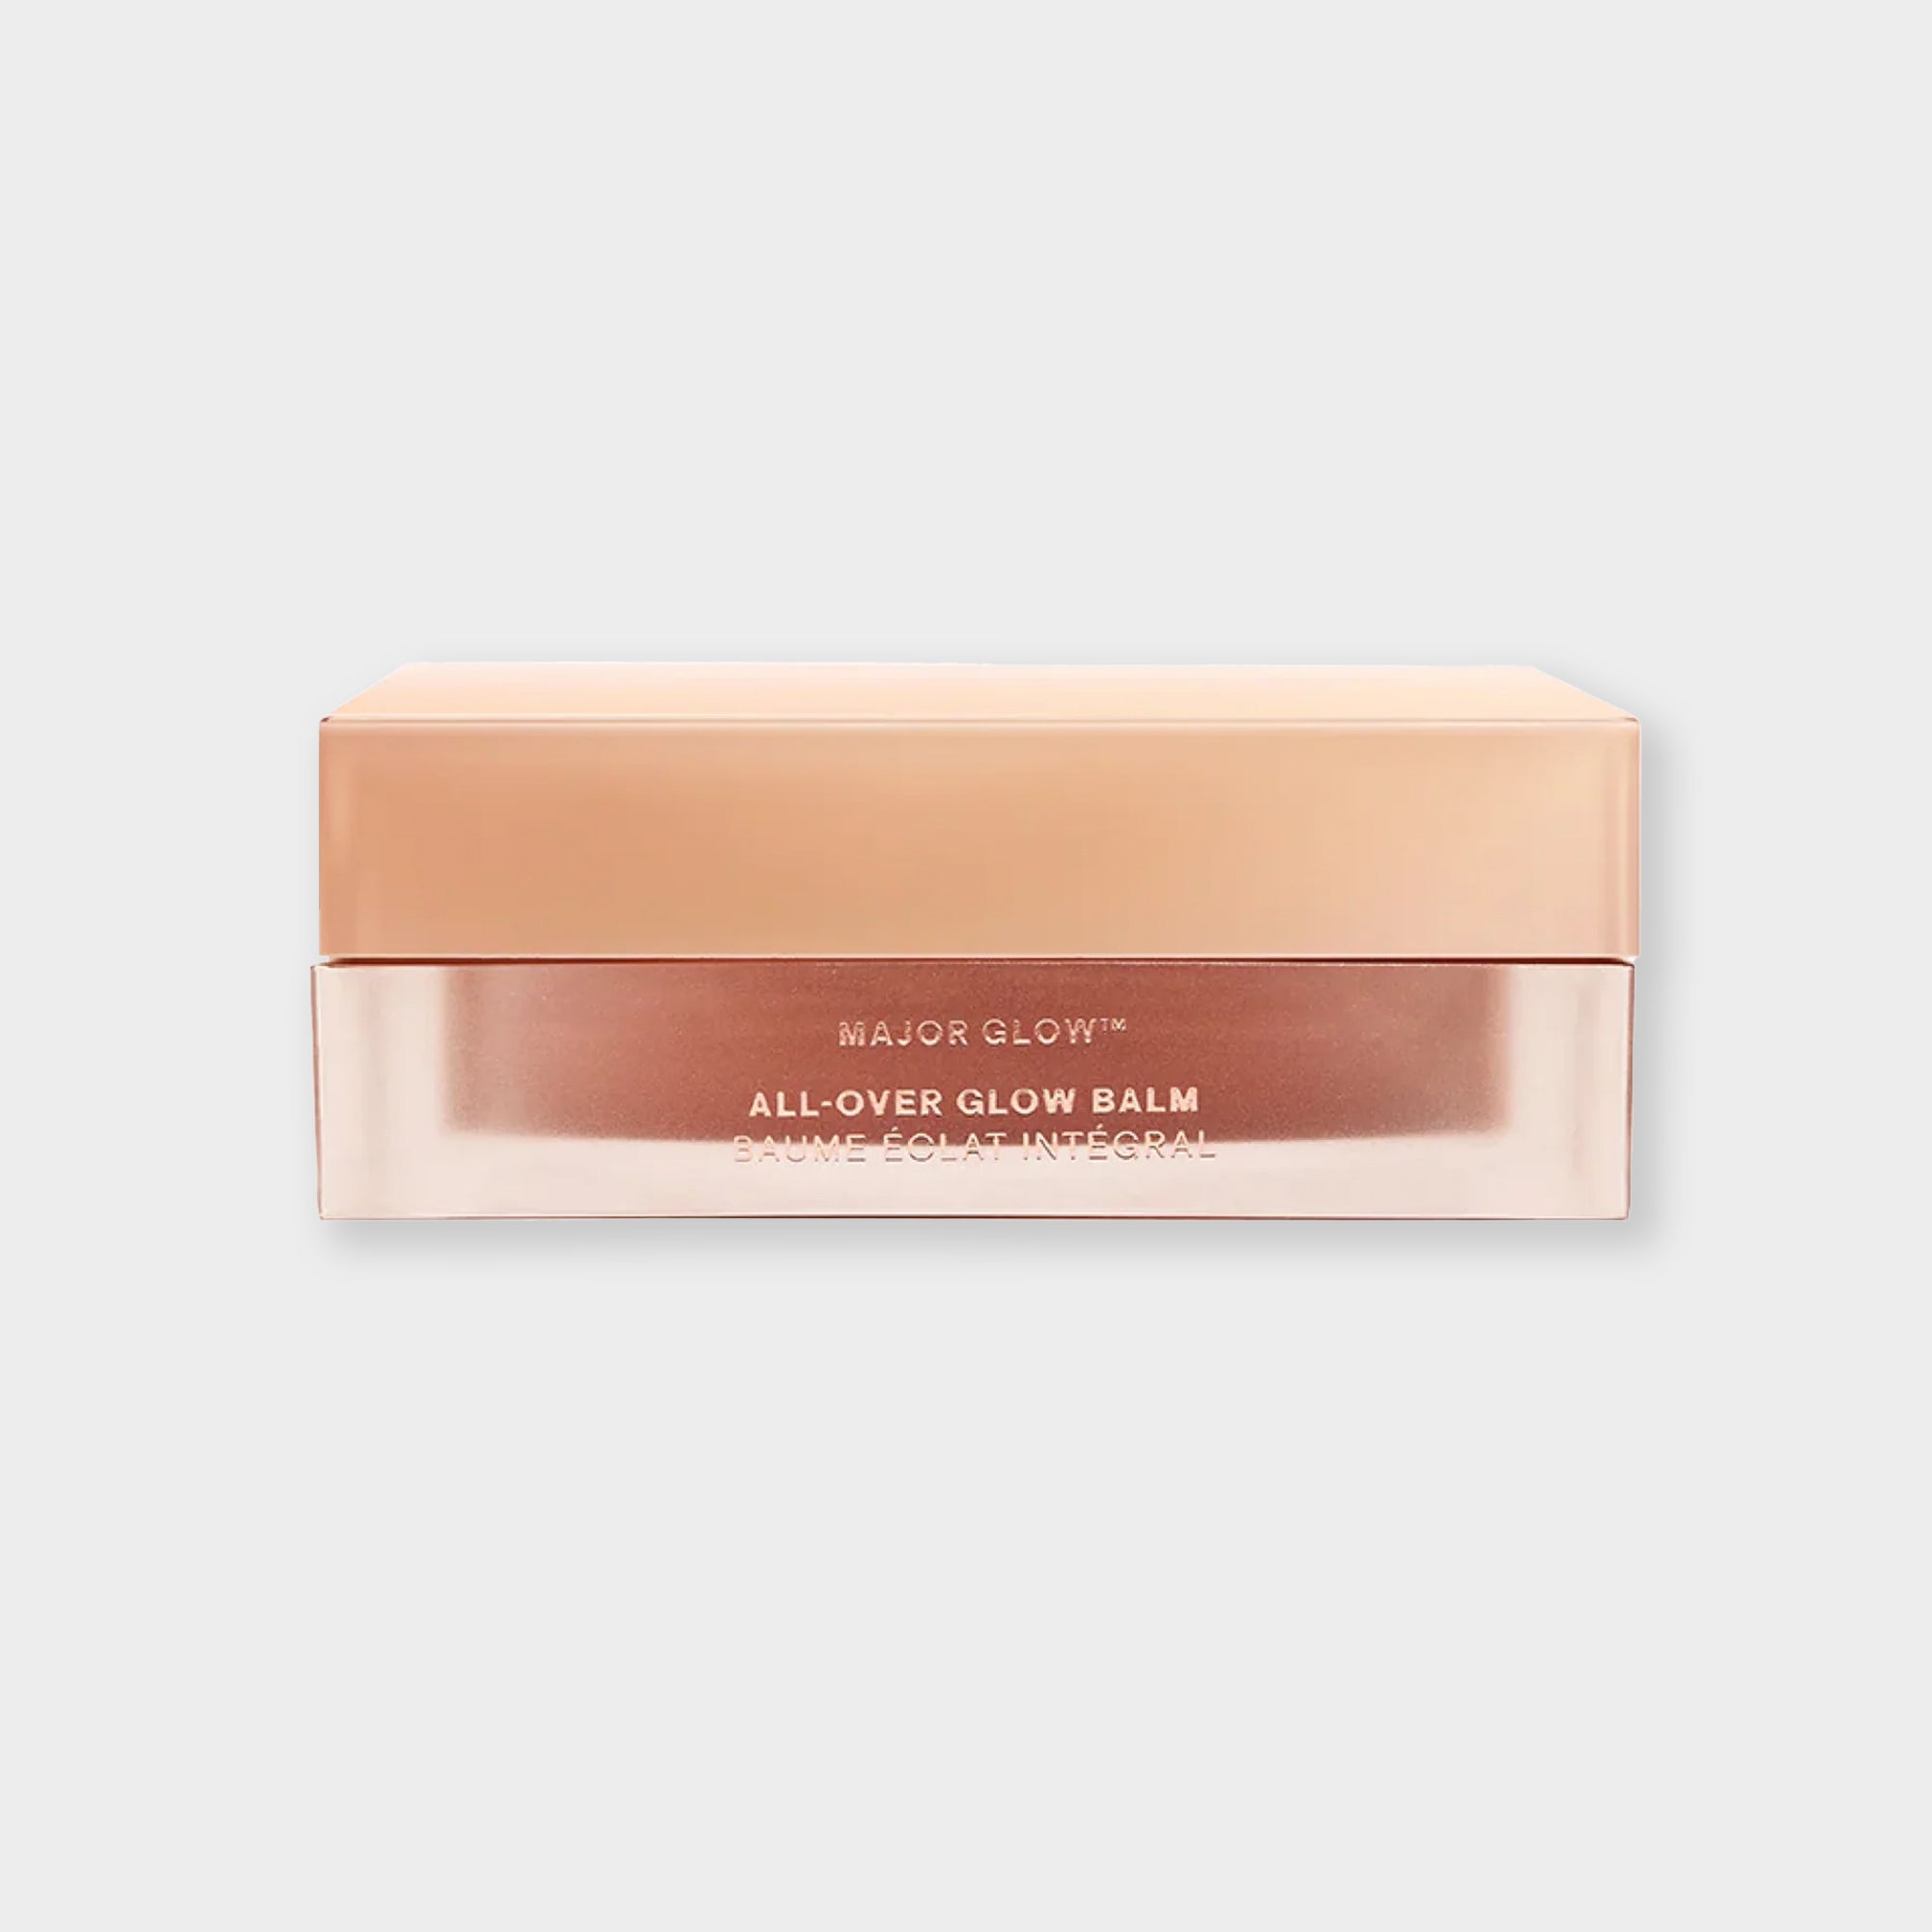
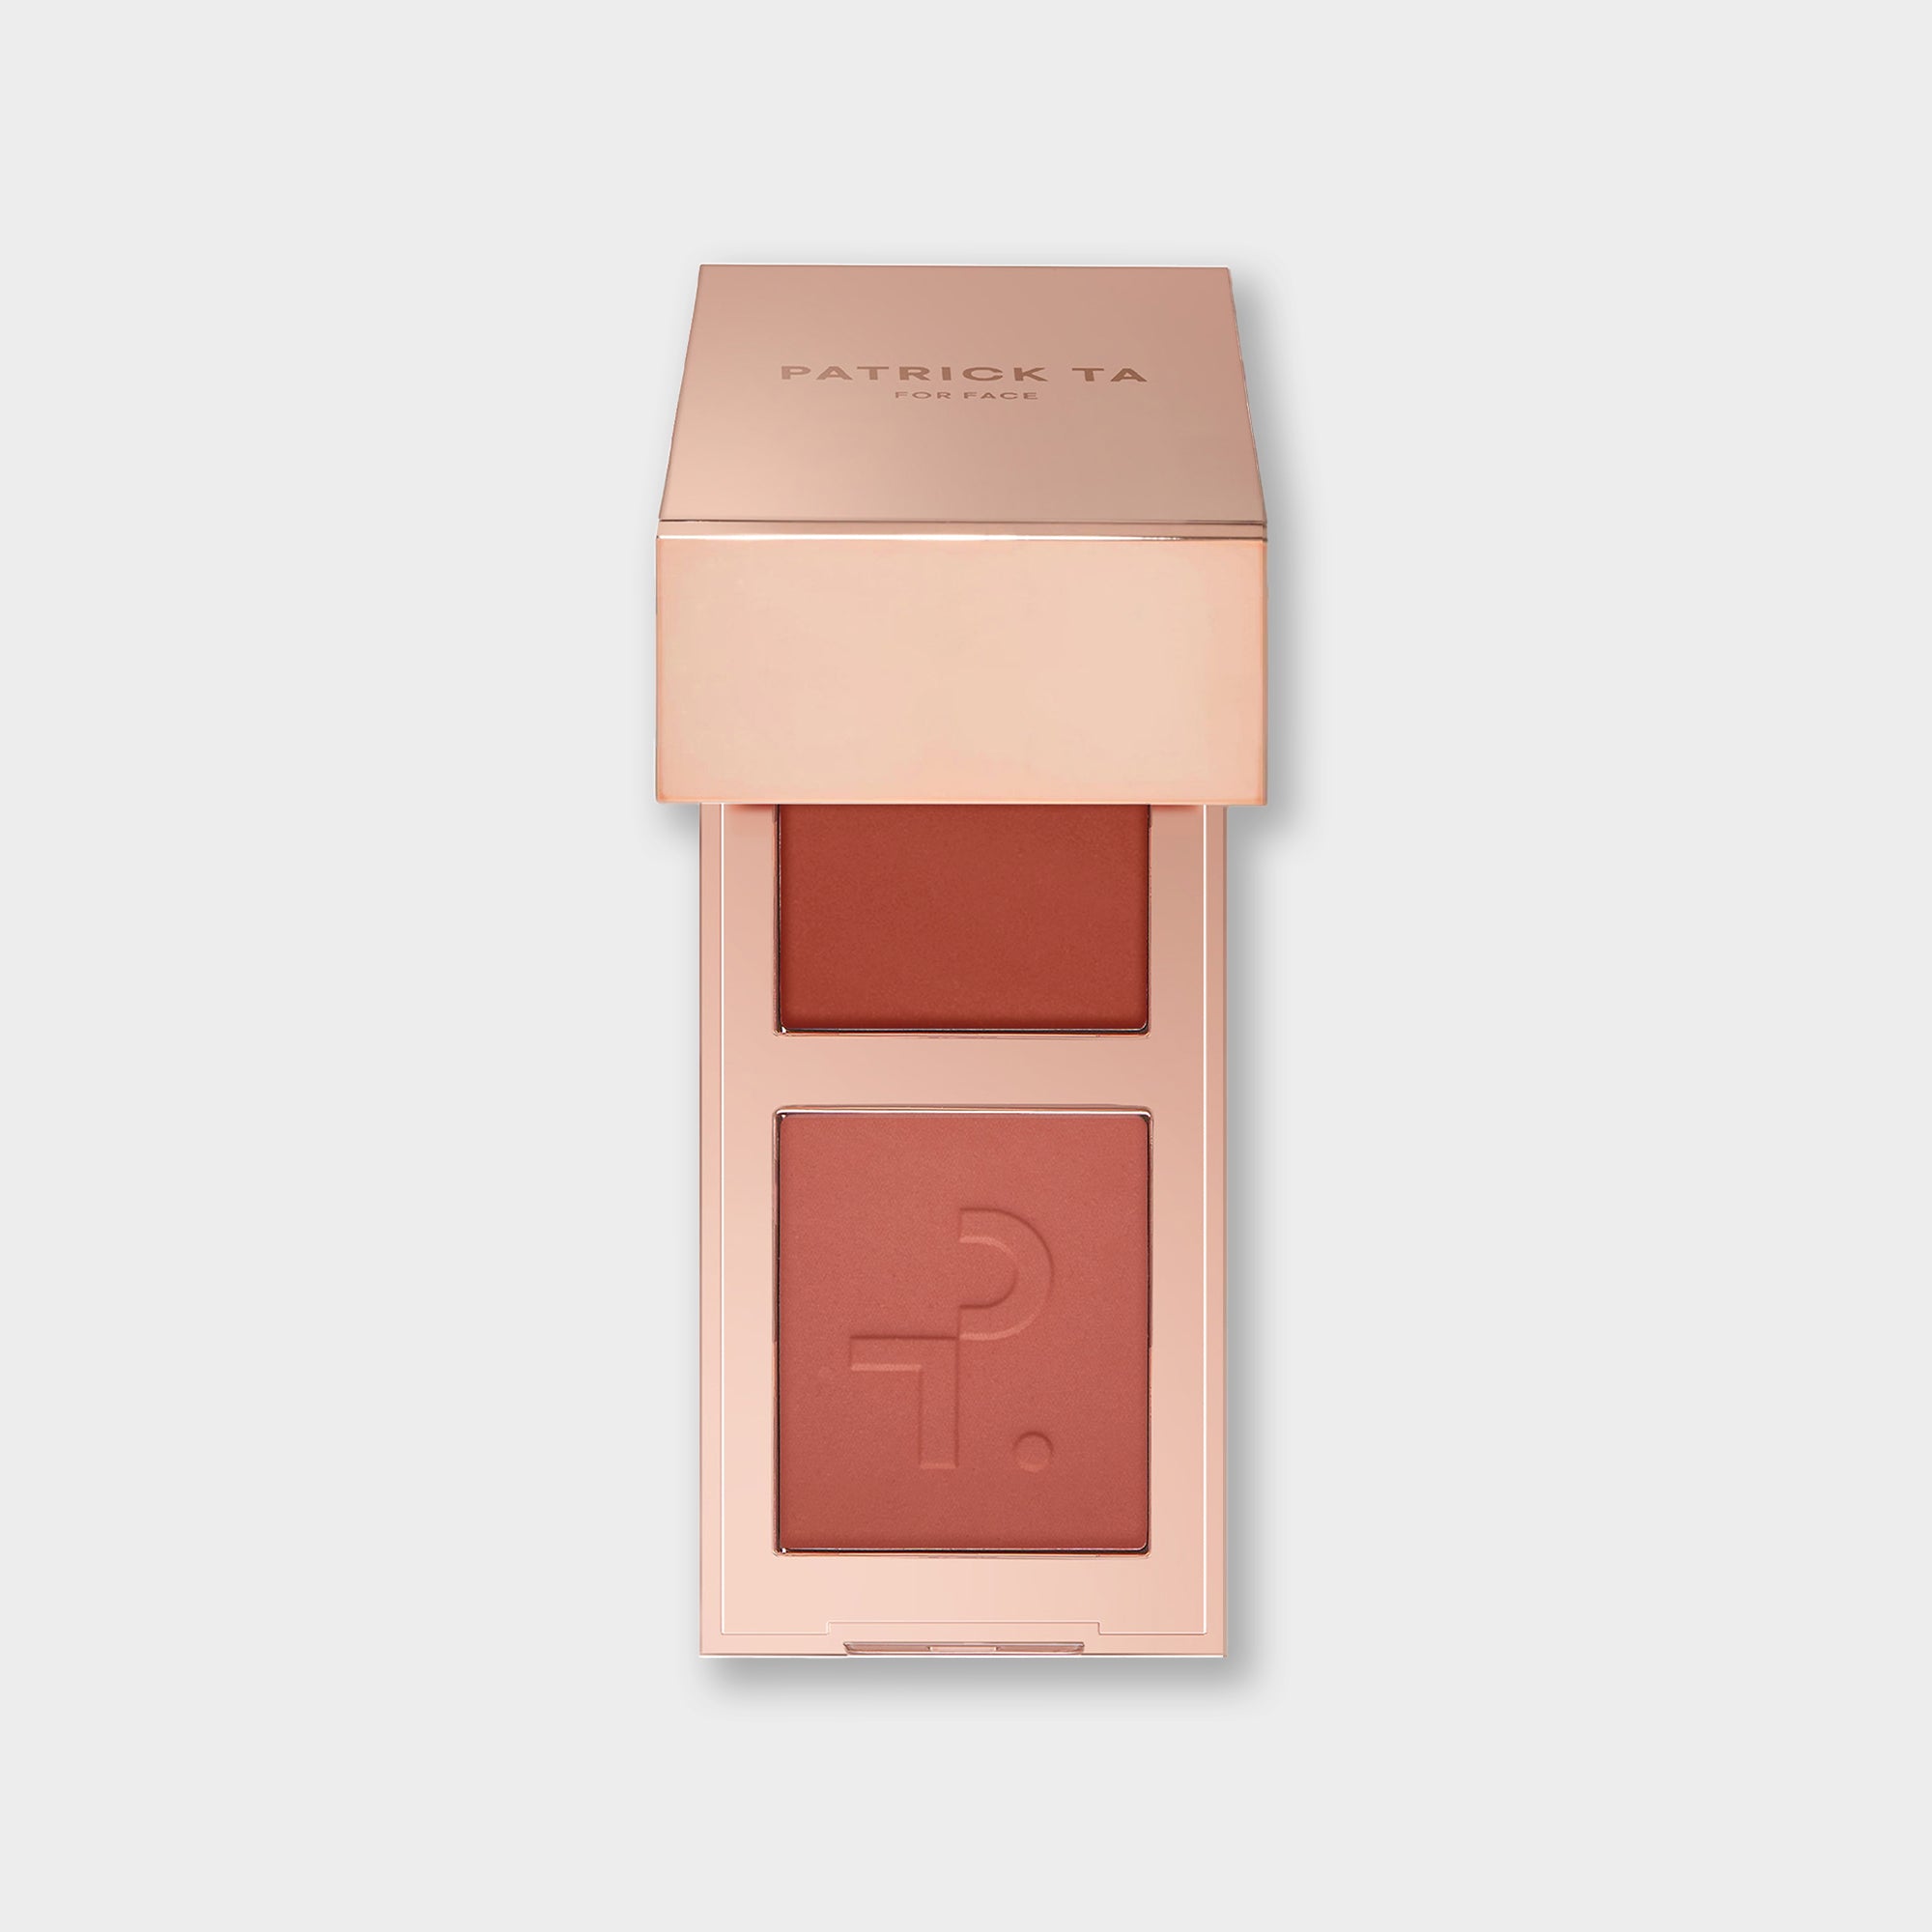
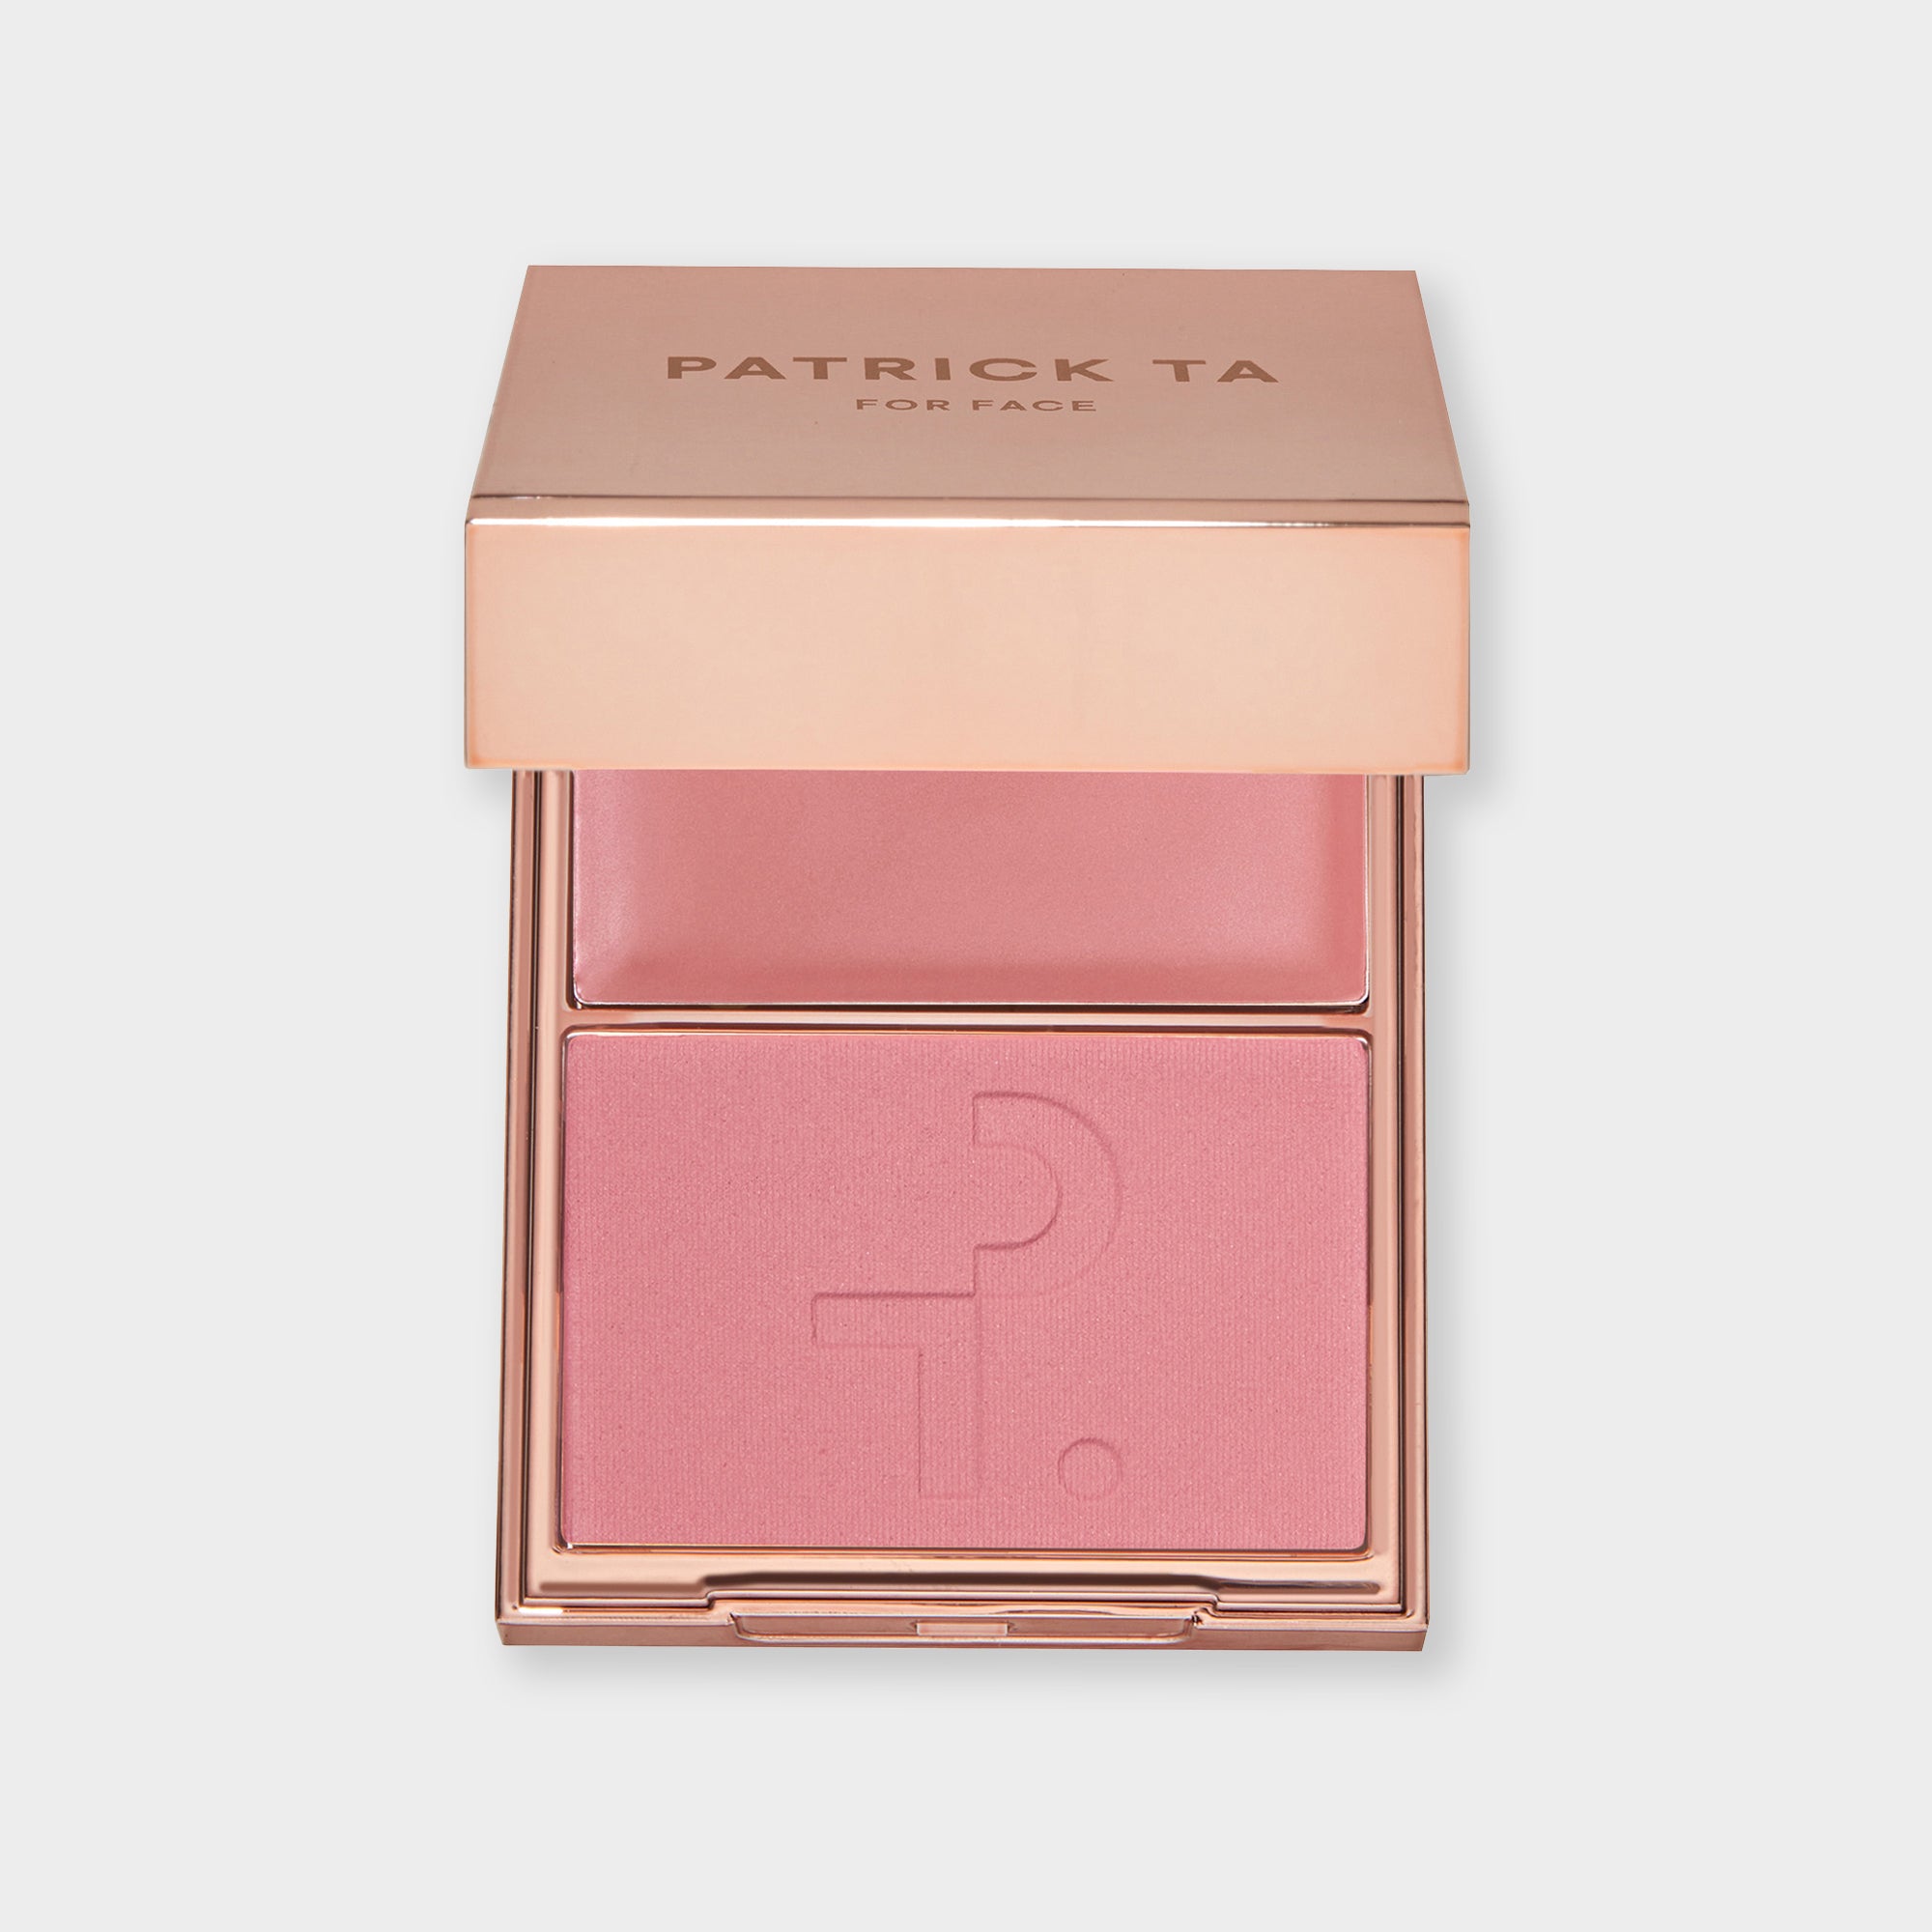
- Layer crème over powder for Patrick’s signature blush technique when you want a more dimensional, dewy cheek. First press powder blush onto the cheeks, then stamp crème blush on top to boost depth, glow, and payoff. The Major Headlines Double-Take Crème & Powder Blush Duo makes it easy to wear each formula alone or layer both together.
Whether your features are soft and rounded, angular and defined, or somewhere in between, we have all the tips and tricks on how to apply blush to enhance your face shape.
Does Blush Placement Really Matter?
Blush placement has the power to transform your overall makeup look. It’s the difference between a soft and youthful flush or a seriously snatched effect. Every face shape has unique characteristics, so customizing your blush placement is the perfect way to enhance your natural beauty.
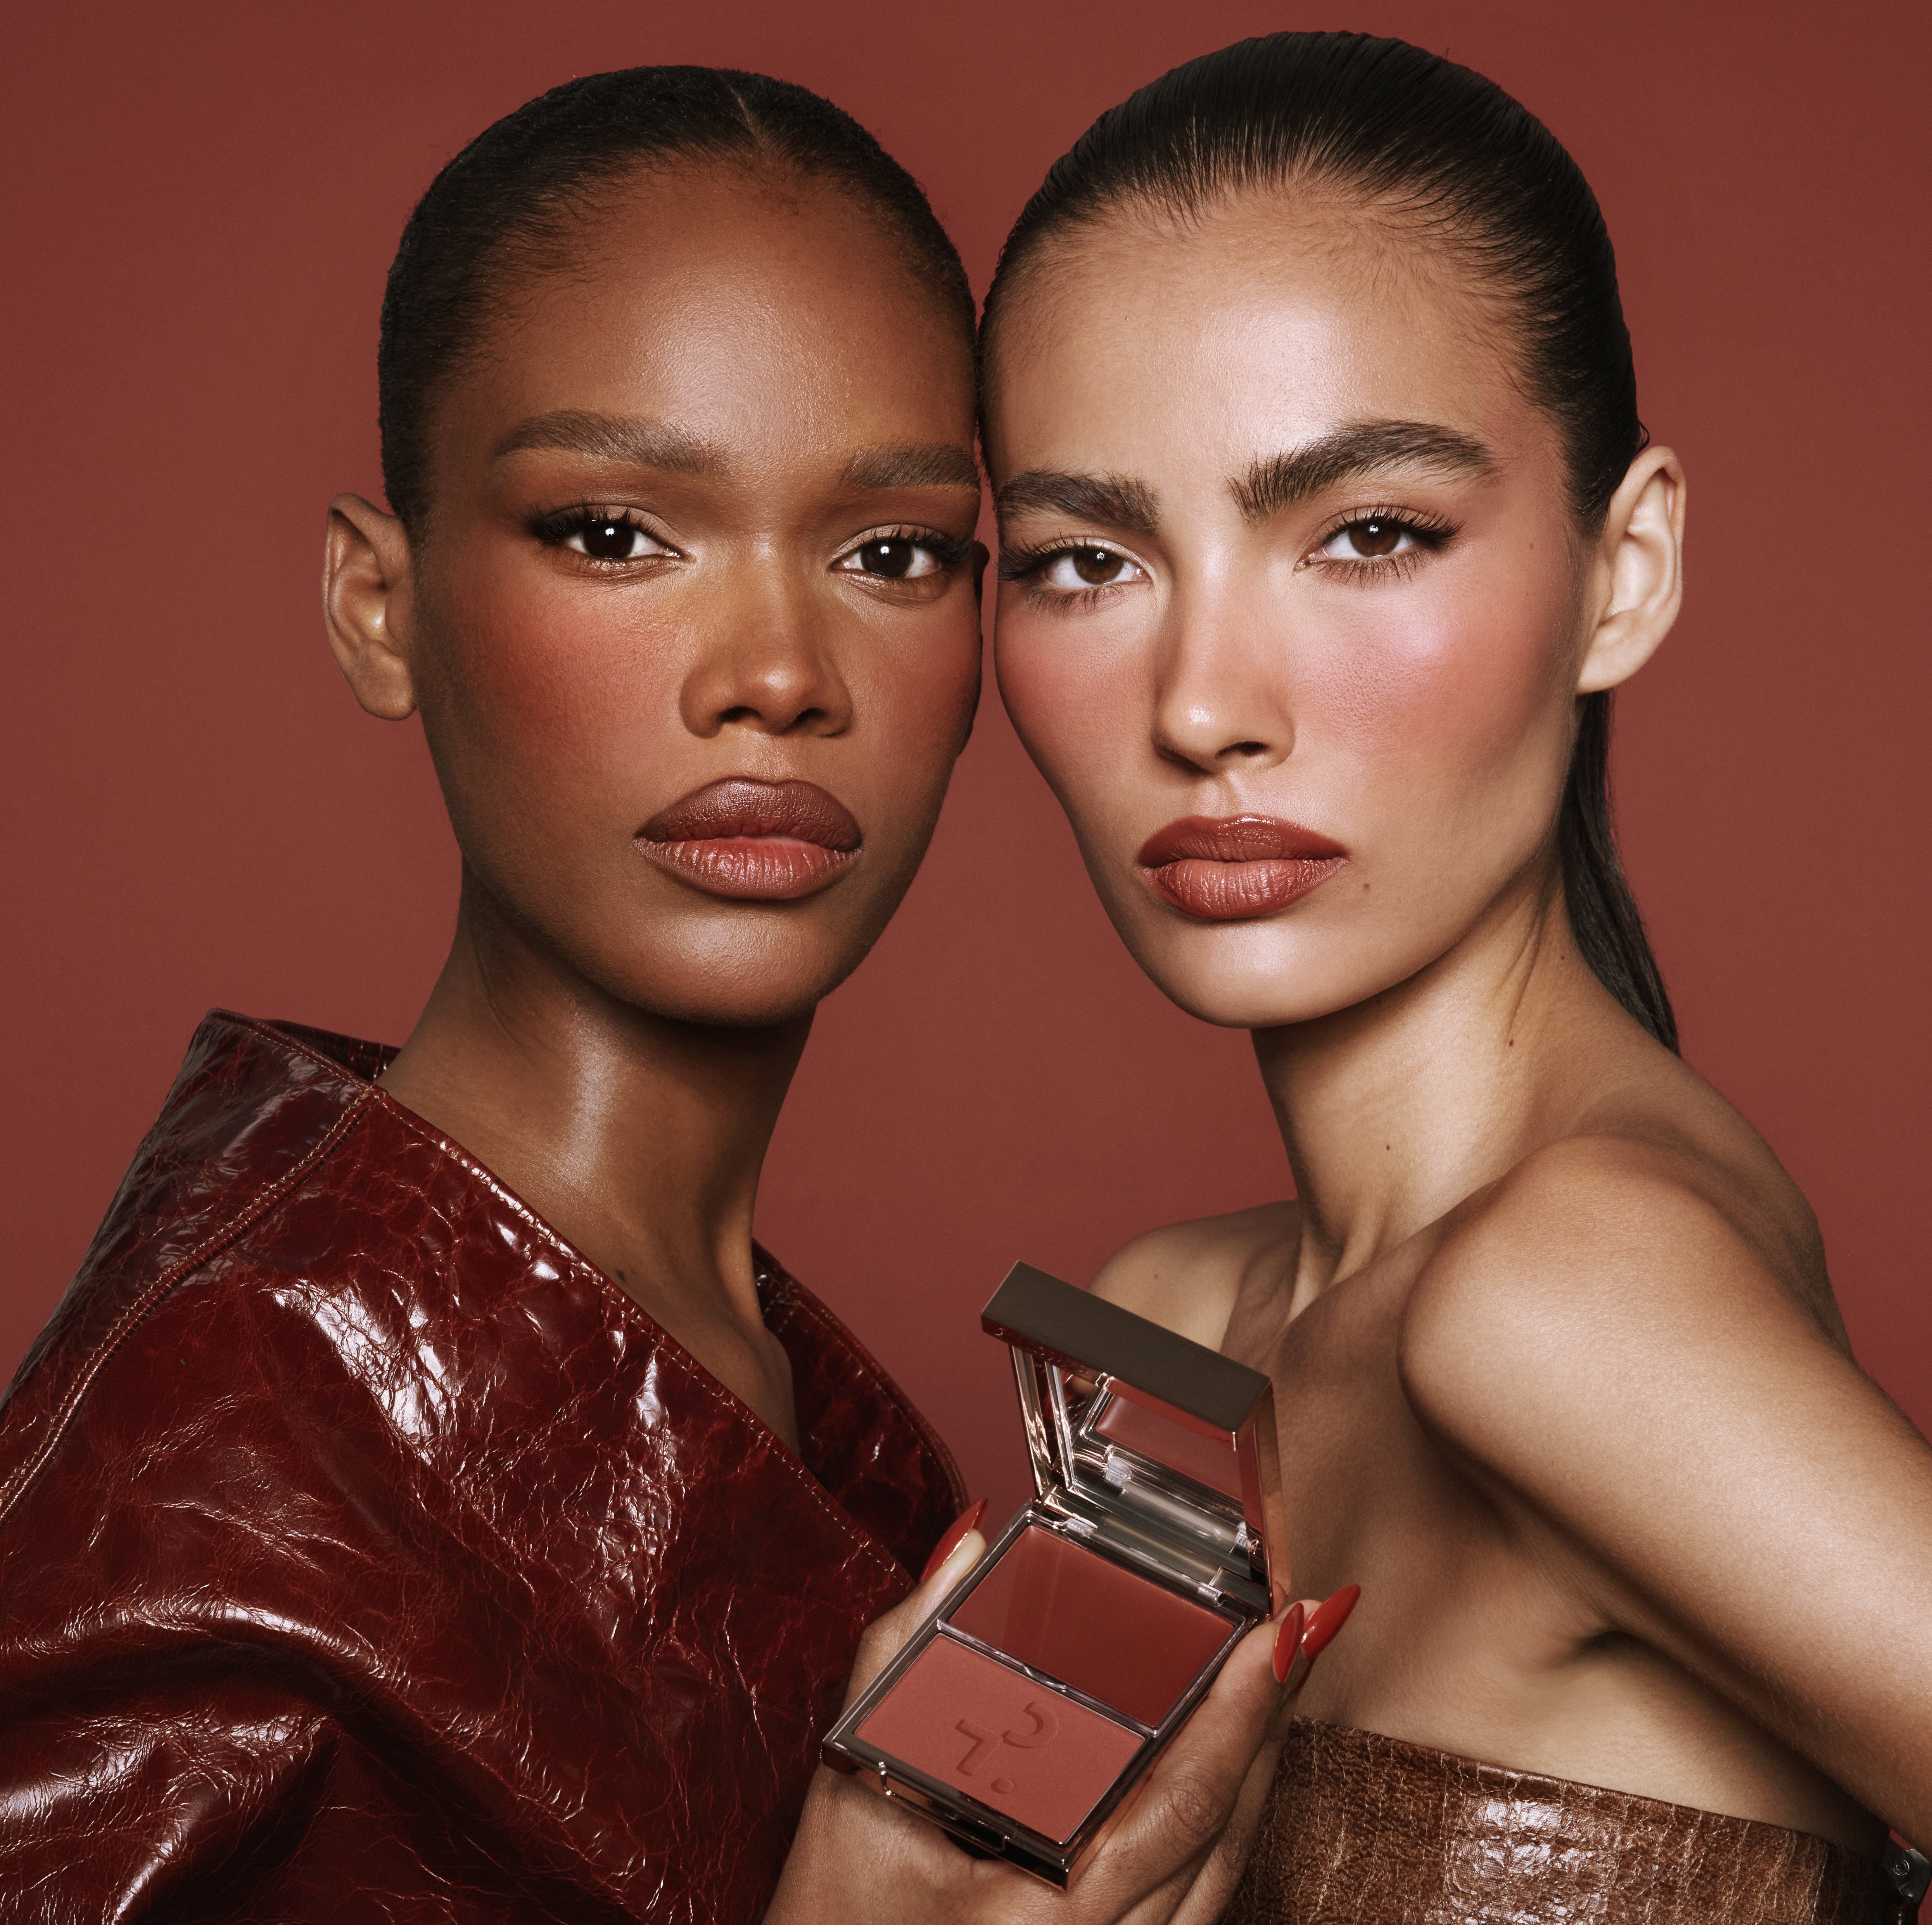
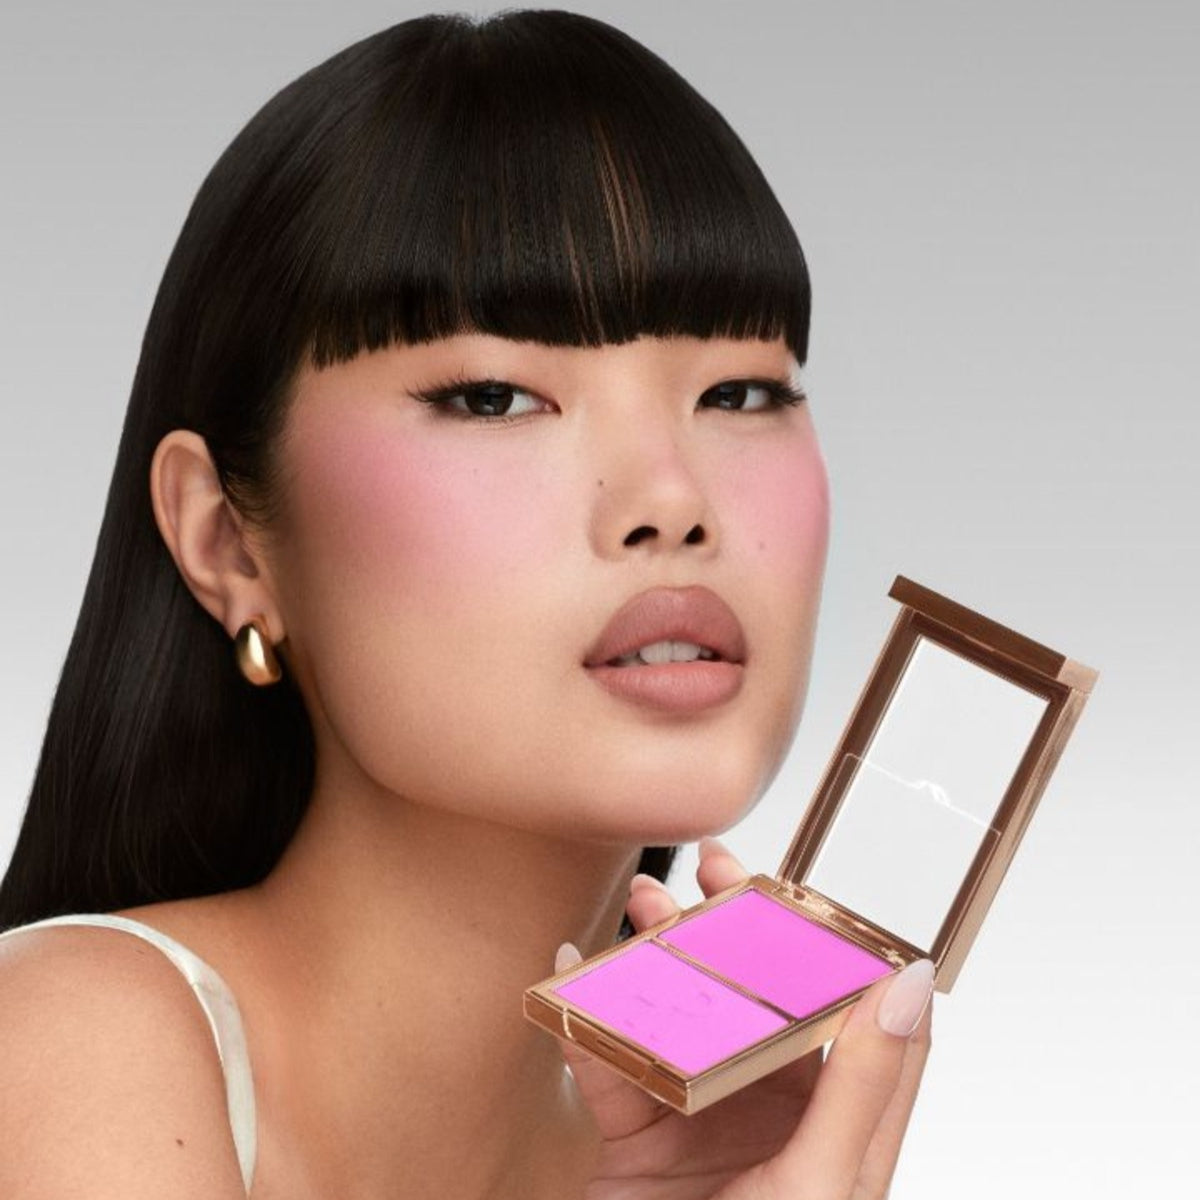
Placement is only half the equation, though. Your shade decides whether that flush reads flattering or muddy, and the right pick starts with your undertone. If your undertone runs cool, reach for rose, berry, mauve, or a cool pink. If it runs warm, coral, peach, apricot, and warm pink will look most natural against your skin. Neutral undertones sit comfortably between the two, so a soft mauve, pink, or rose flatters without fighting your complexion.
Depth matters just as much as tone. On fair-to-light skin, a light-to-medium wash keeps color looking like a natural flush rather than a stripe. On medium, tan, and deep skin, a medium-to-deep shade delivers the payoff you actually see, so the color reads intentional instead of ashy or faint.
One prep cue makes all of it land: build an even, blurred base first so color reads true. When your complexion is smooth and uniform, blush sits cleanly on top and shows its real tone, which is exactly why knowing where to apply blush only pays off once the canvas underneath is right.
How Does Patrick Ta Approach Blush Placement?
Before you choose a placement, choose your finish, because formula does the heavy lifting. Powder blush gives a soft-focus, velvety wash that layers over any base and diffuses easily for an airy result. Cream blush melts into cream or liquid foundation for a dewy, skin-like glow. Whichever you use, press and stamp color rather than swiping it, and build in thin layers so you keep control and protect the base underneath.

This is where Patrick's signature move earns its reputation: he presses crème blush over powder blush, a cream-over-powder layering technique that grips the pigment and builds a dimensional, dewy cheek you can't get from one formula alone. The powder sets the tone and the cream adds the lit-from-within melt on top. Each placement below follows that same logic, powder first to shape the wash, cream second to add glow exactly where the light should hit.
TRANSITION PLACEMENT
Achieve a Soft, Seamless Finish
Patrick Ta transition blush is built to lift and blur in one continuous motion, which is why it flatters nearly every face shape. Rose and soft mauve shades keep this look elegant, while a warm pink reads fresher for daytime.
Step 1. Powder Blush
Tap color onto the apples of the cheeks, keeping placement above the nostril line. Once excess product is worked off the brush, sweep the pigment upward and outward. Gently soften the edges into the undereye area and blend into contour for a smooth transition. Build in thin layers so the color diffuses rather than sits as a hard edge.
Step 2. Crème Blush
Press lightly onto the high points of the cheekbones, using a delicate hand to preserve the integrity of your base makeup. Stamp, do not swipe, so the cream melts in and locks the powder underneath for that dewy, dimensional finish.
DIFFUSED PLACEMENT
Create a Sun-Flushed Glow
This is the placement that mimics where the sun naturally catches your face, so warm, sun-kissed shades like coral, peach, and apricot make it sing. A sheer hand keeps it looking like a genuine flush rather than a stripe of color.
Step 1. Powder Blush: Apply a wash of color across the apples of the cheeks, under the eyes, and along the highest points of the temples. With very little product left on the brush, softly dust across the bridge of the nose so the color connects the way real sun exposure would.
Step 2. Crème Blush: Add a subtle layer to the tops of the cheekbones to enhance luminosity and give the skin a naturally radiant finish. Press it in over the powder so the two formulas fuse into one seamless, glowy wash.
LIFTED PLACEMENT
Define and Sculpt
Lifted placement is your sculpting tool, so it pairs beautifully with slightly deeper shades that read almost like a soft contour along the cheekbone. Berry and deep rose add structure, while cooler tones sharpen the definition even further.
Step 1. Powder Blush: Start by placing blush along the upper cheekbones, then blend upward toward the temples. Feather the edges into the outer concealer area and slightly into the undereye for a lifted effect. Keep the layers thin so the lift stays clean and never muddy.
Step 2. Crème Formula: Blend the crème blush upward toward the outer corners of the eyes to further enhance structure and lift. Press the cream along that same diagonal so the glow reinforces the direction of the lift.
ROUNDED PLACEMENT
Create a Soft, Doll-Like Effect
Rounded placement is all about a youthful, centered flush, so it loves soft pink, rose, and cool pink shades that mimic a natural blush. Keep the depth light so the color stays fresh and doll-like rather than heavy.
Step 1. Powder Blush: With a smile, apply blush directly to the fullest part of the cheeks. Blend gently into the undereye area just beneath the pupils. Build in thin, pressed layers so the color stays concentrated and soft. Artistry Note: Avoid extending color toward the temples or below the nostril line.
Step 2. Crème Blush: Lightly layer over the outer edges of the powder blush, keeping crème away from the center of the cheeks. Stamp the cream to melt it into the powder without disturbing your base.
Artistry Note: Maintain a focused, centered placement for a youthful finish.
Where Do You Apply Blush Based on Your Face Shape?

Here is exactly how to apply blush according to your face shape.
What's The Best Blush Placement For A Round Face?
Round faces benefit from blush placements that add lift and gentle definition while keeping the look soft and balanced. The best blush placement for round face draws the eye upward, so a cool or neutral rose in a light-to-medium depth keeps that lift looking natural.
Lifted Blush Placement: Placing blush high on the cheekbones and diffusing it toward the temples creates vertical lift, helping elongate the face and sculpt rounder features without looking harsh. Press the powder in thin layers, then melt a cream over the top to hold the lift in place.
Transition Blush Placement: This high-impact placement draws the eye upward toward the undereye and cheekbone area, subtly lifting the face while maintaining a seamless, blended finish that complements softer contours.
Diffused Blush Placement: A softly diffused wash across the cheeks, nose, and temples enhances natural fullness while keeping the look airy and balanced, perfect for a fresh, effortless glow on a round face.
What's The Best Blush Placement For A Square Face?
Square face shapes shine with blush placements that soften angles and add roundness through strategic placement. The best blush placement for square face structure trades hard lines for a centered flush, so a soft mauve or warm pink in a medium depth adds warmth without emphasizing the jaw.
Rounded Blush Placement: Concentrating blush on the apples of the cheeks adds softness and fullness, helping counteract a strong jawline and angular cheekbones. Stamp a cream over the powder here to keep the center of the cheek dewy and full.
Transition Blush Placement: By blending blush upward toward the undereye area, this placement shifts focus away from sharper angles and creates a lifted, eye-brightening effect.
Diffused Blush Placement: A diffused application across the cheeks with a subtle wash on the nose and forehead helps balance strong structure, drawing attention toward the center of the face for a more harmonious look.

What's The Best Blush Placement For A Oval Face?
Oval faces are naturally balanced, making higher blush placements especially flattering. Because the proportions are already even, you have room to play with shade, from soft rose for everyday to a warmer coral when you want a sun-flushed finish.
Lifted Blush Placement: Applying blush high on the cheekbones enhances the face's natural symmetry and prevents the features from appearing pulled downward. Layer a cream over the powder along the cheekbone to add glow that follows the lift.
Transition Blush Placement: This placement emphasizes the upper cheek and eye area, reinforcing lift and keeping the face looking sculpted and fresh rather than elongated.
Diffused Blush Placement: A soft, blended wash across the cheeks, nose, and temples adds warmth and dimension while preserving the face's natural proportions.
What's The Best Blush Placement For A Heart-Shaped Face?
Heart-shaped faces benefit from blush placements that balance a wider forehead and narrower chin. Keeping color centered and warm, think soft pink or peach in a light-to-medium depth, adds fullness through the middle of the face where you want the focus.
Rounded Blush Placement: Focusing blush on the apples of the cheeks adds fullness through the center of the face, helping offset a narrower lower half. Press a cream over the powder to keep that central flush soft and dewy.
Diffused Blush Placement: Keeping blush slightly lower on the cheeks and softly diffused creates balance between the upper and lower face, drawing attention inward rather than upward.
What's The Best Blush Placement For A Rectangular Face?
Rectangular faces look best with blush placements that add softness and visual width. A rounded, centered flush in a warm pink or rose breaks up the length, and keeping the depth light stops the color from reading as a horizontal band.
Rounded Blush Placement: Applying blush to the apples of the cheeks helps shorten the appearance of the face by adding roundness and fullness at the center. Build the powder in thin layers, then stamp a cream on top to keep the fullness looking fresh.
Diffused Blush Placement: A gentle wash across the cheeks, nose, and forehead breaks up length and creates a softer, more balanced facial appearance.
What's The Best Blush Placement For A Diamond Shape?
Diamond face shapes are defined by prominent cheekbones, which can be softened with the right blush placement. A centered, cool-to-neutral rose in a light-to-medium depth keeps the flush soft so the cheekbones read sculpted rather than sharp.
Rounded Blush Placement: Keeping blush centered on the apples of the cheeks adds softness and balance, preventing the cheekbones from appearing overly sharp. Press a cream over the powder in the center to keep the flush dewy and diffused.
Diffused Blush Placement: A controlled, diffused application across the cheeks with a light wash on the nose and forehead softens angles while maintaining structure.
Transition Blush Placement: This placement lifts the eye area while gently blending into the cheekbones, drawing attention upward without exaggerating width through the sides of the face.
Frequently Asked Questions
Should you apply blush before or after setting powder?
If you're using powder blush, apply it after setting powder so the pigment blends smoothly and stays diffused rather than grabbing onto tacky skin. If you're using cream blush, press it in before setting powder so it melts seamlessly into your base for that skin-like finish.
Can you layer cream and powder blush together, or will they pill?
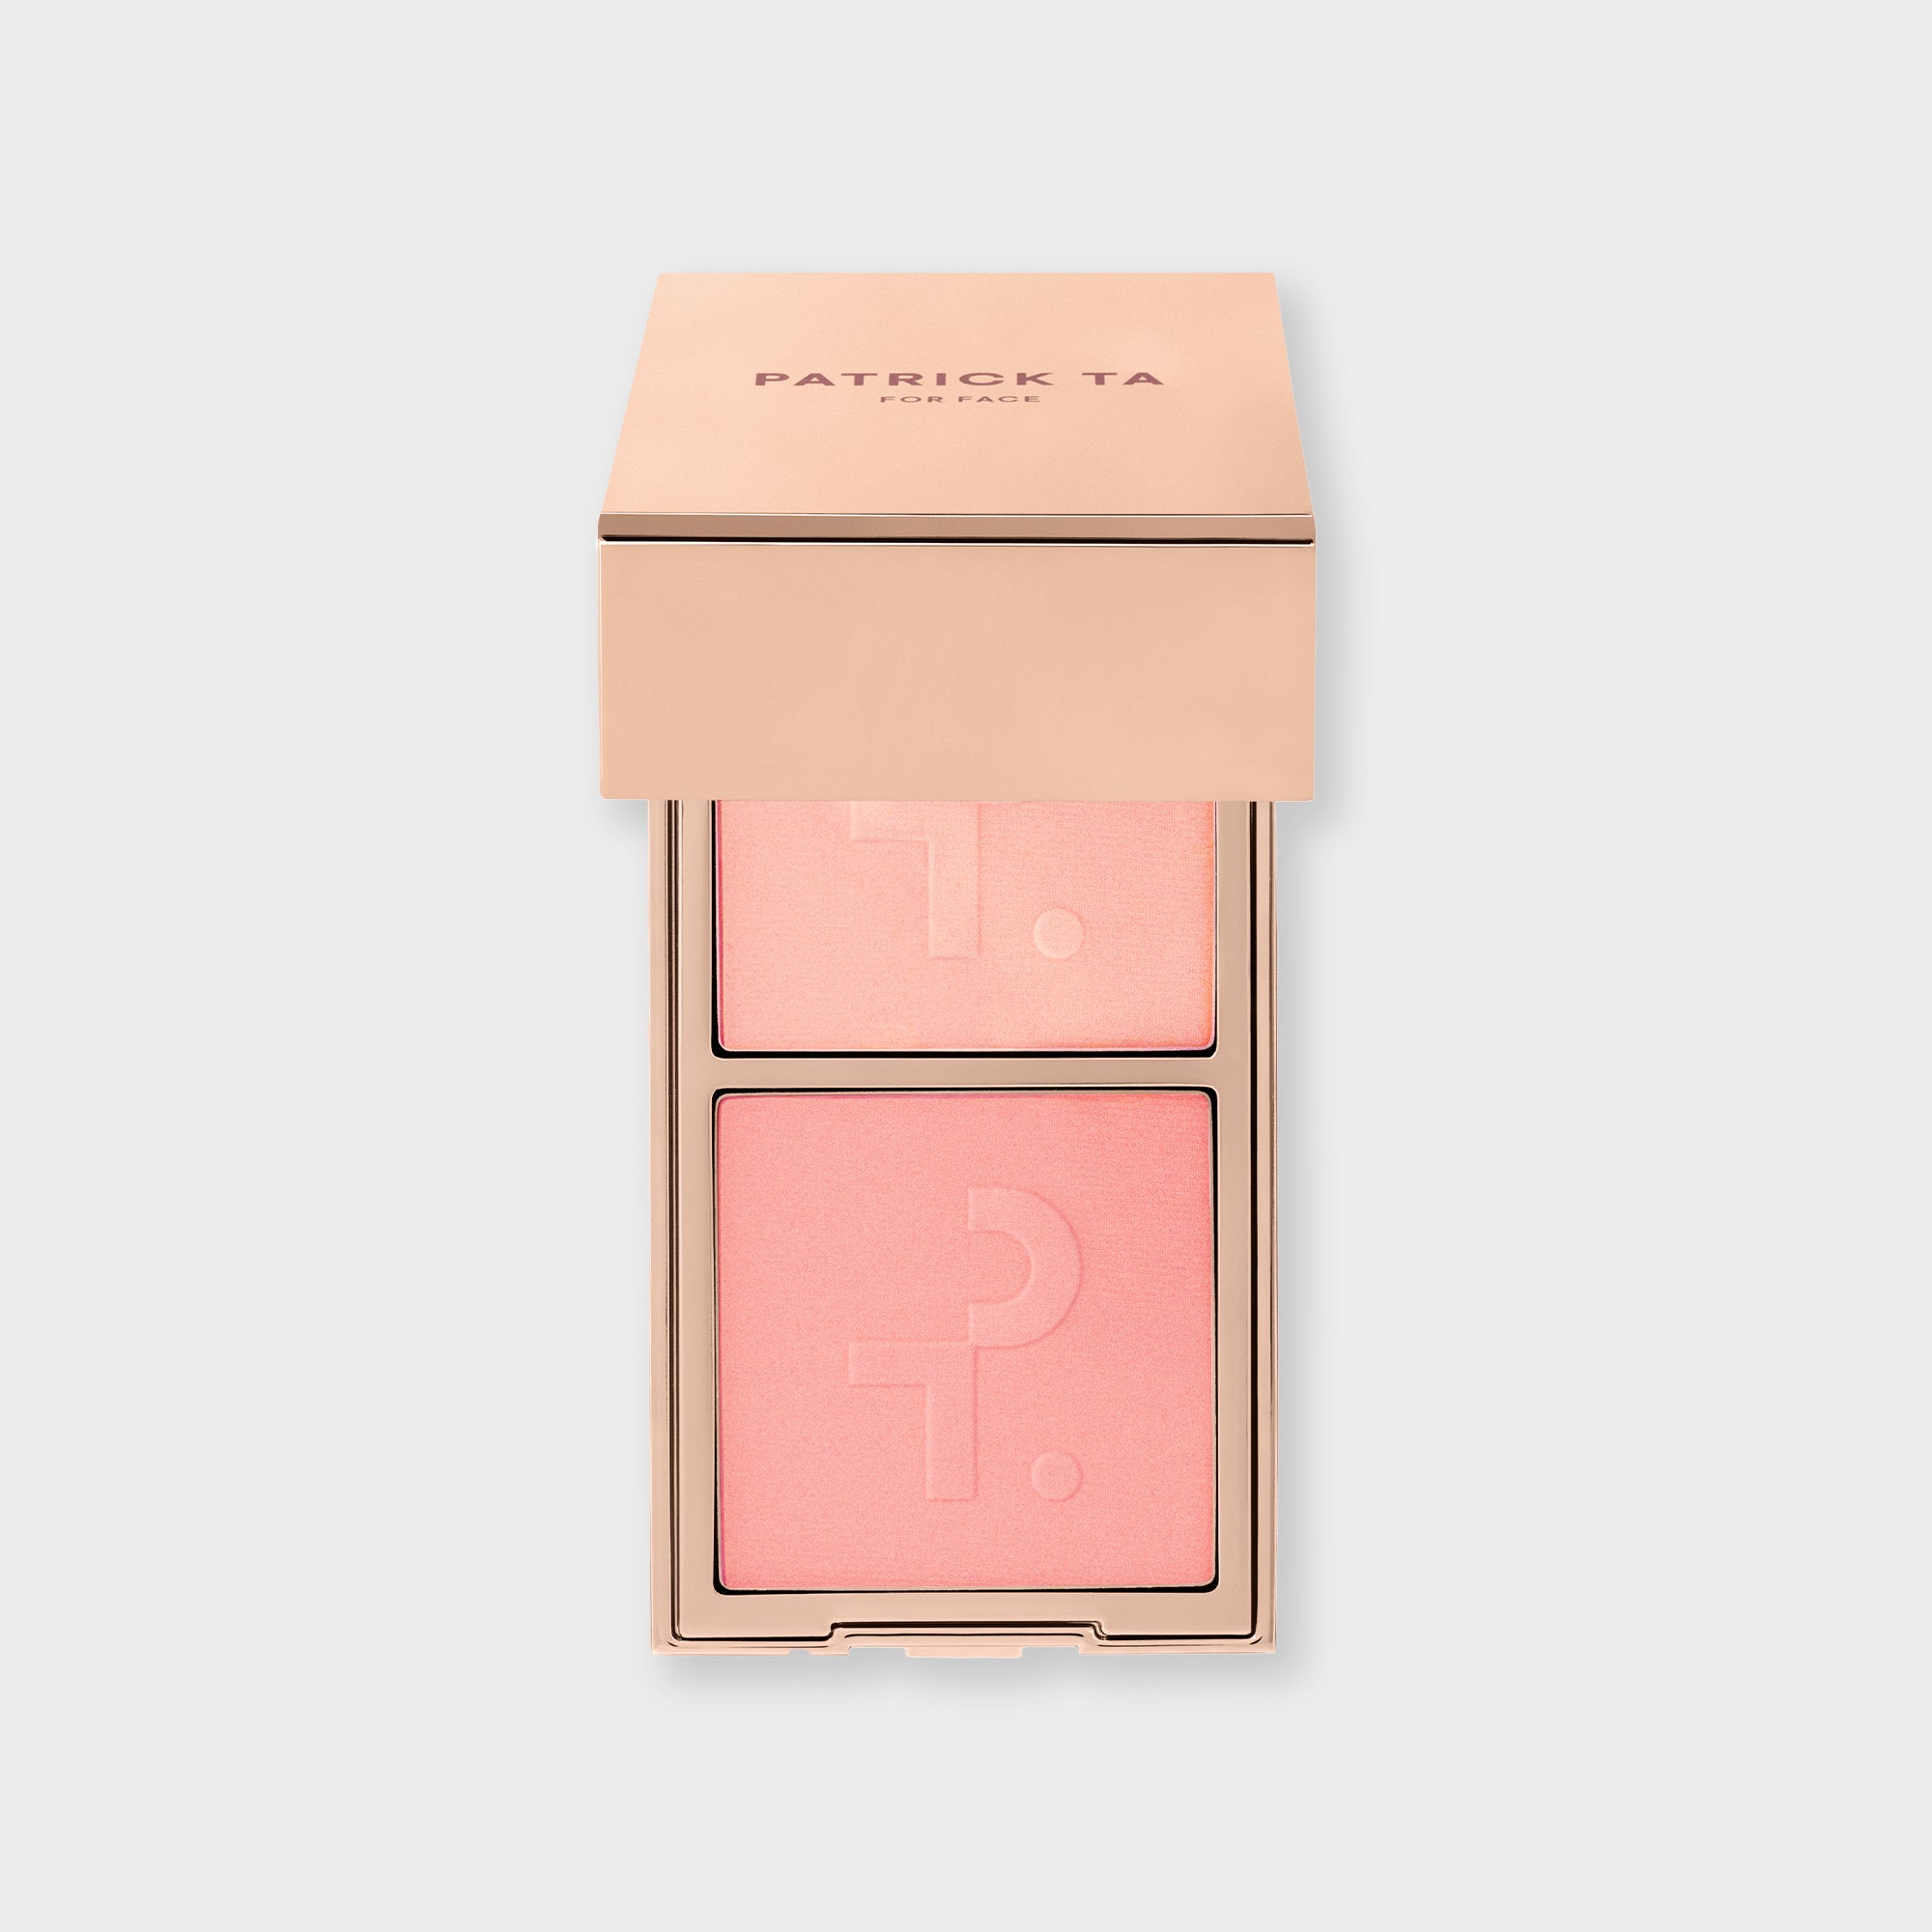
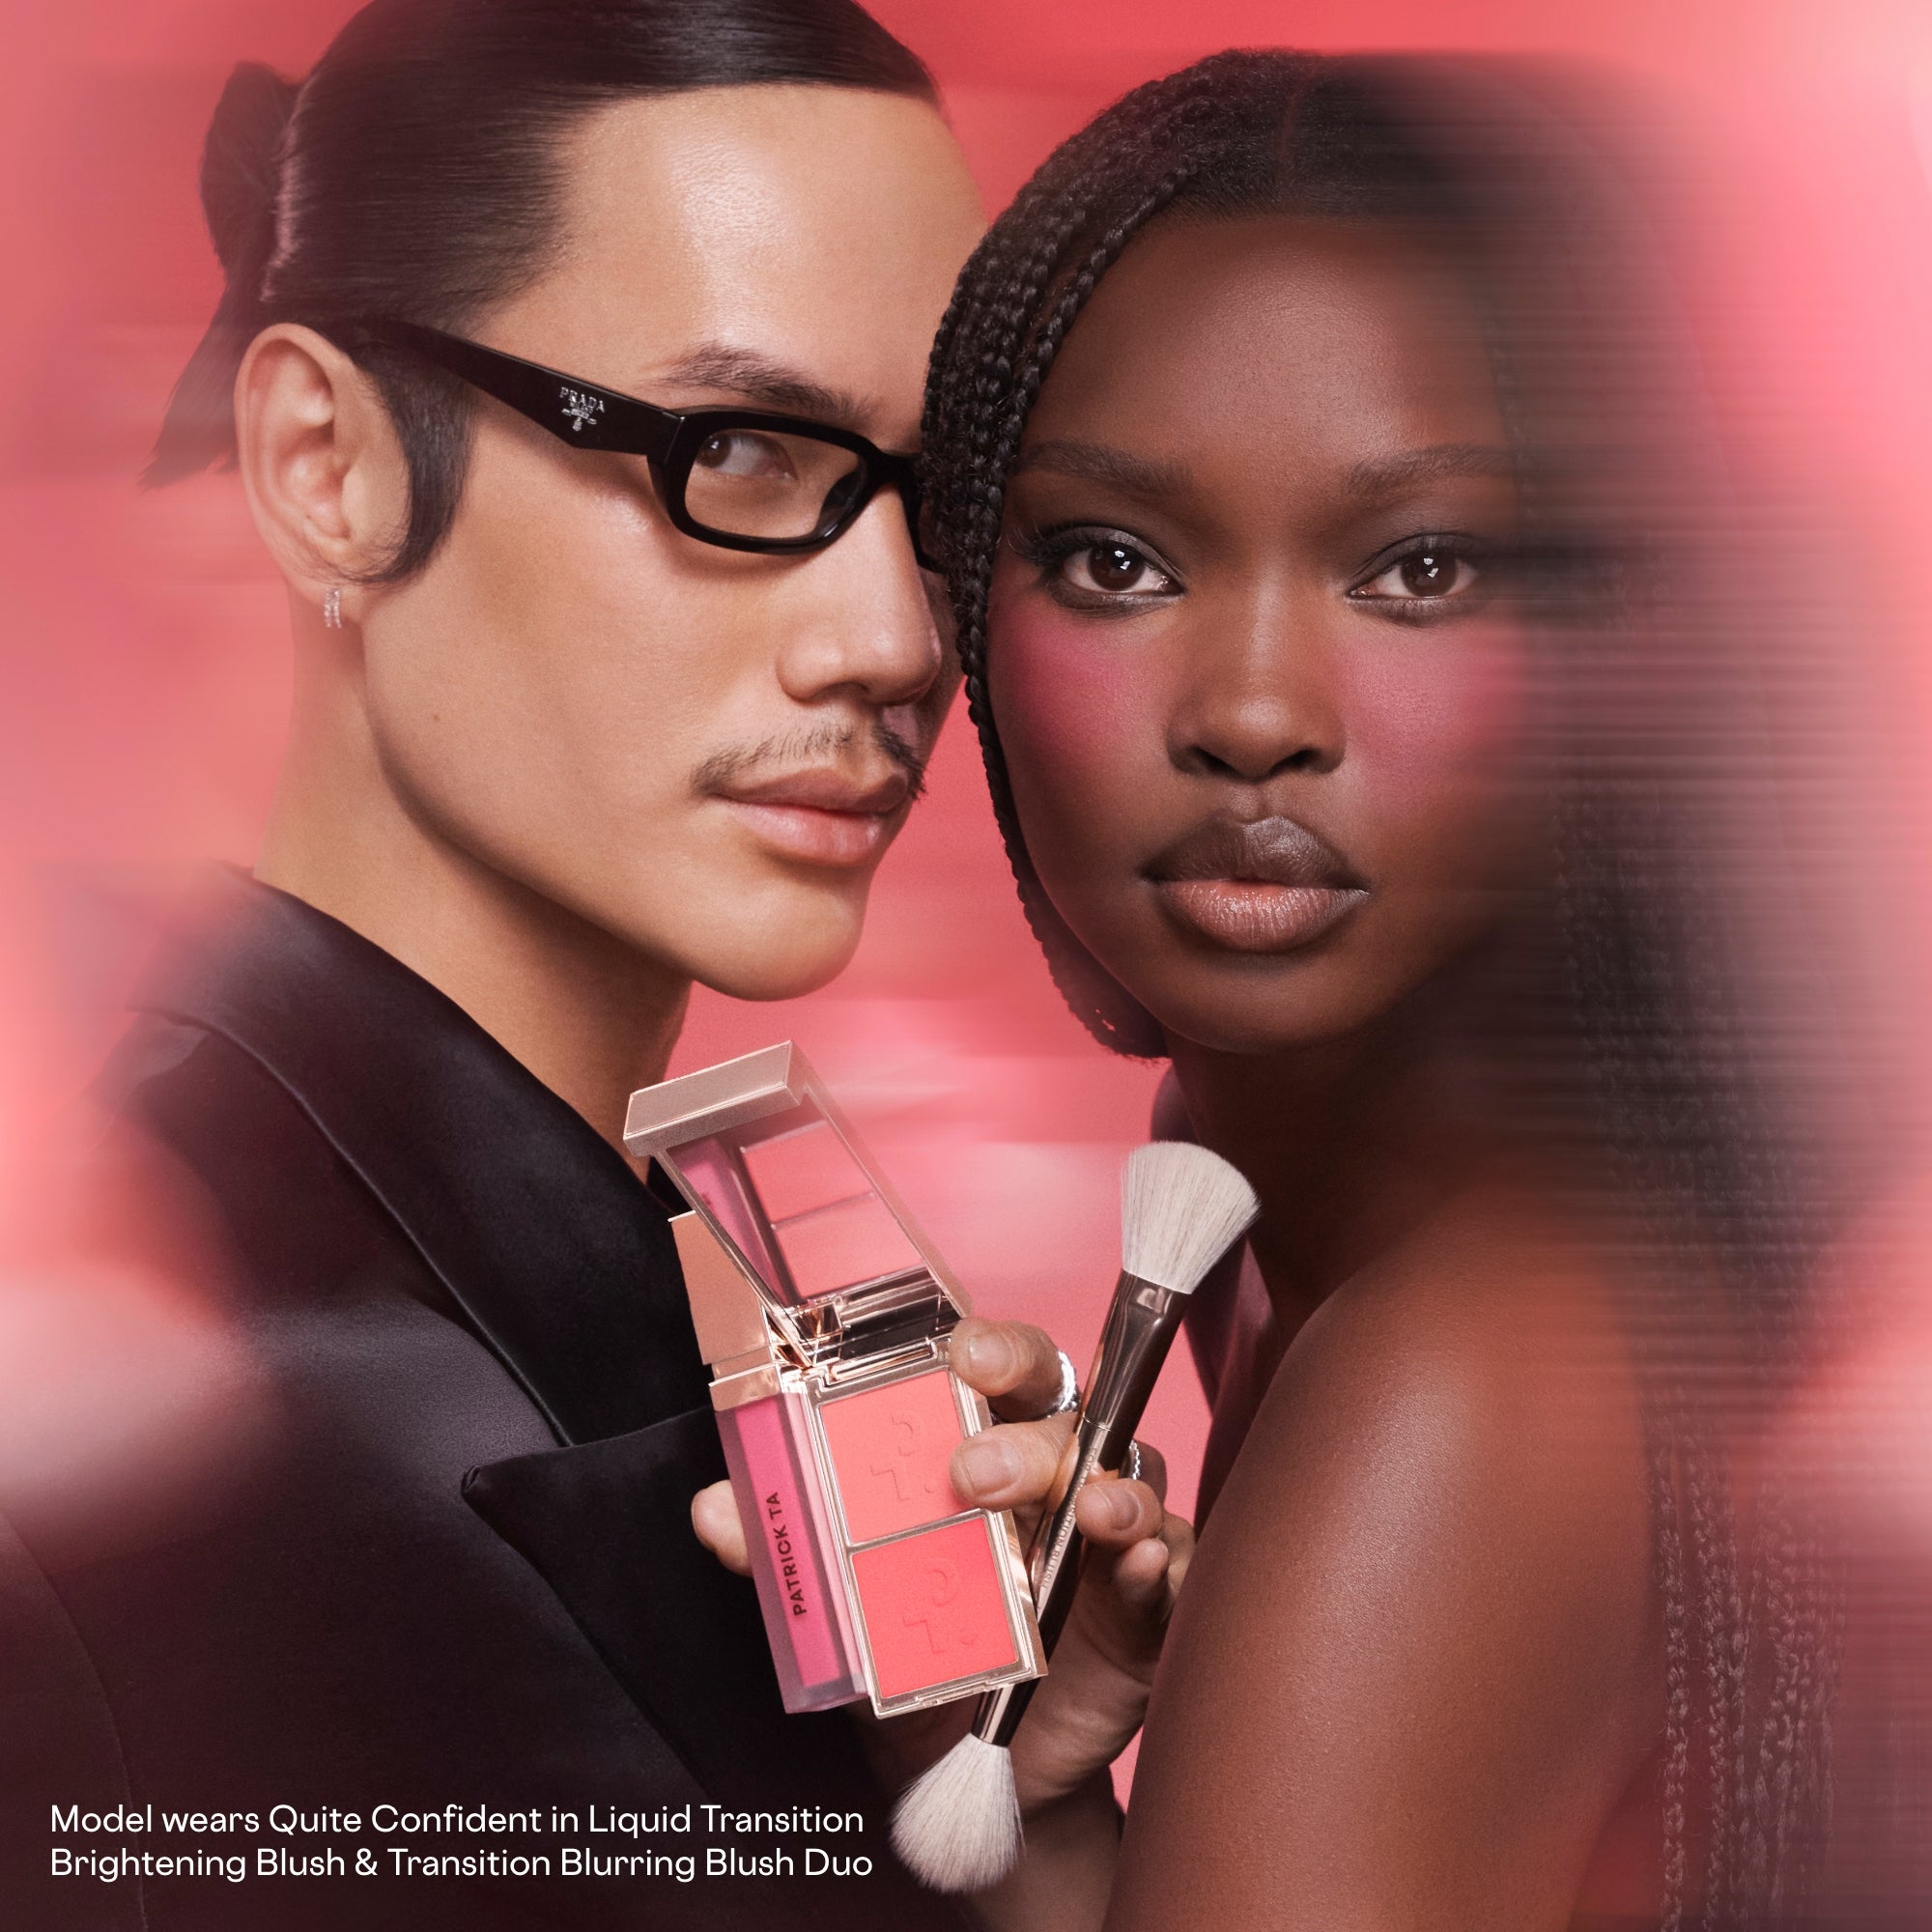
Apply powder blush first, then stamp cream blush on top using a light, pressing motion rather than swiping to prevent pilling or disrupting your base. The Major Headlines Double-Take Crème & Powder Blush Duo is designed specifically for this layering technique, giving you more depth, glow, and payoff in one step.
What brush should you use to apply blush for the most precise placement?
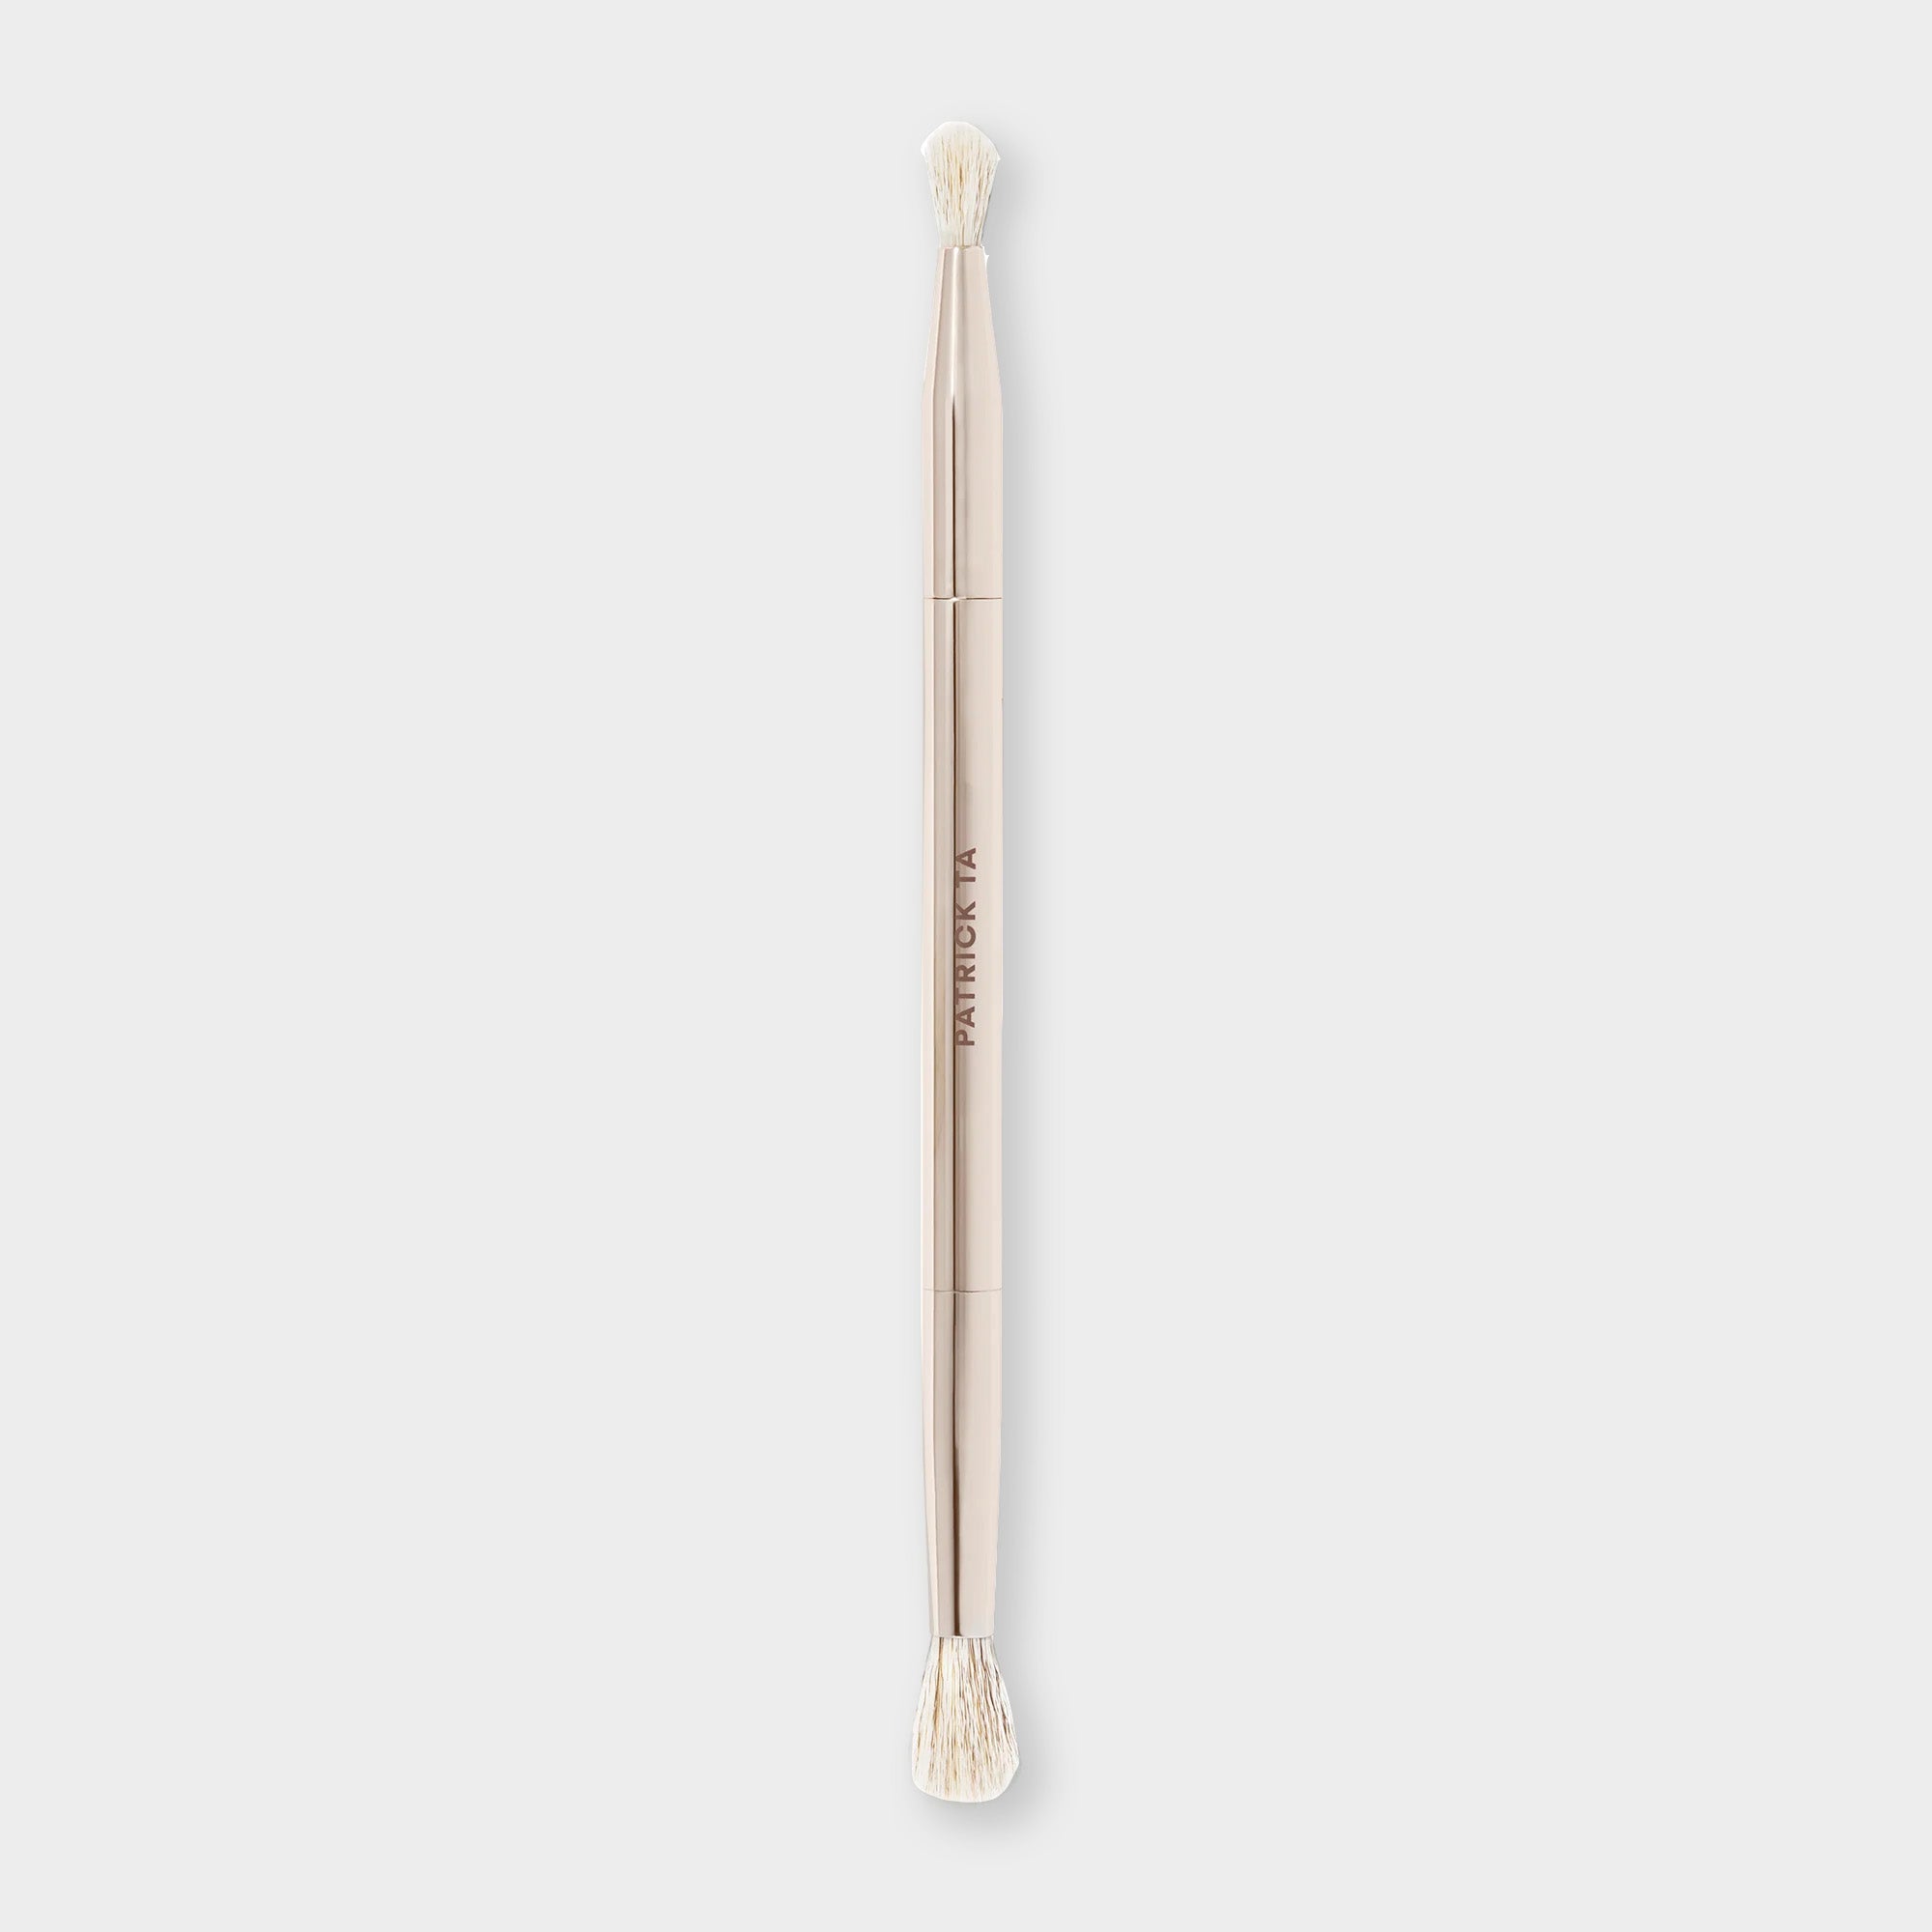
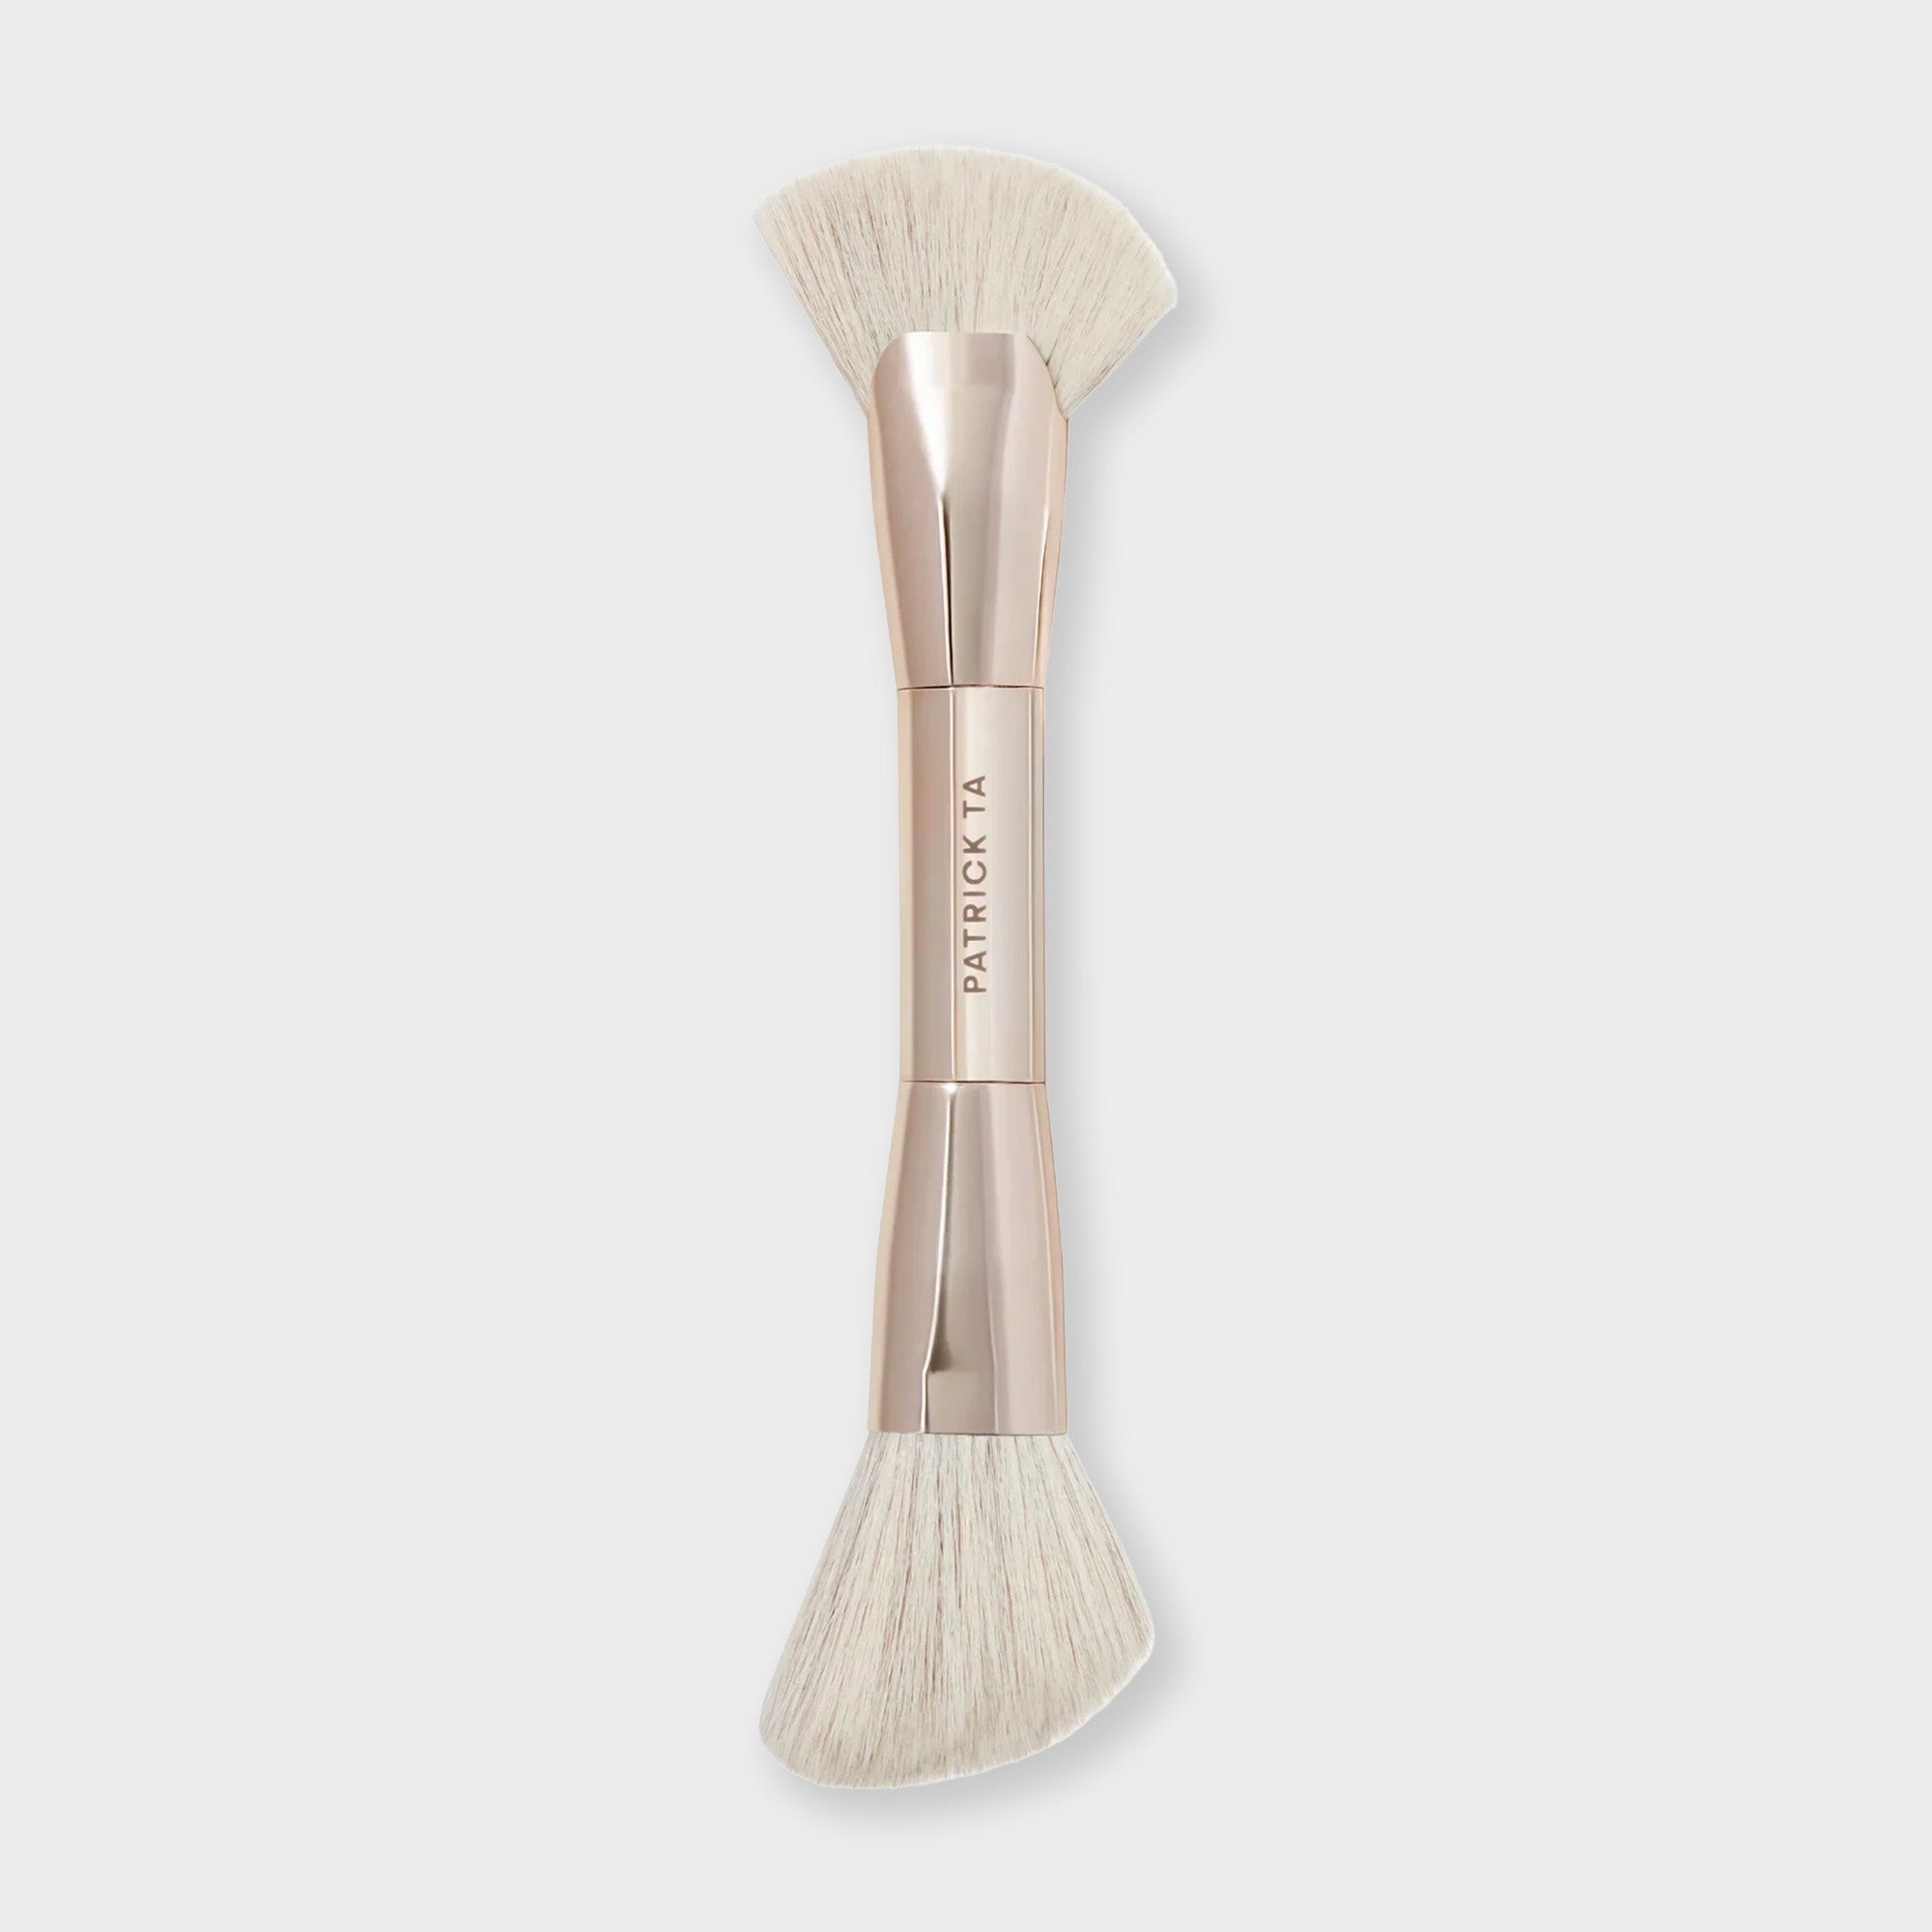
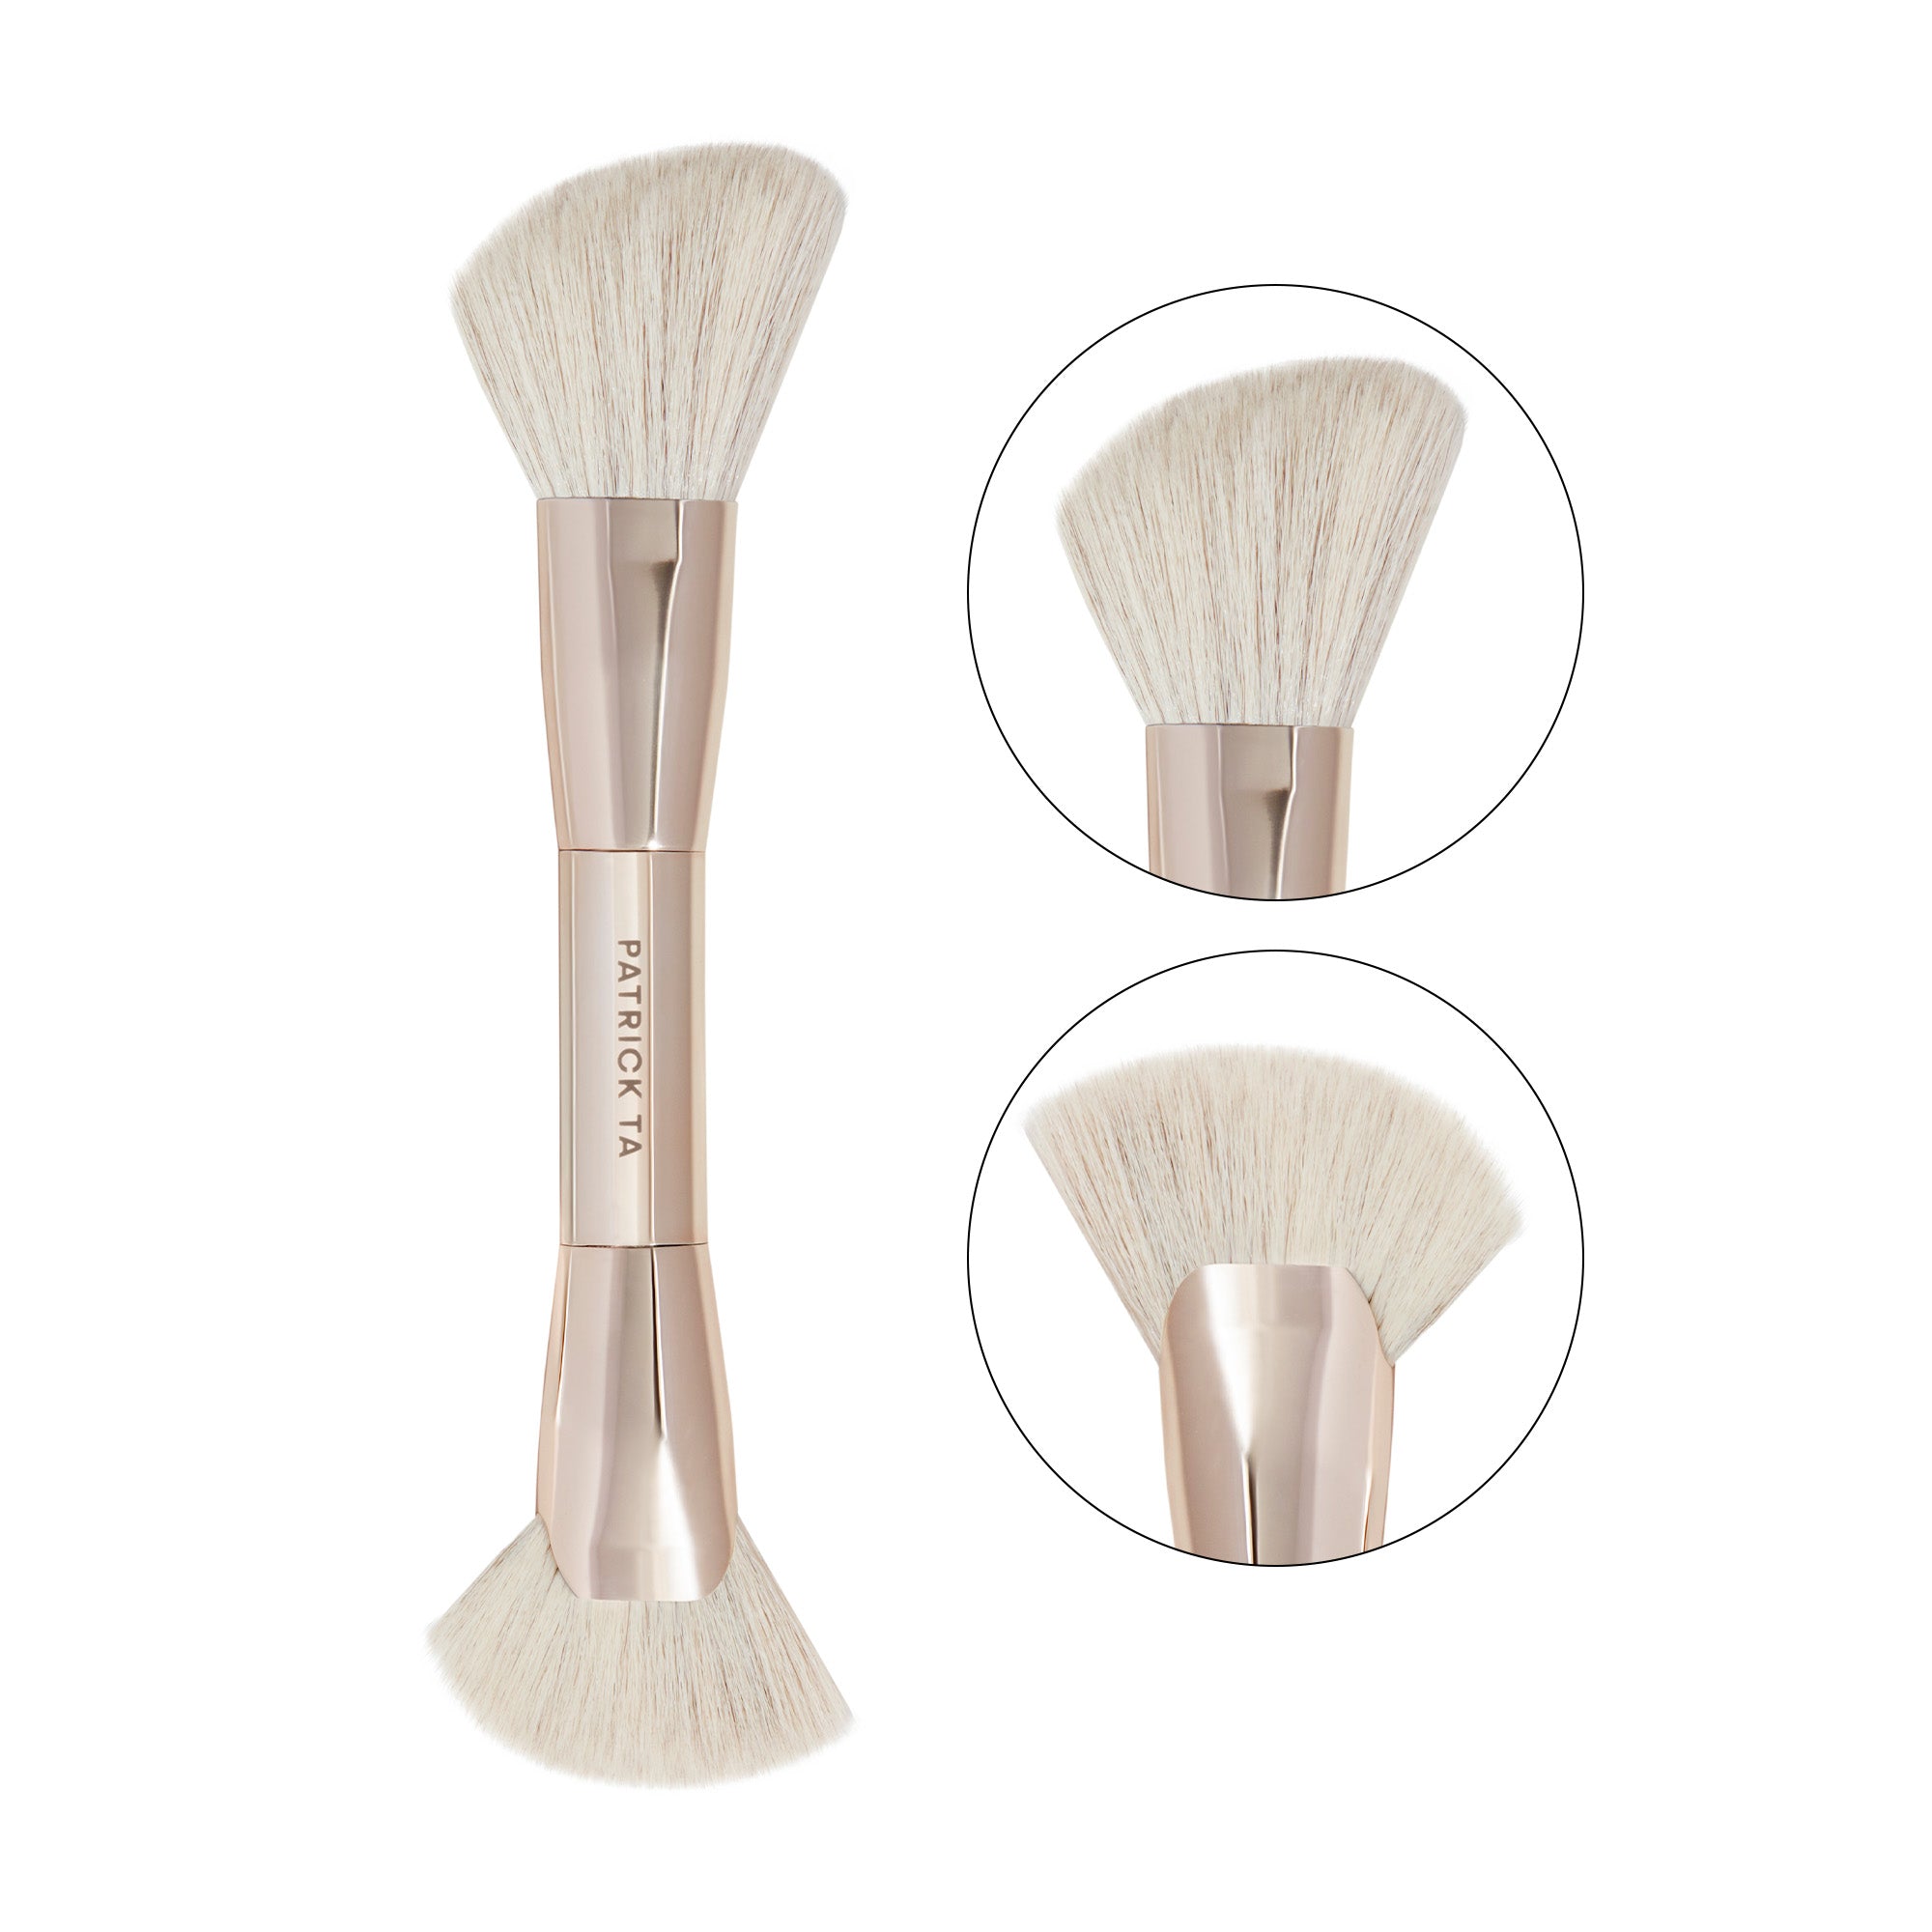
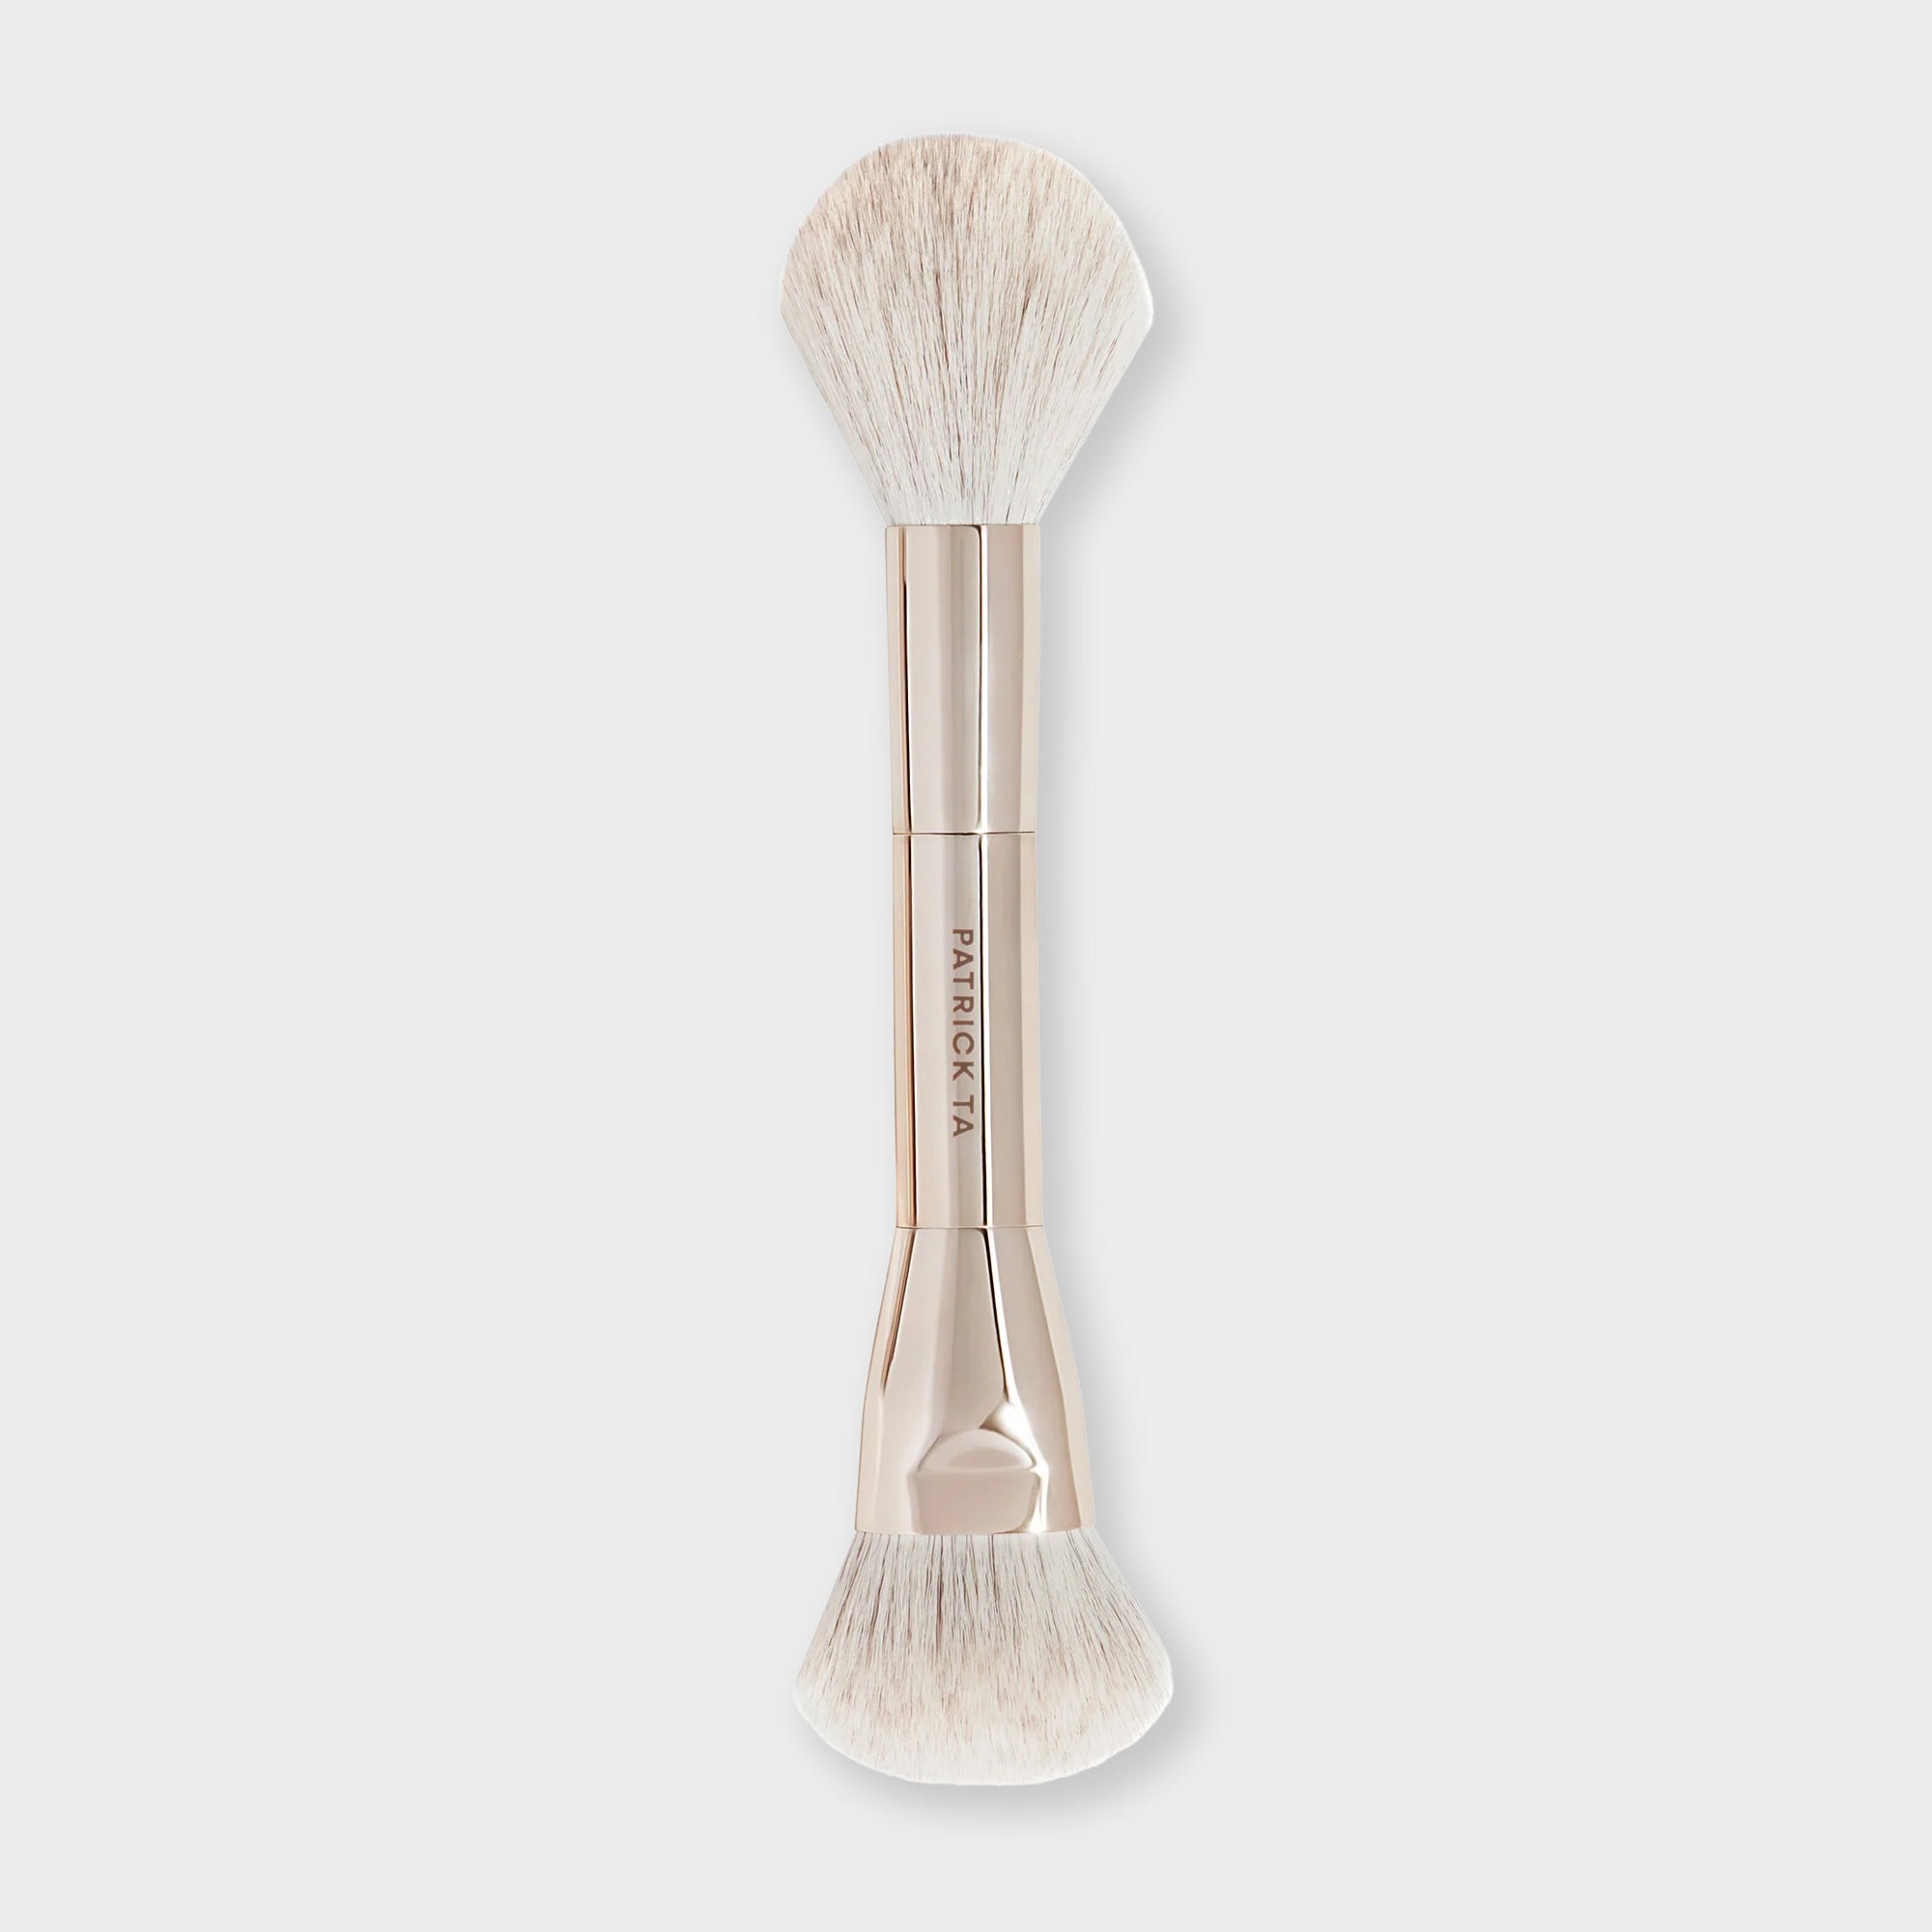
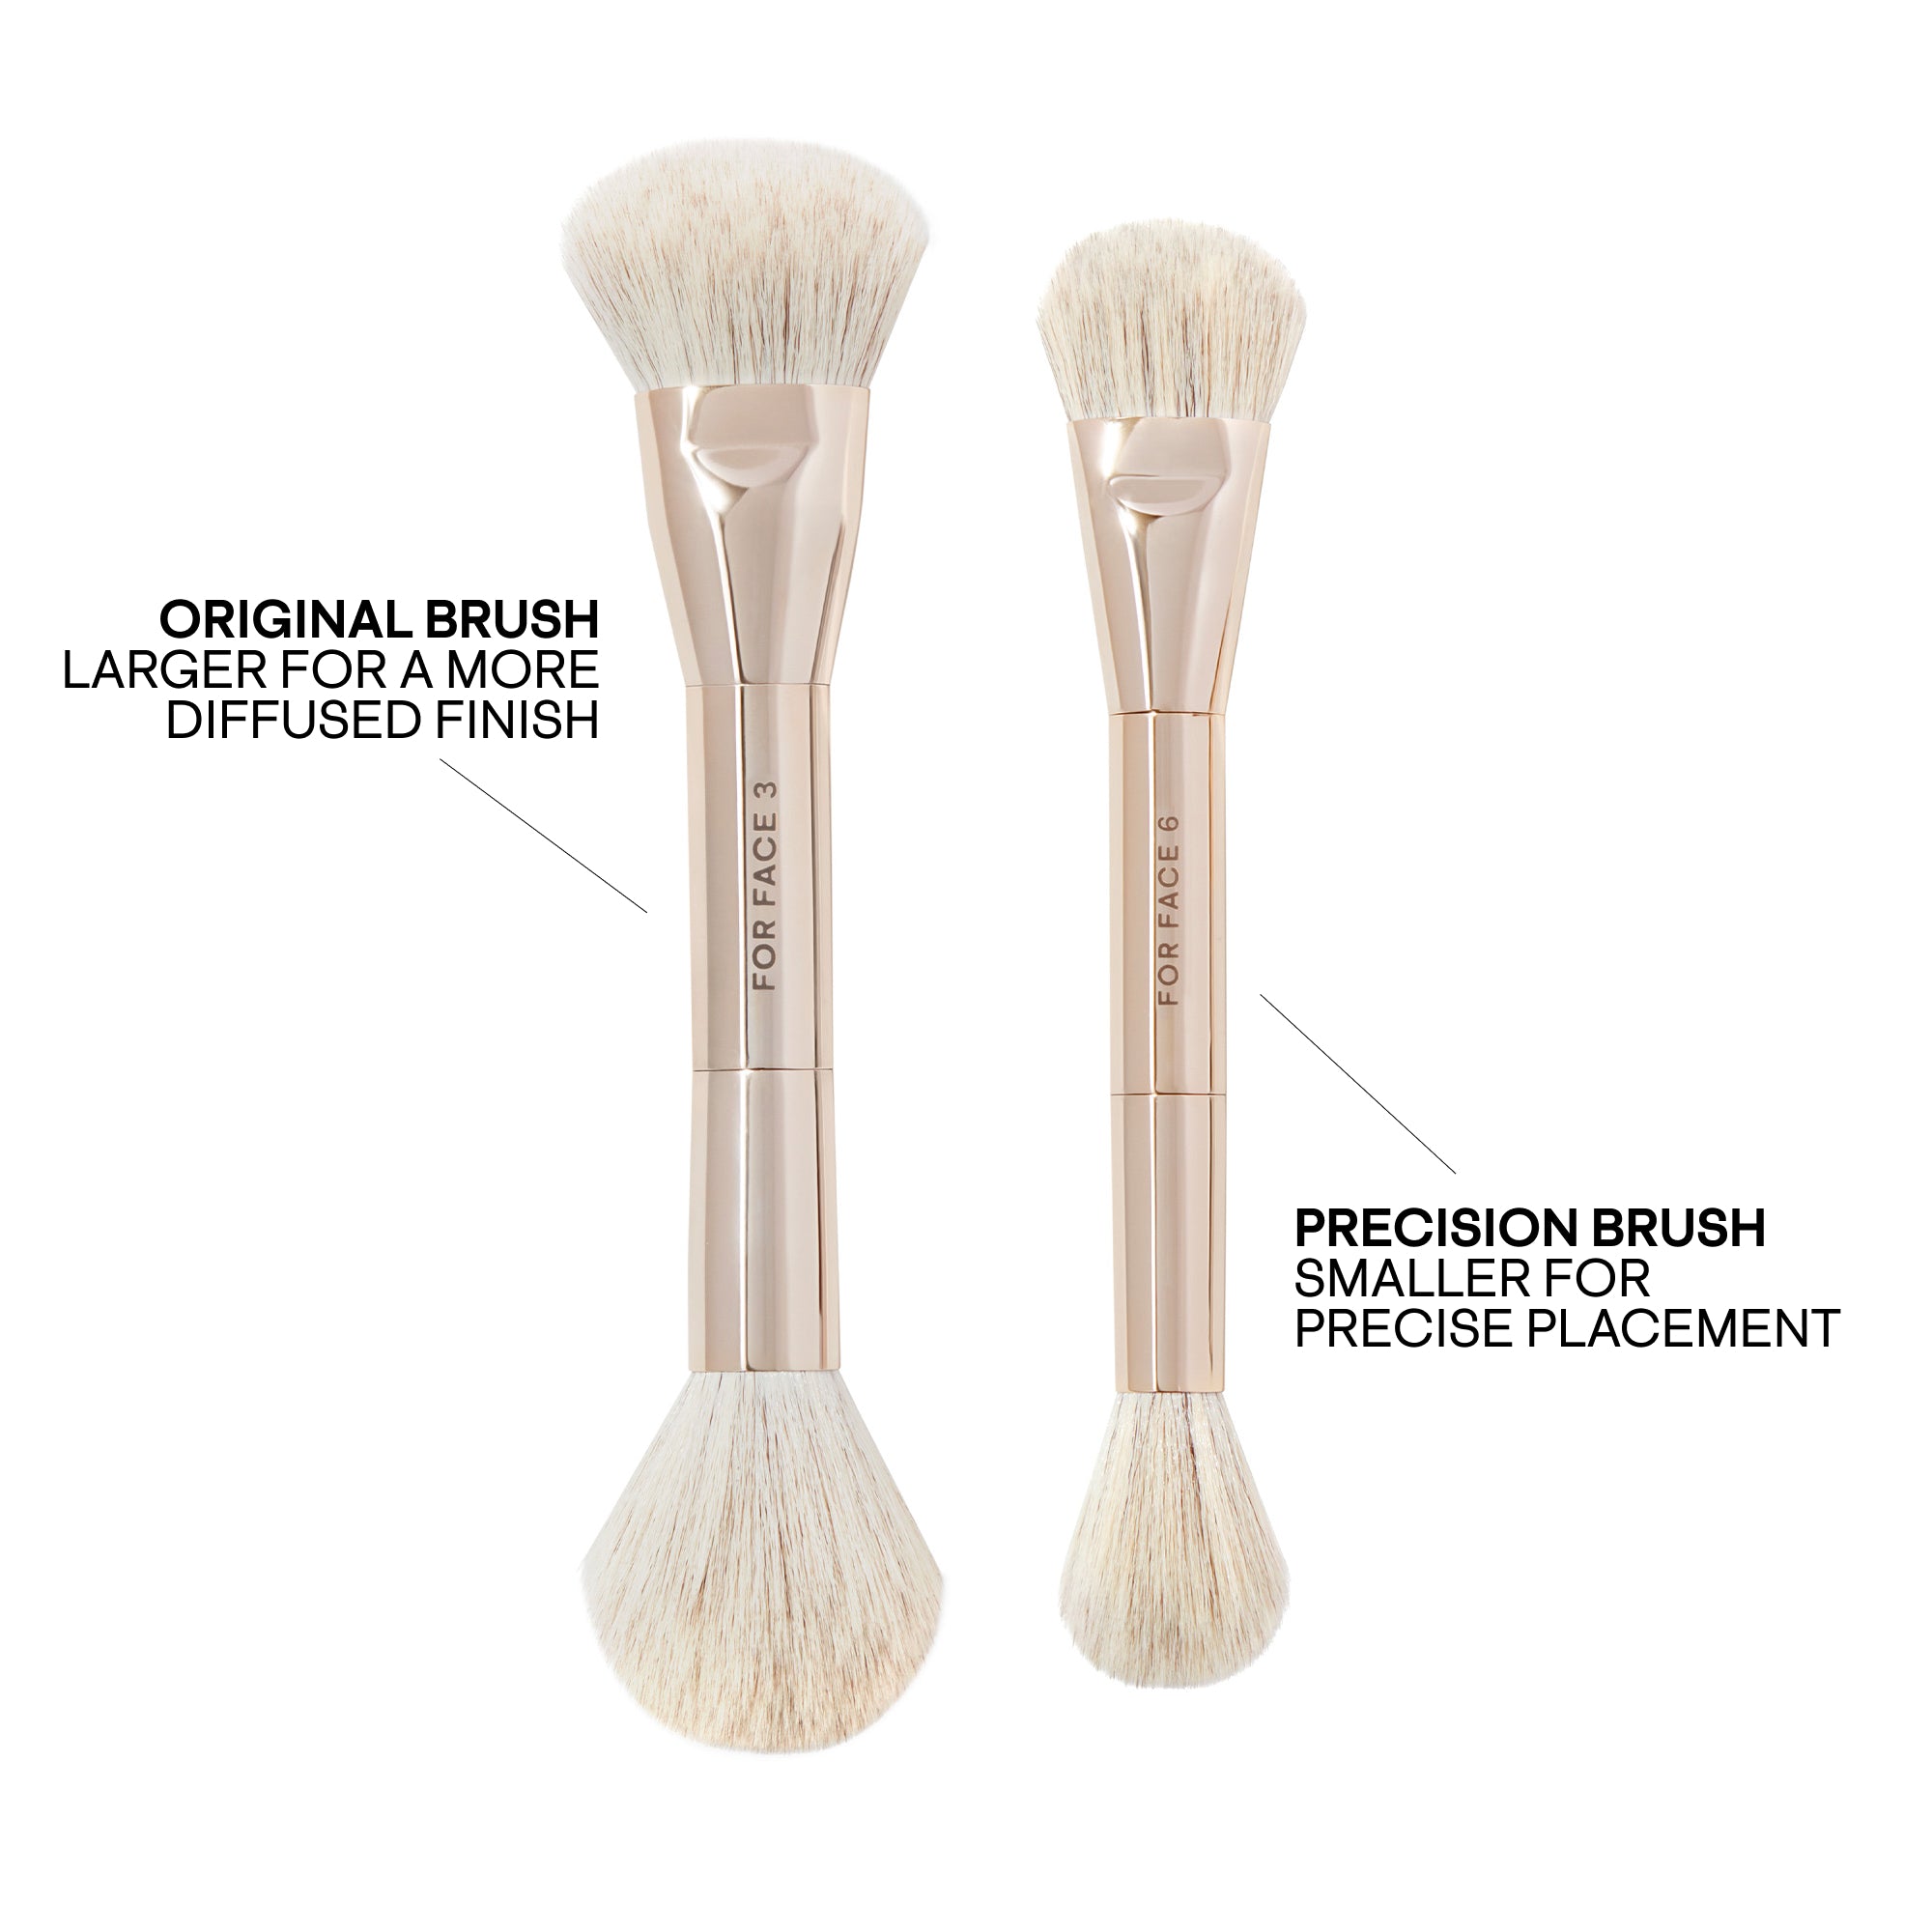
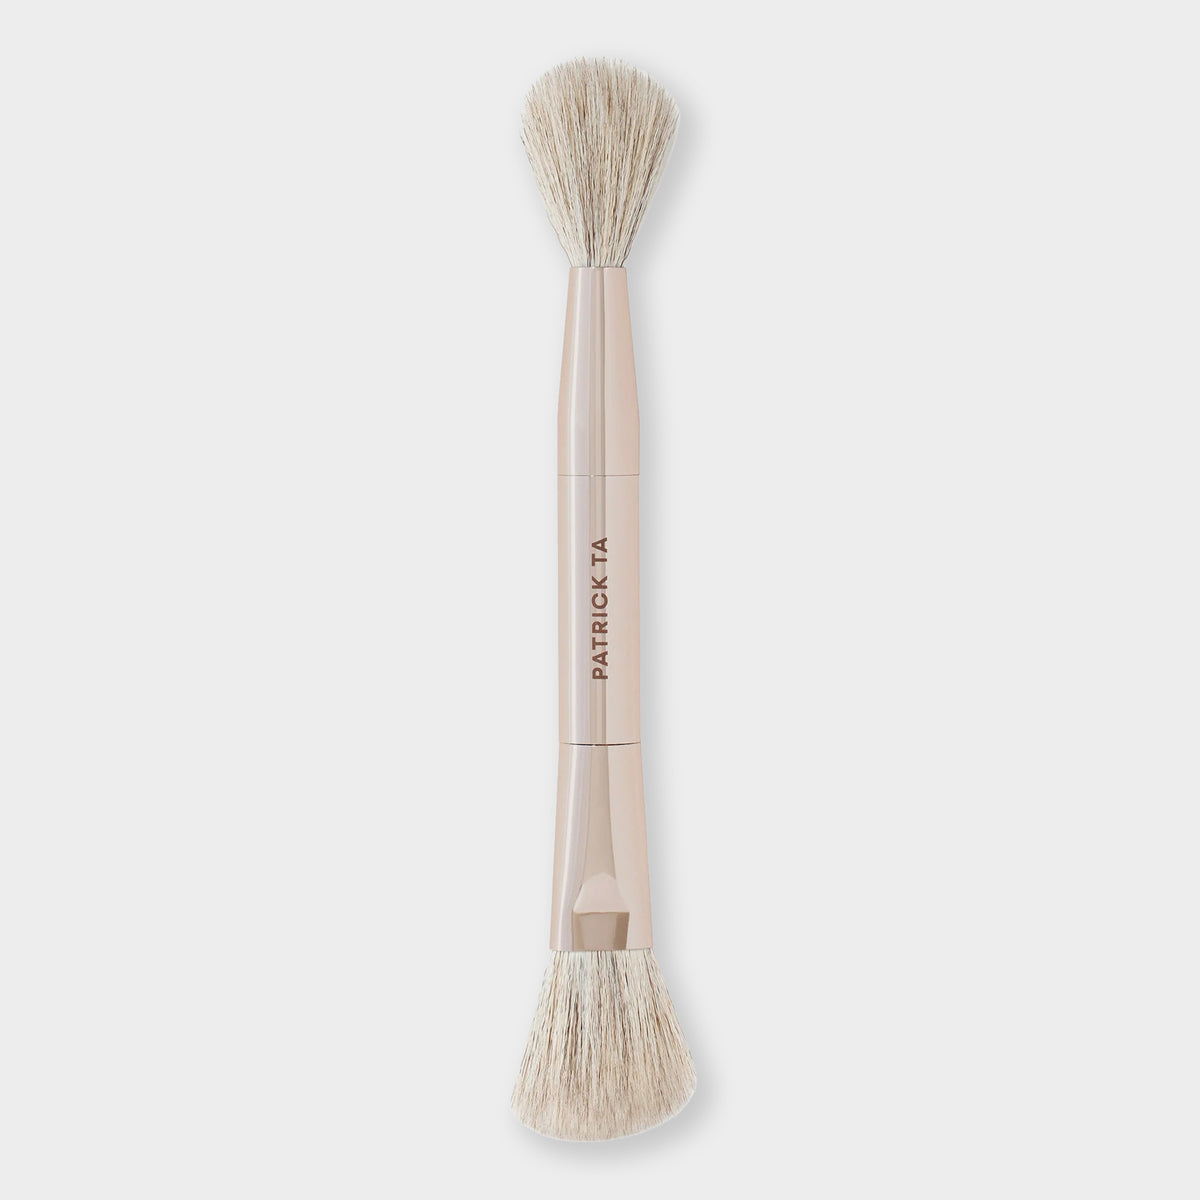
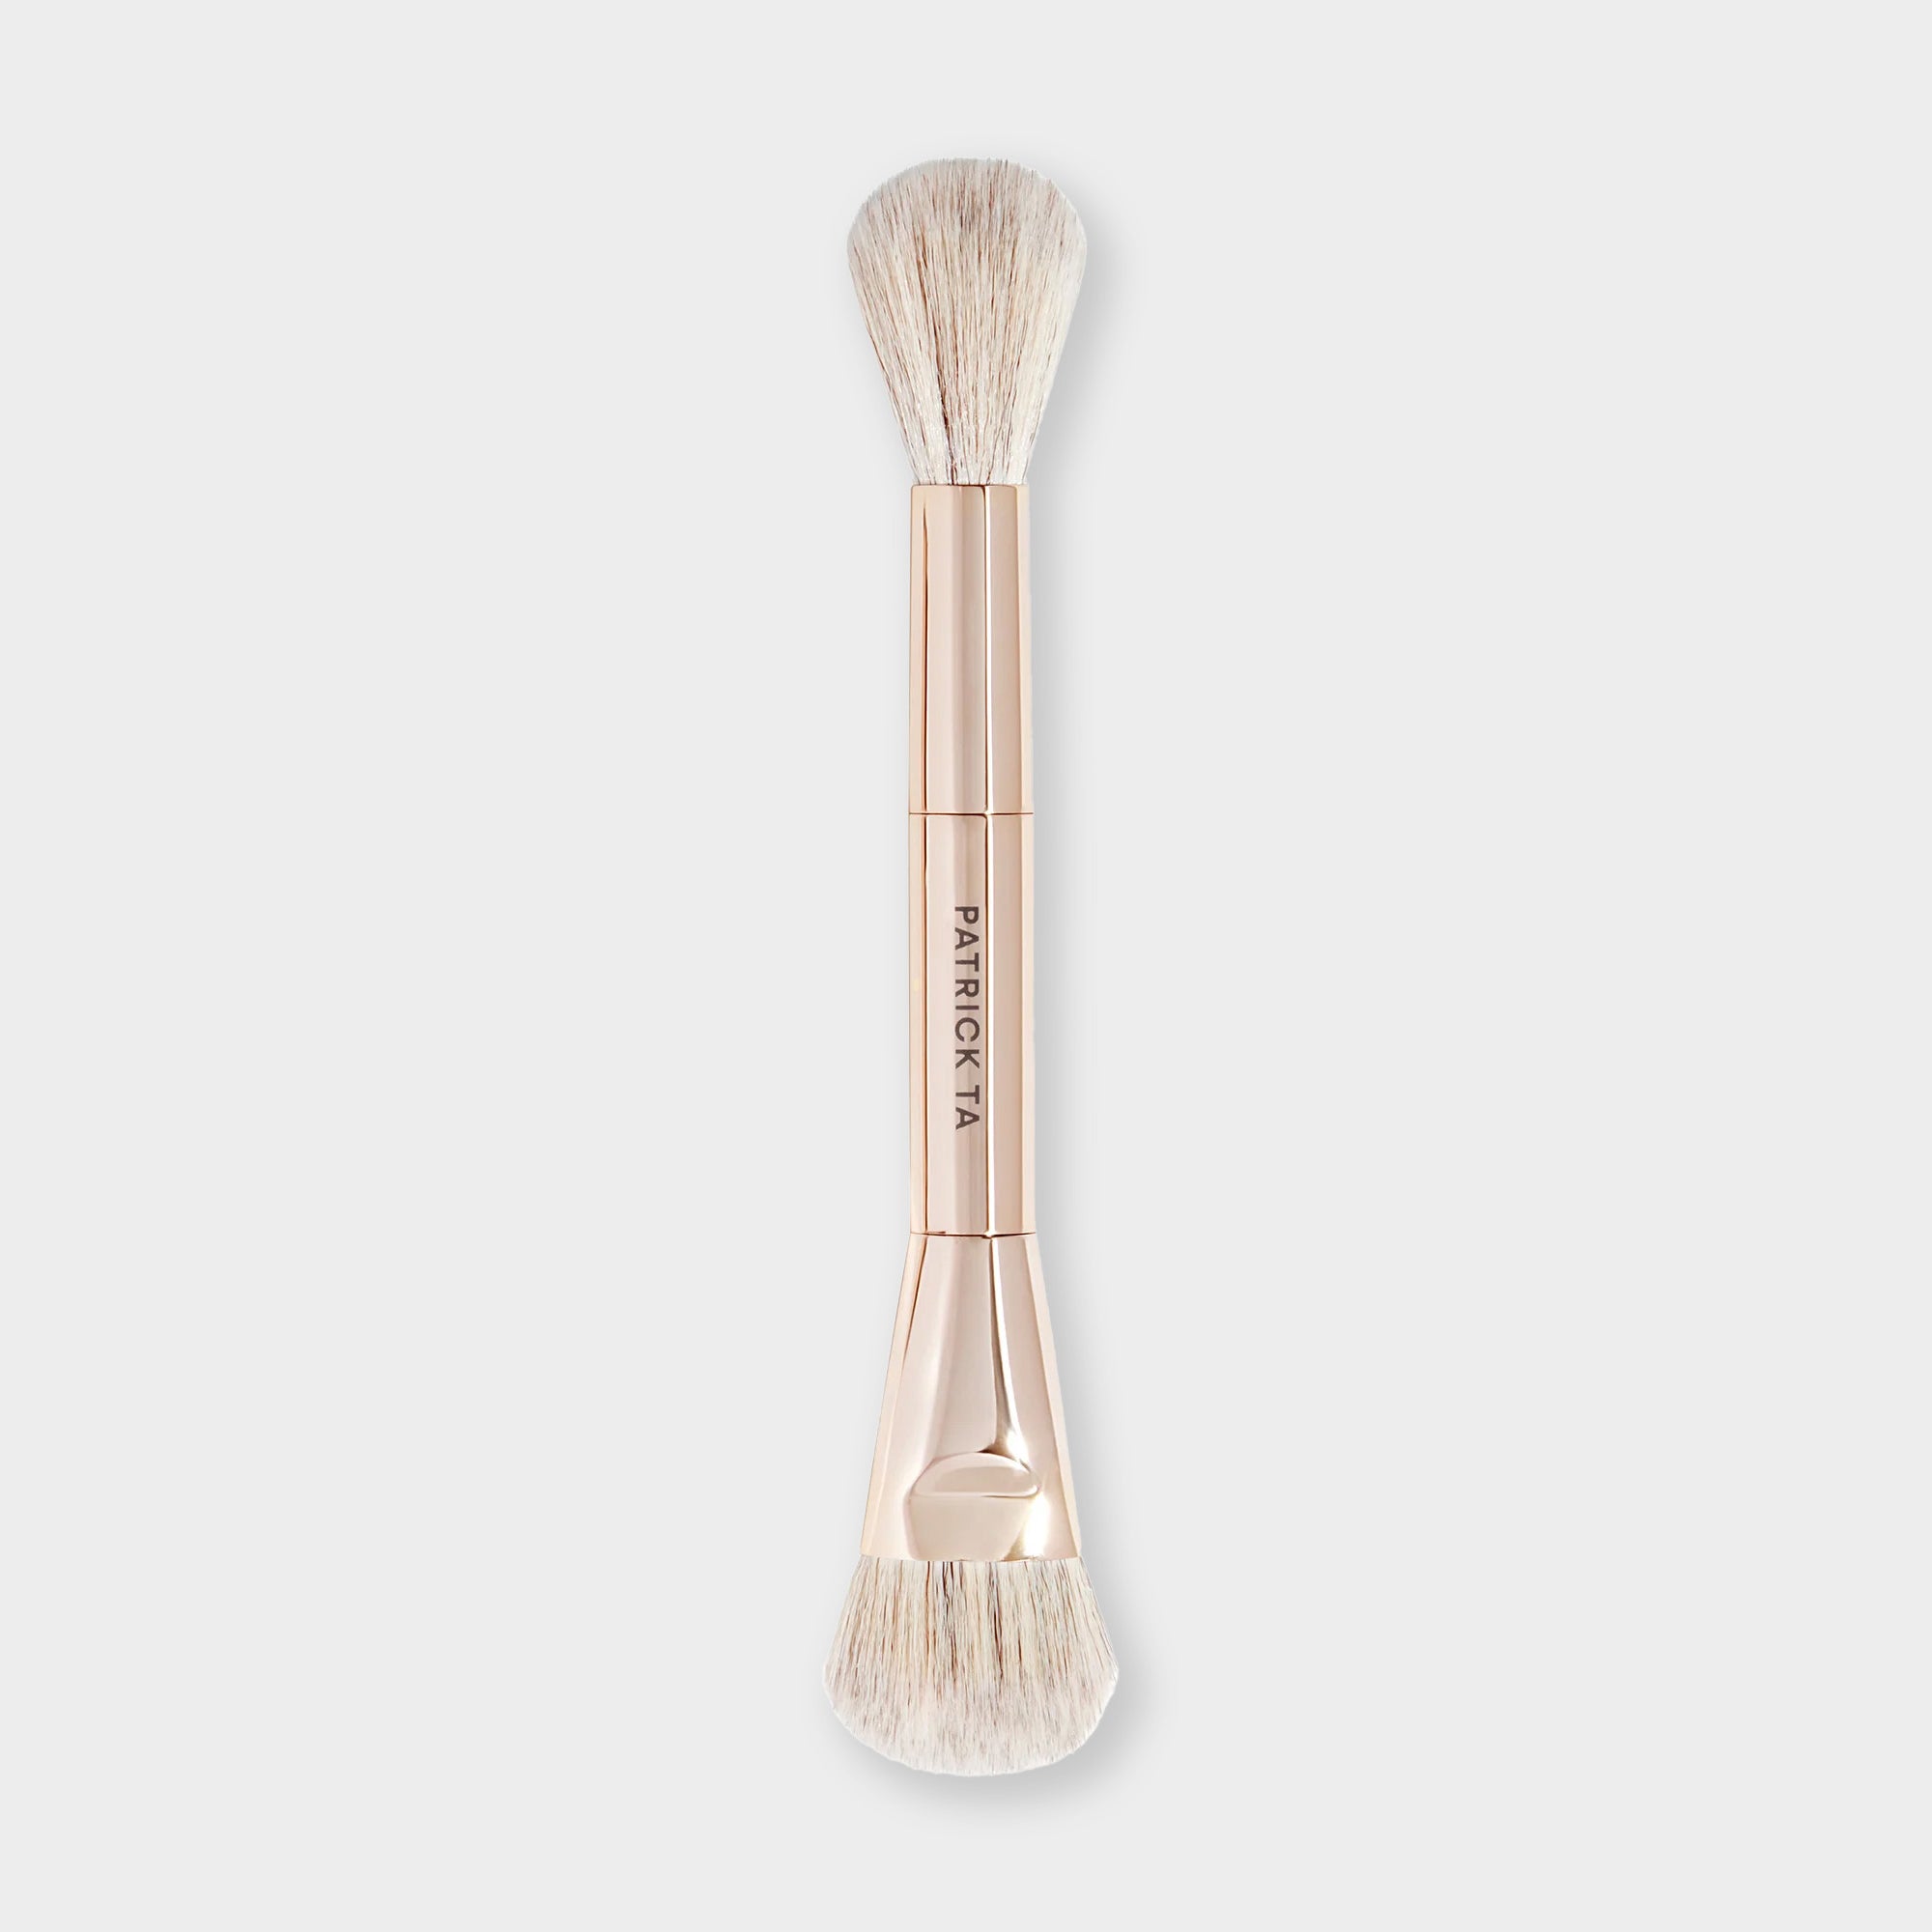
Use a compact, denser brush for cream or liquid blush so you can press color exactly where you want it, and switch to a fluffy brush for powder blush to diffuse pigment softly across the cheek. The Dual Ended Precision Blush Brush is built to handle both formulas so you can switch between techniques without reaching for a second tool.
How do you keep blush from fading throughout the day?
Build your blush in thin, pressed layers rather than one heavy sweep so the pigment bonds to the skin and lasts longer. Layering a cream blush underneath a powder blush also extends wear, since the cream formula acts as a grip layer that helps the powder adhere and stay vibrant.
Where should you avoid applying blush so it doesn't make your face look wider or heavier?
Keep blush away from the outer edges of the face near the jawline and avoid dragging color too far down below the nostril line, as both placements pull the eye downward and add visual weight. For most face shapes, blending upward toward the temples or keeping color centered on the apples of the cheeks creates lift rather than drag.
Is blush placement different when you're wearing a full glam look versus a no-makeup makeup look?
For full glam, use lifted or transition placement with layered cream and powder formulas to build dimension and sculpt the cheekbones with intention. For a no-makeup look, diffused placement with a sheer wash of powder blush across the cheeks, nose, and temples mimics the natural flush you'd get from a brisk walk outside.

RELATED POSTS
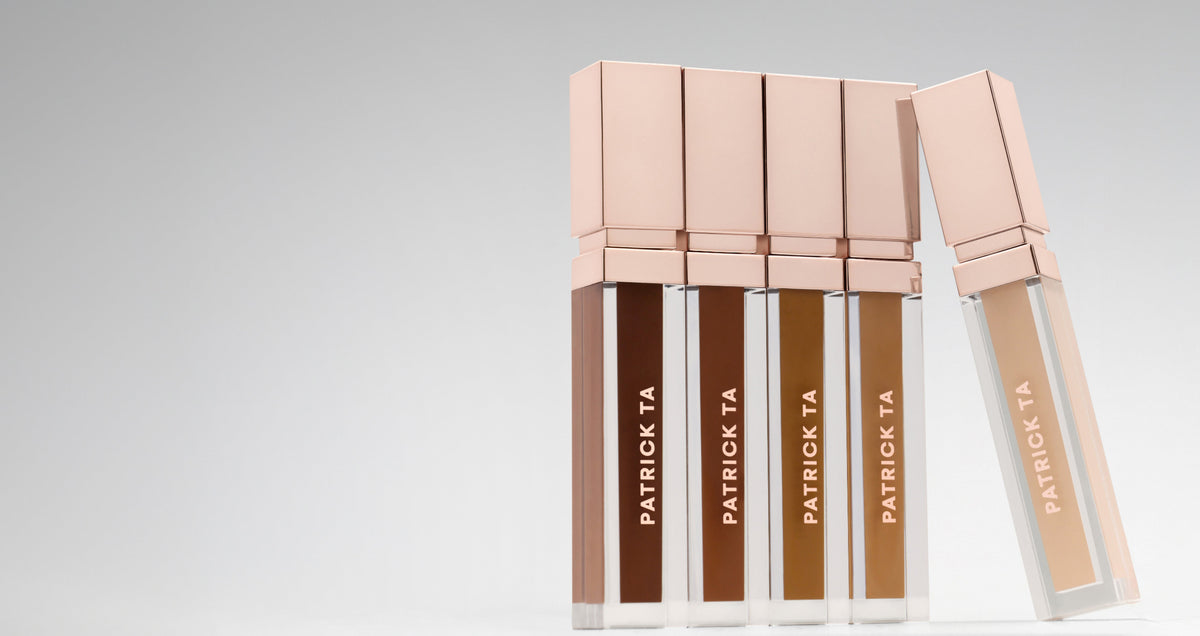
Here is Patrick's guide to concealer placement, plus how to apply it for a seamless, skin-like finish.
Here is how to find your concealer shade, how to test it, and how to use more than one shade for a flawless base
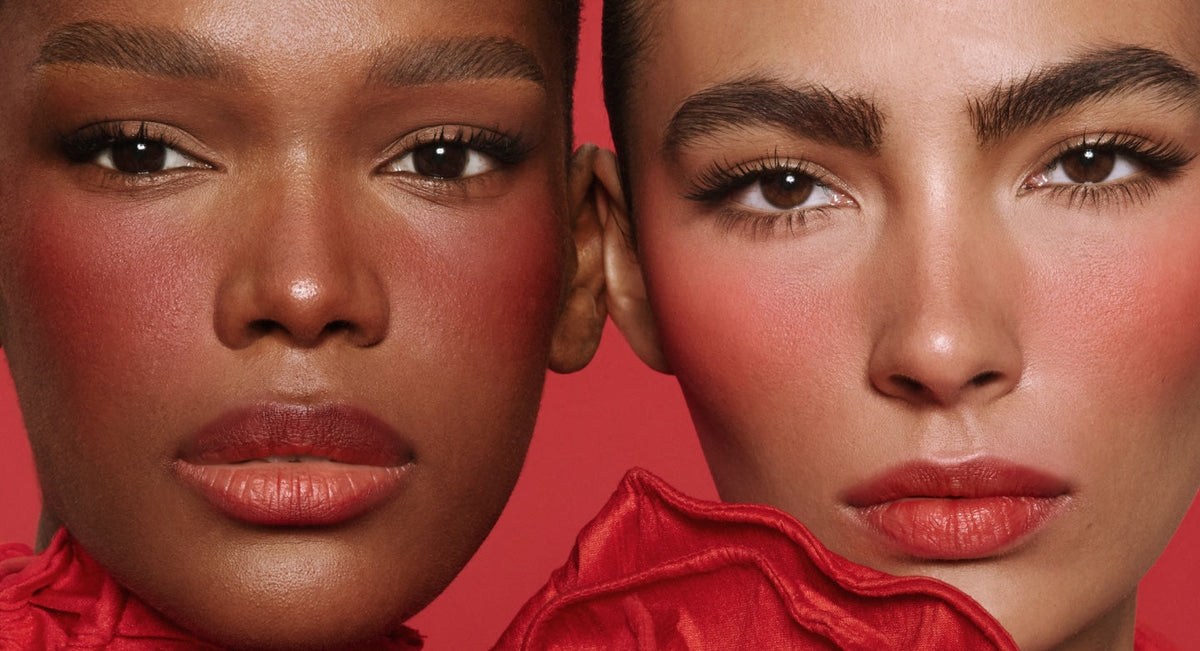
Here is why red blush has become a modern staple, how to choose the right shade for your skin tone, and how Patrick applies it for a flush that looks effortless.
Here are the shades that make brown eyes stand out and the Patrick Ta palettes that deliver them.
If you have been reaching for the same pink or peach for years, mauve blush is the easiest way to refresh your routine without going bold.
With professional tips from Patrick himself, consider this your step-by-step guide to creating the perfect smokey eye.
Follow these steps to learn how to apply eyeshadow for everything from an everyday wash of color to a defined evening look.
Here is how to choose shades, what to avoid, and how Patrick layers shadow for a look that makes hazel eyes glow.