


The Laminated Brow Look—Without the Appointment
The Laminated Brow Look—Without the Appointment
You’ve probably seen the laminated brow look dominate the beauty space on social media. Whether you have thin and sparse or full, voluminous brows, this grooming technique works for all types to give the brows seriously gorgeous definition. We’re sharing our expert tips on how to get the brow lamination look at home for high-shine, full brows.
What is Brow Lamination?
Brow lamination is a treatment that semi-permanently sets the hairs in a brushed-up style, giving them a fuller, lifted look that lasts.
Laminated brows are sleek and glossy, perfect for just about any makeup vibe, whether you’re into the clean girl aesthetic or red carpet glam.
If you’re not so sure about going all in for this treatment, you can get the look with the right makeup products. This temporary beauty hack will give you the sleek, fluffy brows you desire—without the permanence or the maintenance required with salon-level lamination treatments.
The Product Lineup
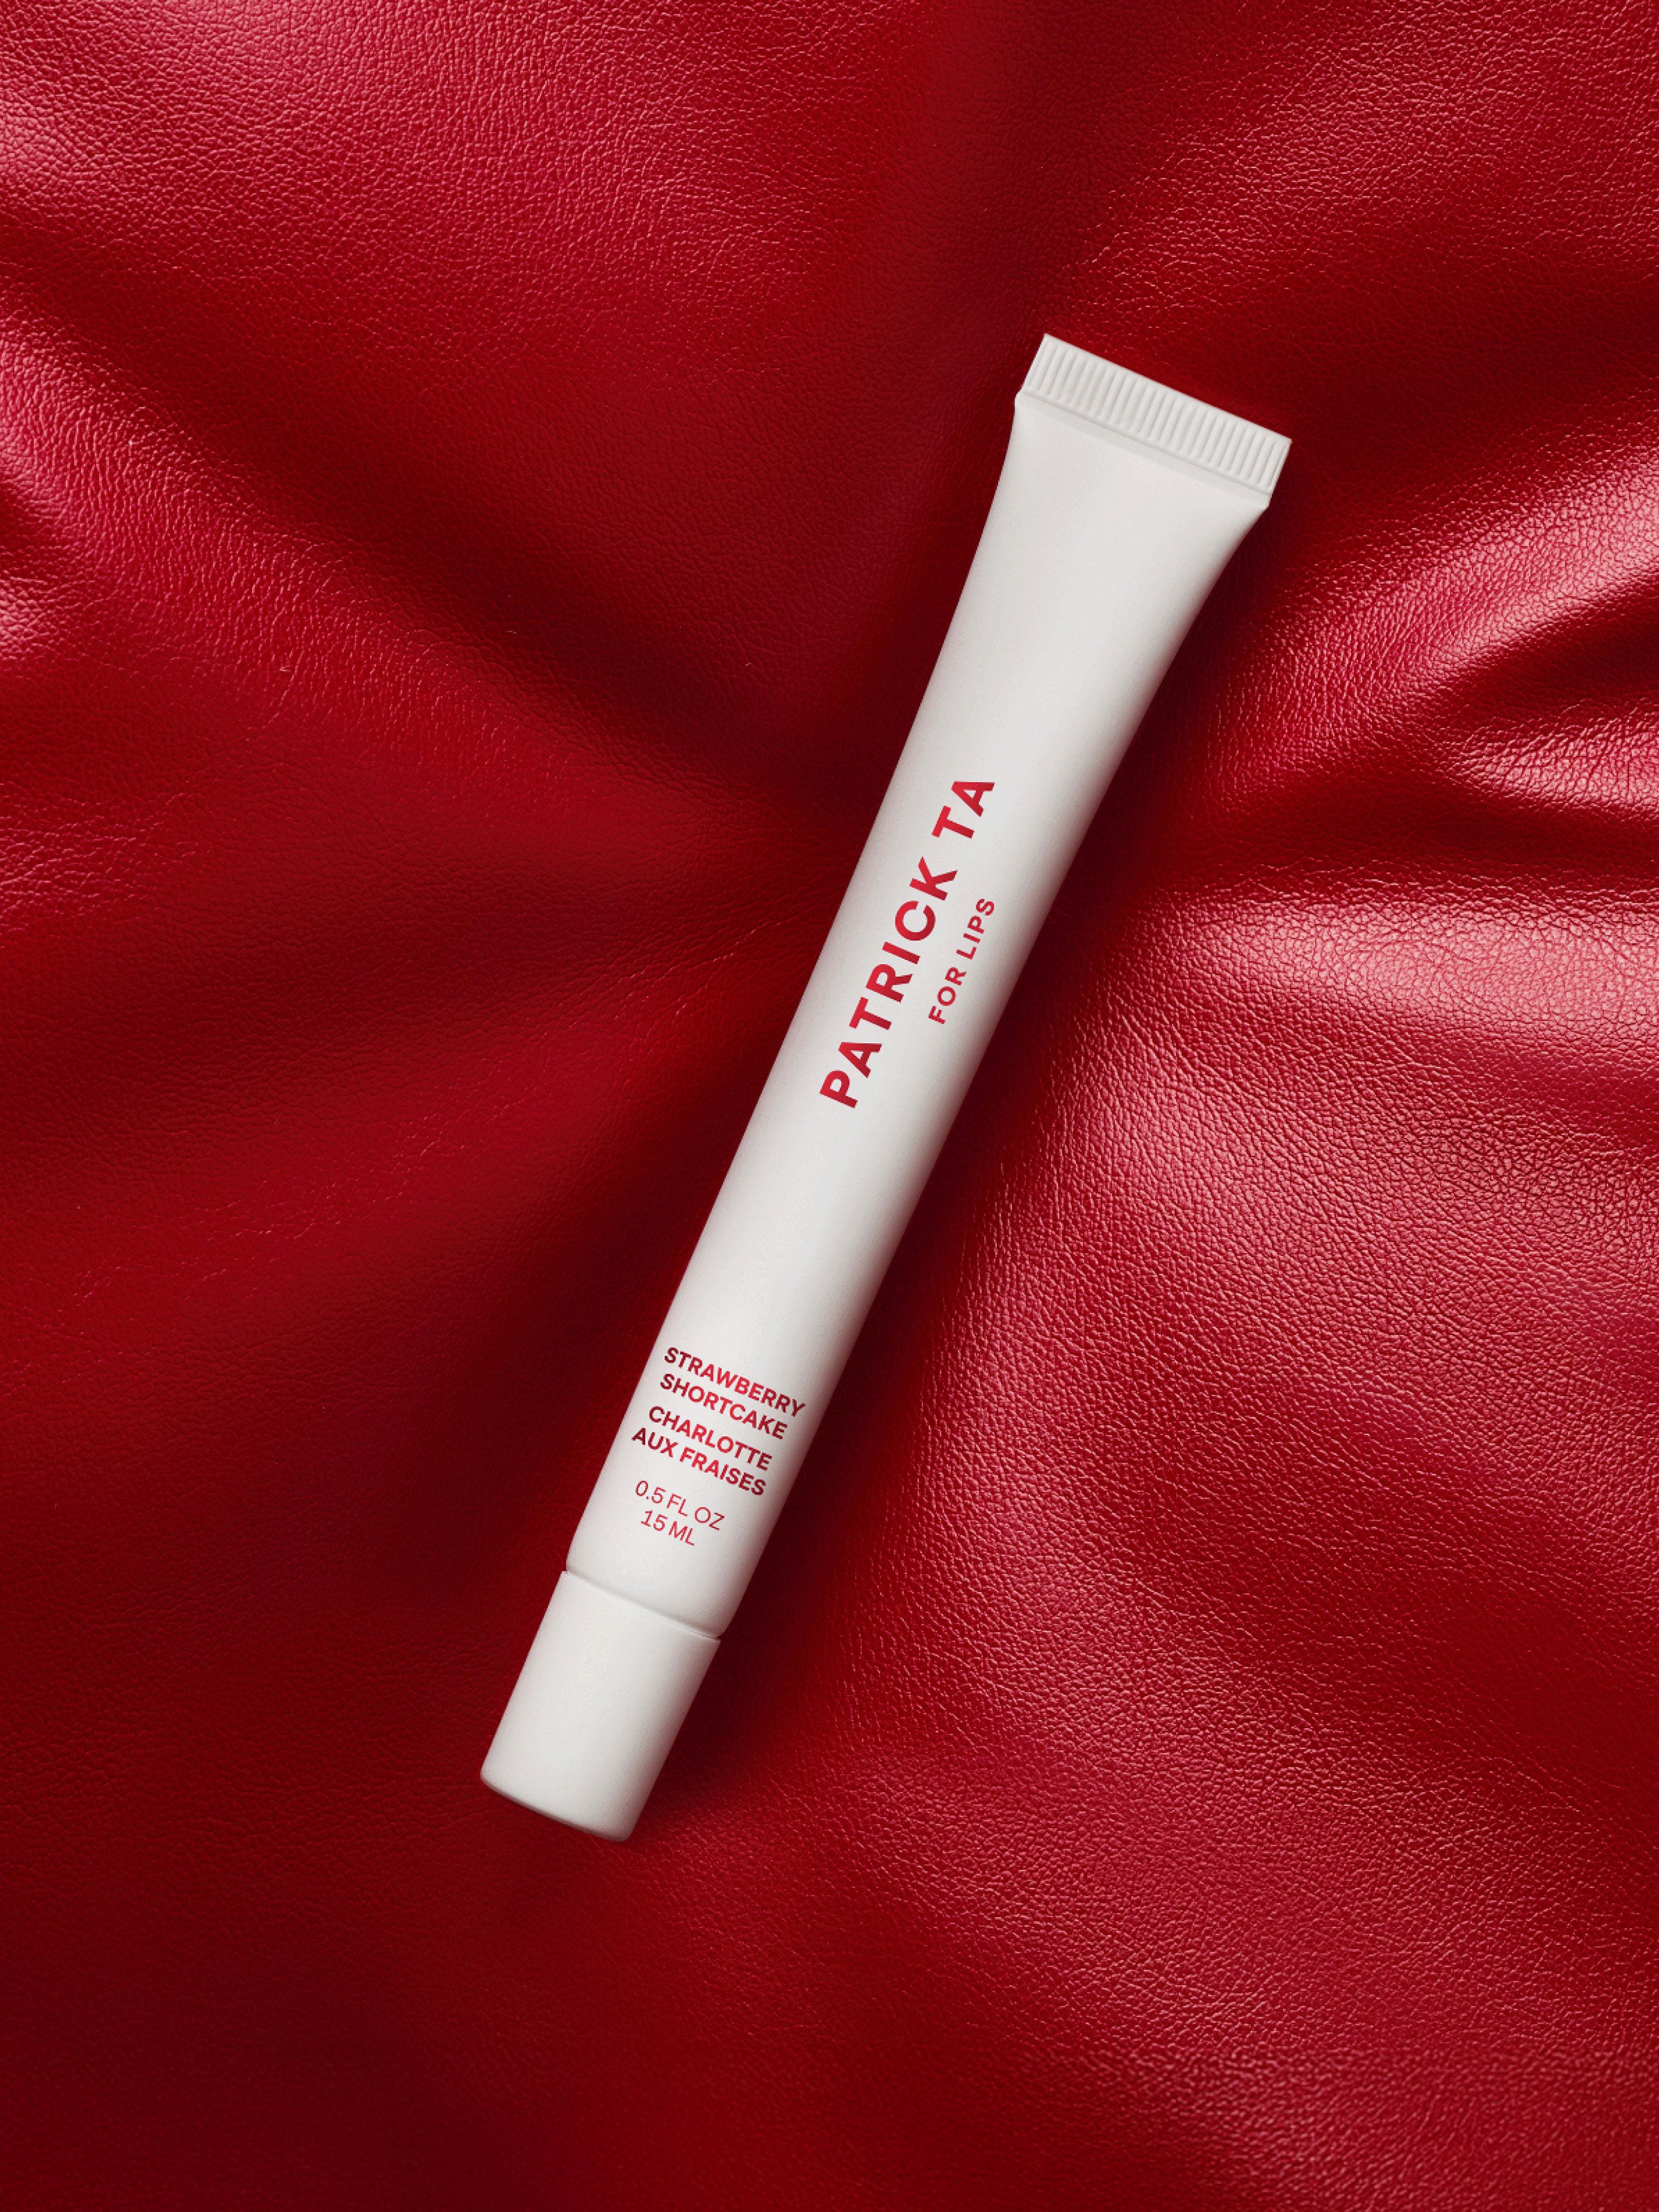
First things first: You need a brow gel that imparts a sleek, high-shine finish, like the Major Brow Lamination Gel. This clear gel formula has a strong hold and a fine bristle comb applicator that makes it easy to create the exact shape you are after. Infused with growth peptides and quinoa and coconut extracts, the gel is also designed to encourage growth while softening and hydrating the hair for healthy, full brows.
To really set your brows in place for all-day hold, pair the gel with a brow wax, like the Major Brow Shaping Wax. This buildable brow wax is your secret weapon for creating that pushed up, feathered look, and offers a strong hold to maintain your shape. The formula features growth peptides, glycerin, and olive oil to further support growth and condition the hairs.
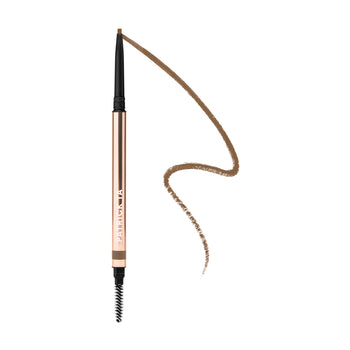
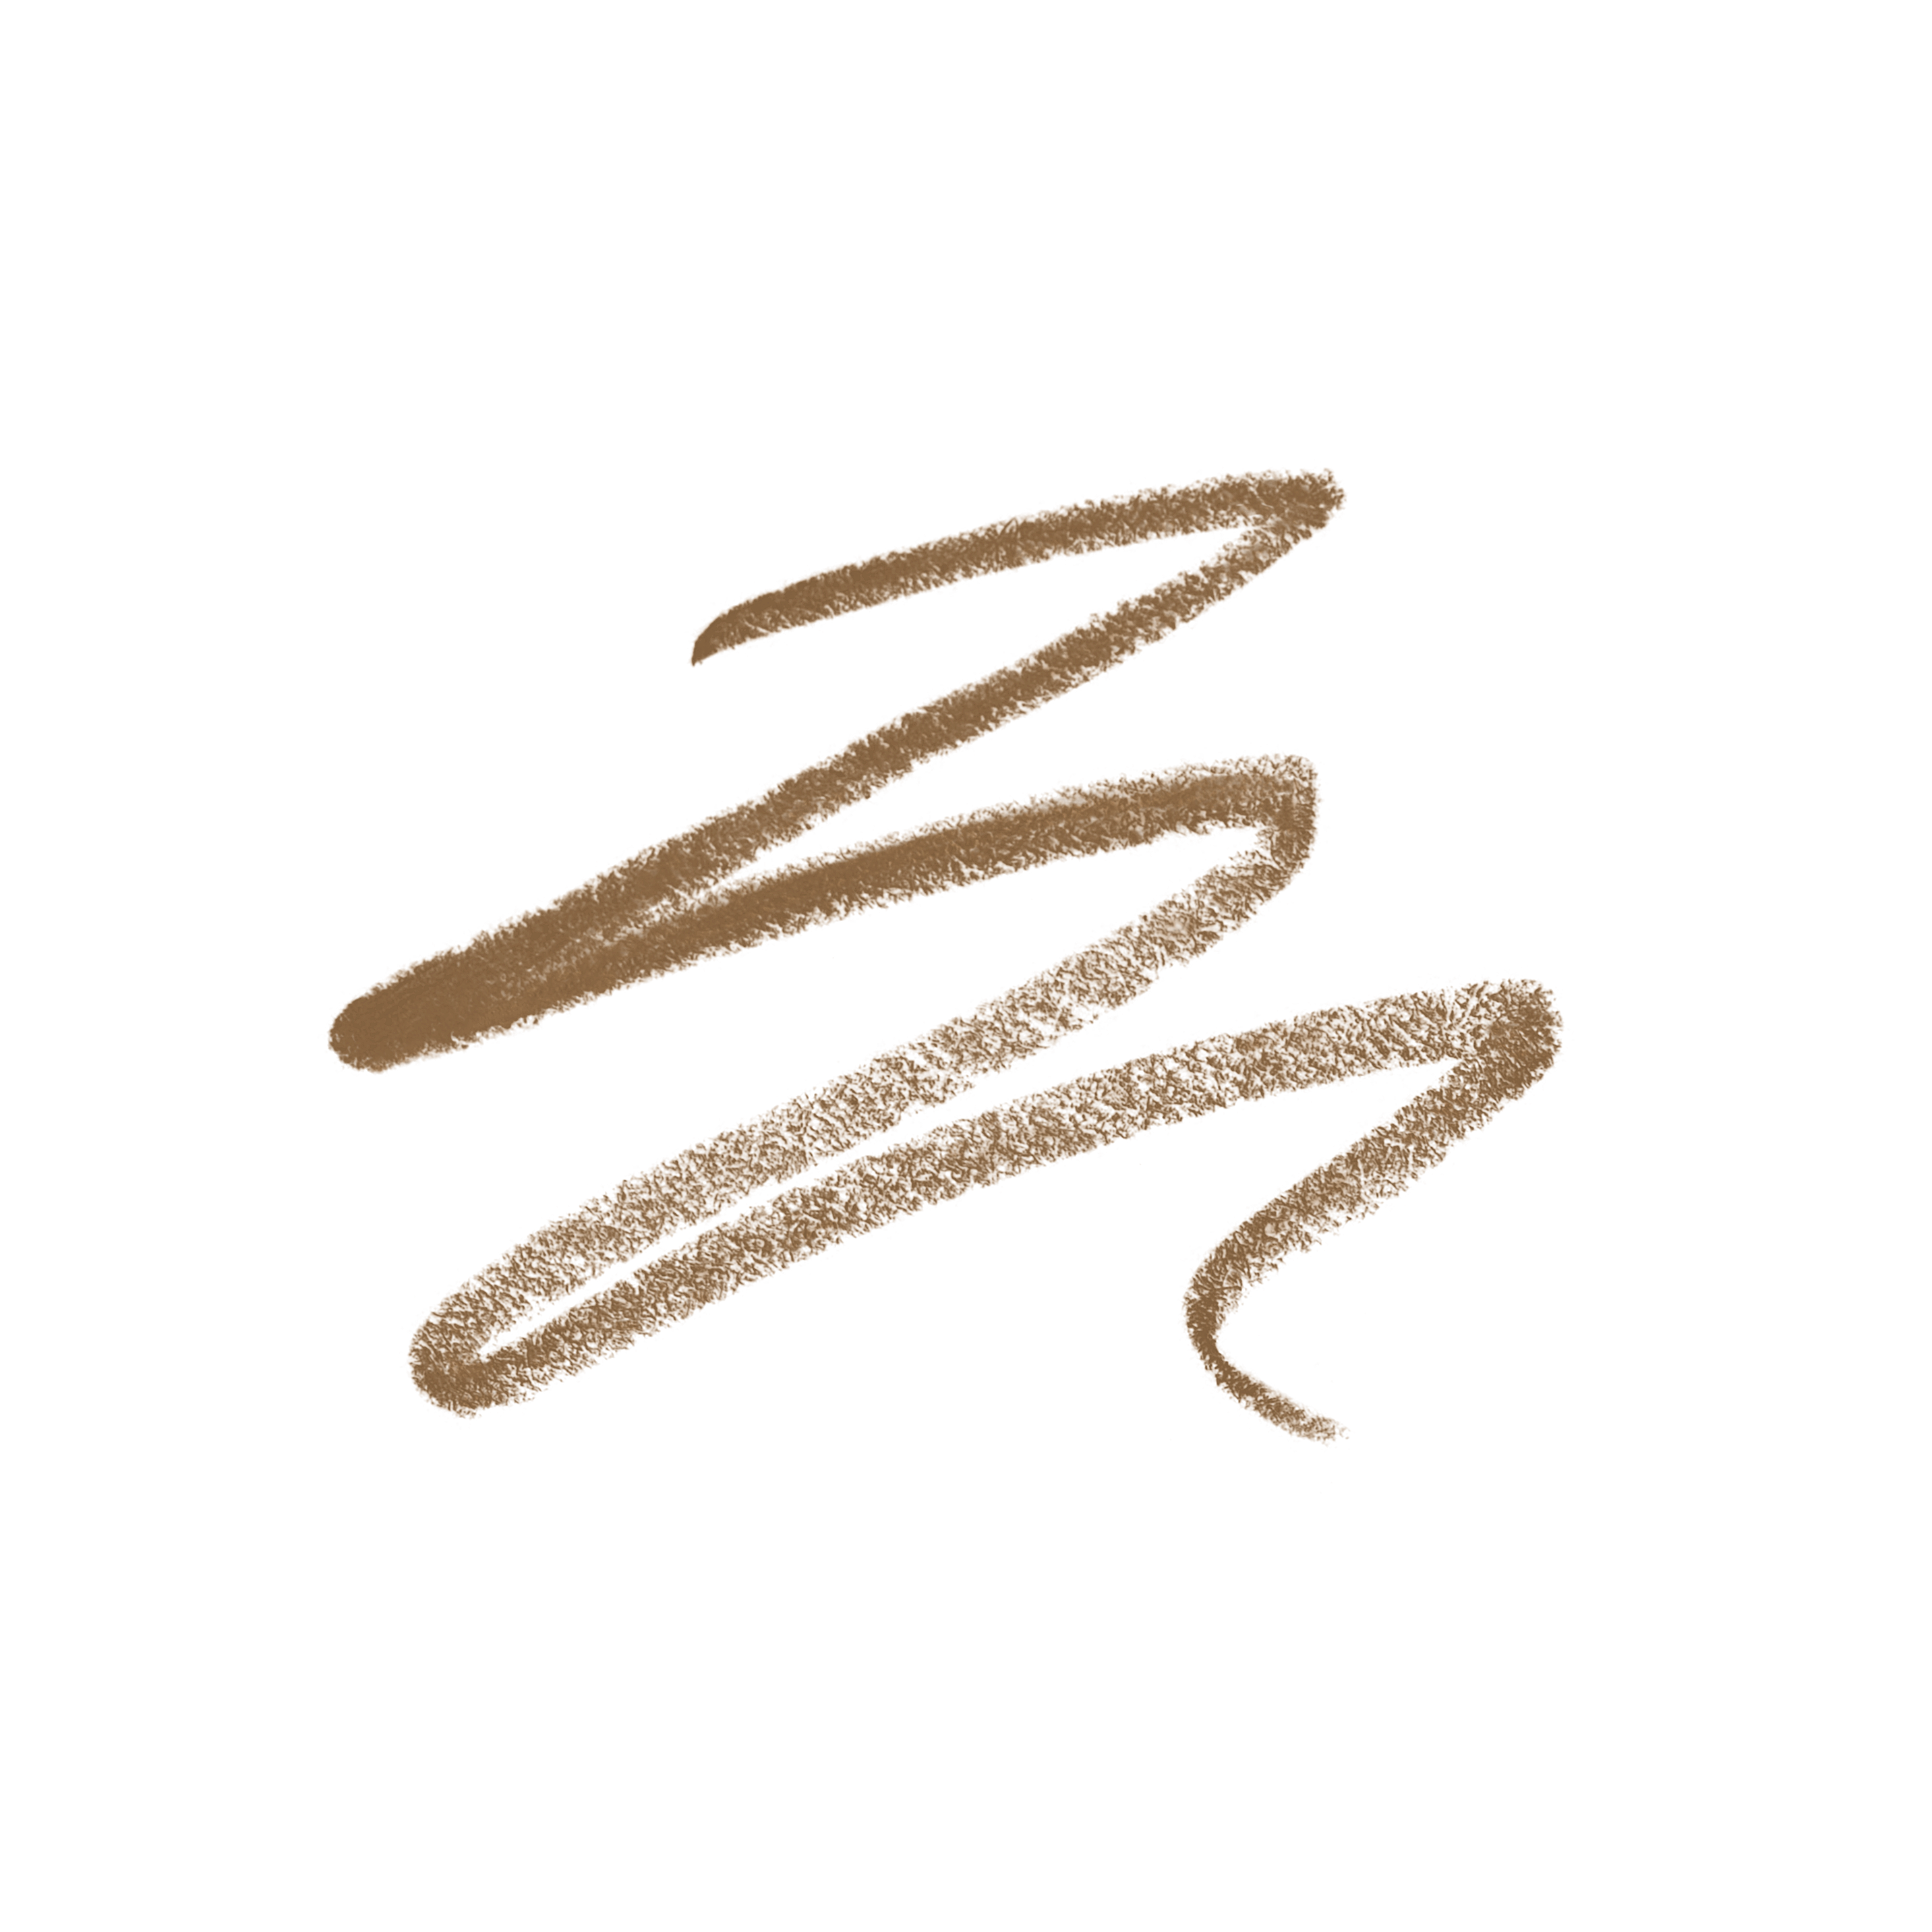
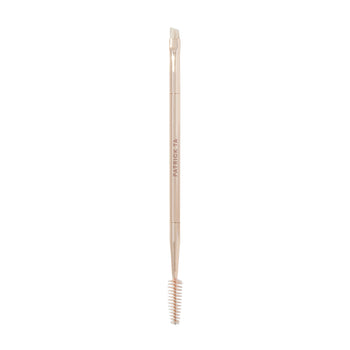
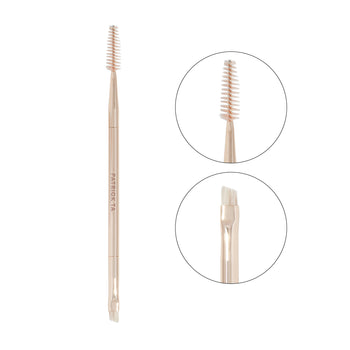
Need to fill in any sparse areas? Add a brow pencil in your lamination routine. The Major Brow Defining Pencil has an easy-to-use gel-based formula that allows you to draw hair-like strokes with precision for the most natural look.

How to Get the Look
It’s time to take your brows to the next level. Here’s how to use these makeup products to laminate your brows at home.
1. Start by applying the wax. Activate the formula with a setting mist or water, and then coat a brow spoolie with the product. Brush the spoolie through the brows, moving in an upward and outward direction to shape and create a feathered look. Once the brow hairs are thoroughly coated, let the wax dry for 30 seconds. Using the side of the spoolie, press the brows against the skin to set them in place.
2. Take the brow gel, and use the applicator to work the product through your brows, evenly coating each hair. Move in an upward direction, following the shape you created with the wax. Once the gel becomes tacky, use the flat back side of the applicator to press the hairs into the skin, laminating them in place.
3. If desired, you can fill in any sparse areas to give the appearance of fuller, more defined brows. Use the pencil to create short, hair-like strokes where needed. For the most seamless look, create these strokes in upward and outward directions to mimic the look of your natural hair.
Maintaining the Laminated Effect
While you won’t get the semi-permanent effects of a lamination treatment with makeup alone, you can ensure your brow look lasts all day long with a few simple steps.
To maximize the staying power, be sure to apply both the wax and the gel. Using these products together is essential for getting the high-shine laminated look while keeping your brows in place all day long.
Once you’ve finished your entire makeup look, lock everything in with a setting spray. This extra step will ensure your brow products (and the rest of your makeup) stay put from morning until night.

Dos and Don'ts for Flawless Laminated Brows
Here is a quick rundown of our top tips for achieving the best laminated look possible:
- Once you’re done with your laminating gel, wipe off any excess product from the skin. This is key for a clean, natural look.
- When using the brow pencil, less is more. Start with a few individual strokes at a time to keep it natural. Do your brows before your foundation. This way you can easily wipe off any excess product without having to worry about ruining the rest of your makeup.
The laminated look is easy when you have all the essentials in your beauty kit—perfect for framing your features without the appointment.
@patricktabeauty
@patricktabeauty