










Quick Summary
- Concealer placement decides whether your base looks lifted and bright or heavy and flat, so apply it with intention rather than all over.
- Focus concealer under the eyes, around the nose, on the chin, along the smile lines, and at the peak of the forehead to add light and dimension.
- Apply foundation first, then dot concealer only where needed and blend it in thin layers with a dual-ended concealer brush or damp sponge.
- Avoid drawing large triangles under the eyes, brightening blemishes, and leaving unblended edges.
- Use a skin-matching shade for spots and a shade or two lighter for brightening the under-eyes and high points.
Knowing where to apply concealer is the difference between a complexion that looks naturally lit from within and one that looks heavy. Concealer does more than cover dark circles. When it is placed strategically, it brightens, lifts, and adds dimension to the whole face. Here is Patrick's guide to concealer placement, plus how to apply it for a seamless, skin-like finish.

Why Concealer Placement Matters
Concealer is usually lighter and more pigmented than foundation, so wherever you place it, you are drawing light and attention. That is a good thing in the right spots and a problem in the wrong ones. A few well-placed touches can make you look rested and sculpted, while too much product in the wrong areas can emphasize texture and flatten your features.
It also helps to understand how concealer and foundation work together. Our breakdown of foundation vs concealer explains when to reach for each.
Where to Apply Concealer on Your Face
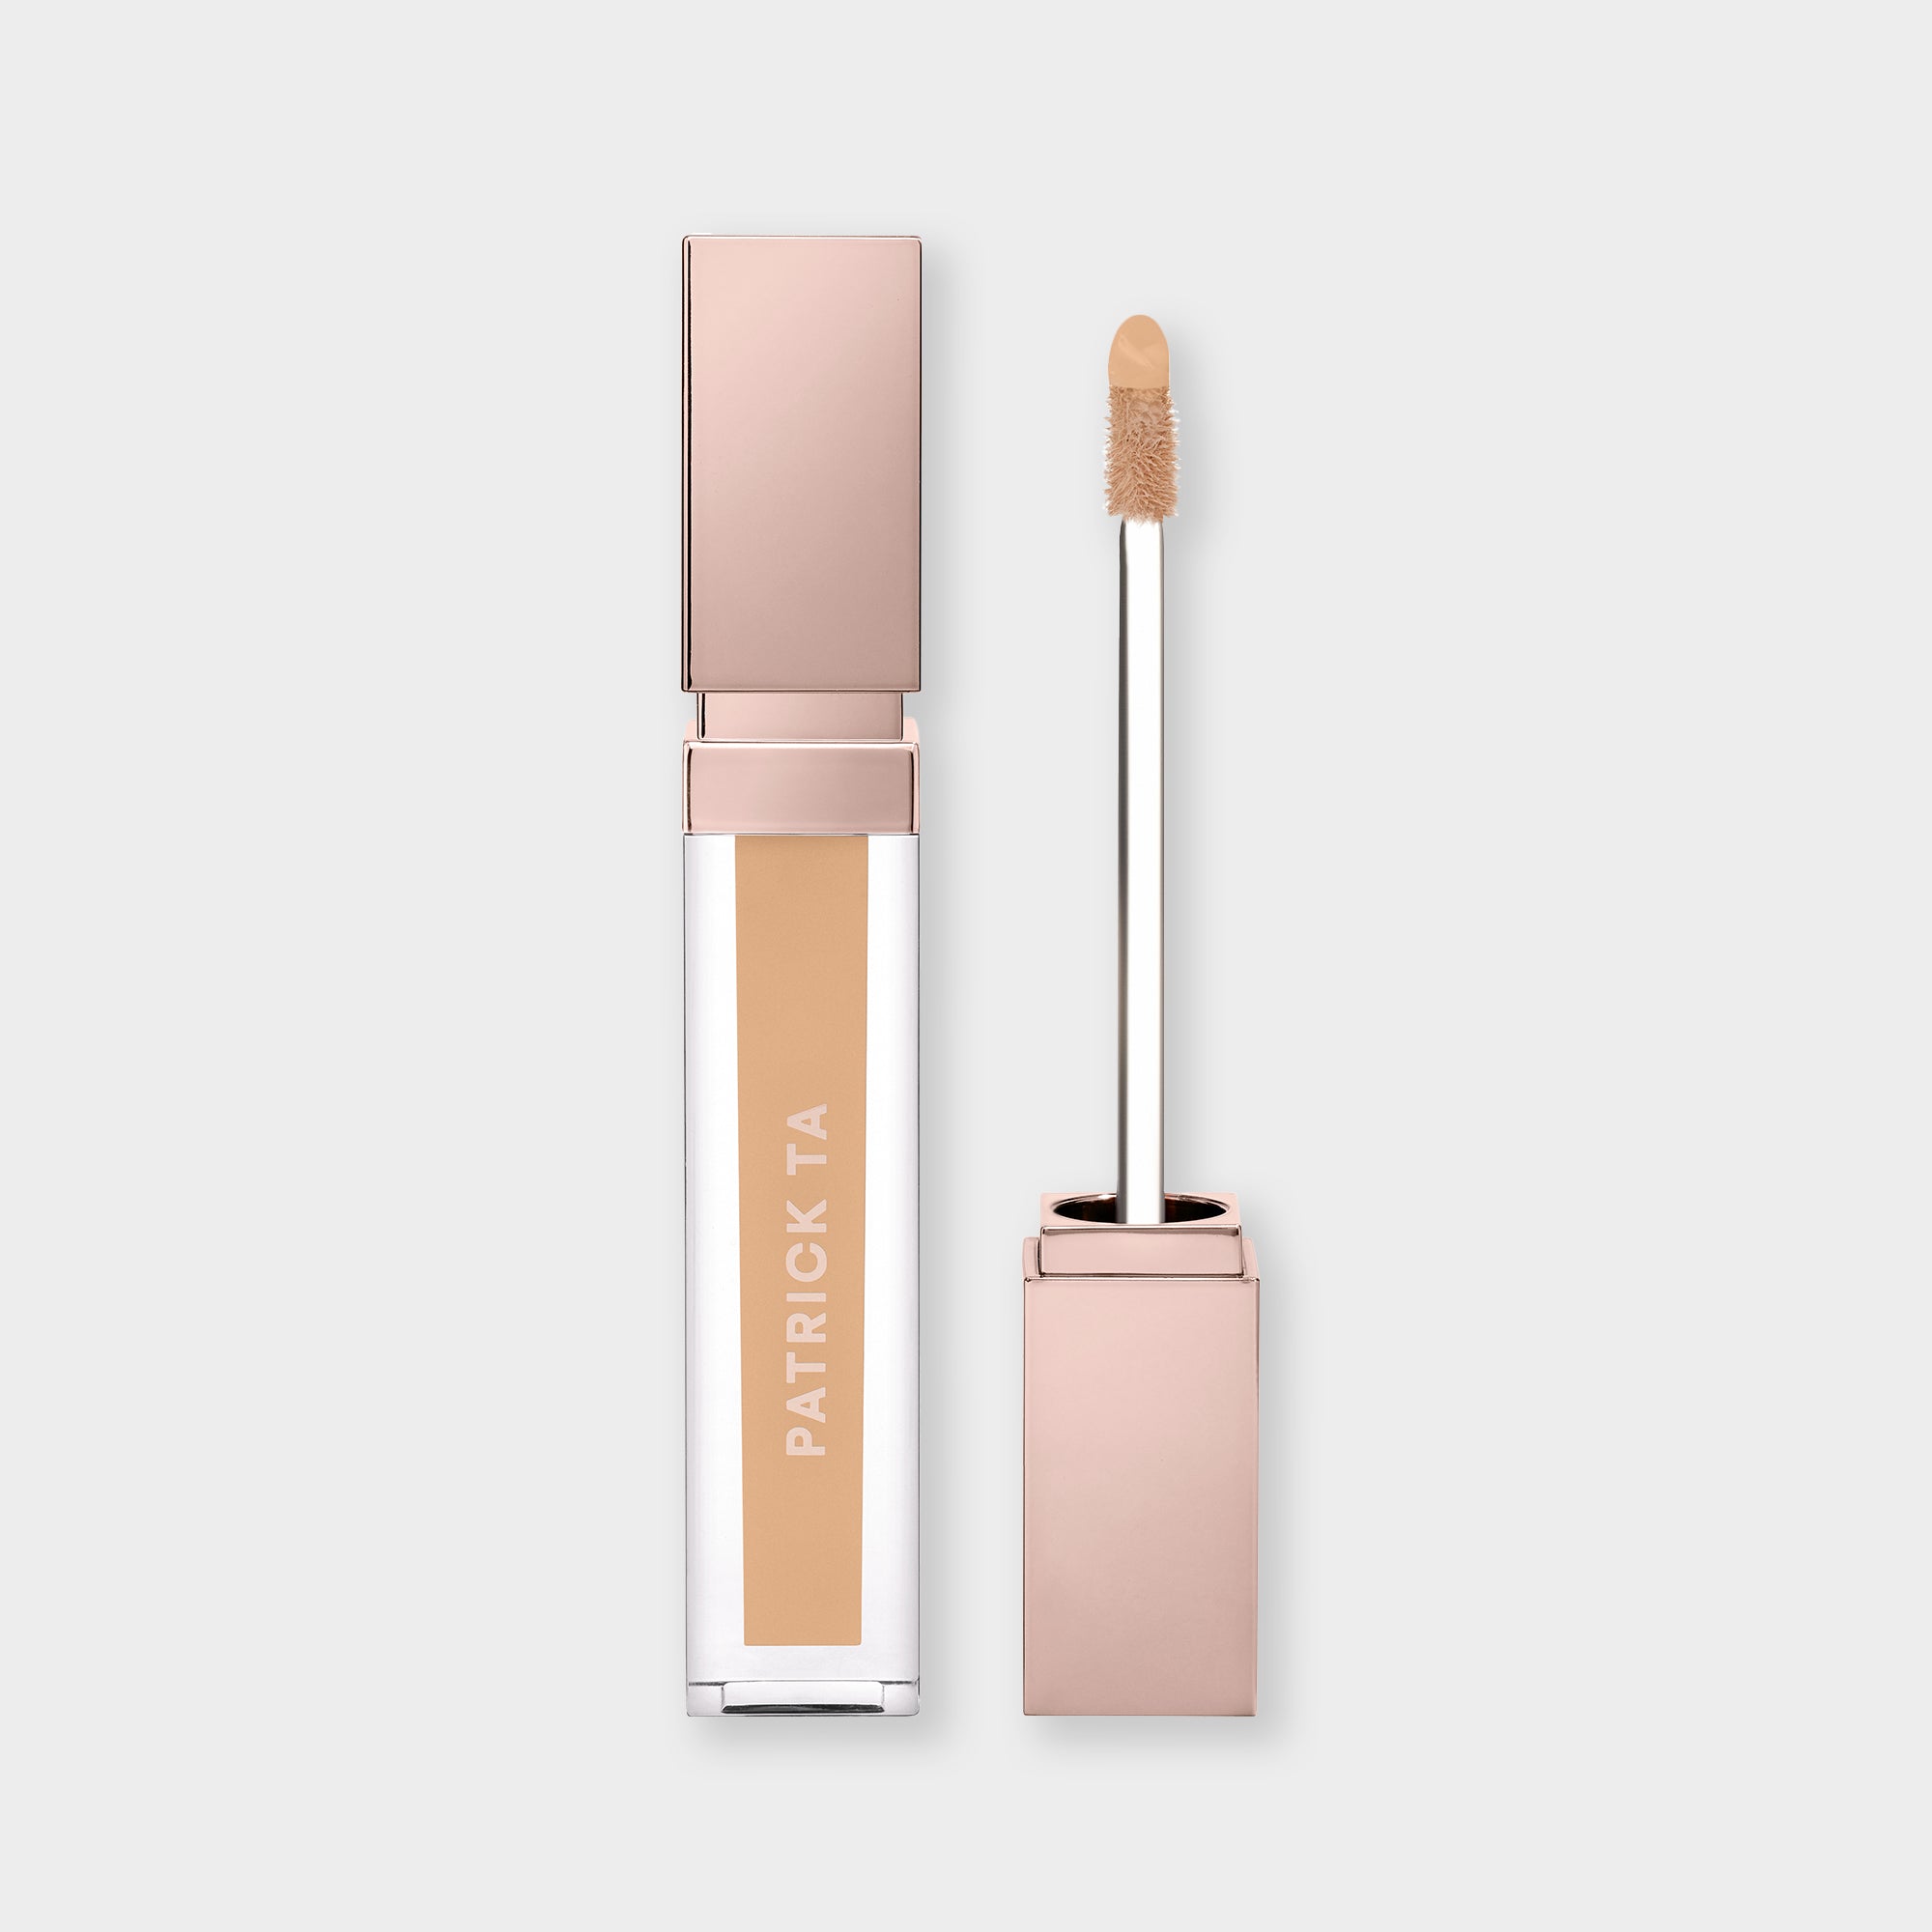
Under the Eyes: Focus on the inner corner and the darkest part of the under-eye, usually closest to the nose. Keep the product just below the lash line rather than dragging it across the whole area. The Major Skin Soft Blur Brightening Concealer is designed to diffuse the under-eyes with buildable, medium coverage and a softly blurred finish.
Around the Nose: The sides of the nostrils often show redness. Tap a small amount of concealer into the crease where your nose meets your cheek, then blend outward.
The Chin: A touch of concealer at the center of the chin brings the area forward and balances the face, especially if you contour along the jawline.
The Smile Lines: Shadows can collect along the lines that run from the nose to the corners of the mouth. A thin layer of brightening concealer softens them and makes the face look more lifted.
The Peak of the Forehead: A small amount at the center of the forehead, just above the brows, adds light and dimension that complements contour and highlight.
Blemishes and Spots: For individual spots, use a shade that matches your foundation rather than a brightening shade, and press it on only where needed.


How to Apply Concealer Step by Step
Prep the Skin: Start with moisturized skin so concealer glides on instead of clinging to dry patches, especially under the eyes.
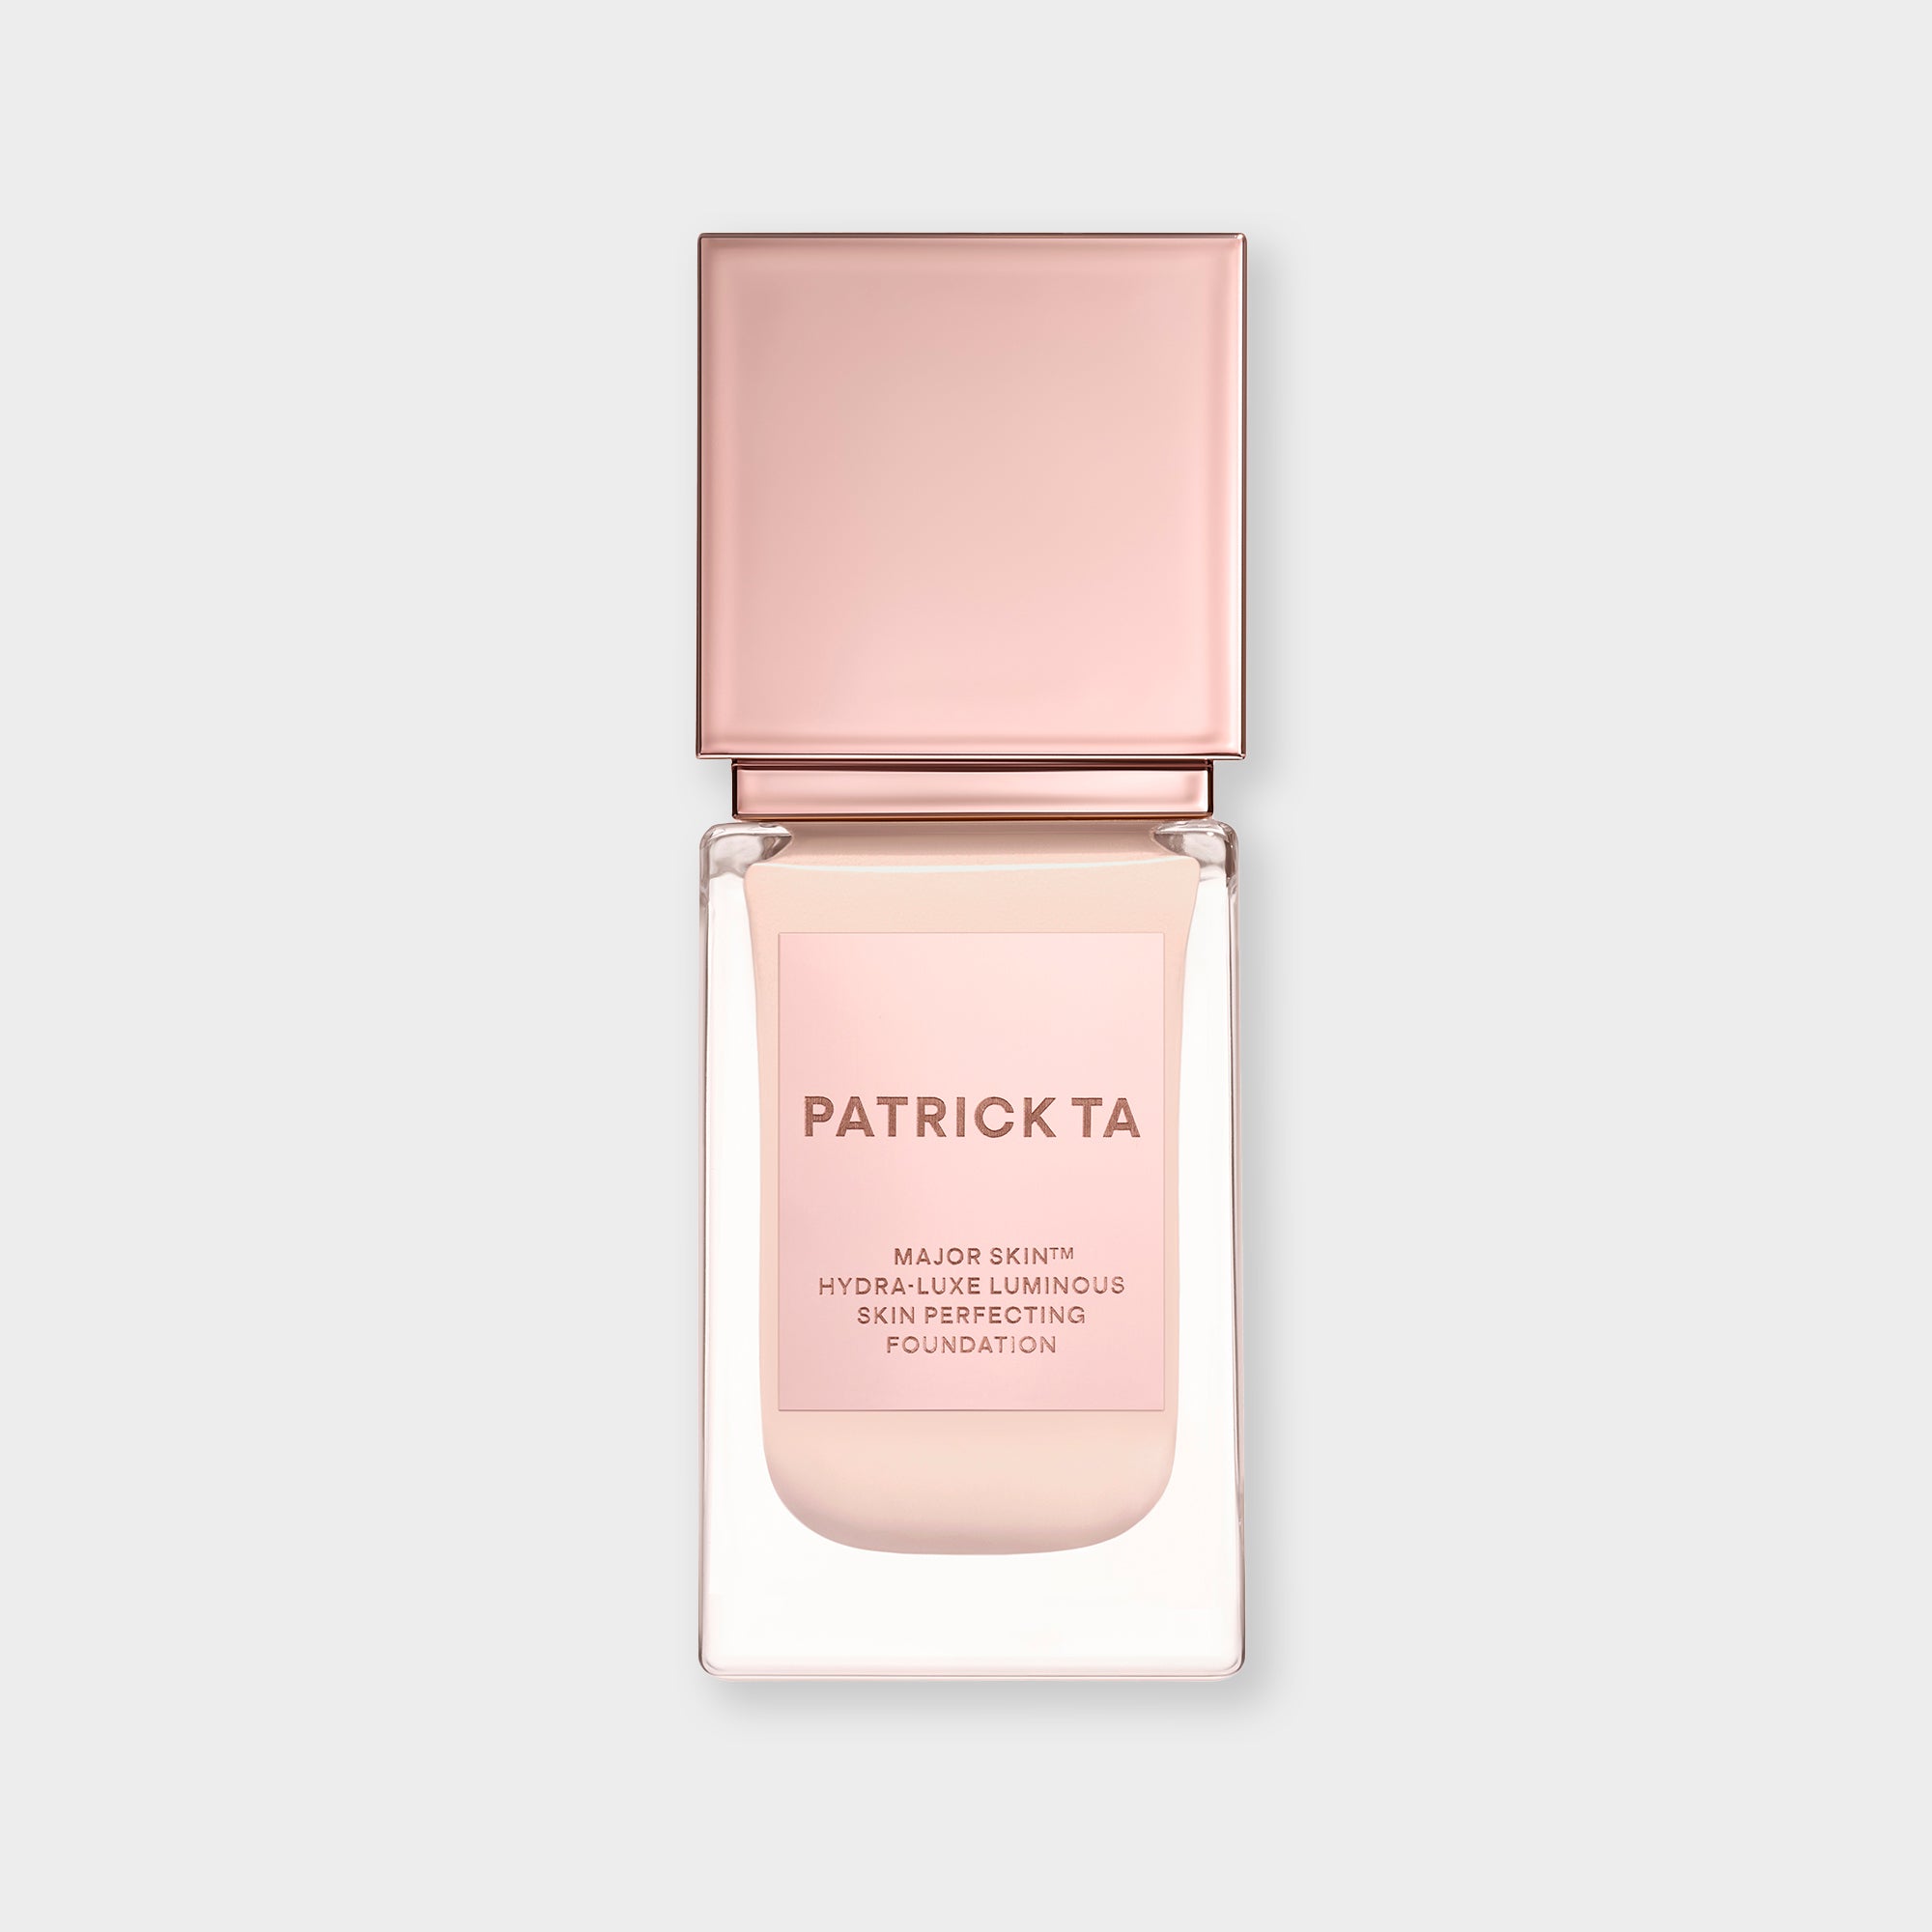
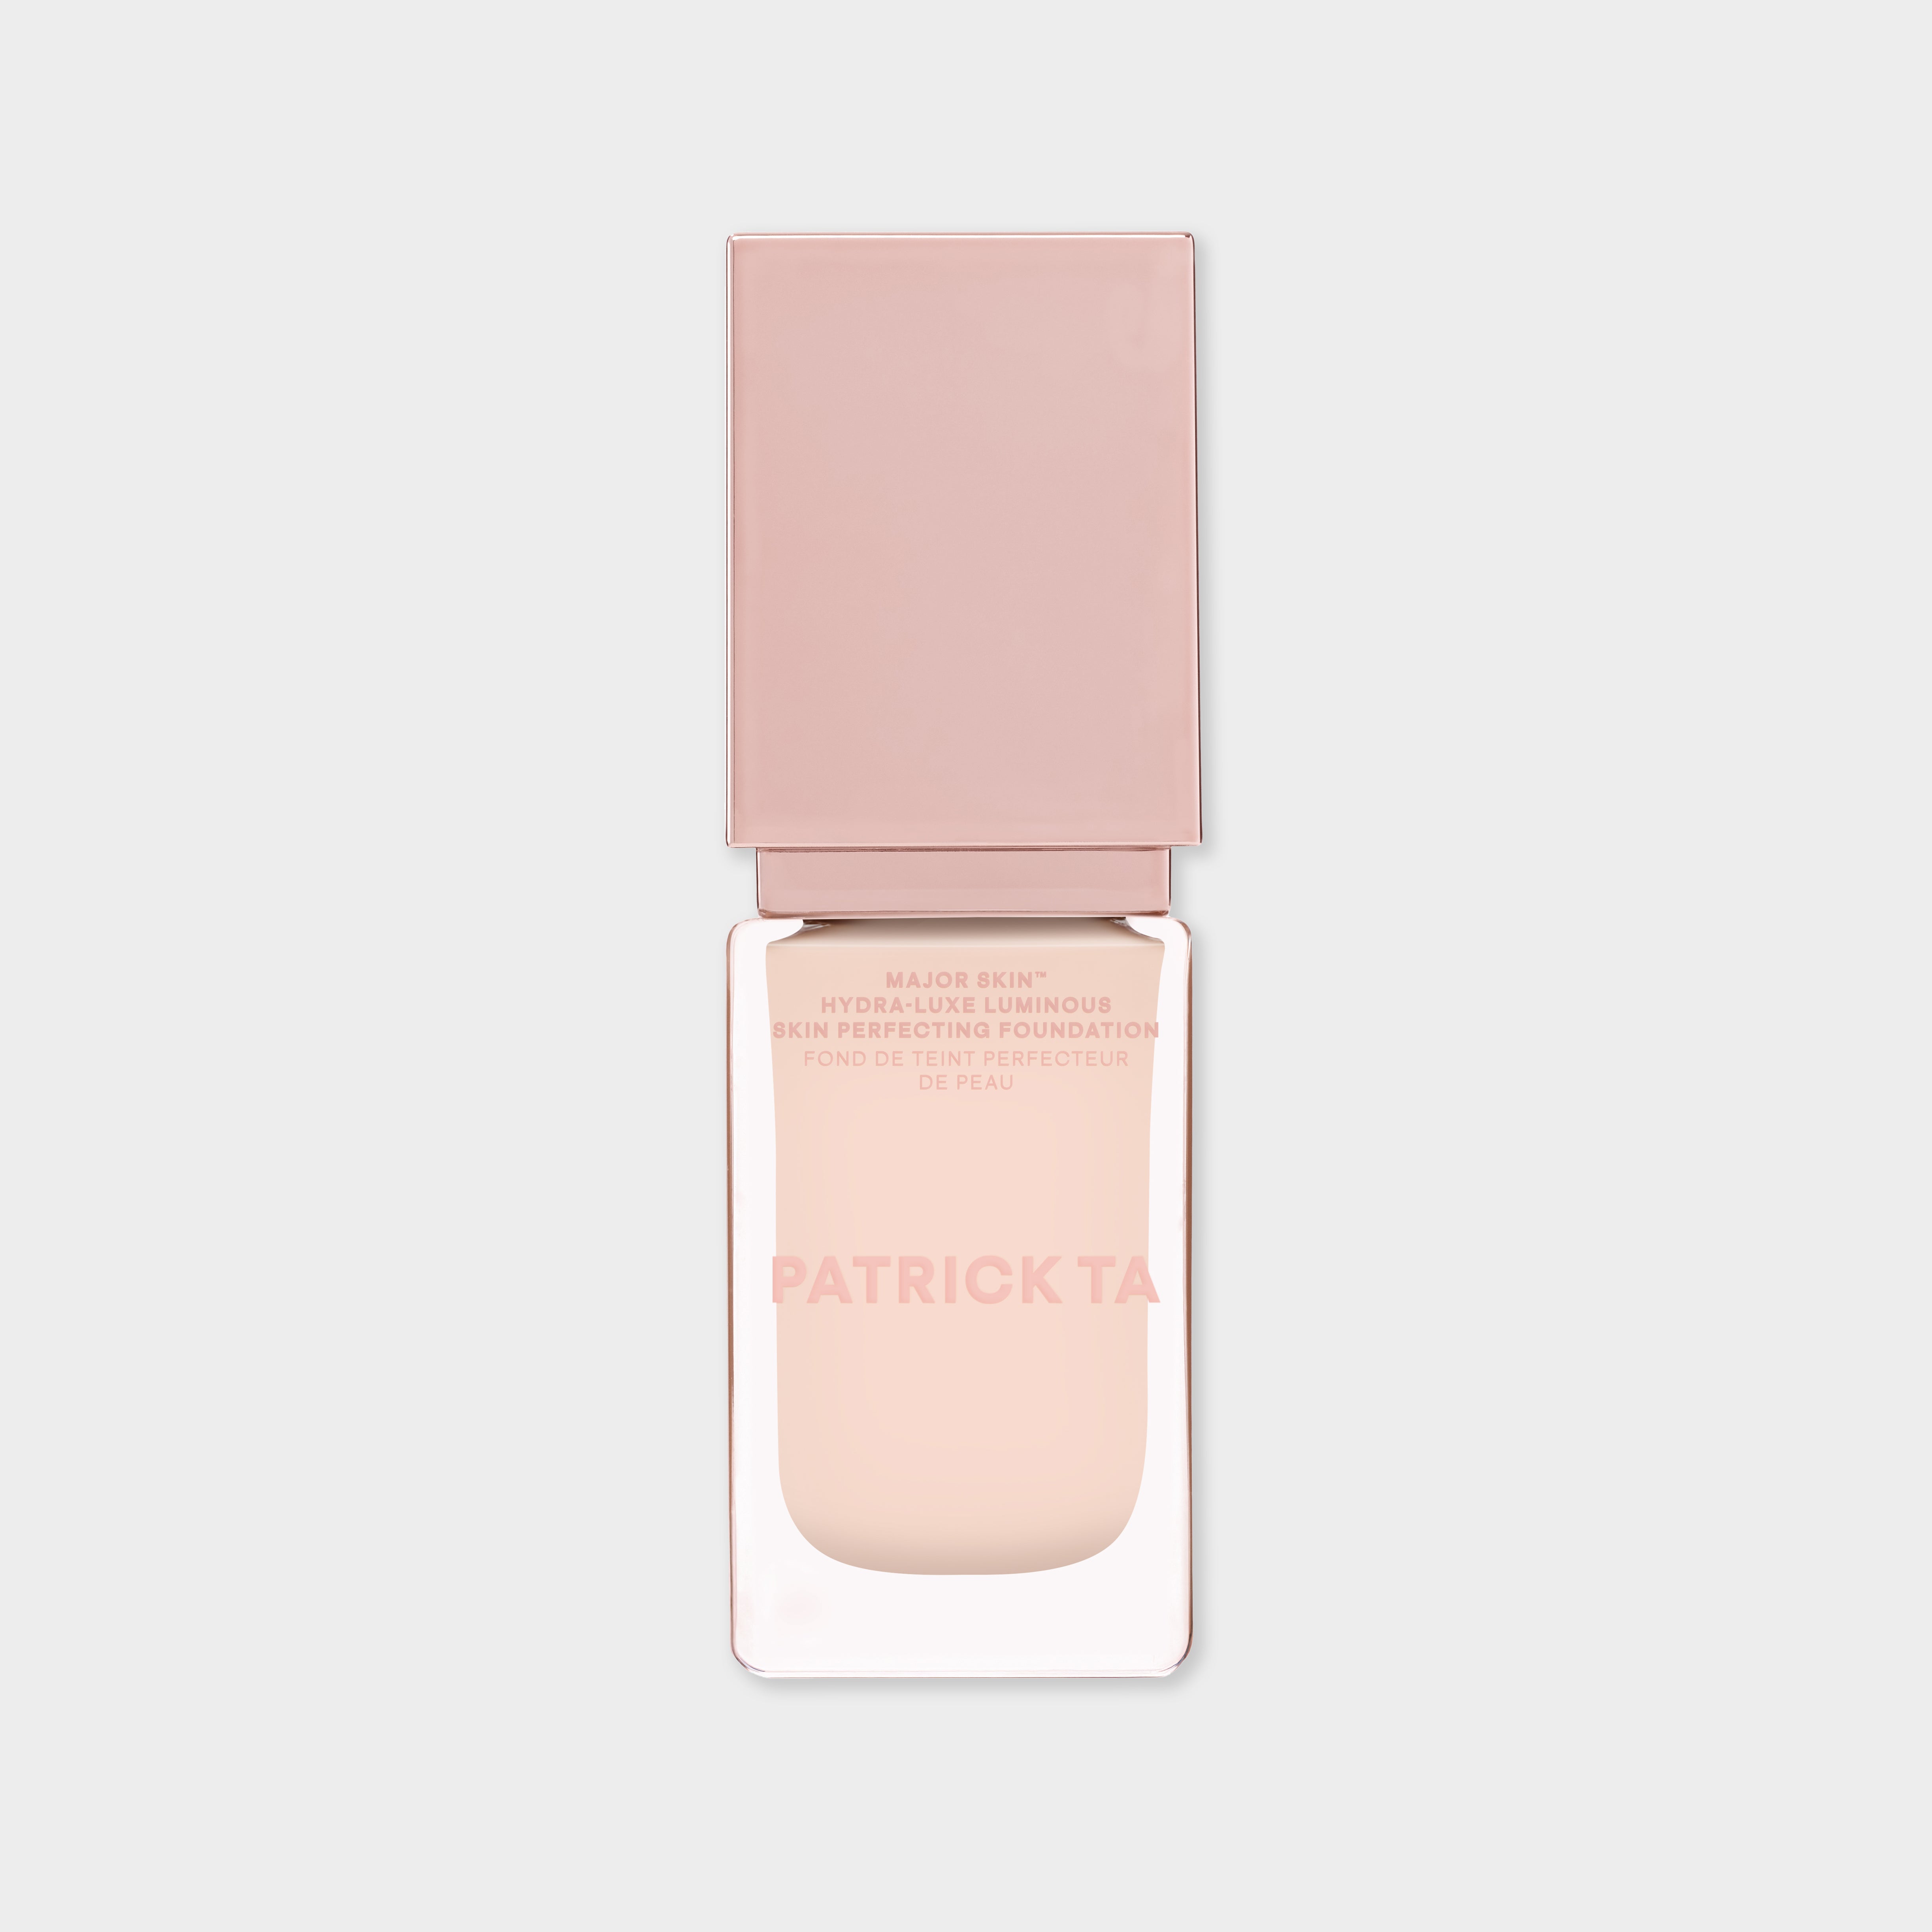
Apply Foundation First: Foundation evens out your overall tone, so you will need less concealer afterward. A lightweight formula like the Major Skin Hydra-Luxe Luminous Skin Perfecting Foundation gives you buildable, medium coverage that leaves room for targeted brightening.
Place Small Dots: Dot concealer only in the areas mapped above. Less product gives you more control and a more natural result.
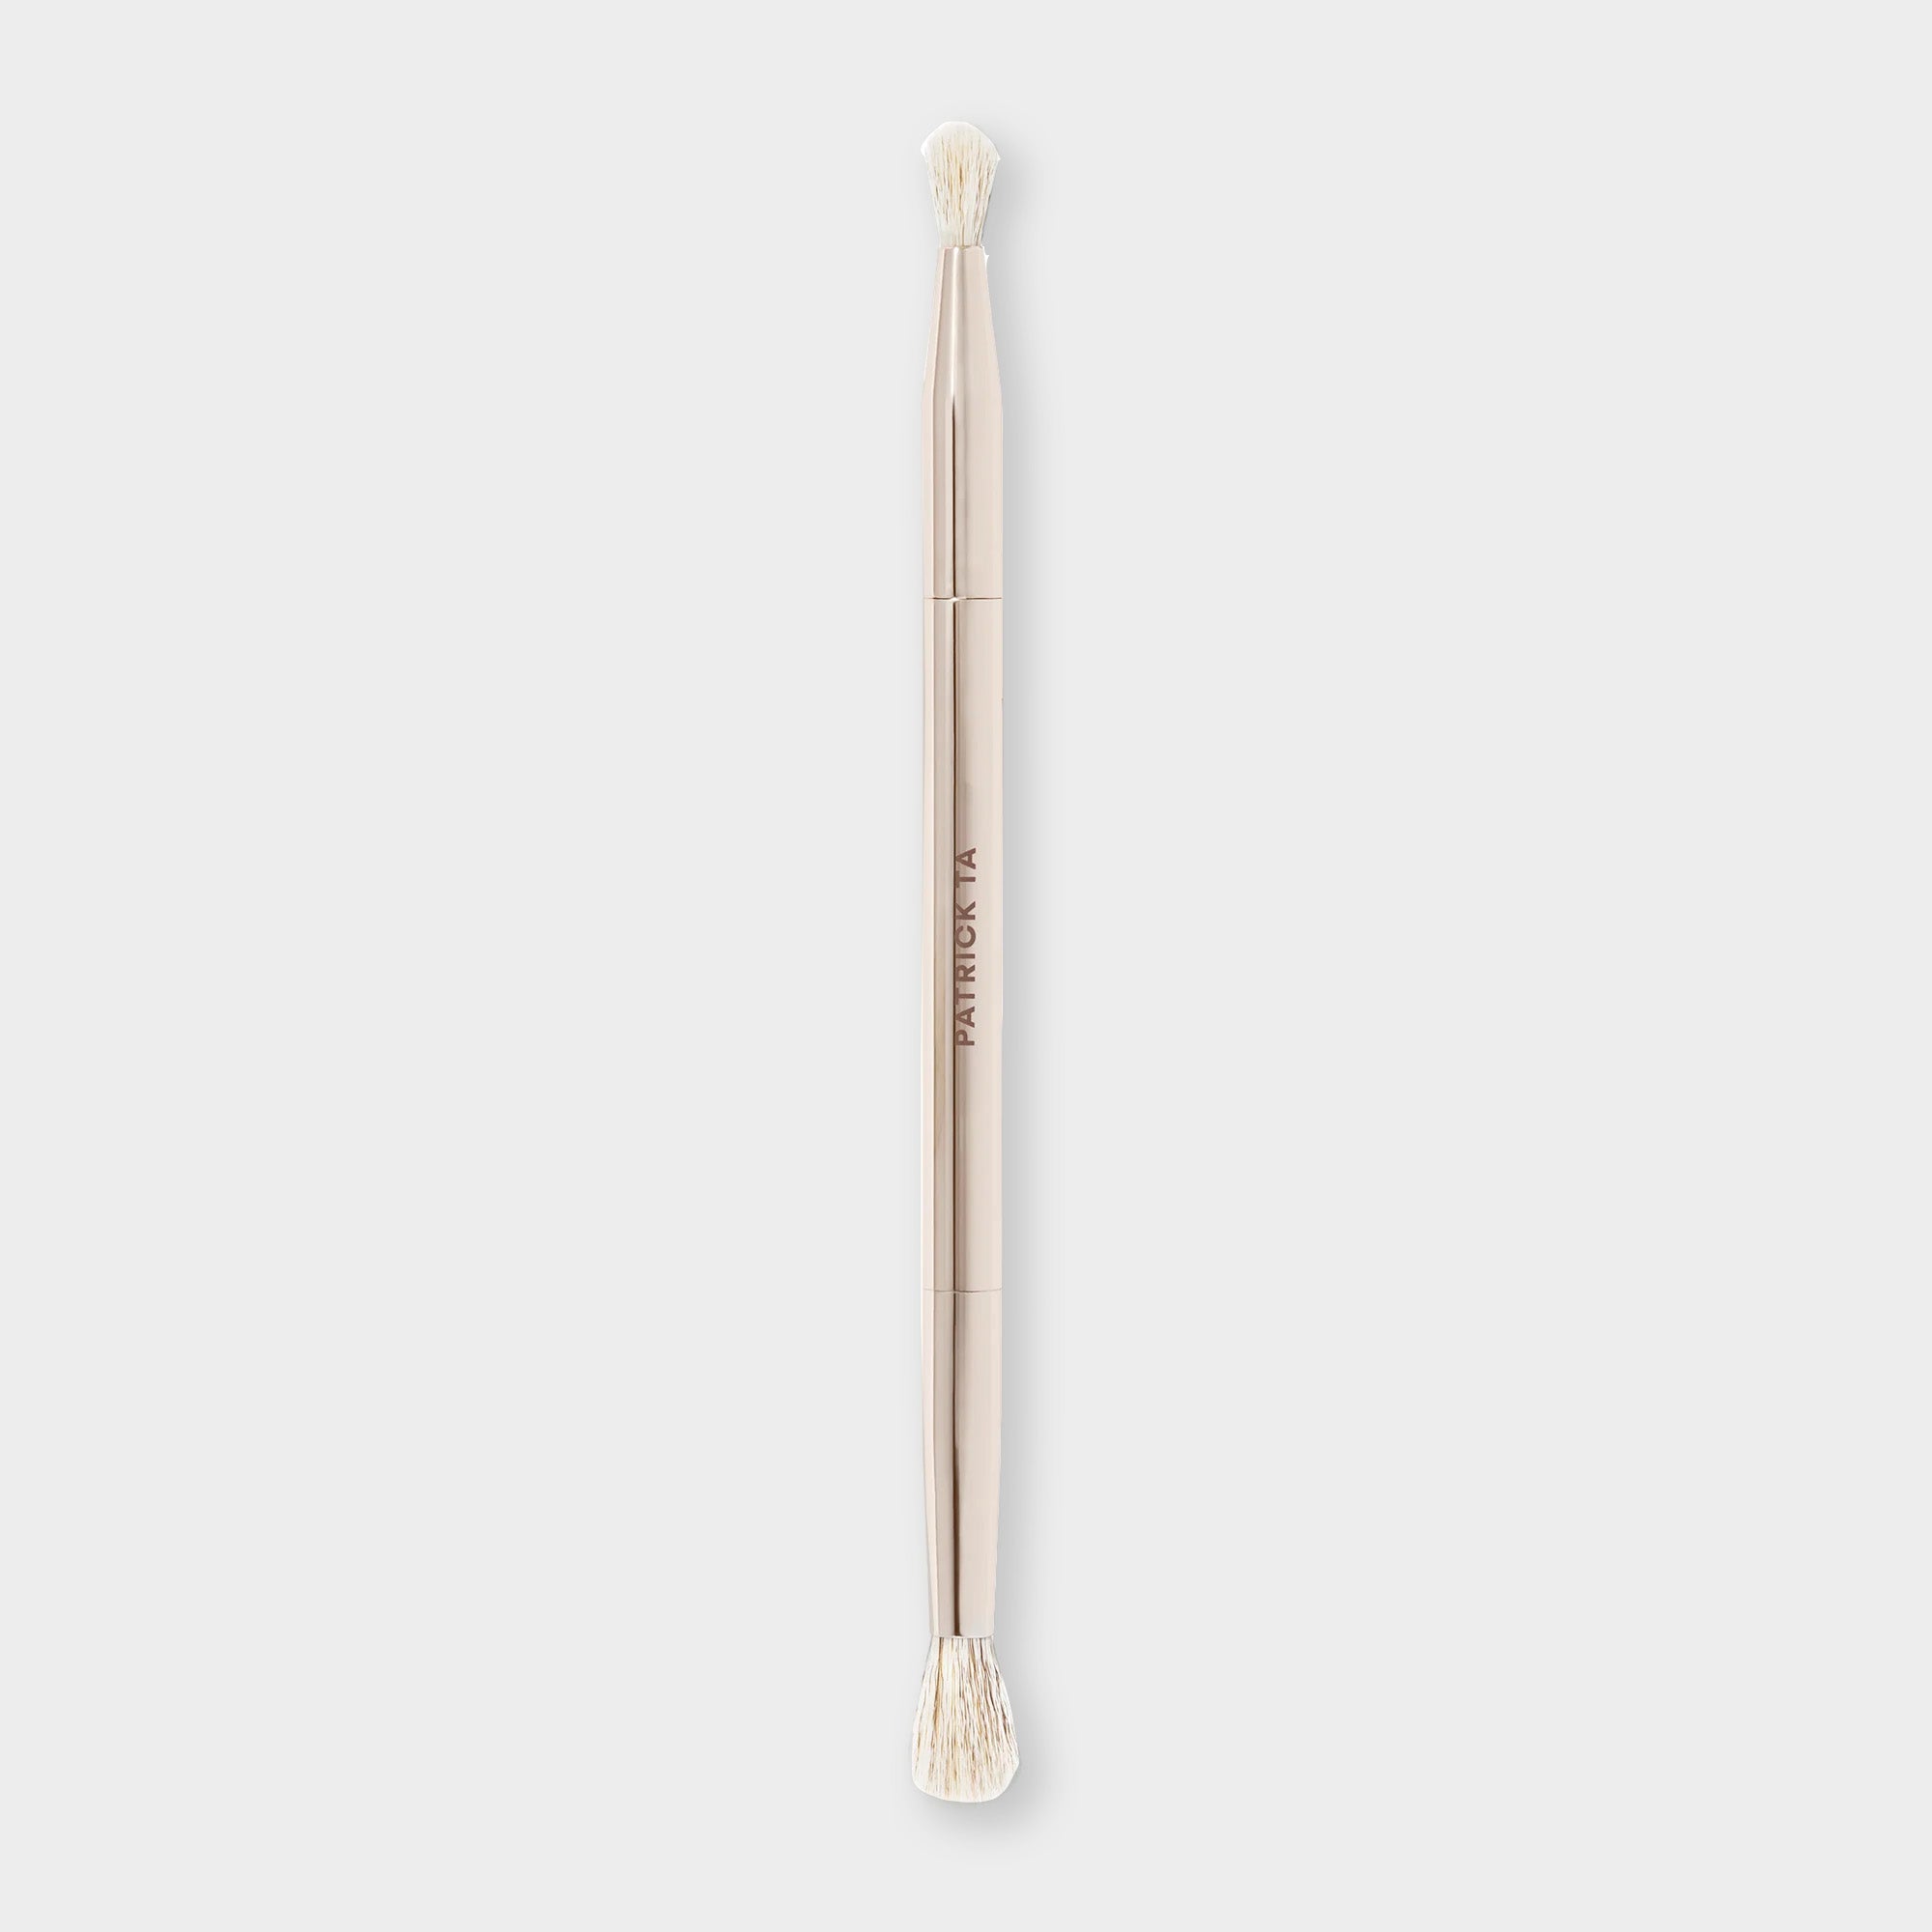
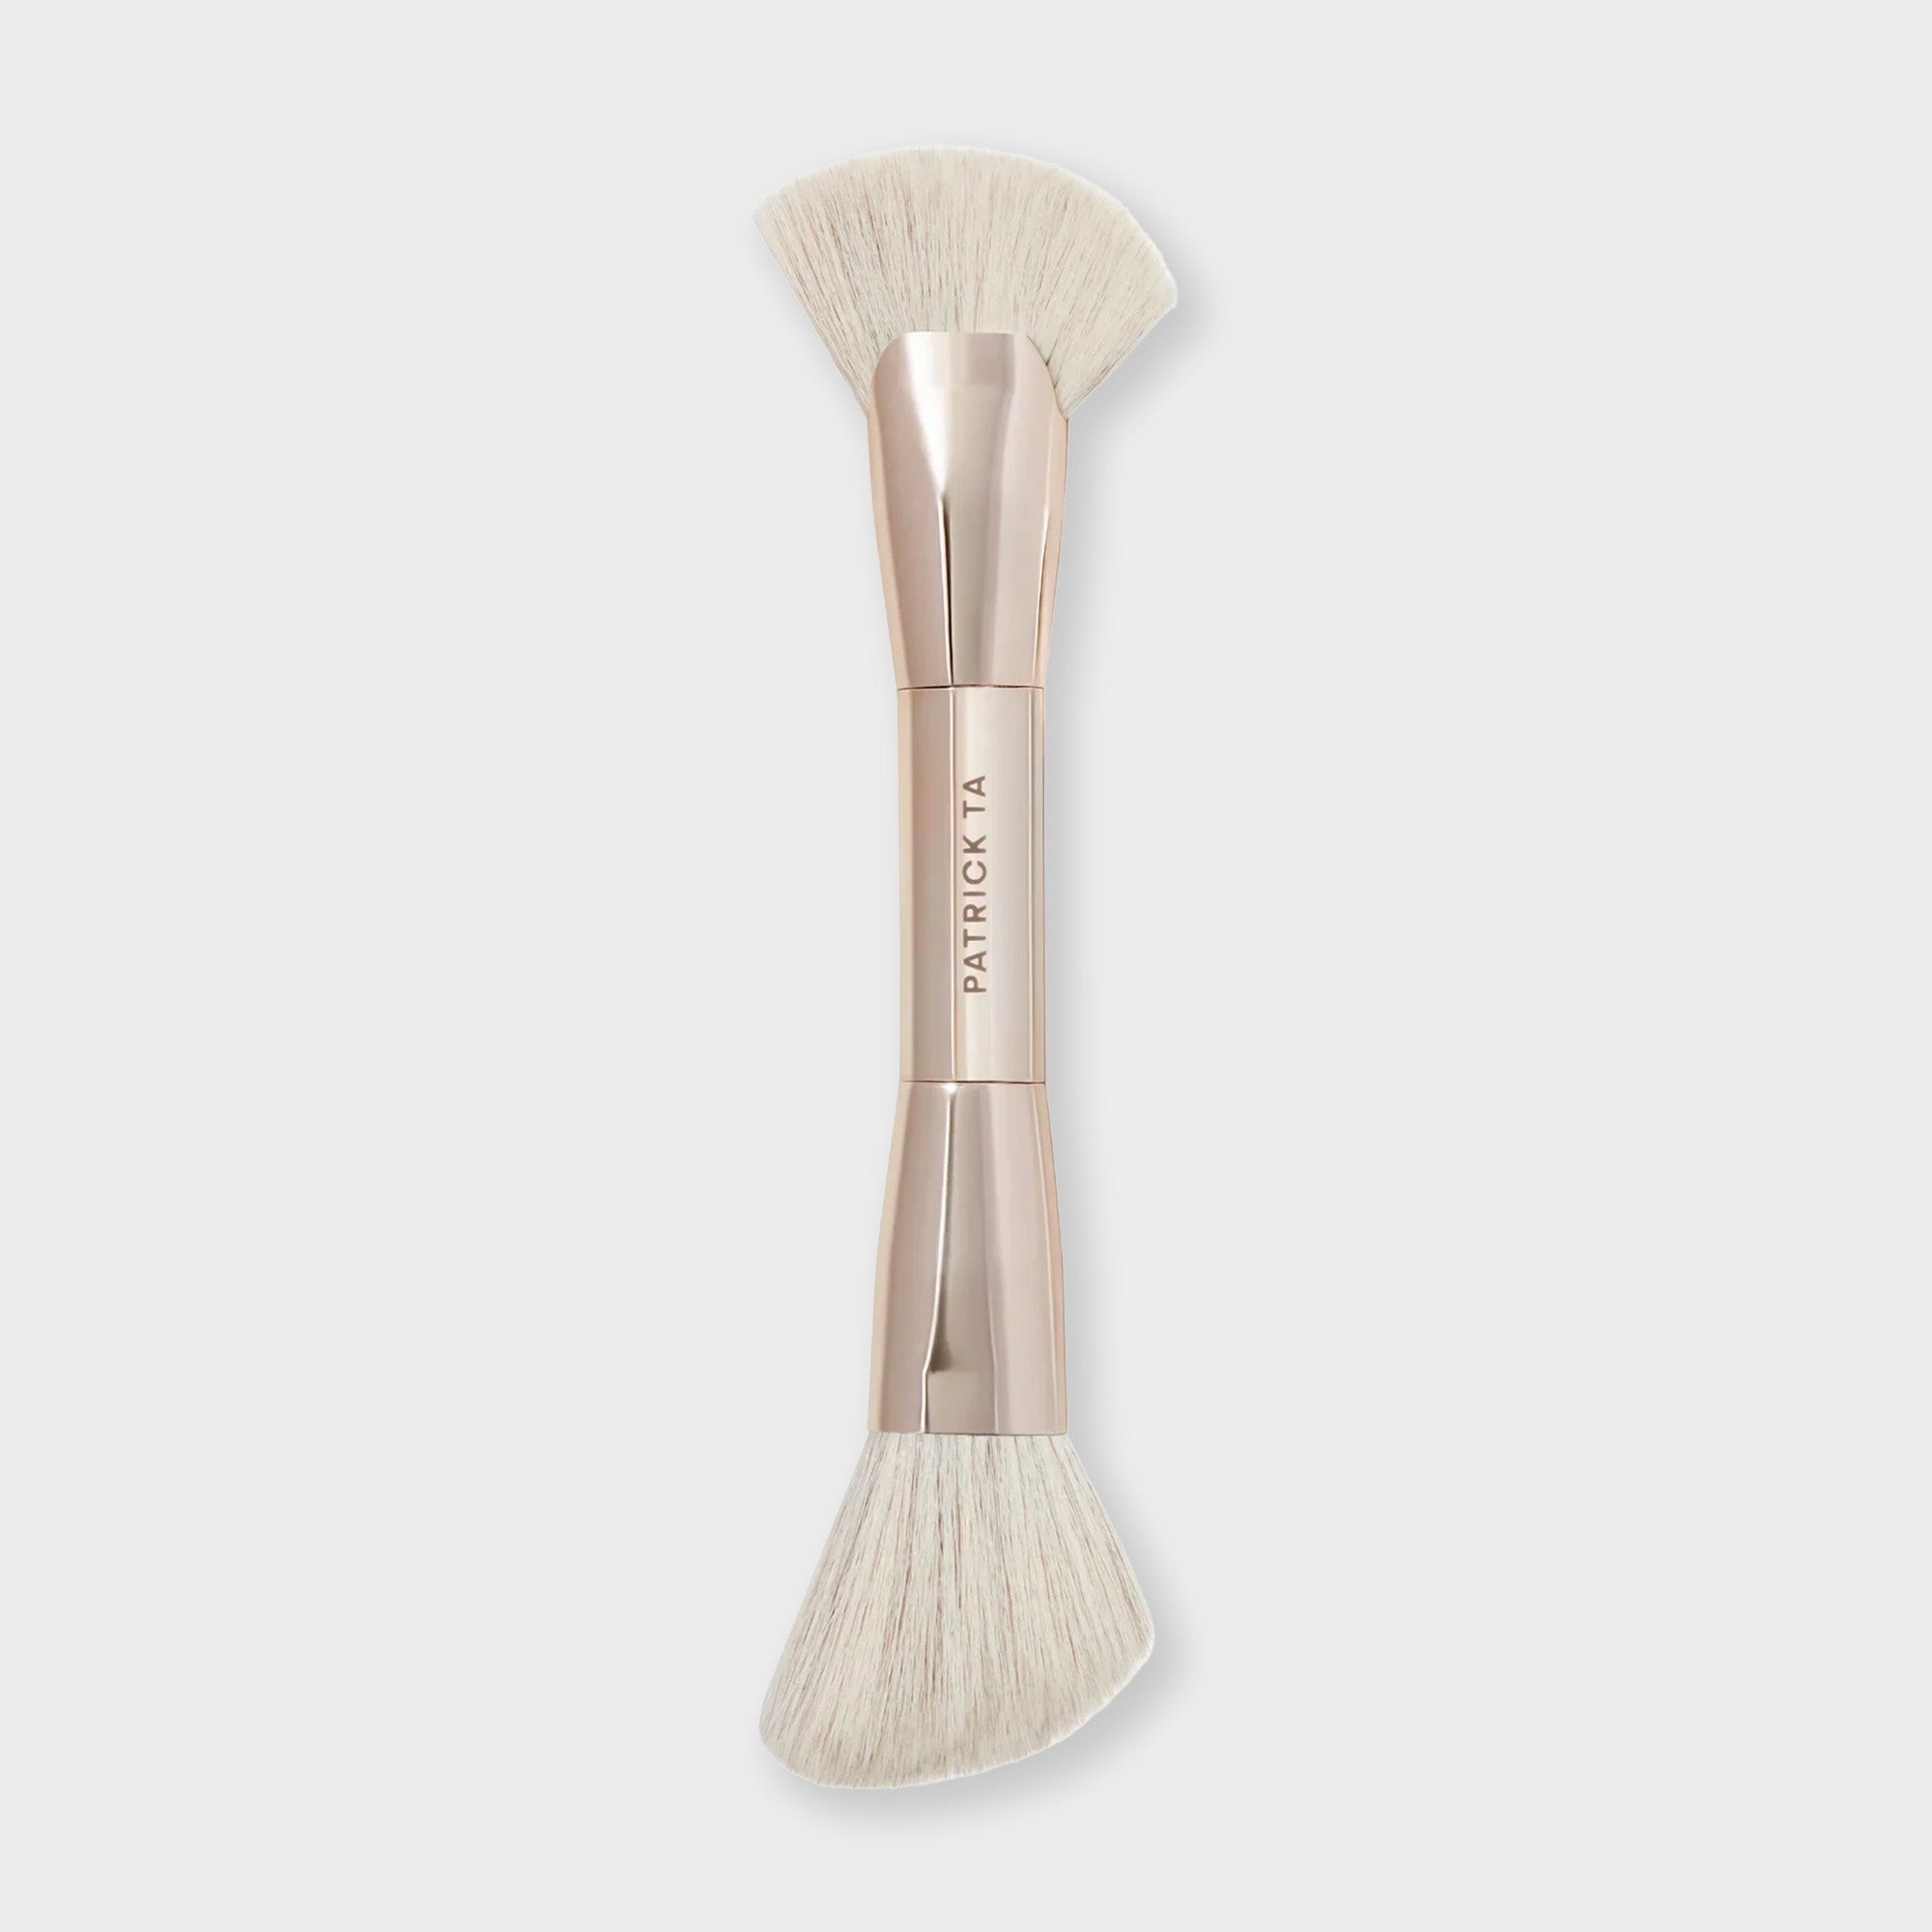
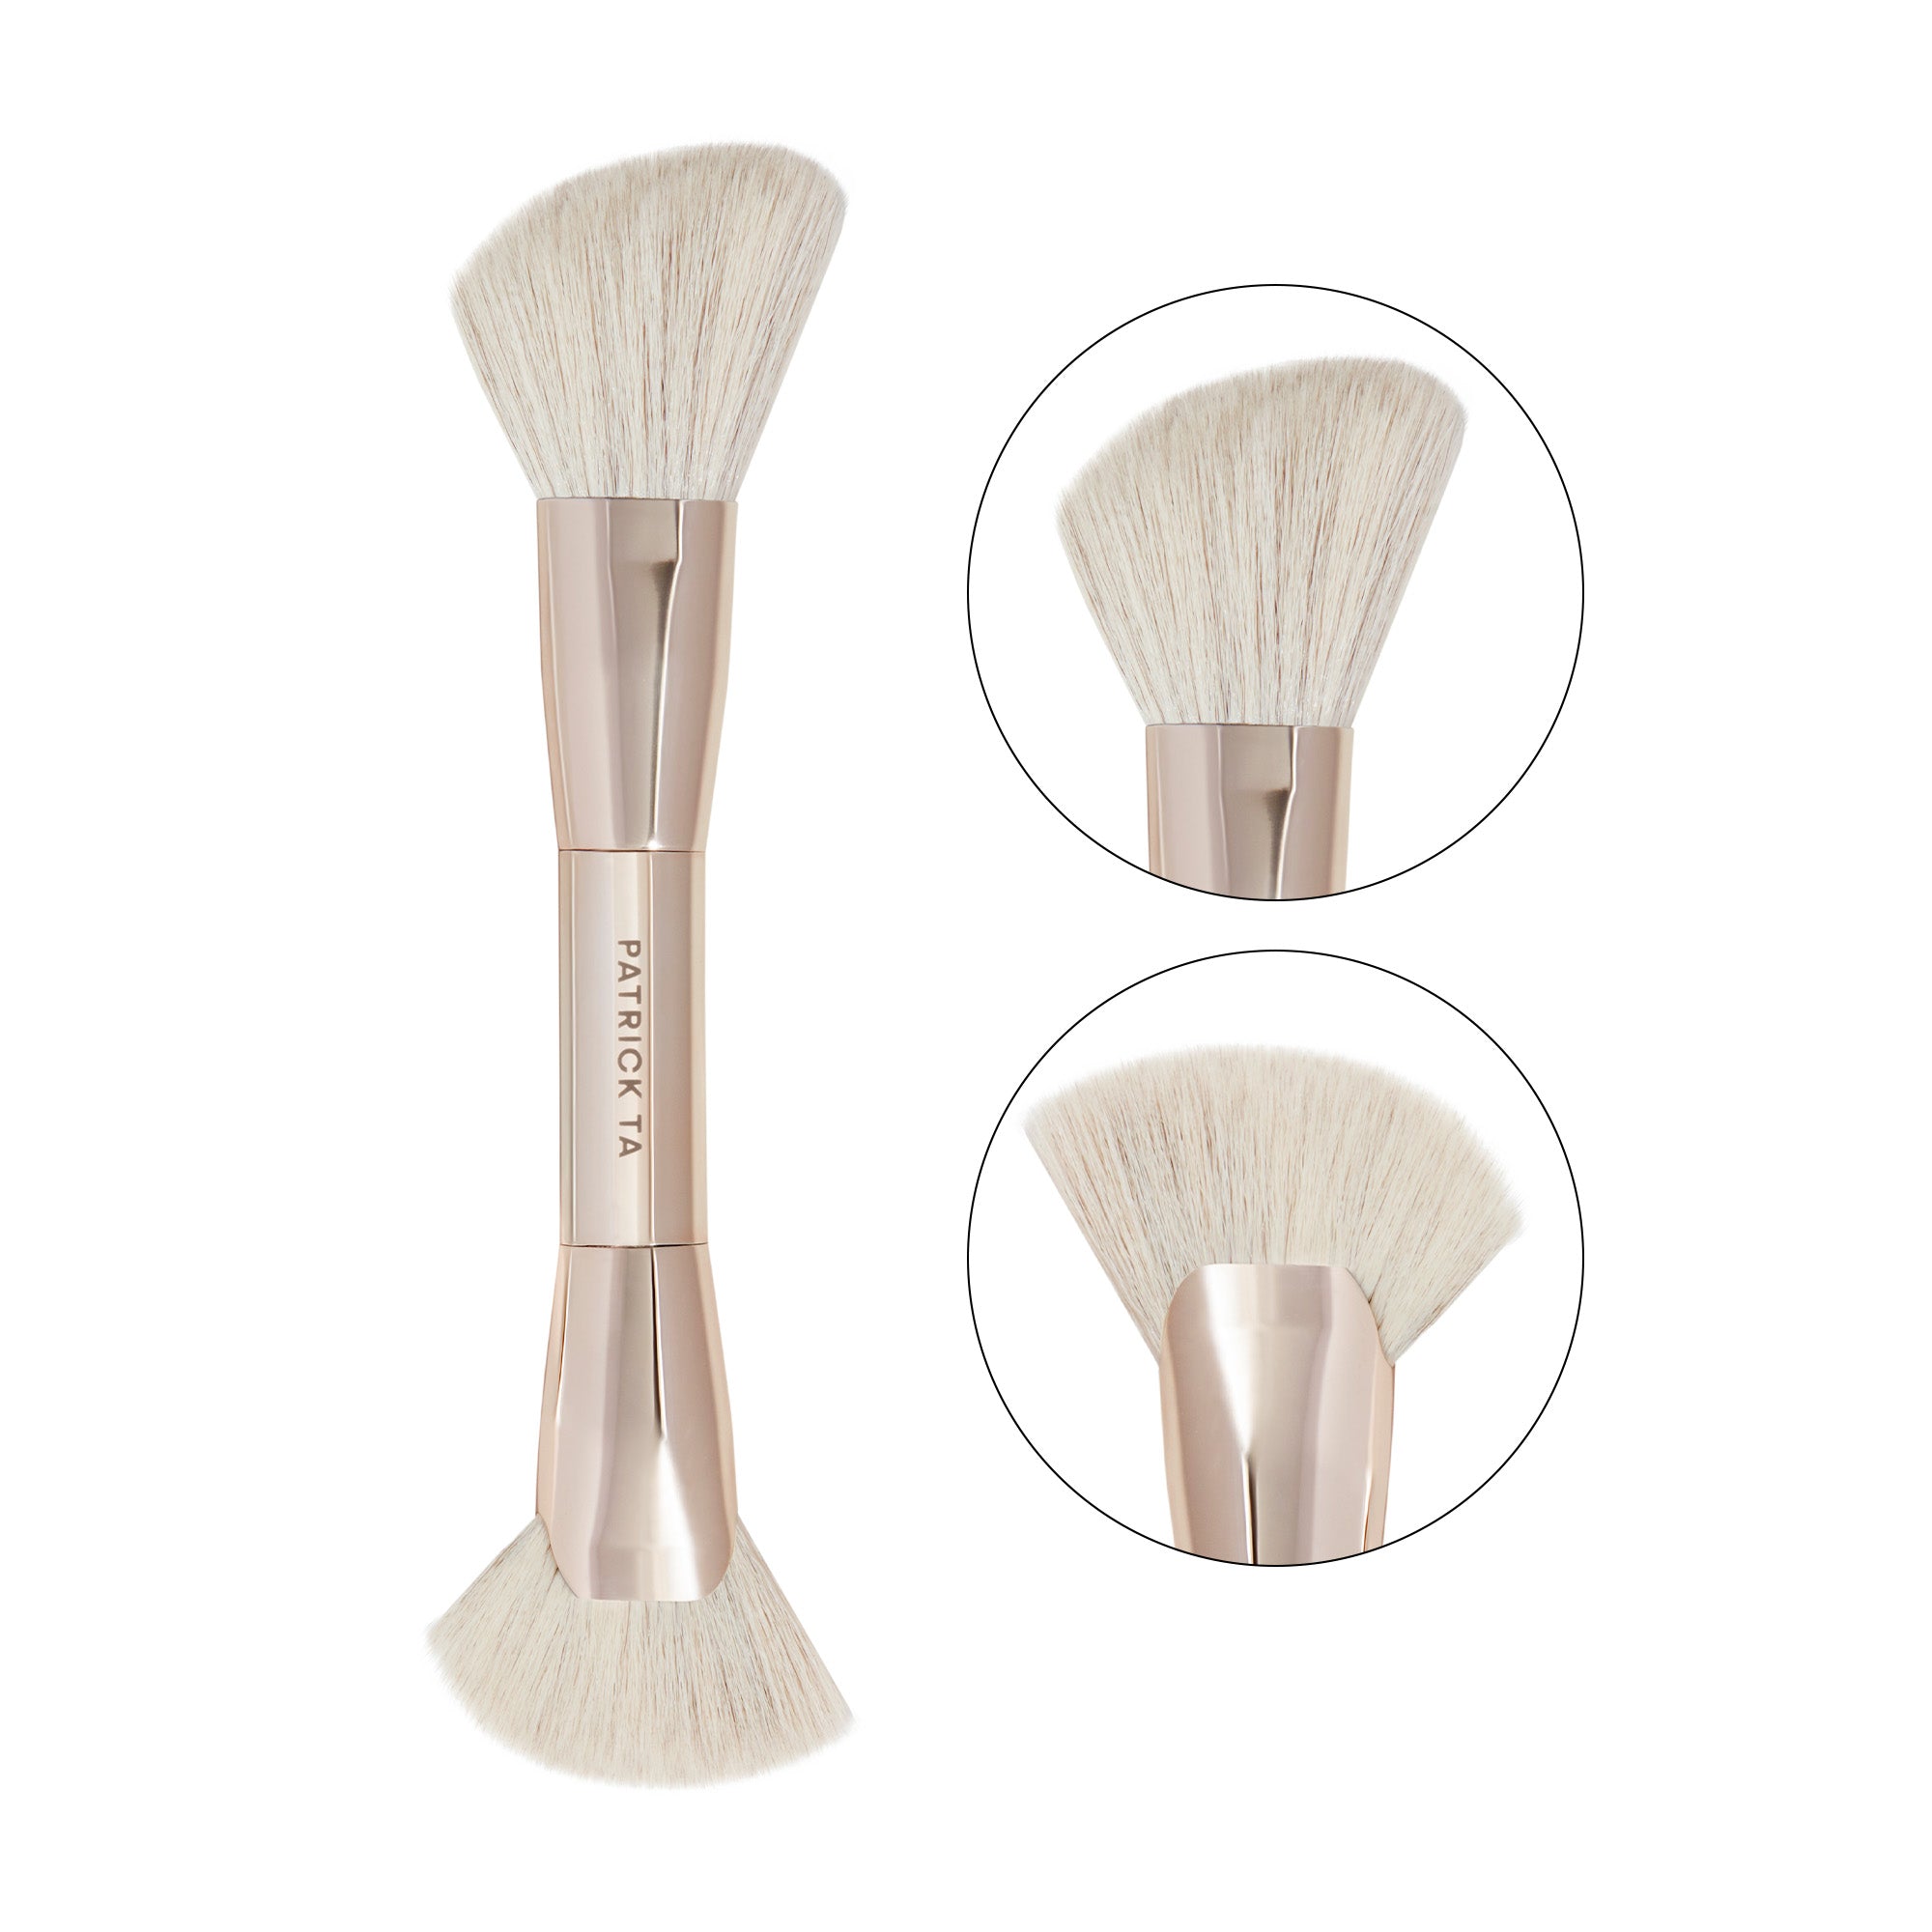
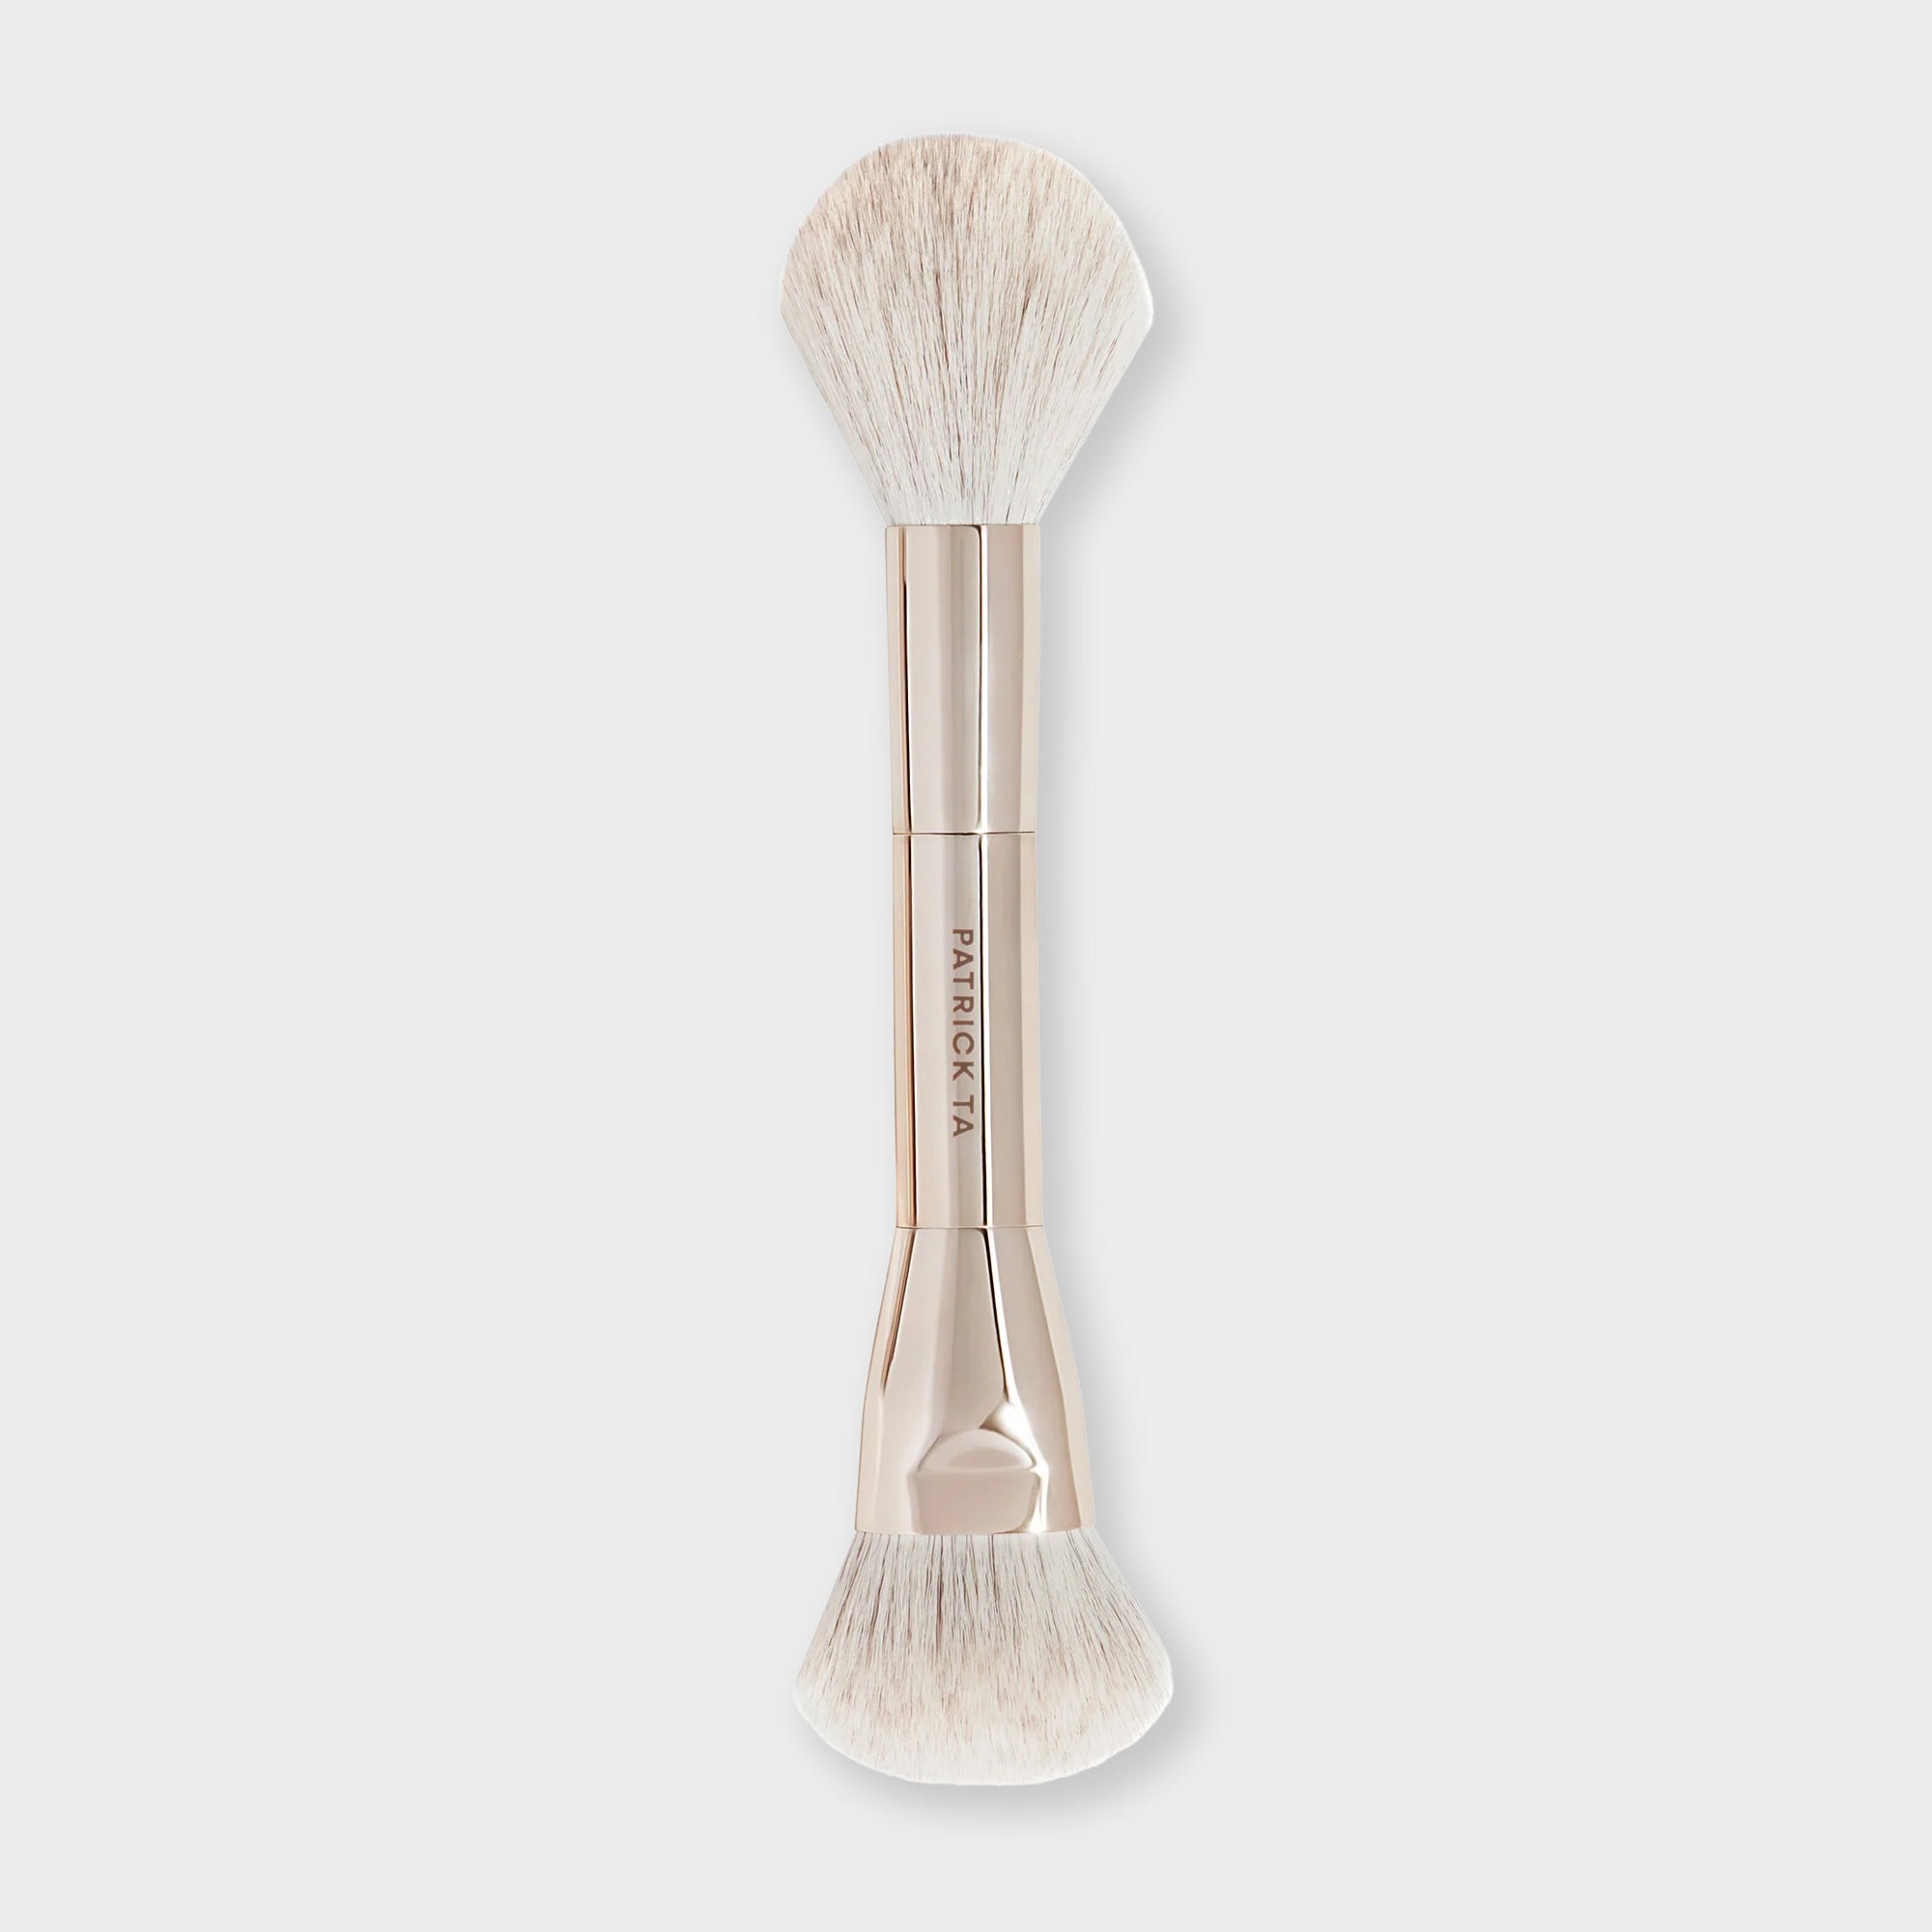
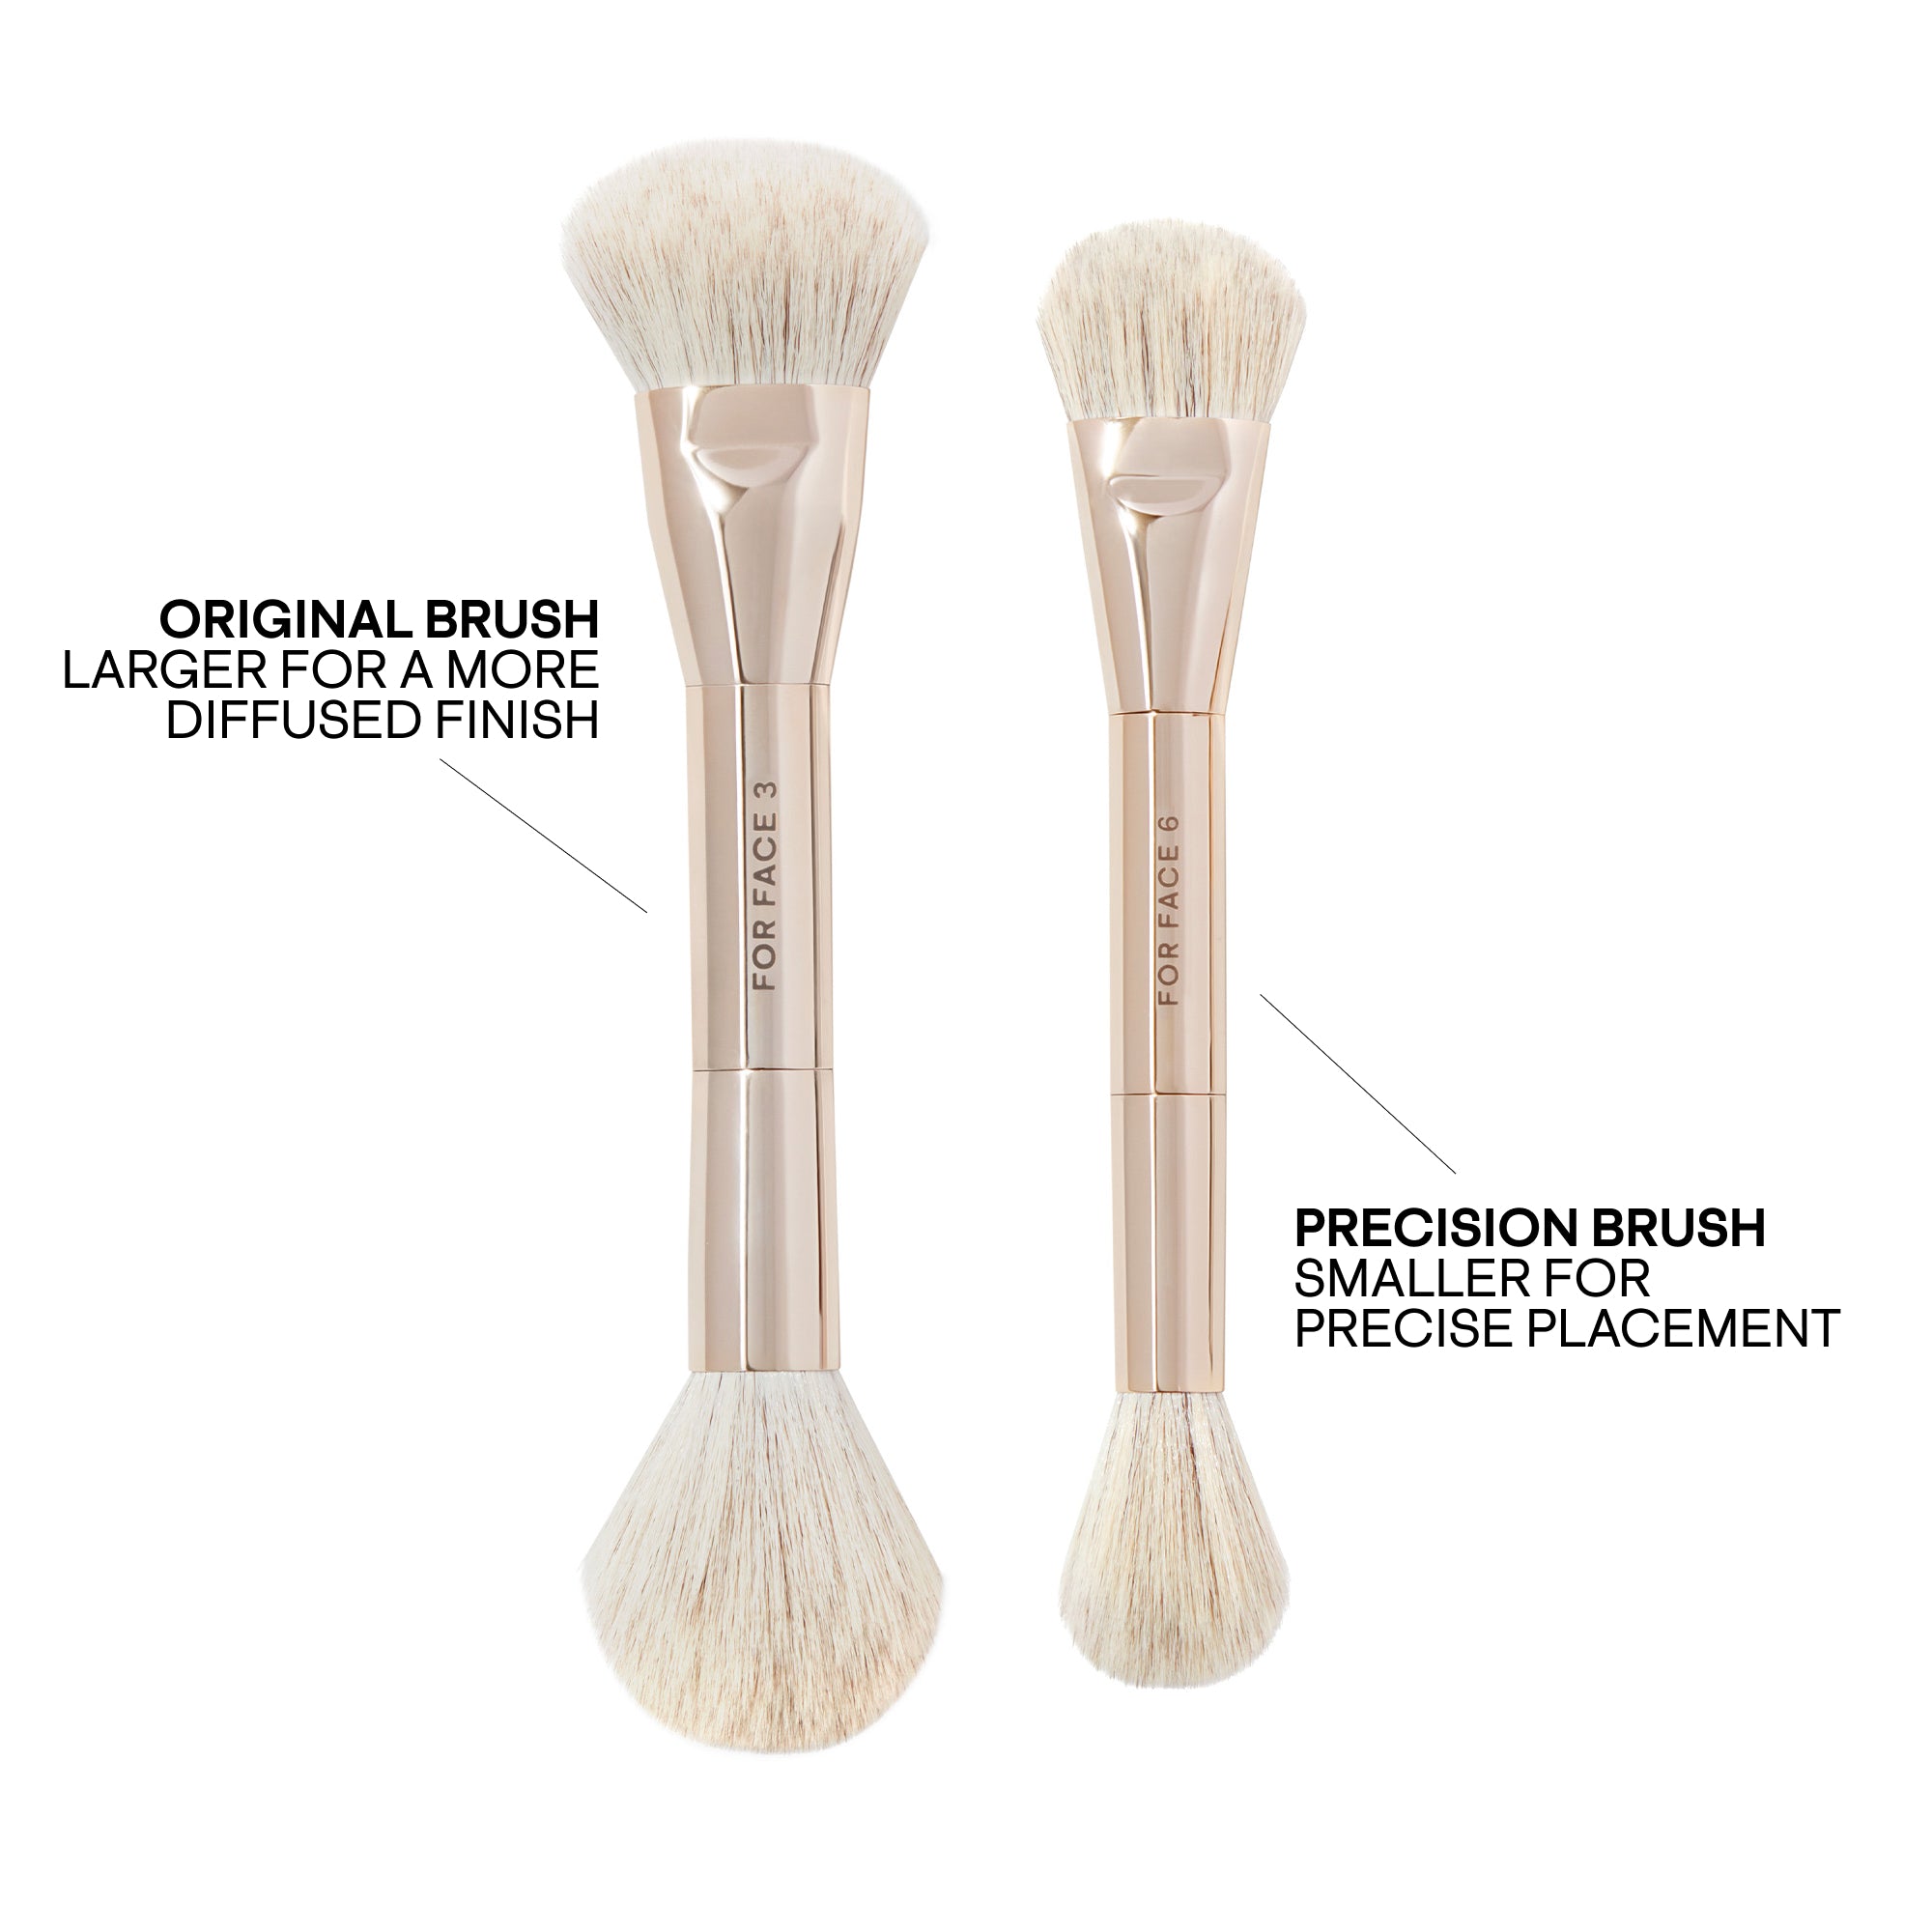
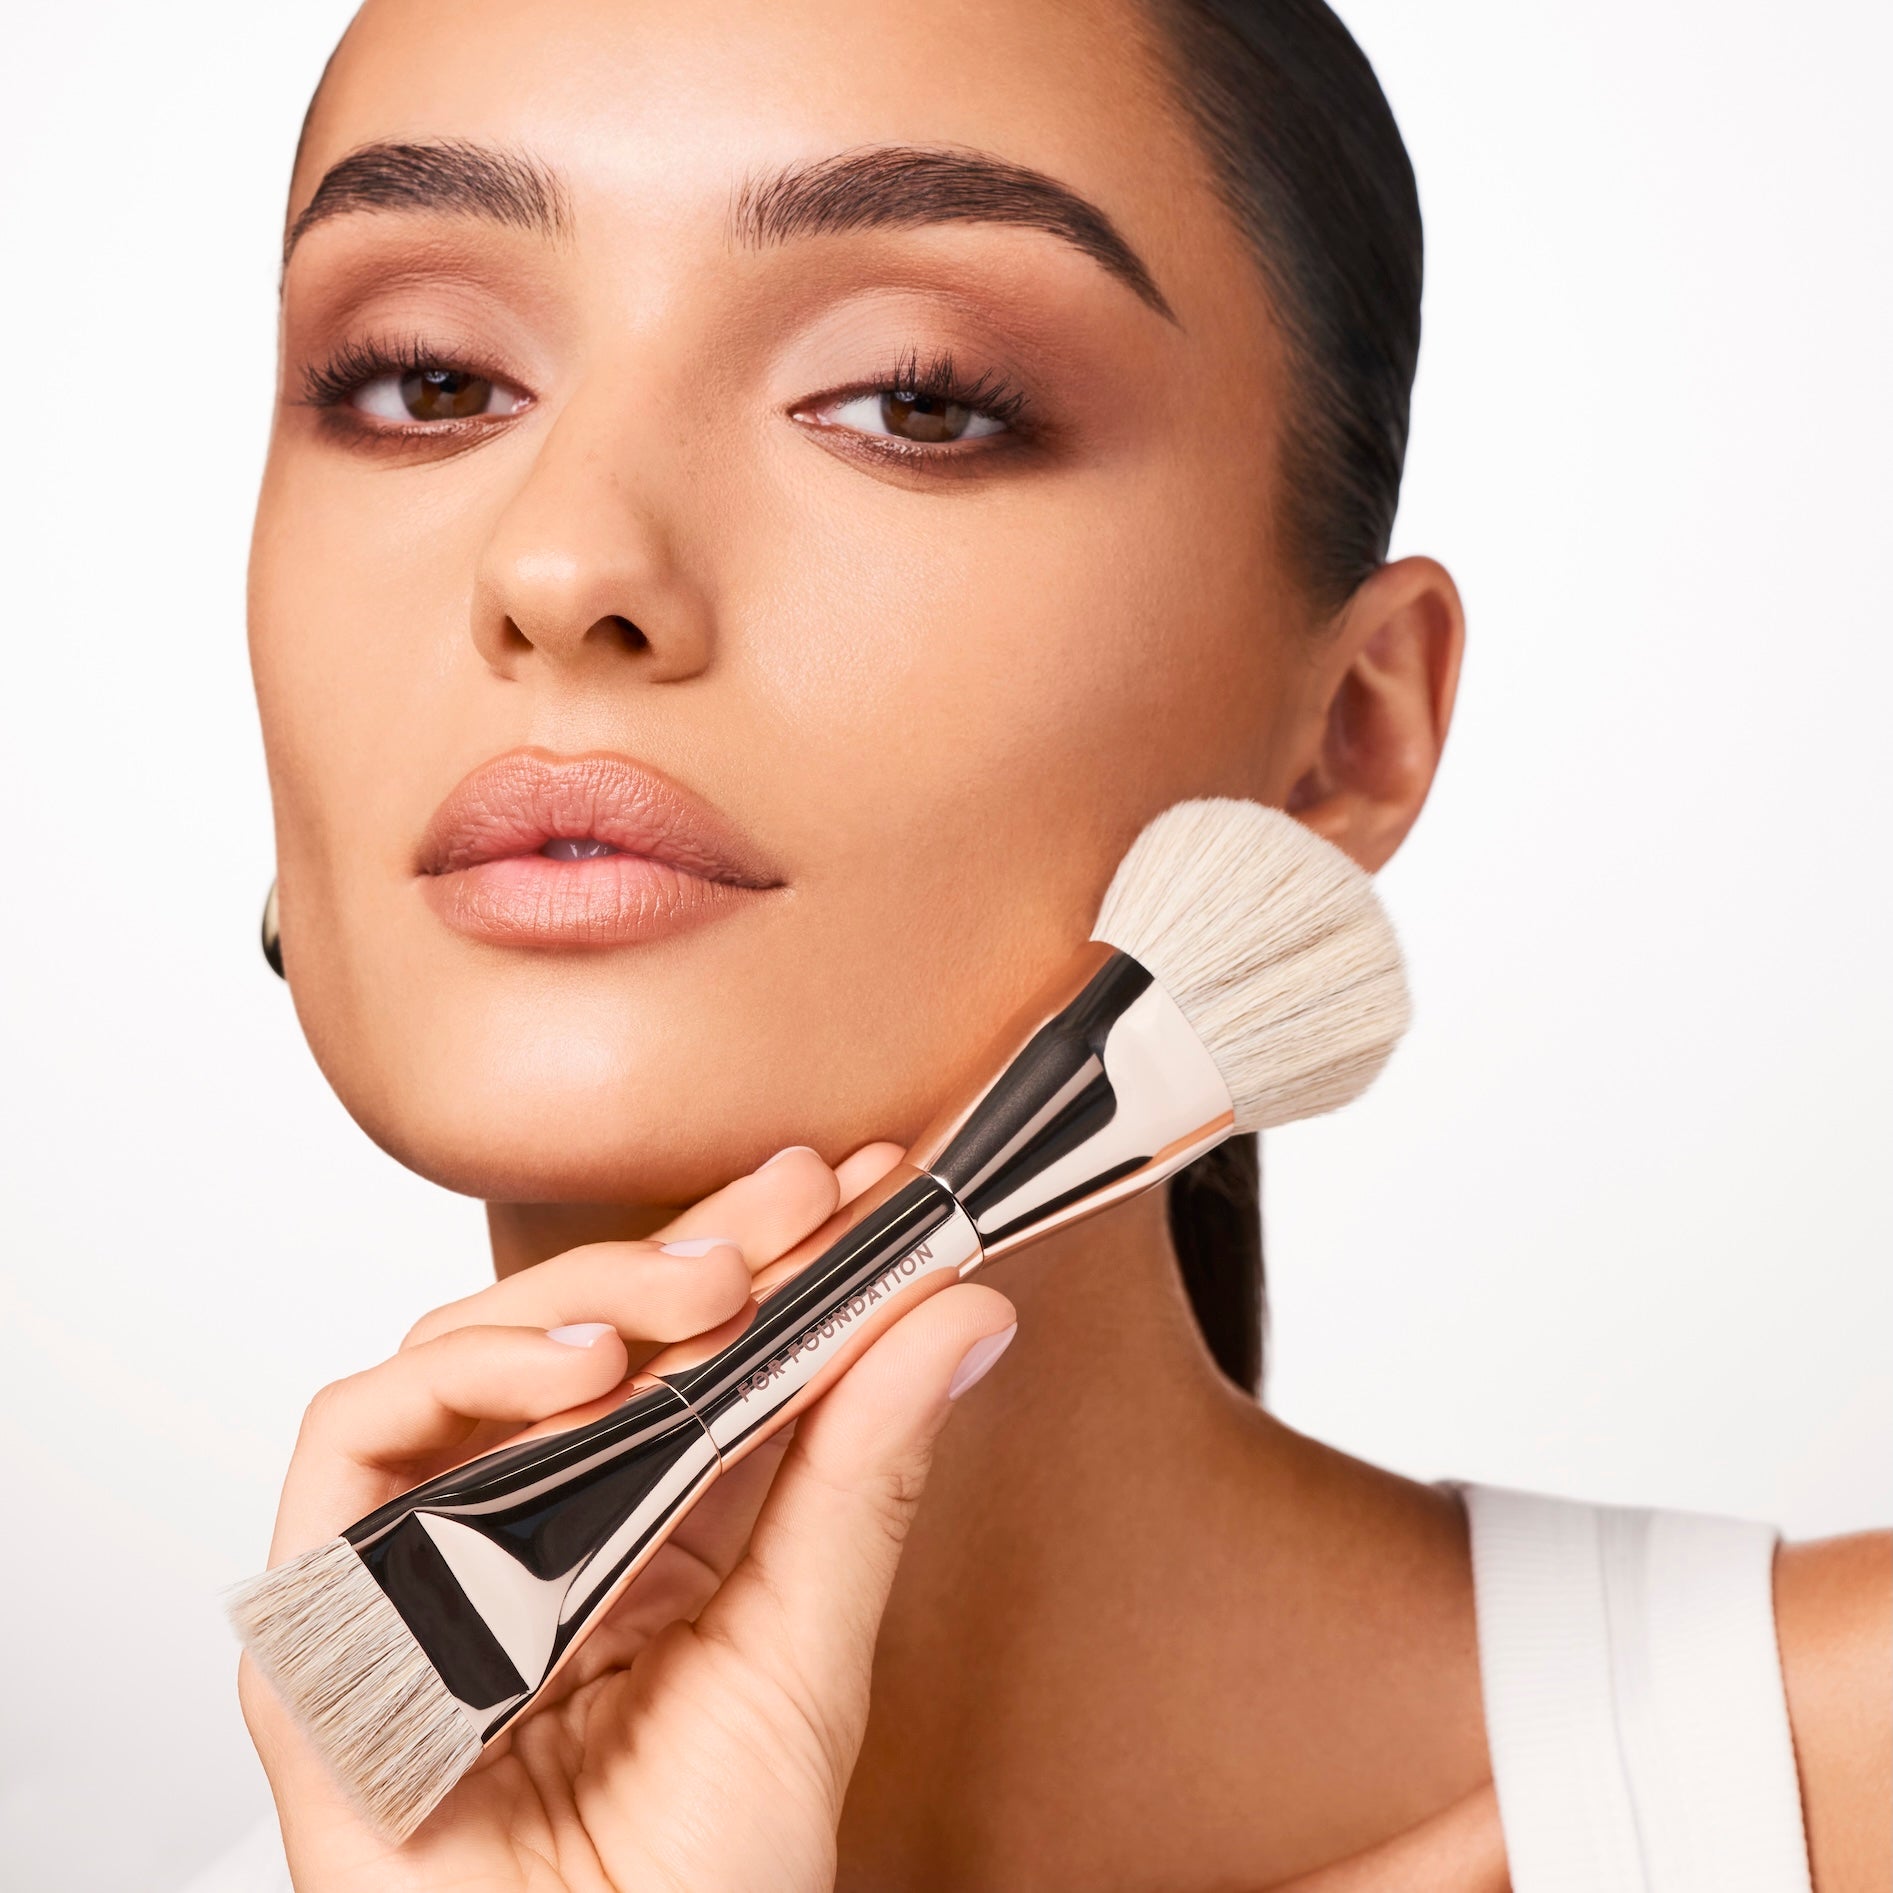
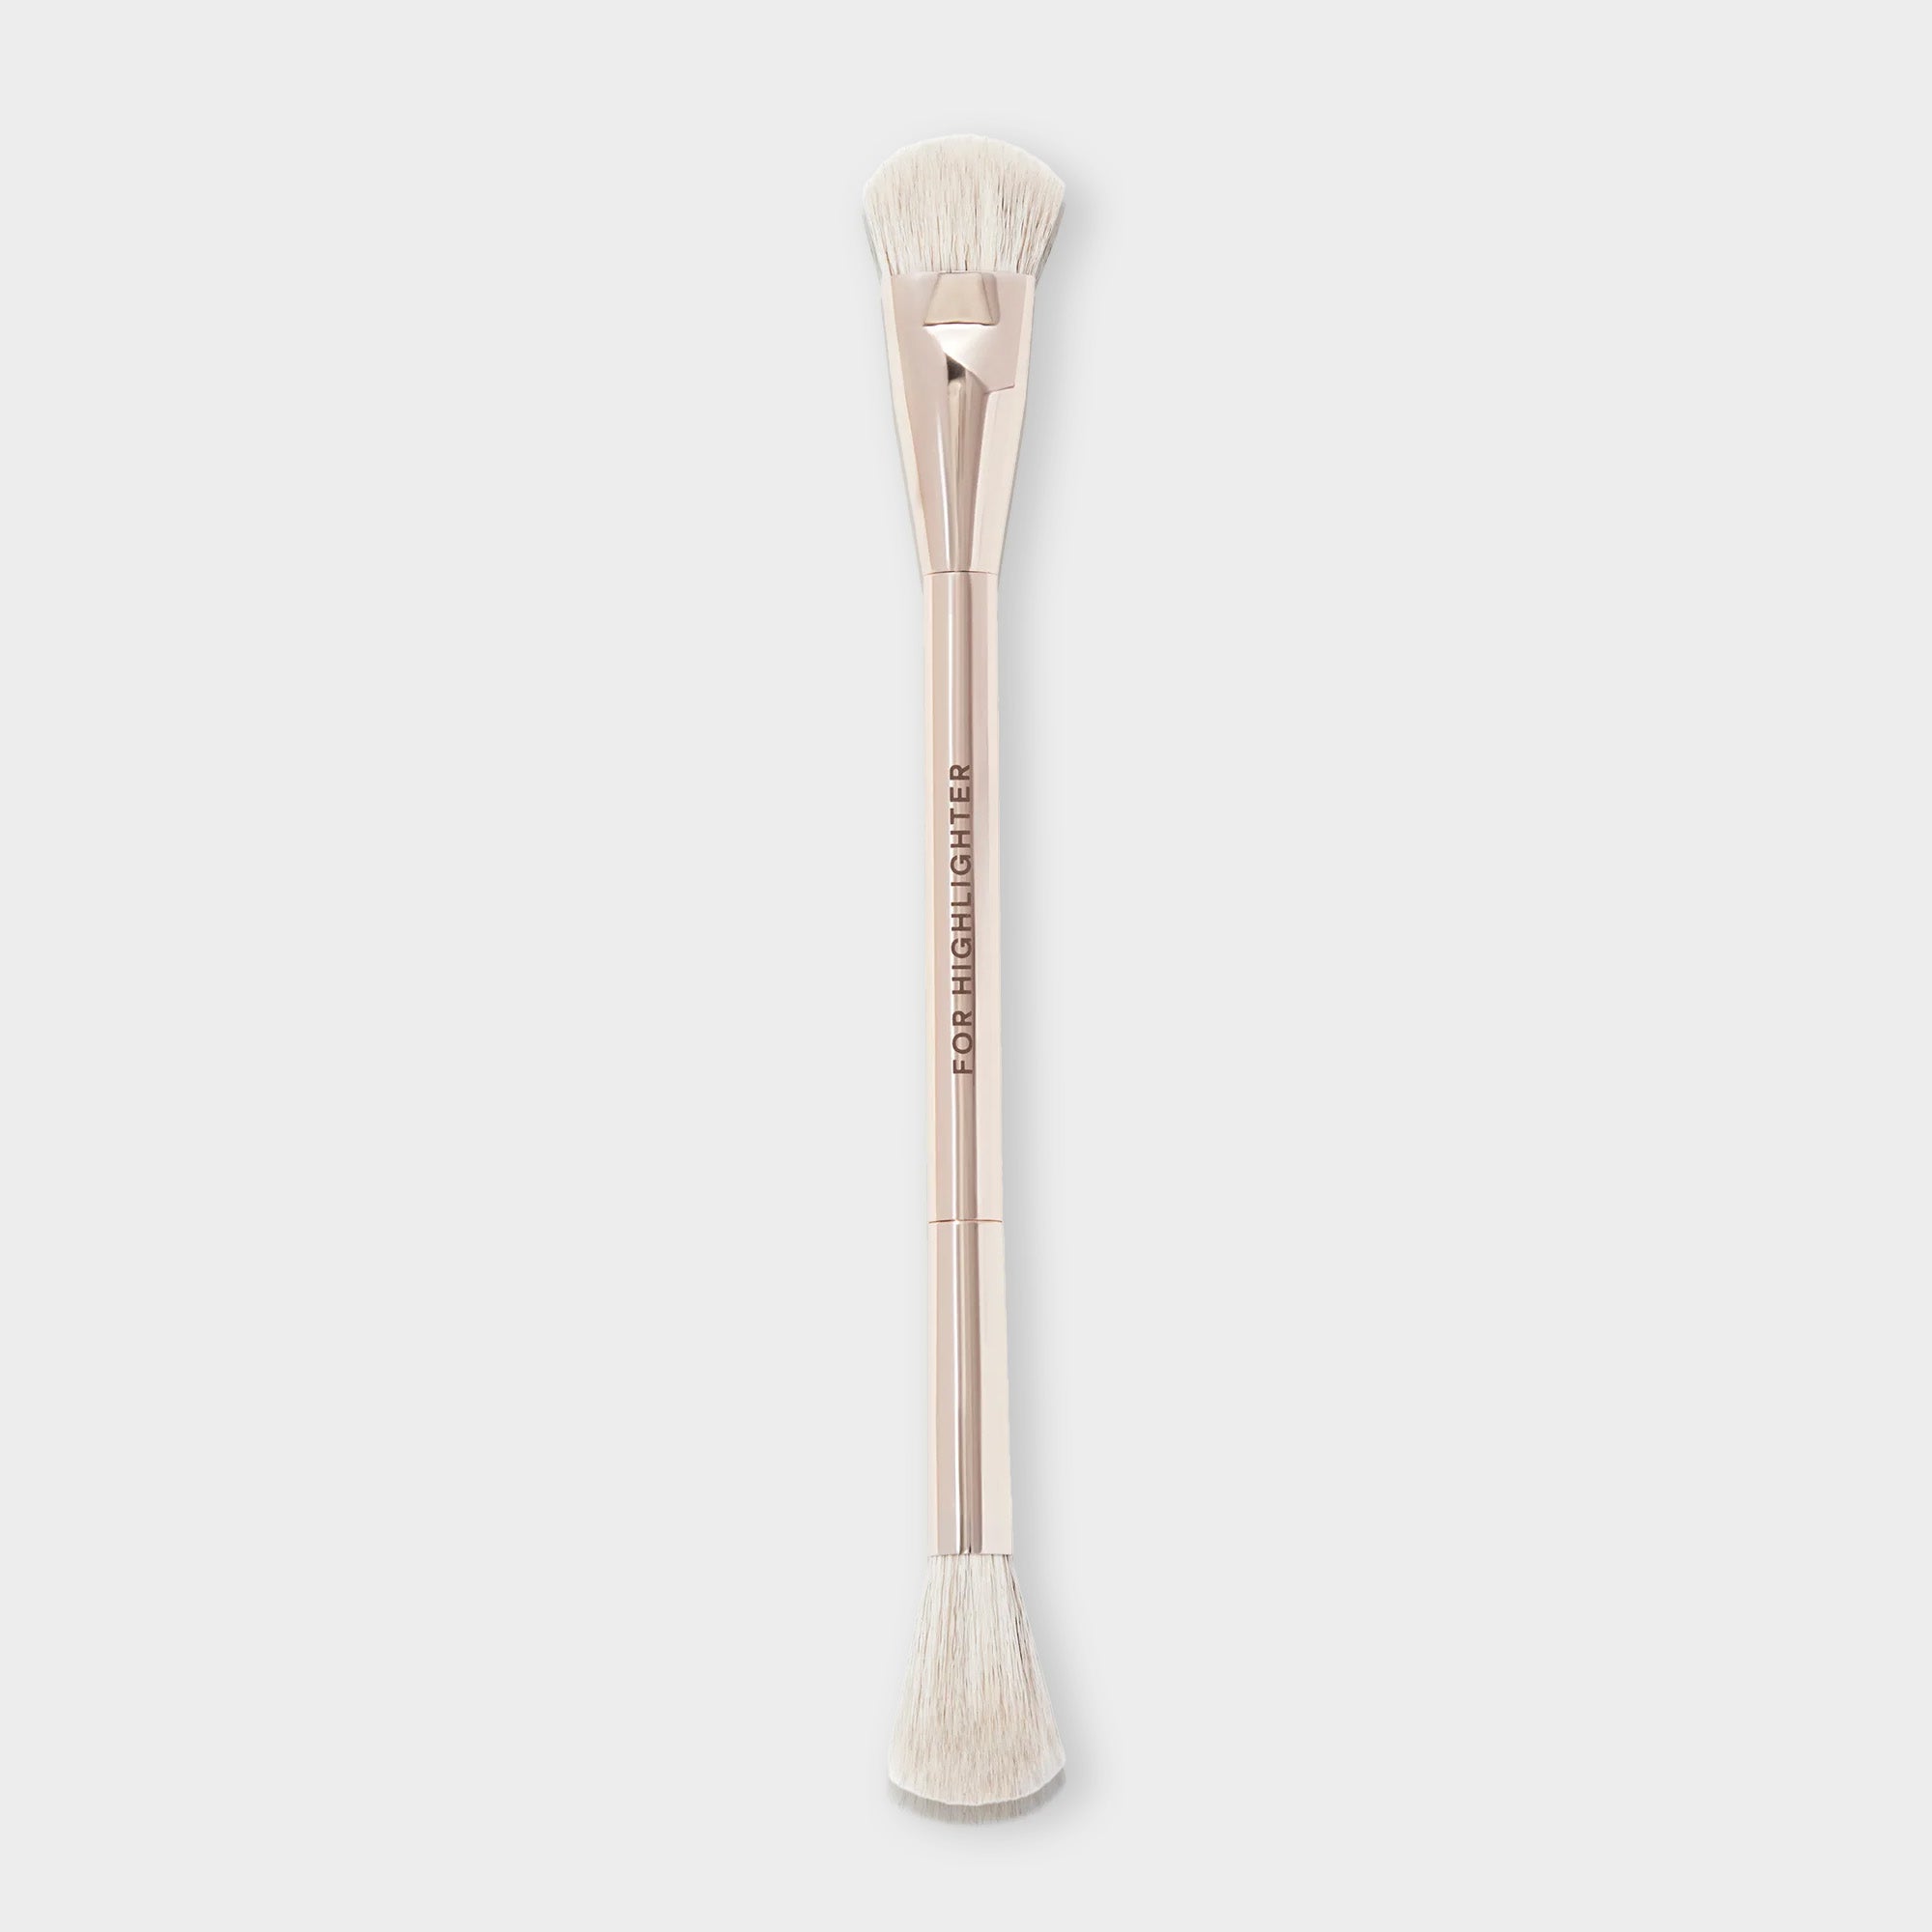
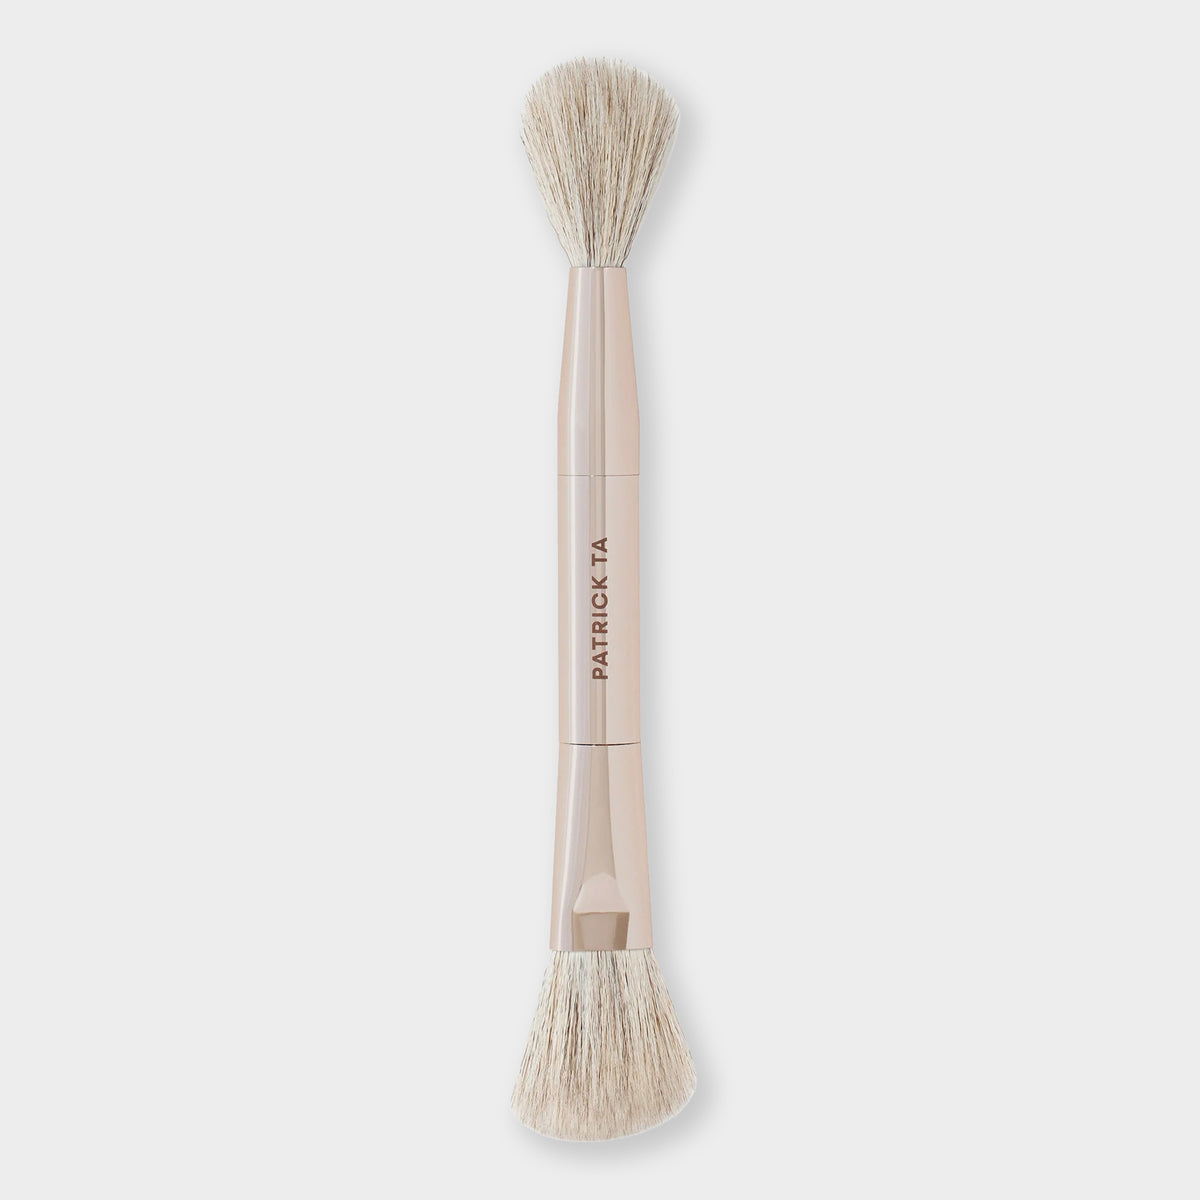
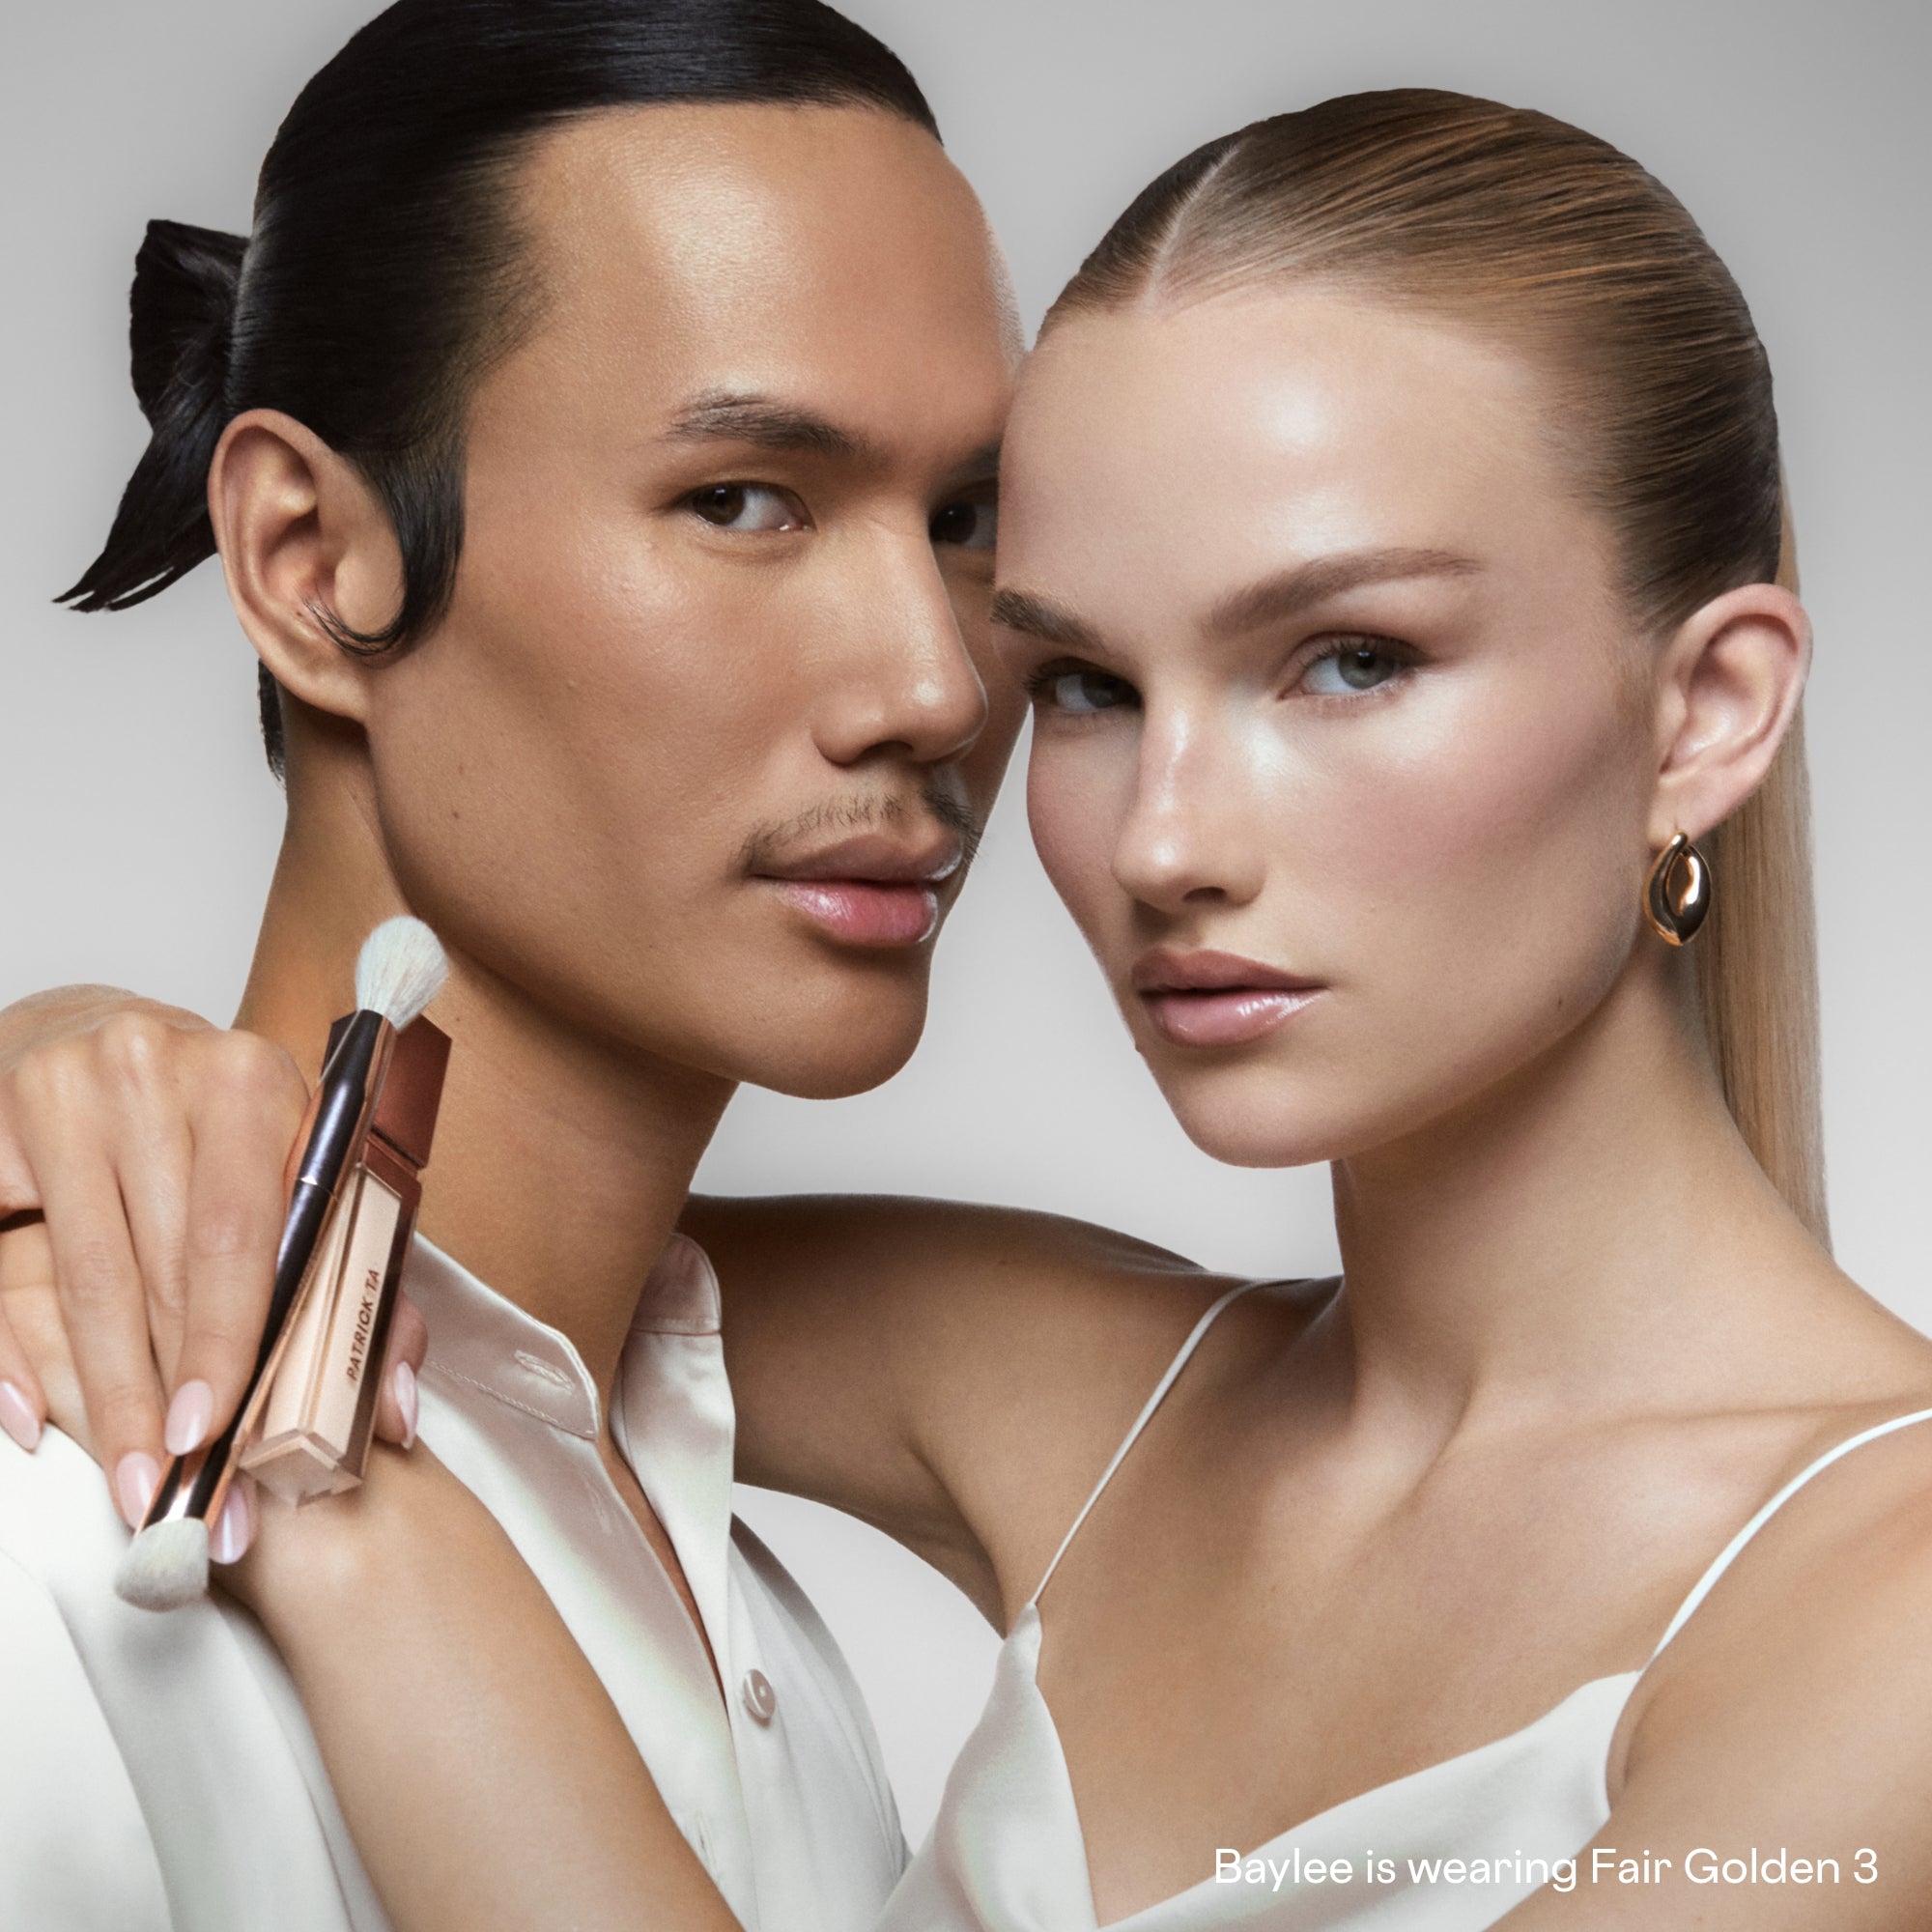
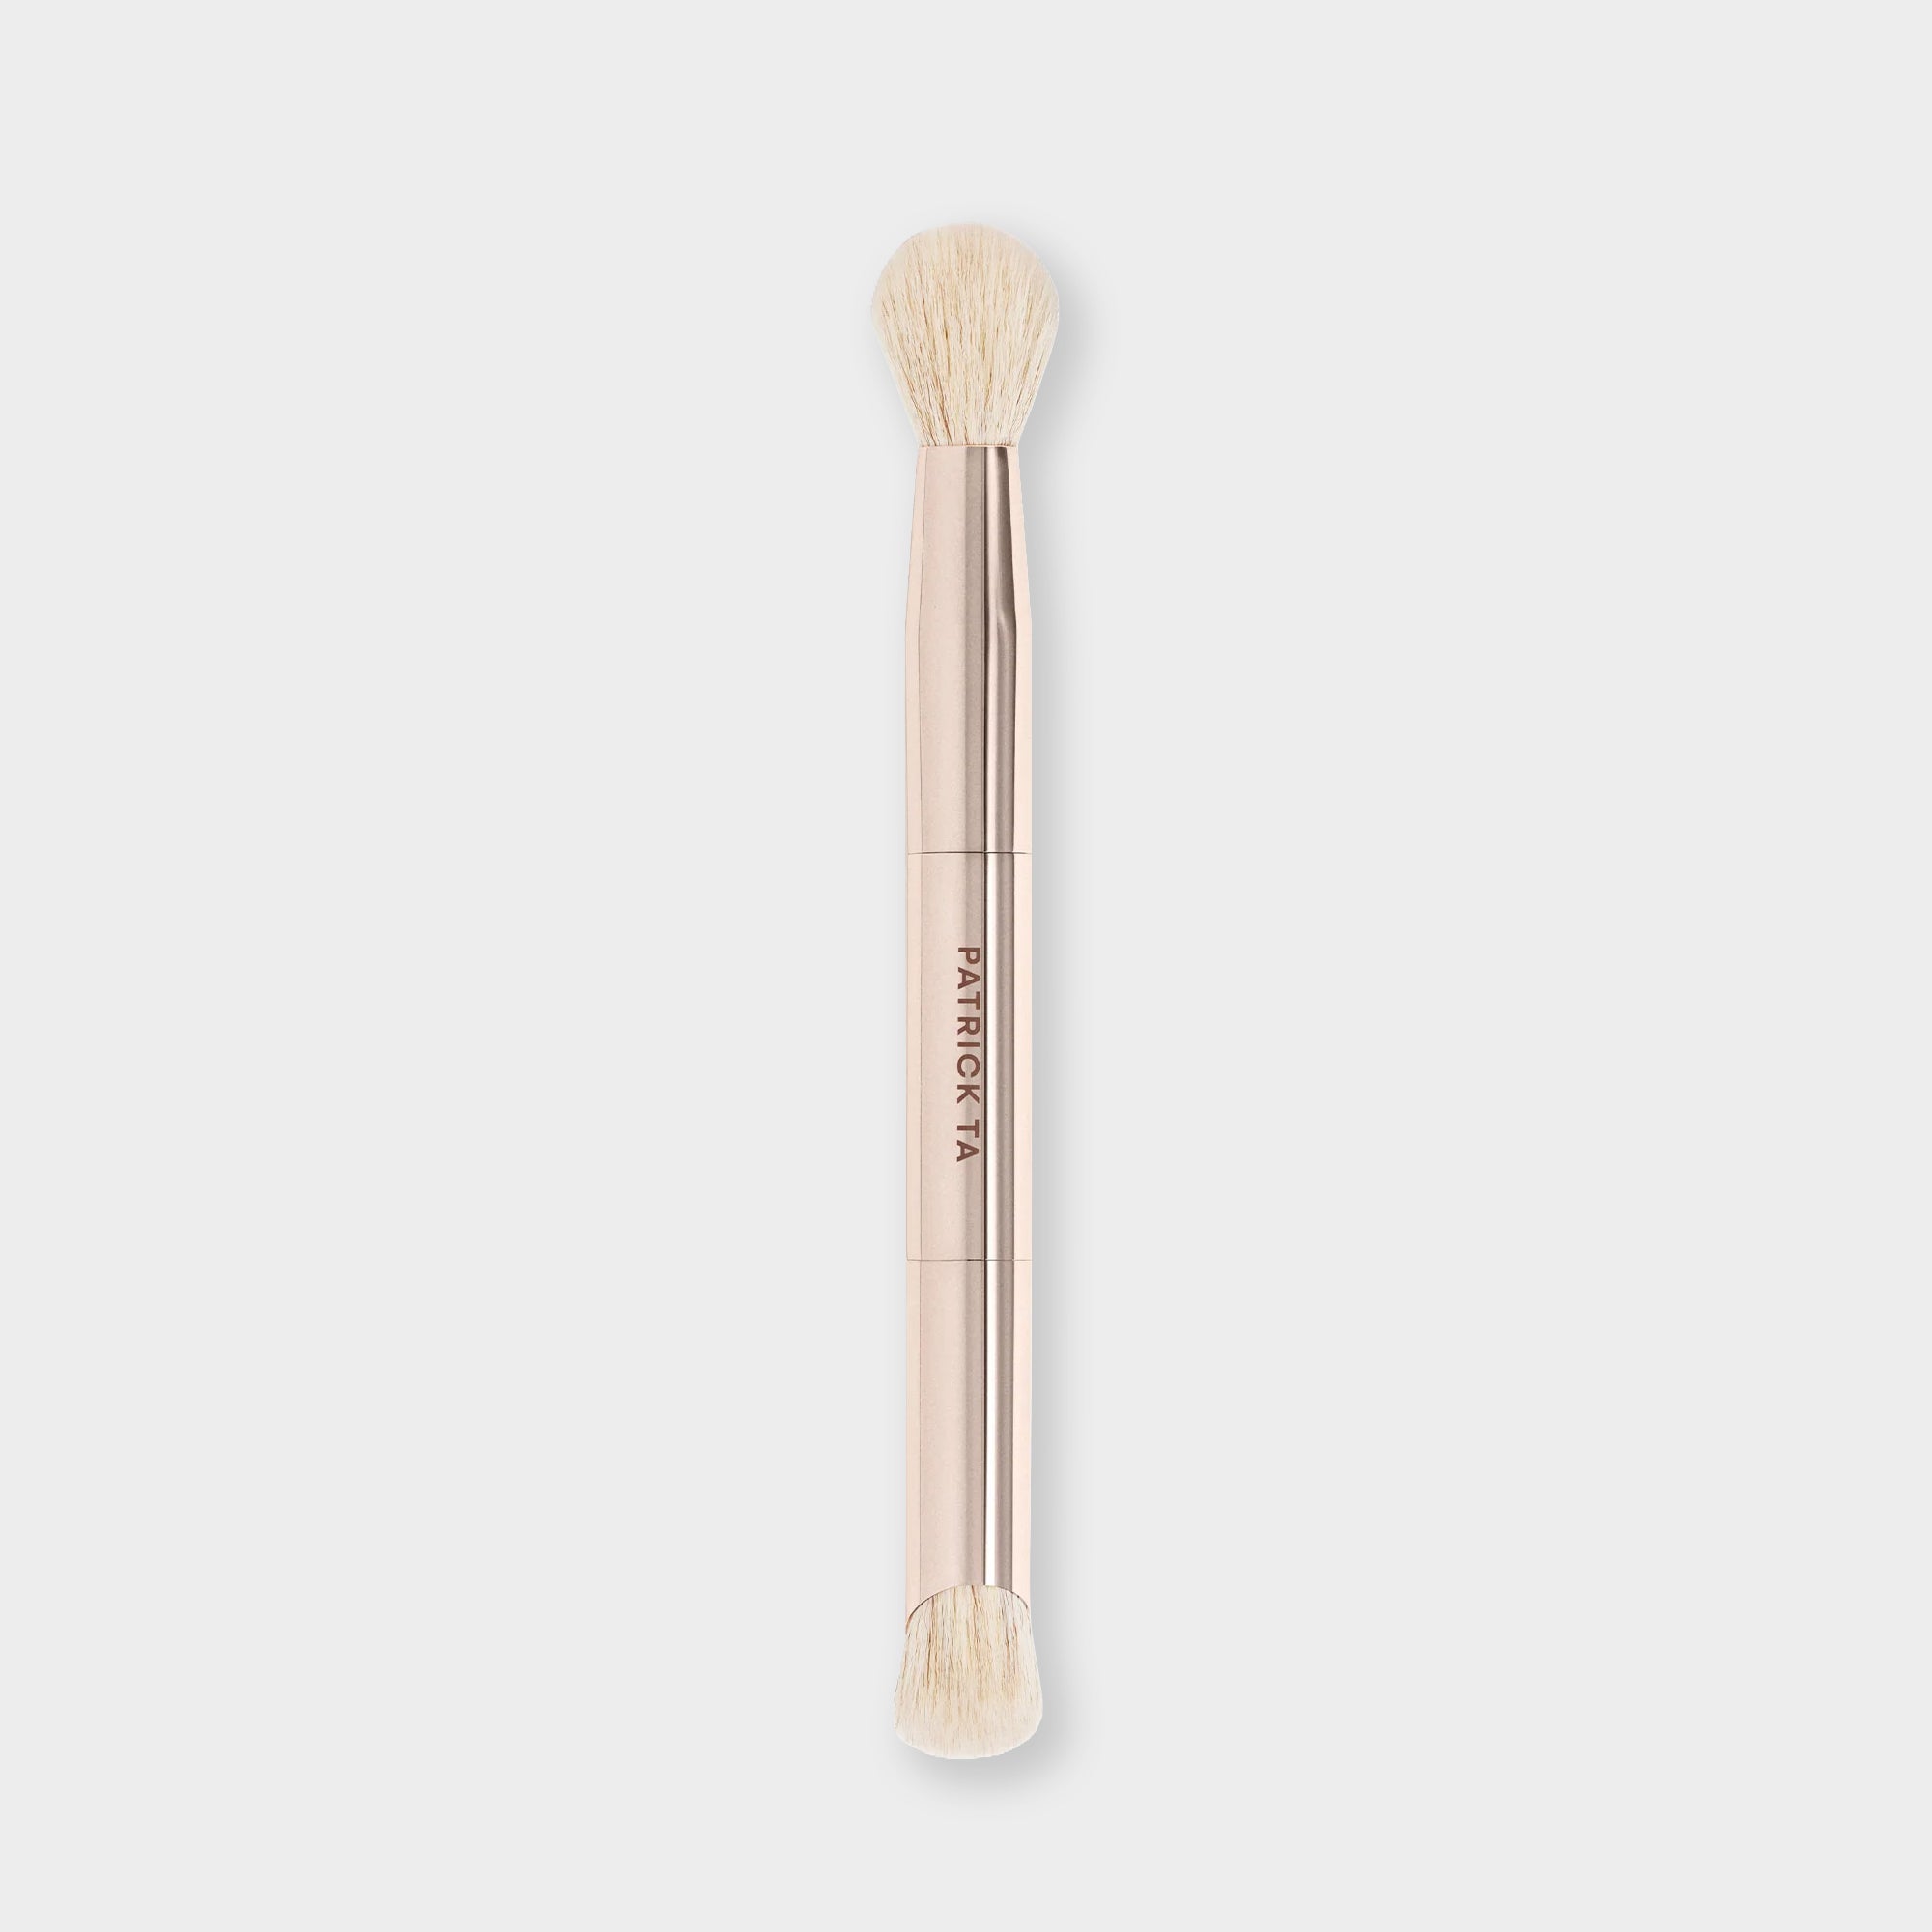
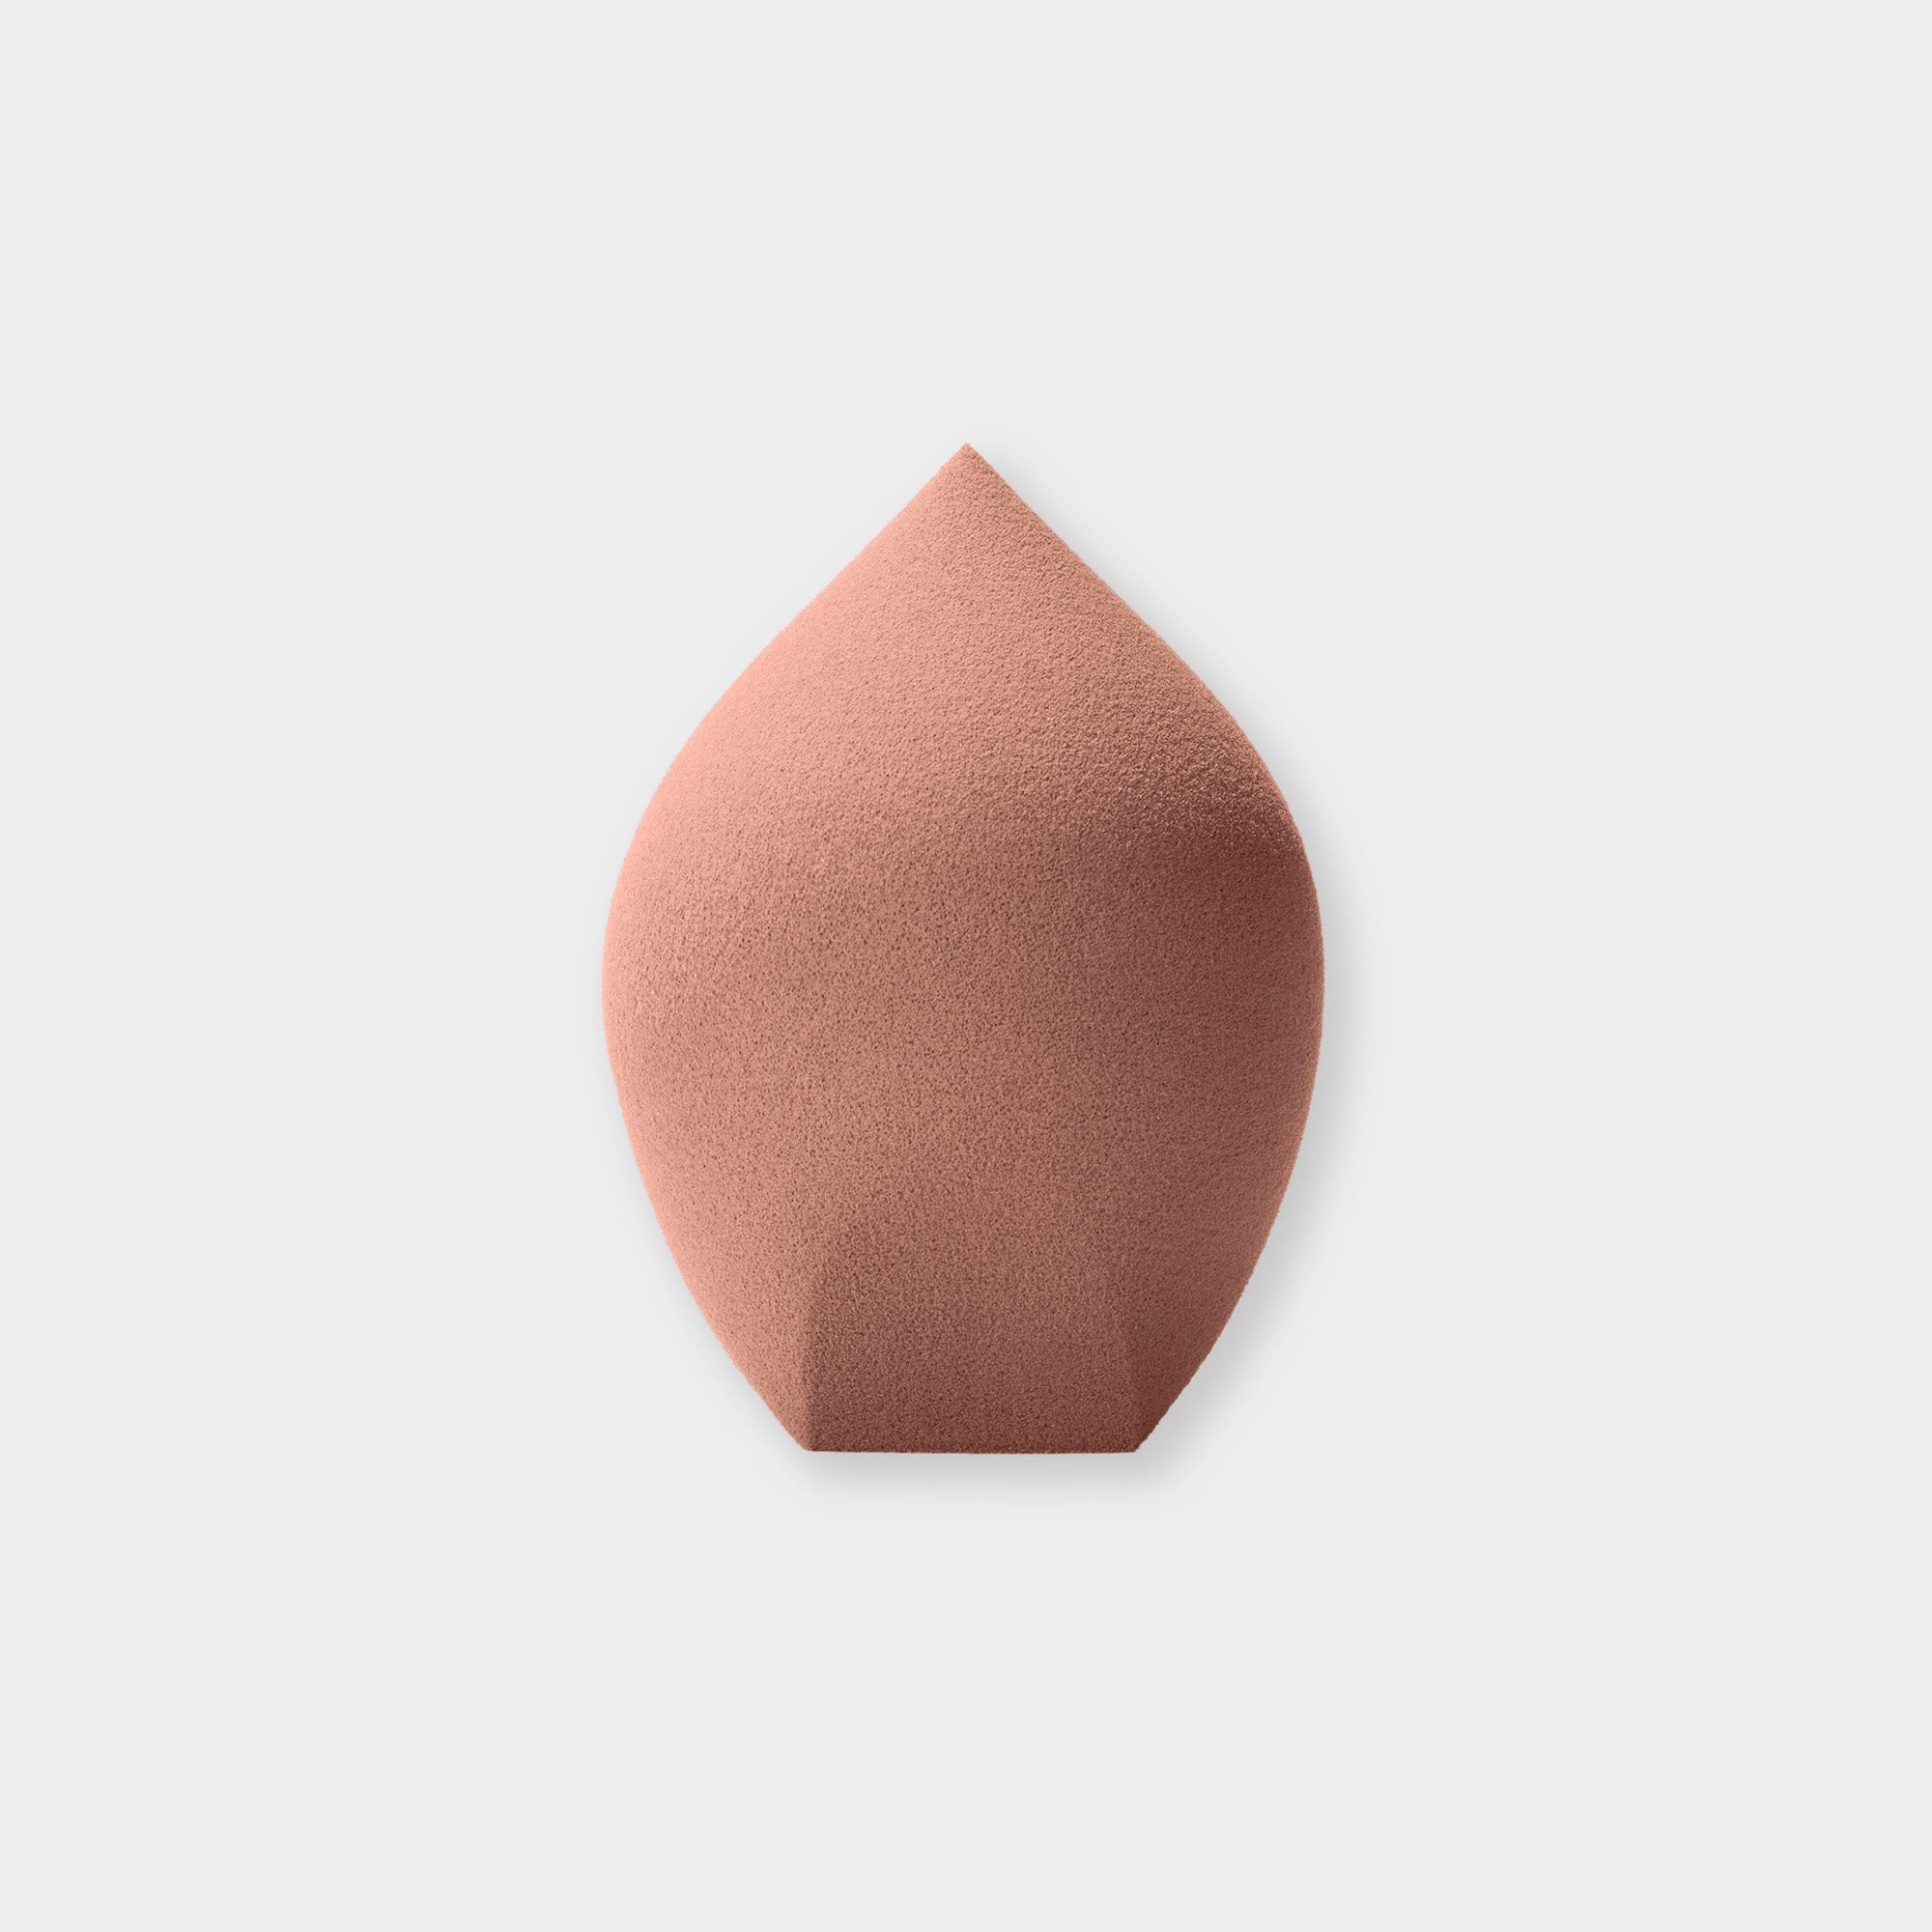
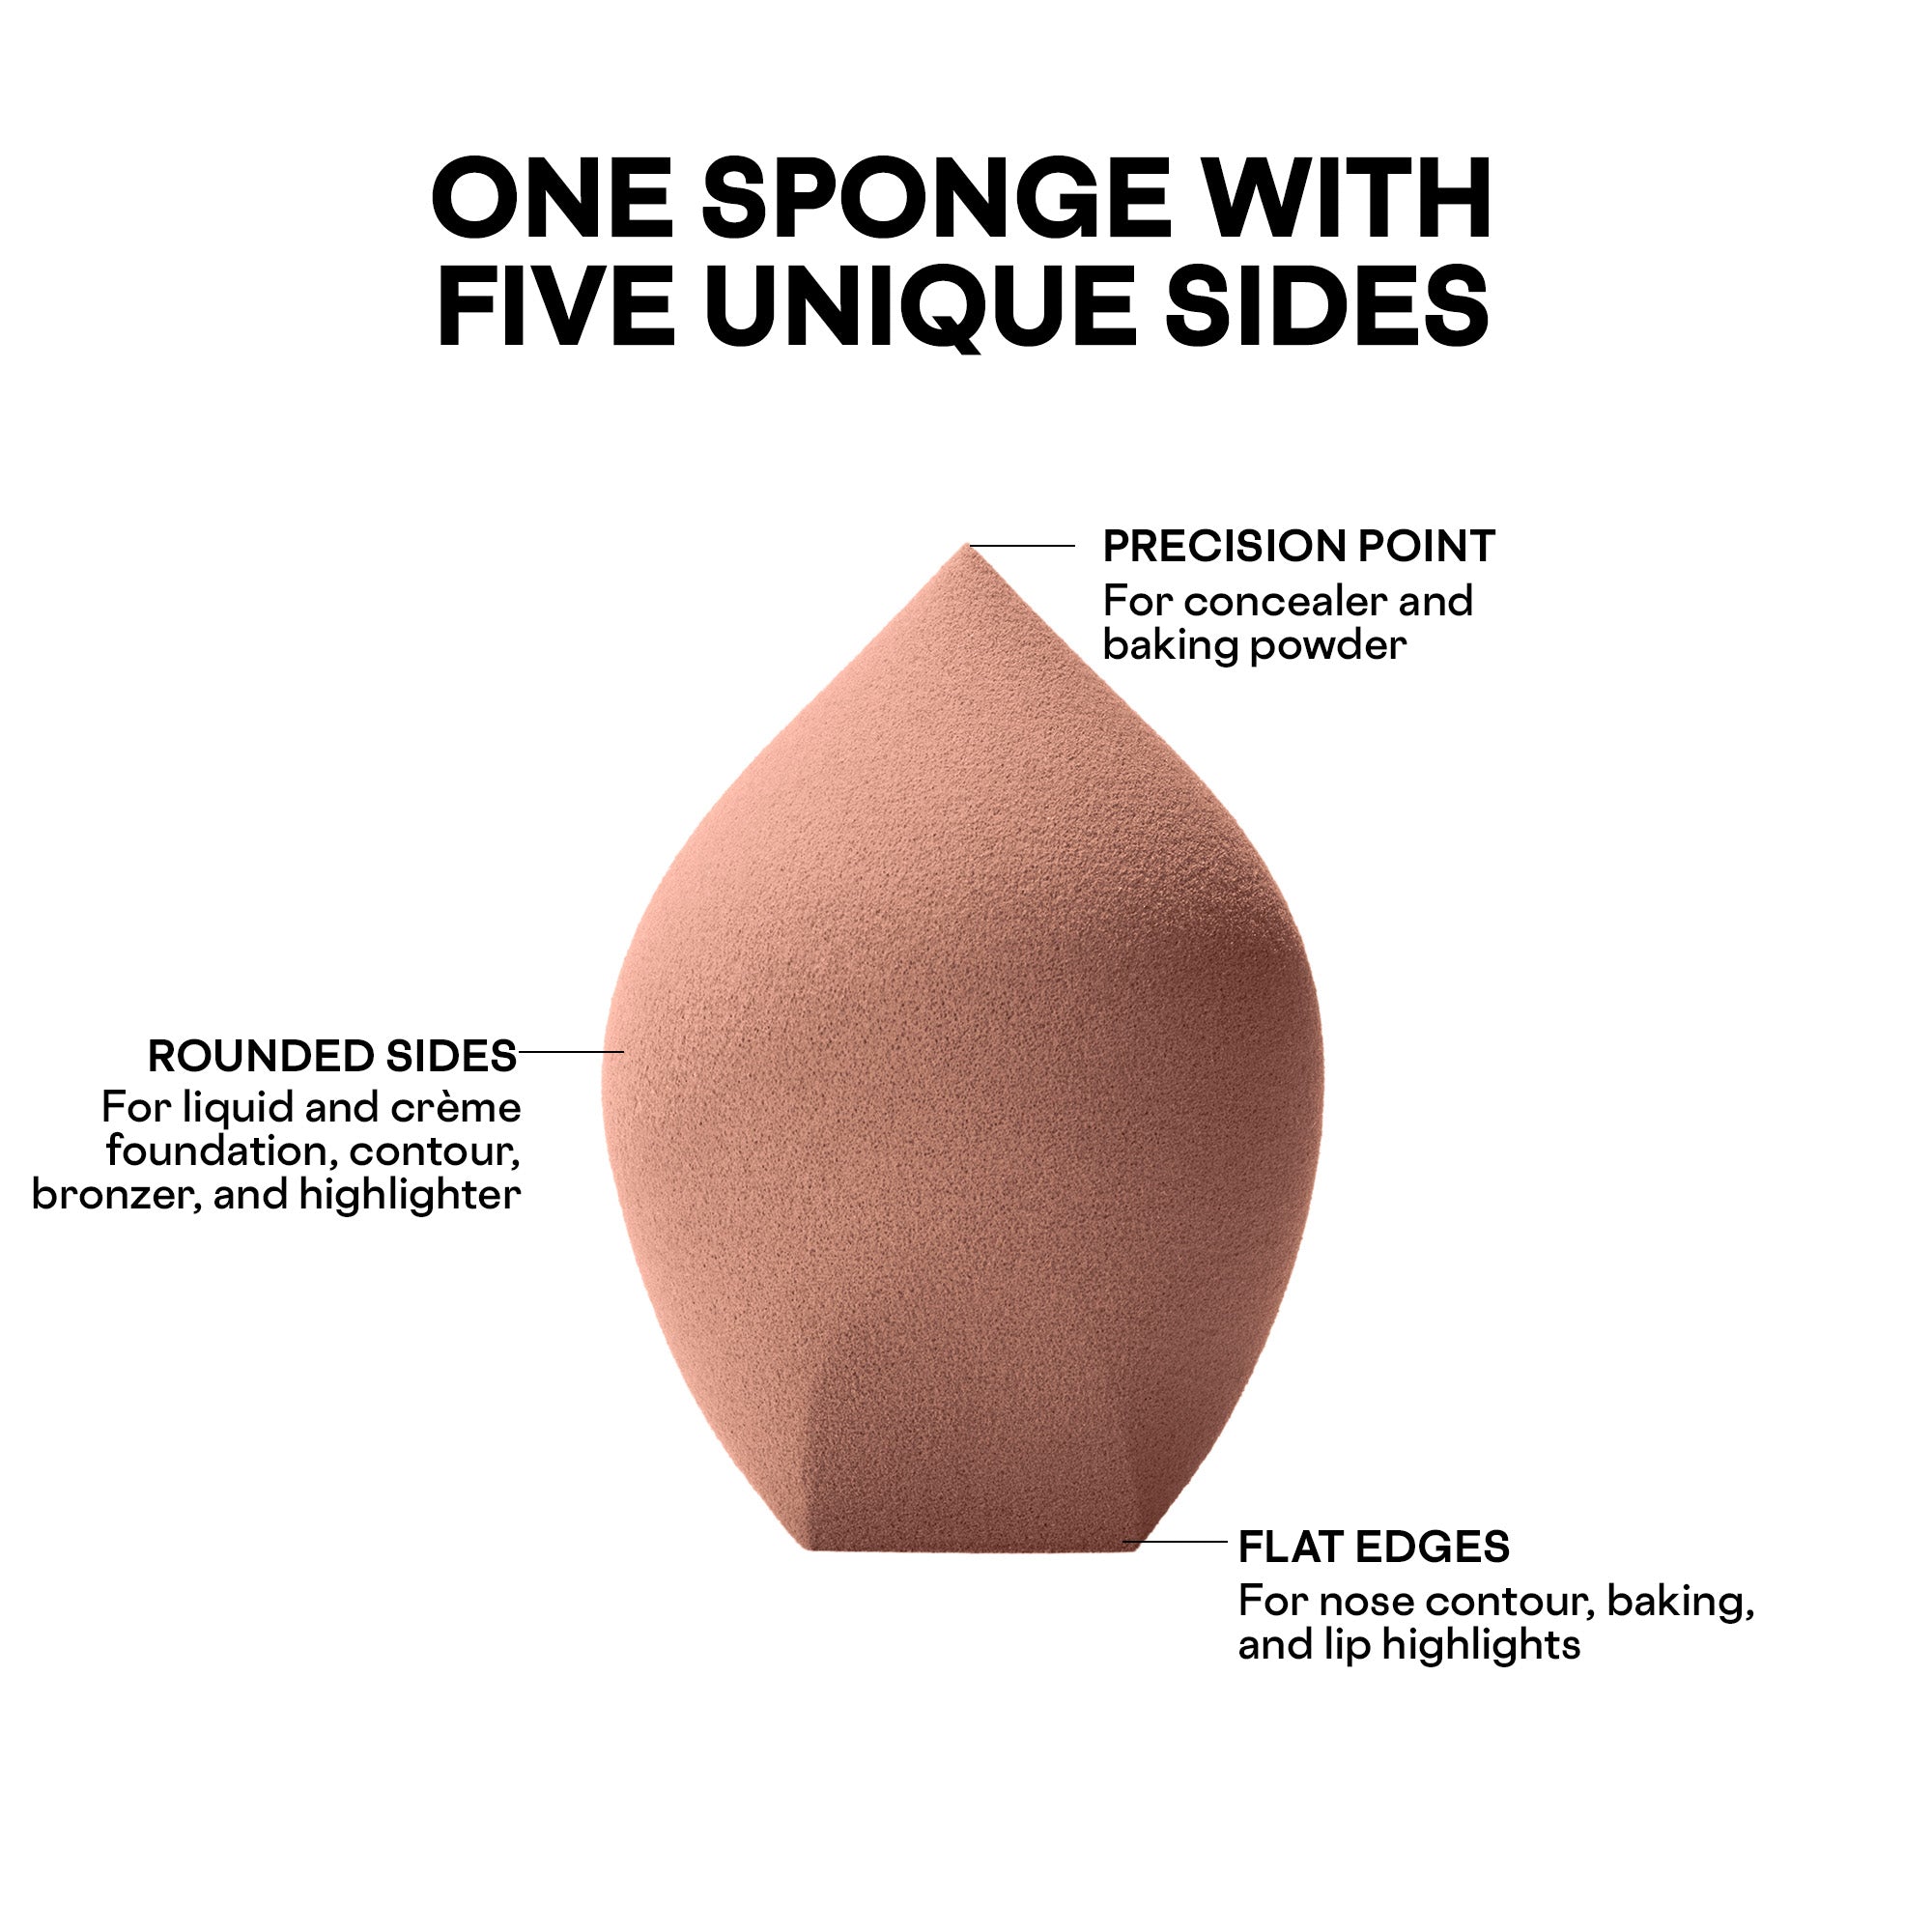
Blend in Thin Layers: Use the Dual-Ended Concealer Brush to build coverage on one end and blur the edges with the other. For a softer finish, press with the Major Skin 5-In-1 Blending Sponge. If you want both the concealer and brush together, the Major Skin Brightening Concealer and Dual-Ended Brush Set pairs them in one online exclusive.
Set Where You Crease: Lightly set the under-eye area and anywhere that tends to crease, leaving the rest of the face dewy.
For a deeper look at Patrick's approach, read Patrick's technique for concealer.
Concealer Placement Mistakes to Avoid
- Drawing a large triangle under the eye, which can look heavy and settle into fine lines.
- Using a brightening shade on blemishes, which highlights them instead of hiding them.
- Applying one thick layer instead of building thin, blended layers.
- Skipping blending at the edges, which leaves visible lines between concealer and foundation.
- Choosing the wrong shade, which makes even perfect placement look obvious.
If dark circles are your main concern, our guide to covering dark under-eye circles walks through color correcting and layering in more detail.

Finding the Right Shade for Each Area
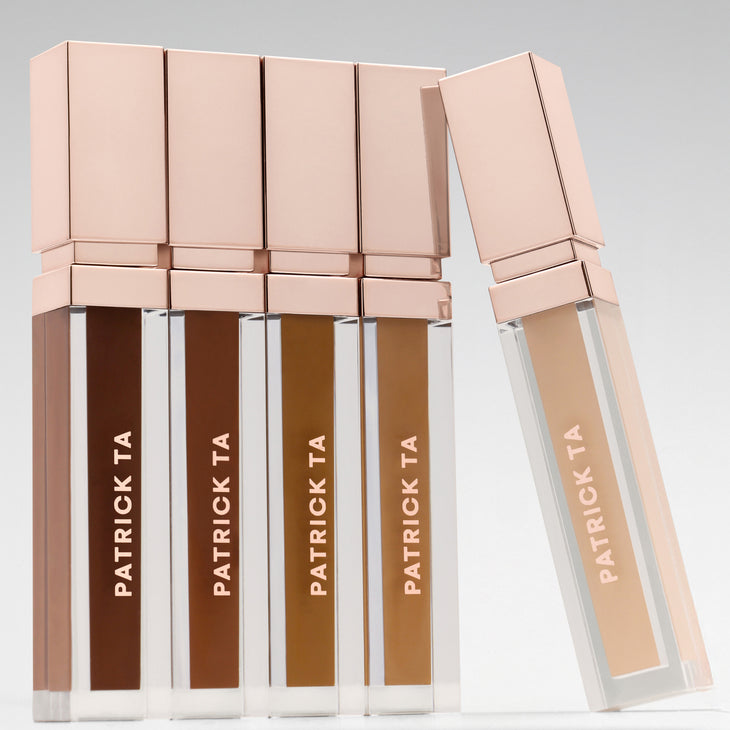
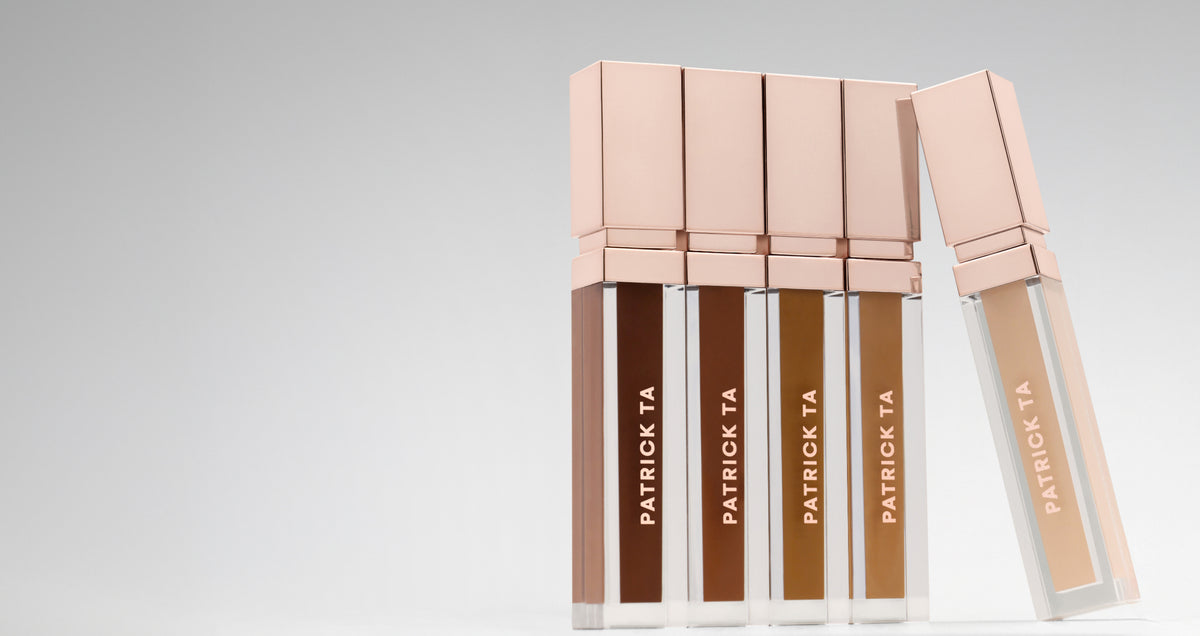
Many people use two concealer shades: one that matches their foundation for spots and redness, and one that is a shade or two lighter for brightening the under-eyes and high points. The Major Skin Soft Blur Brightening Concealer comes in 25 shades across fair, light, medium, tan, and deep ranges, with rosy, neutral, golden, peach, and apricot undertones.
Not sure where to start? Take the concealer shade finder quiz to narrow down your match.
Once you know where to apply concealer, a few small touches go a long way. Start light, build only where you need it, and let your skin show through. Shop the Patrick Ta concealer collection to find your perfect formula and shade.
Frequently Asked Questions
Should I apply concealer before or after foundation?
Apply concealer after foundation in most cases. Foundation evens out your skin tone first, so you need less concealer to cover what is left, and your base looks more natural. The exception is color correcting, which goes on before foundation. Once your foundation is blended, add concealer only to the areas that still need brightening or coverage.
Where should you not put concealer?
Avoid putting brightening concealer on blemishes, raised texture, or areas you want to recede, like the outer edges of the face where you contour. Lighter concealer draws attention to wherever it sits. Also avoid packing it into deep fine lines under the eyes. Use a skin-matching shade on spots and keep brightening shades for the under-eyes and high points.
How do I keep concealer from creasing under my eyes?
Use a thin layer of concealer and set it lightly to prevent creasing. Start with hydrated skin, apply a small amount, and blend with a brush or damp sponge rather than your fingers. Look up while you blend to smooth product into the area. Then lightly press a small amount of powder only where creasing happens.
Should concealer be lighter than my foundation?
Concealer for brightening the under-eyes should be one to two shades lighter than your foundation, while concealer for spots should match your foundation exactly. A lighter shade reflects light and makes the eye area look awake, but on blemishes it highlights them. Many people keep two shades, and the concealer shade finder quiz can help you find both.
Can I wear concealer without foundation?
Yes, you can wear concealer without foundation for a lighter, more natural look. Apply it only under the eyes, around the nose, and on any spots, then blend the edges well so it melts into bare skin. A buildable, medium coverage formula with a softly blurred finish works best because it looks like skin rather than makeup.

RELATED POSTS

Here are our top picks, organized by category, so you can find the right gift fast.

With a few simple rules, you can pick something they will actually use, love, and reach for every day.
Celebrity makeup artist and founder of Patrick Ta Beauty, Patrick Ta, has once again captivated the beauty world with his innovative products, earning multiple accolades at the 2025 Allure Best of ...
Here is how to find your concealer shade, how to test it, and how to use more than one shade for a flawless base
Here is why red blush has become a modern staple, how to choose the right shade for your skin tone, and how Patrick applies it for a flush that looks effortless.
Here are the shades that make brown eyes stand out and the Patrick Ta palettes that deliver them.
If you have been reaching for the same pink or peach for years, mauve blush is the easiest way to refresh your routine without going bold.
With professional tips from Patrick himself, consider this your step-by-step guide to creating the perfect smokey eye.